Tubeless tires have already taken over mountain and gravel biking. Guess what, road cycling is next. Tubeless road tires provide more comfort, less rolling resistance, and of course, extra puncture protection. A lot of modern road bikes are even coming from the factory with tubeless-ready wheels.
I’ve been riding tubeless road tires for years and I love it, but plenty of roadies are still on the fence. Installing tubeless tires can seem intimidating. To help you get set up tubeless at home, I’m going to explain how it’s done and give you some tips and tricks to make it easy.
As long as your wheels and tires are advertised as “tubeless” or “tubeless-ready,” they will work. Though not necessary, wheels and tires made after 2020 can make tubeless installs easier because of updated ETRTO standards.
Most tubeless-ready wheels come pre-taped with tubeless tape, a plastic-like tape that is airtight. If not, you will need to tape your wheels first. Tubeless tape should be 3-5mm wider than your rim’s internal width. If your wheels did not come with tubeless valves, make sure to purchase valves 10-30mm longer than your rim depth.
[product-block handle="stans-notubes-tire-sealant-injector-syringe-presta-schrader"/]
Sealant injectors let you measure a precise amount of sealant and inject it through the valve. They aren’t essential, because you can also pour sealant into the tire before seating it, but it’s usually less messy and more convenient to use an injector.
[button]Shop tubeless road wheels[/button] | [button]Shop tubeless road tires[/button]
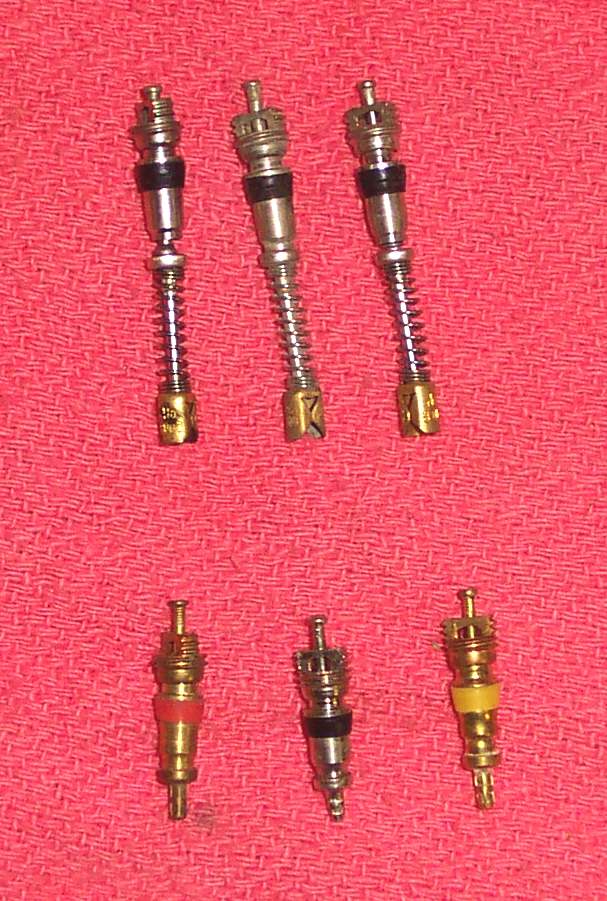
A valve core tool is used to remove the Presta valve core from tubeless valves.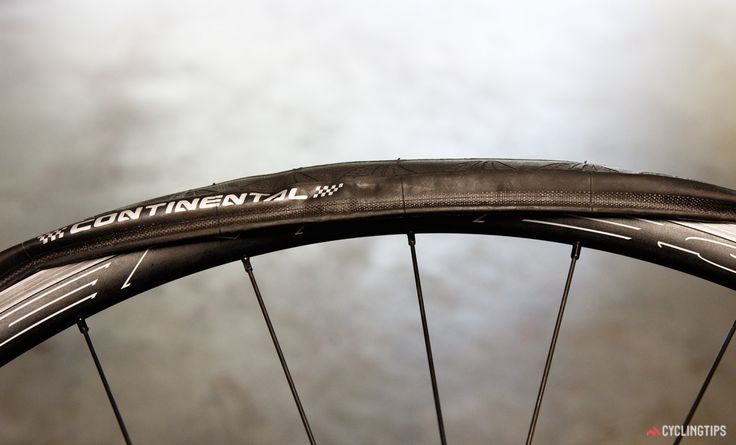 This is useful for seating tires or injecting tubeless sealant. Valve core tools are cheap, but you can also get away with using a small crescent wrench or 5mm box wrench.
[product-block handle="feedback-sports-valve-tool"/]
Bead jacks are a handy tool for installing tubeless tires that are extremely tight and stubborn. They give you extra leverage to pull the tire bead over the rim wall without damaging your tubeless tape, which can happen when using tire levers too aggressively. We like the Kool Stop Bead Jack.
1. If your wheels don’t have tubeless valves installed, insert the valves into the valve holes. Secure them with the valve nut. Make sure to screw the valve nut only finger tight.
Get as much of the tire bead as possible in the center channel.
2. Install your tire. Due to tight tolerances, tubeless tires can be difficult to install. The key is to get the tire bead into the recessed center channel of the rim as much as possible. This gives you more slack to keep pulling the bead over the rim lip. I like to start installing the tire bead at the side opposite the valve. Without the valve in the way, you get the most slack possible. If you need use tire levers, pay careful attention so you don’t damage the tubeless tape.
Pump fast!
3. With the tire installed, it’s time to inflate and seat the tire beads on the rim. If you have a wheel and tire set-up that plays nice, the tire will usually seat with a few vigorous pumps from a floor pump. If that doesn’t work, refer to the tubeless tips and tricks below. You should hear a popping sound as the bead seats. Inspect the entire perimeter to ensure the beads are fully seated. Most tires have a faint rubber molding line just above the bead that should be visible all around the wheel. If a particular spot isn’t seated, continue adding air. If you reach the max recommended pressure for your tire or rim, try spraying some soapy water on the bead to lubricate it and bounce it on the ground a few times to encourage it to seat.
4. After fully seating the tire beads, you can let the air out and the tire will stay seated. Remove the valve core and add 60 ml or 2 oz. of sealant using the sealant injector. It’s easiest to inject sealant while the valve is at the 6 o’clock (bottom) position. After injecting the sealant, turn the wheel so the valve is above the 3 or 9 o’clock position before removing the injector. This keeps sealant from spraying back out of the valve when you remove the injector.
5. Reinstall the valve core and inflate the tire to your desired air pressure. Wipe up any spilled sealant. Spin the tire or shake it to distribute the sealant.
The trickiest part of a tubeless tire install is seating the tire beads. If you are unable to seat your tire beads with a floor pump, these are the next steps. Try them in order, or if you want the greatest chance of success, use them all in combination.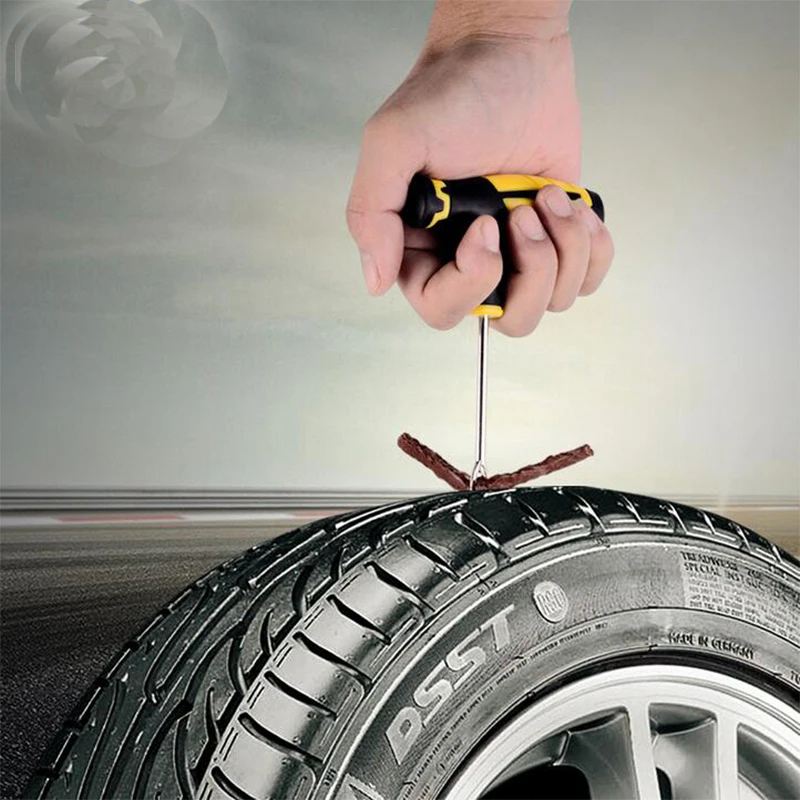
Trick 1: Remove the valve core before attaching your floor pump/CO2 inflator/air compressor. This opens up the valve so you can pump air in faster and seat the tire.
Trick 2: Seat one bead using a tube. You’ll have to take the tubeless valve back out. Put a tube in, reinstall the tire, and inflate until the tire beads are seated. Pop one bead, pull the tube out, and reinstall the tubeless valve. With one bead already seated, it’s much easier to seat the other side.
Trick 3: Use a strong burst of compressed air. If you’re fortunate enough to have an air compressor, this will be easy. For the rest of us, there are special pumps and chargeable canisters made specifically for tubeless tires that can provide a burst of air. Personally, I prefer using a basic CO2 inflator. Most riders already have one and extra CO2s are cheap and easy to get. If you choose to seat your tire with CO2, make sure to do it before adding sealant.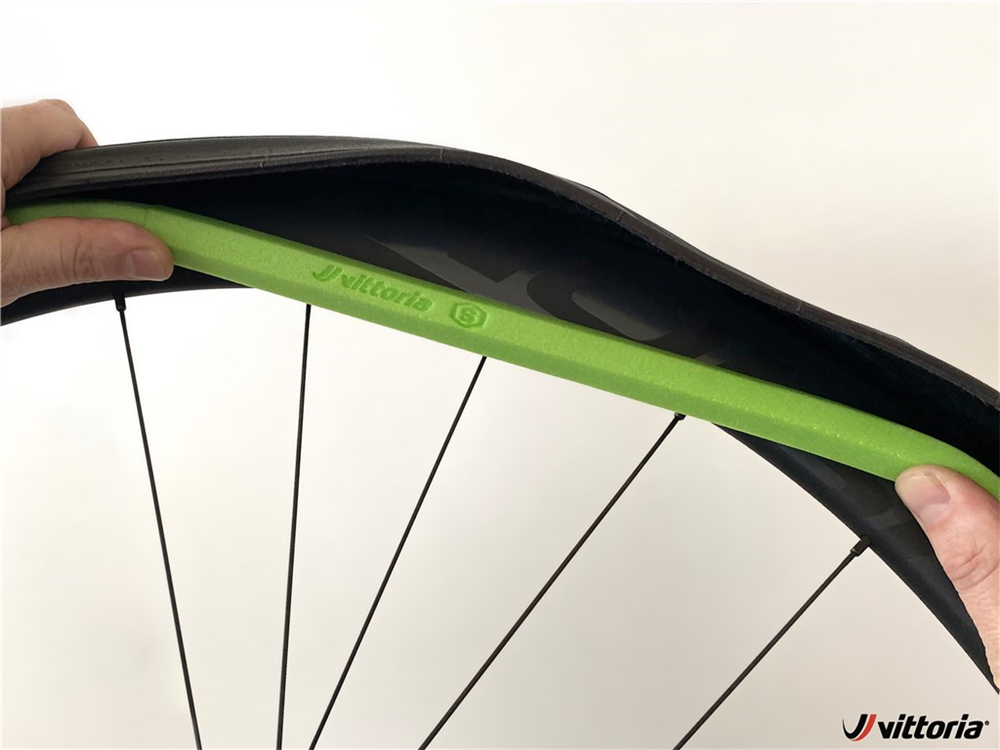 Release all the CO2 before adding sealant, as the CO2 can degrade sealant.
[product-block handle="sks-16g-co2-threaded-cartridges-2-pack"/]
Got leaks? If you notice air and sealant leaking out around your spoke holes, that usually means your tubeless tape is compromised and needs to be replaced. If air is leaking out from the valve hole, try tightening the valve nut. You may notice some sealant seeping from the tire sidewalls. This will usually seal over time, though you may need to add more sealant later.
[button]Shop road bikes[/button]
Hopefully, this makes installing tubeless road tires at home quick and easy. If you struggle your first time, don’t get discouraged! Do it once and learn what works for you, then future tubeless tire installs will become much, much easier. I can do a tubeless install as quickly as a standard clincher install, and I think it’s worth it for the benefits.
If you have any questions, leave them in the comments. And if you have any tips and tricks I haven’t mentioned, I’d love to hear them!
We meticulously (and independently) pick every product, and if you purchase through our links we may earn a commission.
Road tubeless setup can seem like a bit of a dark art to the uninitiated, but the technology has improved massively in recent years. Here, we demystify the process and explain exactly how to set up your road tubeless tyres.
To understand how to set up your road tubeless tyres, it’s first useful to explain what makes up a tubeless setup and what each component does.
If you’re researching what tyres to buy, we’ve got a buyer’s guide to the best tubeless tyres. We’ve also got a guide on how to repair a tubeless tyre.
Tubeless tape seals up the bed of a non-UST rimStans No Tubes
Tubeless tape is an airtight rim tape that is applied to the bed of a rim to seal up spoke holes and rim joins.
There are a few variations of tape available, with some rated for both road and mountain bike use.
A tubeless valve is much like a regular Presta valveJoe Norledge / Immediate Media
A tubeless valve is a Presta-style valve that is identical in function to a regular inner tube valve. It’s usually (though not always) fitted to a conical bung that sits in the valve hole.
When the lockring is tightened down, it deforms the bung around the valve hole and tape, creating an airtight seal.
Any good tubeless valve should have a removable core. This helps with initial inflation and seating and, should the valve core become clogged up with sealant, allows you to either clean or replace this easily without having to unseat the tyre.
Tubeless sealant is usually a latex-based liquid that can seal small holesRussel Burton
Sealant is a milky, most commonly latex-based liquid that will seal small holes in your tyre, usually before you’ve even noticed there’s a puncture at all.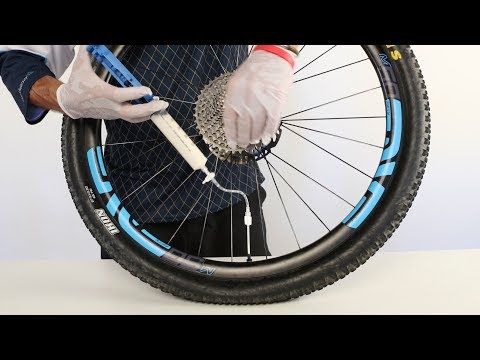
An excellent explainer on how tubeless sealant works can be found in our guide to the best tubeless sealants.
Stan’s No Tubes Race Sealant and Effetto Caffélatex are two of our favourites.
Mavic’s UST rims have a totally sealed bedBikeRadar
Like the tyre, tubeless ready road rims are visually identical to a regular clincher rim.
However, closer inspection reveals that, like tubeless tyres, the profile of the hook of the rim (where the bead of the tyre interlocks with the rim) is subtly different. The well of the rim is often slightly deeper as well.
A select few rims — mostly from Mavic — are built to UST (Universal System Tubeless) standards. Among other things, this standard dictates that the rim must be sealable without tape, with the rim bed free of holes.
These are relatively few and far between and you’re much more likely to come across a rim with a regular drilled bed.![]()
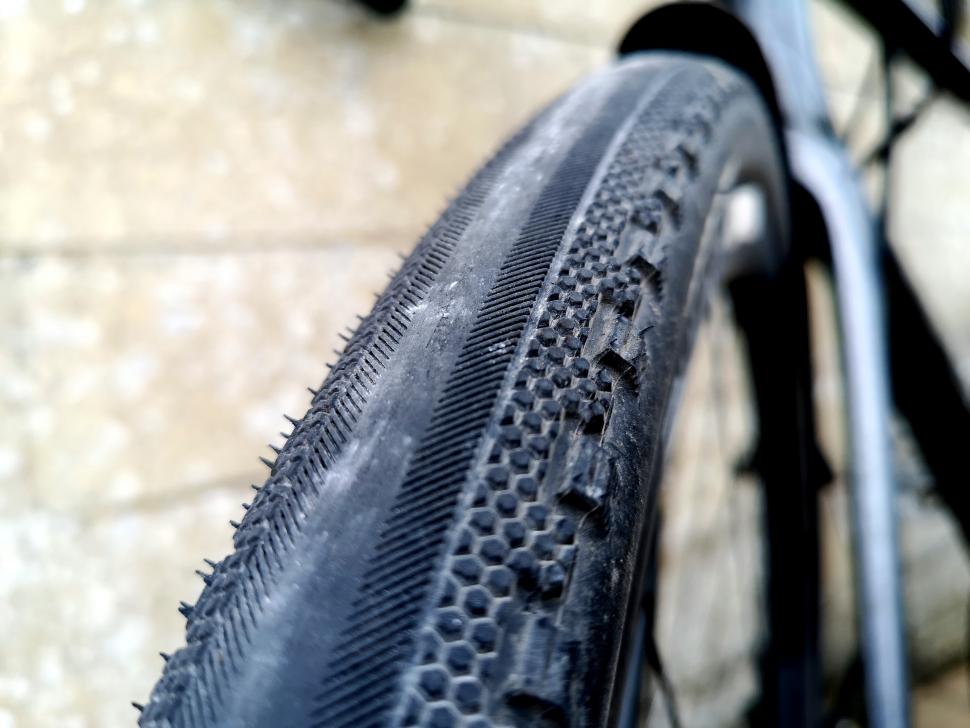
The bead of a tubeless tyre is subtly, and critically, differentJoe Norledge / Immediate Media
Tubeless road tyres may look the same as a regular clincher, but they are subtly and critically different.
The two key differences are the dimensions and profile of the bead; the bead is usually very slightly smaller (or, more accurately, made to tighter tolerances) than a clincher and the profile of the bead is designed specifically to interlock with the unique hook of a tubeless rim.
A little bit of jiggery-pokery can get most mountain bike tyres to go tubeless — though not always safely — but on the road, we absolutely recommend you only ever use proper tubeless tyres and rims as the pressures, speed and consequences of failure involved are very, very high.
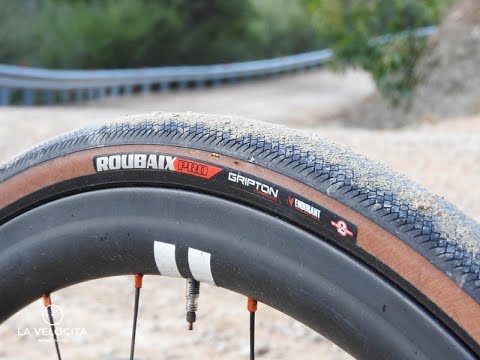
The Pro One is our favourite road tubeless tyreBen Delaney / Immediate Media
 5 stars) — Read the full review / Buy now from Chain Reaction Cycles
The following video includes paid product placement for Schwalbe
We demystify how to set up road tyres tubeless on our YouTube channel
 Prepare the rim
 Thoroughly clean your rim before applying tapeJoe Norledge / Immediate Media
Before applying tape, ensure your rim bed is absolutely clean and free of residue from any old tape or old sealant.
It’s best to avoid mechanical removal for all but the most stubborn of residue. Instead, turn to methylated spirits and a clean rag to soften up any old glue.
Avoid using any solvents, particularly on carbon rims, as this can damage them. If you’re in anyway unsure whether a particular chemical is safe to use, contact your rim manufacturer.
Give the rim one last final wipe down with a clean rag.
Thoroughly clean your rim before applying tapeJoe Norledge / Immediate Media
Starting from the side of the rim opposite the valve hole, begin by holding the tape down into the well of the rim with a few fingers and apply around 6 to 8 inches onto the rim, ensuring it is central and kept very taught.
https://media. immediate.co.uk/volatile/sites/21/2018/11/TubelessTape720_2Mb-fc5be98.mp4
Once you have applied this small section, the tape should hold itself in place. At this point, I like to hold the wheel around the hub and rotate the wheel away from me as I apply further tape, keeping the tension high and ensuring it stays nice and central.
Overlap the tape by about four inchesJoe Norledge / Immediate Media
Wrap all the way around the rim, again keeping the tension high and avoiding straying to the edges. Once you have reached the start of the tape, overlap by around 4 inches, cut the tape and firmly press the tape down with your thumbs, working out any bubbles.
Check there is no damage to the tapeJoe Norledge / Immediate Media
Once the tape is applied, thoroughly check around the wheel for any bubbles, tears or areas you have strayed too far from the edge.
If you have damaged the tape, it is possible to patch it, but bitter experience has shown that this often doesn’t work and it’s best to just retape the rim. Faff now will avoid roadside heartache later!
Run a plastic tyre lever around the edge of the tapeJoe Norledge / Immediate Media
Once you’re happy the tape is in good order, run the lip of a plastic tyre lever around the bead of the rim to seat it fully.
Use a small prick or soldering iron to make a hole for the valveBikeRadar
Start by finding the valve hole on the rim and pushing, from the inside outward, a small prick or spoke through this to mark exactly where the valve hole is.
Then, from the outside, make a small hole in this. If you really want to show off, you can use a soldering iron or heat the prick up to make a clean hole.
Push the valve through the hole and let it ‘cut’ the hole to size. Some recommend cutting the tape with a Stanley knife, but I’ve found this to sometimes tear the tape.
Push down on the valve with your thumb such that it deforms the bung, screw on the lockring.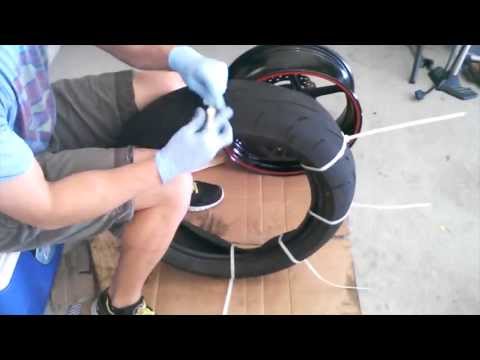 It’s good practice to put the tiniest dab of grease on the lockring to make roadside removal easier.
As there’s no tube to pinch, you can be a bit more liberal with your use of tyre levers, though you’ll gain big kudos if you can fit tyres without themJoe Norledge / Immediate Media
Fitting a road tubeless tyre is exactly the same as a regular clincher, but can be a bit more difficult due to the tighter bead.
The good news is that you can be a bit more liberal with your use of tyre levers, as there’s no tube to worry about. Don’t go totally gung-ho though because it’s still very easy to nick or otherwise damage tubeless tape, forcing you to start all over.
With a bit of good technique and a heavy, grippy pair of gloves, it’s normally good to go sans levers.
Once you’ve got both sides of the tyre on, massage the tyre and ensure it is sitting in the well all the way around the rim and the tyre sits on either side of the valve.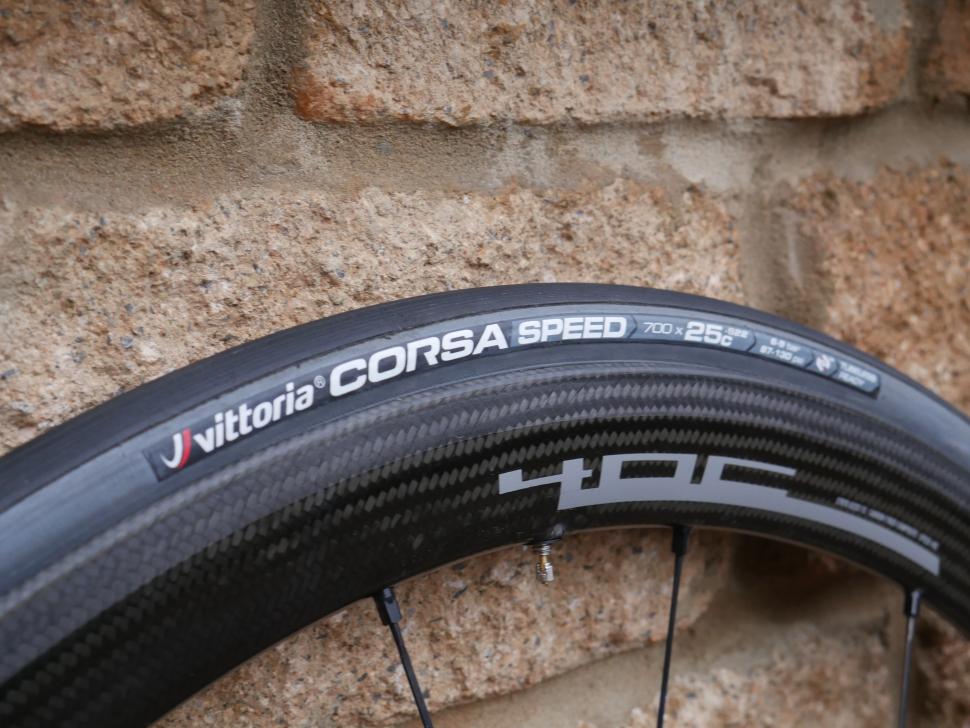
Fill your tyres with the recommended amount of sealantJoe Norledge / Immediate Media
If you’re confident in your ability to get the tyre on with minimal fuss, you can add your sealant before fully fitting the tyre.
However, if it’s a new combination, you may find it much easier to add the sealant via the valve. This can be done via a syringe or a small applicator bottle.
Gently rotate the wheel to coat the inside of the tyre.
A few swift blasts from a decent track pump should seat the tyreJoe Norledge / Immediate Media
With the valve core still removed, double check that the tyre is seated correctly around the whole wheel.
Fit your track pump and, hopefully, a few swift blasts of air will pop the tyre into place.
If only one side or a section of the tyre seats, keep pumping until you hear a number of satisfying pings and the tyre is seated around the full circumference of the wheel.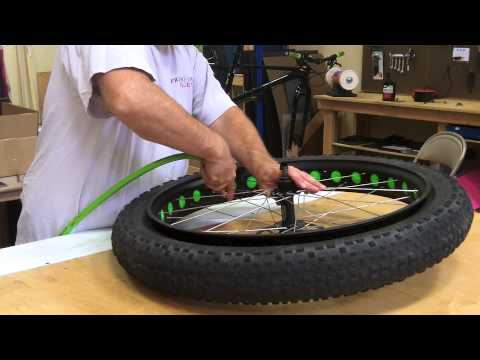
As soon as it is seated, remove the head of the pump and replace the valve core.
Spin the wheel to coat the inside of the tyreJoe Norledge / Immediate Media
Add a bit more air then give the tyre a vigorous shake and spin to fully coat the inside of the tyre. Once done, pump your tyres up to the recommended pressure.
It is often possible to seat a high-quality road tubeless setup without removing the valve core, but this is so dependent on the quality of your track pump, so I recommend avoiding any faff and taking the extra 30 seconds that removing your valve core takes.
And that’s it! Do you have any recommendations for road tubeless setup? Any experiences, good or bad, that you want to share? Let us know your thoughts in the comments below.
Deputy editor
Jack Luke is the deputy editor at BikeRadar and has been fettling with bikes for his whole life.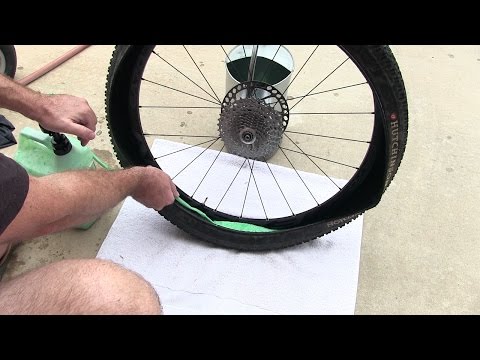 Always in search of the hippest new niche in cycling, Jack is a self-confessed gravel dork, fixie-botherer, tandem-evangelist and hill climb try hard. Jack thinks nothing of bikepacking after work to sleep in a ditch or taking on a daft challenge for the BikeRadar YouTube channel. He is also a regular contributor to the BikeRadar podcast. With a near encyclopaedic knowledge of cycling tech, ranging from the most esoteric retro niche to the most cutting-edge modern kit, Jack takes pride in his ability to seek out stories that would otherwise go unreported. He is also particularly fond of tan-wall tyres, dynamo lights, cup and cone bearings, and skids. Jack has been writing about and testing bikes for more than five years now, has a background working in bike shops for years before that, and is regularly found riding a mix of weird and wonderful machines. Jack can also often be seen zooming about with his partner aboard their beloved tandem, Cecil.
5/5 - (2 votes)
Once you get the hang of fitting tubeless tires, you can change them almost as easily as tube tires.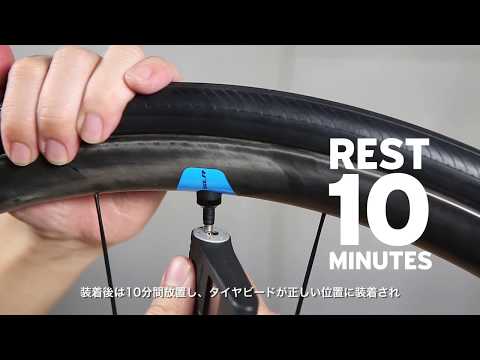
Tires are one of the most important factors in determining how a bike feels and behaves. Not only do they make a huge difference when it comes to performance, but they are also an inexpensive way to upgrade. The right tires can provide more comfort, more speed, and more puncture protection, and tubeless tires take this concept even further. Switching to better tubeless road tires can result in lower rolling resistance, fewer punctures, and the ability to use lower pressures for more comfort. It also means learning a new skill and understanding how to install tubeless tires.
With the right tools and an understanding of what to expect, installing tubeless tires shouldn't be difficult. Keep reading for tips and tricks for fitting tubeless tires. Very soon, you will be changing tires as easily as traditional inner tube tires.
Contents
Everything you need to install tubeless tires
When it comes to installing tubeless tires, you'll need supplies and tools.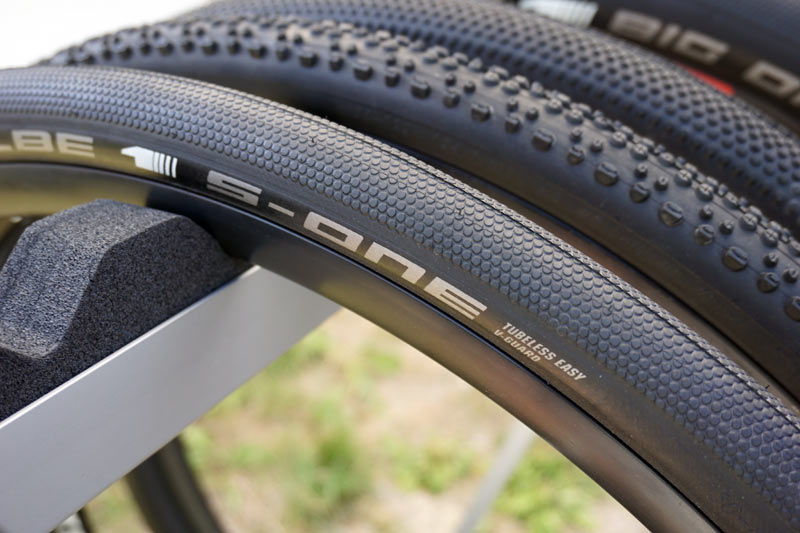
When it comes to tools, there is good news and bad news. The good news is that you may not need all of the tools we have listed below; with the passage of time and the spread of tubeless tires, they are getting better and easier to install. Higher quality wheels, along with better tubeless road tires, are often immediately inflated with a track pump, while others may require something more powerful.
The bad news, however, is that you won't know until you try a particular tire and rim combination, so it's good to have the right tools on hand.
Tubeless tires have a very tight bead that does not stretch, making it difficult to fit on the rim in some cases. When buying levers, you need to be sure that you are getting something thin yet strong enough to work with the tire/rim interface. Look for rounded edges that will prevent damage to the rim. Some tire levers are reinforced with a steel core for added strength.
You need a way to get enough air into the tire quickly so that it sits on the rim properly. If you win, the pressure will rise and the tire will sit correctly. To facilitate this task, you can use a floor pump, which has a built-in reservoir for charging tubeless tires. First, before inflating, you will close the charging tank, which will compress the air in the tank. You will then immediately release all the pressurized air into the tire.
If you are buying a new pump, get one that combines the pump and reservoir. If you already have a favorite pump, it is possible to purchase the tanks separately. Another option is an air compressor, which is the most convenient way when you need to use it, but be aware that most inexpensive tankless electric pumps won't work as they don't move air fast enough.
Most new wheels come already sealed, but this is not always the case. If you're having issues with a tubeless setup, it's almost always due to a tape issue. To solve this problem, we recommend re-gluing the inner rim from scratch.
Also be aware that the tape comes in different widths, so make sure you order the correct one - it's always best to use the right size rim tape, as doubling a smaller width tape isn't always smart. The translucent tape will make it easier to find the valve hole in the right place.
Again, these often come with new wheels, but not always. Make sure you buy something long enough to go through the rim and leave room for the pump mount. A little extra length won't hurt, so if you can't find the perfect length, don't be afraid to go longer.
You can get by with a pair of pliers, but it's not worth the hassle. The right tool is inexpensive and makes life a lot easier. It's a good idea to have an extra tool in your emergency kit, as valve cores can get clogged over time and you may need to fix one that's leaking slowly during your trip.
Again, you can do without it, but it's much easier if you have the right tool.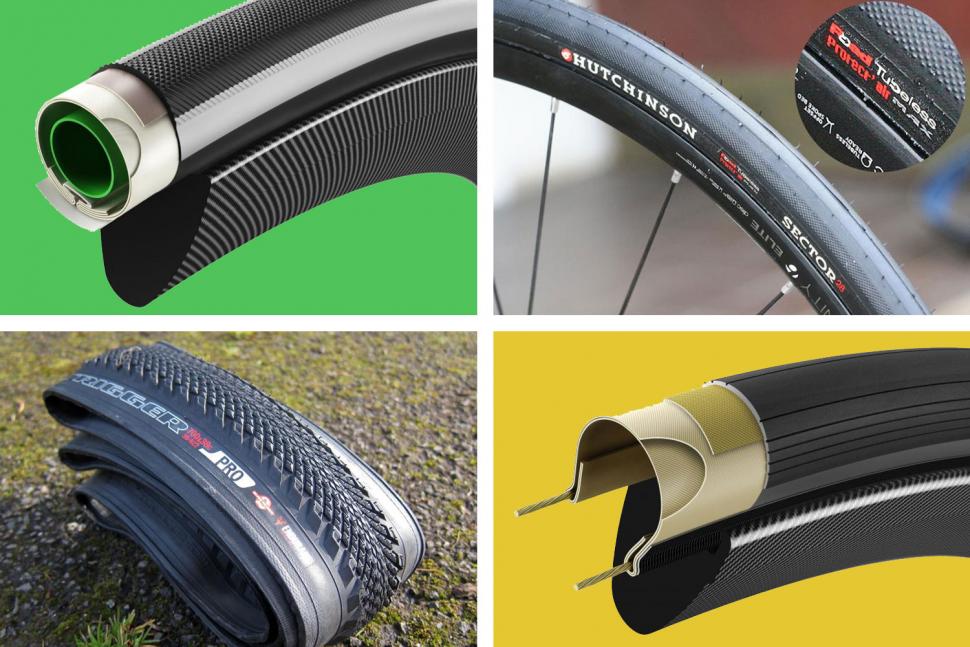 You can see instructions for pouring sealant into a tire and then trying to install, which might work, but it can be incredibly messy. Instead, use a syringe and inject the sealant through the valve stem. Some sealants come with a tube, but if you don't have one, we recommend adding one to your toolbox. The syringe is usually supplied with a valve tool and additional spools. It's also a convenient way to use just the right amount of sealant.
You probably already have these tools, but it's a good idea to prepare them. You will need scissors to cut the rim tape. A small towel will come in handy when sealing the rim. A soapy solution in a spray bottle will make life easier during installation. A small screwdriver or pen will come in handy to poke a hole in the rim tape to push the valve stem through.
A properly installed rim tape should be smooth and fill the channel.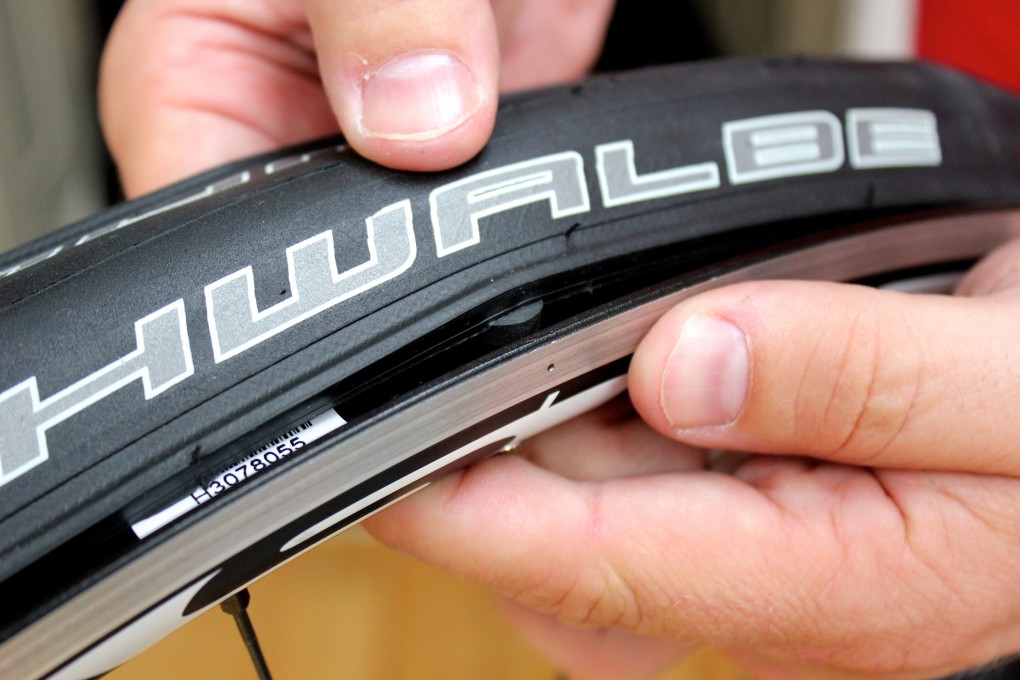
The first thing you need to do is seal the rim. If the rim is already sealed, you don't need to seal it, but if you find you're having trouble sealing the tire, don't waste hours looking for it - just seal it.
Every time you rearrange things, there is a chance that you will open a leak in the tubeless belt. It also often happens that you seal the wheel perfectly and then make a subtle mistake when installing the valve core through the tape. If in doubt, reseal it.
Start tape about an inch before the valve hole in the wheel. You want to have enough space so that there is a good seal between the rim and the band up to the valve opening. Press the band against the rim with one hand, then pull the band out a little. Advance only as far as you feel comfortable holding the band, then gently lower it to the surface of the rim. You need to stretch the tape, and it's better to do it little by little, rather than trying to work the entire rim in one fell swoop.
After bringing the tape to the surface of the rim, hold it there.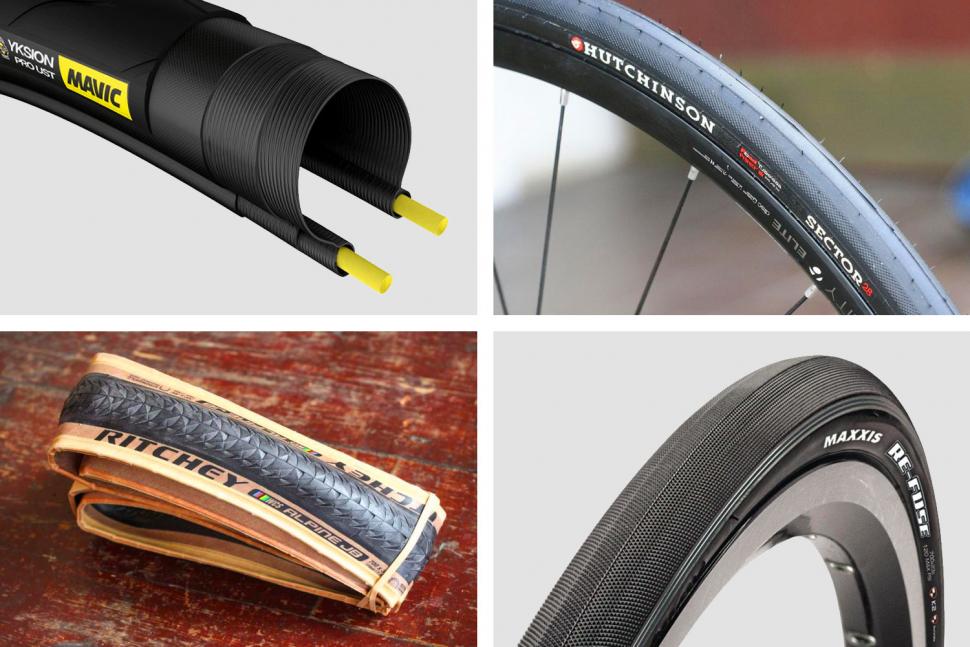 The tape is not very strong, so it will come off the rim if you don't hold on to it. Use a cloth or gloves so that the hand that you held the beginning of the tape with can slide over the rim tape. Press firmly on the rim to help the adhesive stick and move air bubbles to the end of the glued area.
When the two hands are together, repeat what you did from the beginning. Holding the tape against the rim with one hand, you are about to pull more tape from the roll. Stretch it out to the sides of the rim, then gently pull it back and repeat the process again. Continue these two steps until you have gone all the way around the wheel. When you get back to where you started, you should put tape over the vent hole by about the same amount as you started with. Then just cut the tape.
Some people and most bike shops make two layers of tape. If the tape is not wide enough, it is necessary to completely seal the space between the tire beads. Even if the band is wide enough, this needs to be done to increase the circumference of the wheel and create a tighter seal between tire and rim, but modern tires and rims are made to tighter tolerances so this is often not necessary. It can also make it difficult to fit the tire as it is very tight. It's one of those things you can't know until you try it. If you prefer to play it safe, then do so.
Push the valve stem through the band.
Start by locating the valve hole in the rim. This will be easier if you can see through the rim tape, but it's possible otherwise if you find a hole in the inside edge of the rim. Once you know where it is, press down on it with your fingers and you can make a small mark outlining the edge of the hole.
Once you know where it is, poke a small hole in the tape. You can use whatever you have. Hex keys, small screwdrivers, knobs, even the sharp end of a valve stem.
Remember that you want this hole to be as central and as small as possible and you don't want to damage the wheel. Any sharp object you use can cause damage, so be careful. This is combined with the fact that you don't try to open the hole completely, you just open it for the valve stem, and when the hole is ready, let the valve stem stretch it.
Once the hole is punched, push the valve stem back into place. There should be some kind of rubber seal at the base of the valve stem that presses against the hole you just pierced and with enough pressure it will seal. On the inner edge of the rim, where the valve now protrudes, you need to install a rubber seal, and then the nut that is attached to the valve stem. You don't need to tighten everything all at once, as you may need to push the rubber seal inside the tire away from the rim to get the tire into place.
The extremely tight fit means you will likely need to use spudgers to fit each side of the tire to the rim.
The process is the same as for the tube tire. Don't forget to check the direction of rotation of the tire, and remember that it's fashionable to line up the logo and name so that the valve is in the middle (this also helps to find the valve when you need to inflate the tire).
Start at the valve and insert the washer into the space between the valve and the wheel sidewall.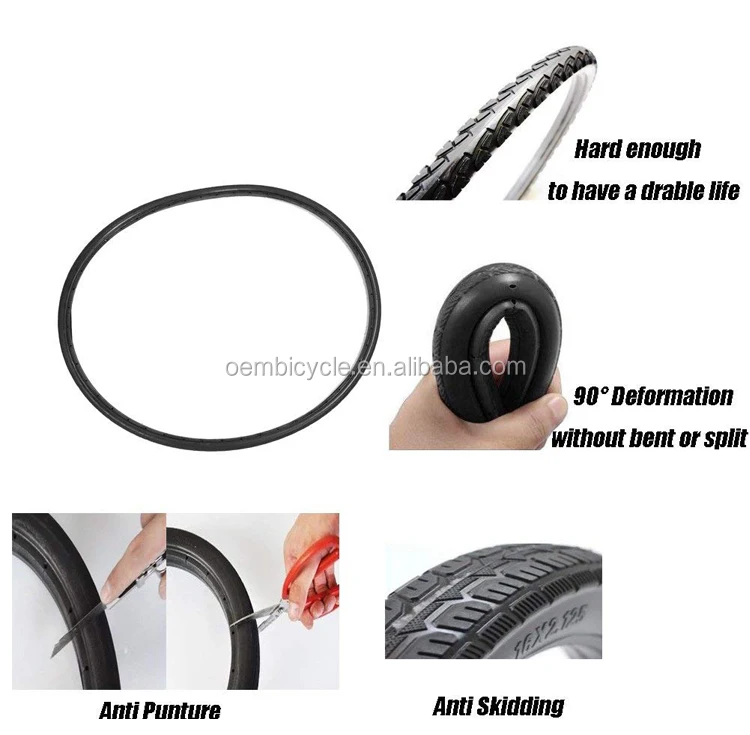 First on one side, then on the other. When you get to the other side, opposite the vent, things get more complicated.
The difference between a tubeless tire and a tubed tire is that the tubeless tire and the rim are closer together. Grabbing each side of a tire on a wheel is often a difficult task and the use of tire levers will most likely be necessary. To facilitate landing, moisten the edges of the tire with soapy water.
Soapy water helps everything slide. The tire will slide more easily over the tire arm and the tire arm will slide more easily between the tire and rim. Once the tire is in place, the soap solution will also help create a seal for the first inflation.
The tire should be in the center of the rim cavity but at the edges next to the valve.
The idea is to put the tire in the center of the rim. The less the tire will rise and fall from the edges, the better. However, it should be on the edges near the valve stem.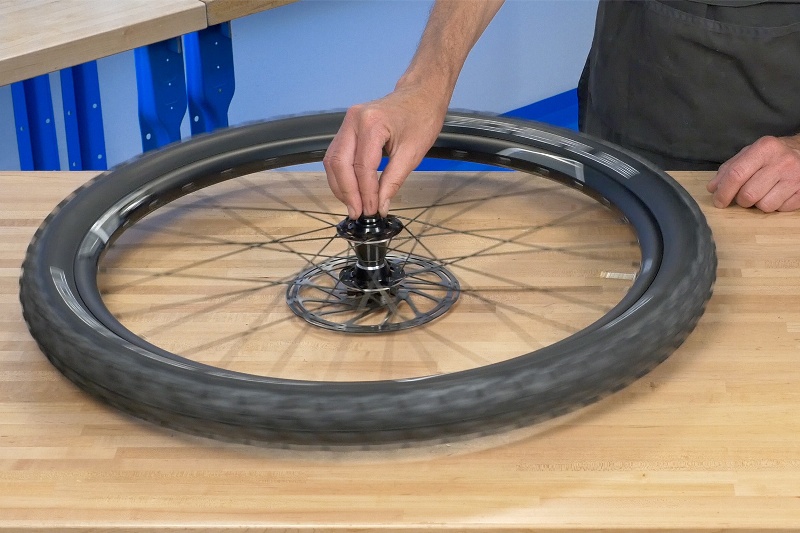
In reality, there is little you can do at this stage. Just look for obvious problems and do your best to fix them. A good way to get everything in proper condition is to roll an uninflated wheel with a tire on a carpeted floor, applying pressure on it. The pressure will help the tire sit properly in the channel.
Once you have the tire in place, make sure the valve stem nut is tight and the valve stem is in place.
If you are using a tubeless tire pump, it's time to pressurize the reservoir.
If you are using a standard pump, you need to pump quickly. If you are using a tubeless pump, then pressurize the tank before releasing the air in one shot. It's a good idea to inflate the tire, but be careful with the amount as tubeless tires and carbon wheels often have a lower maximum pressure than you'd expect.
You may or may not hear a pop as the sidewall snaps into place. This helps if the sidewall is wet and slips easily, but even then you may not hear anything.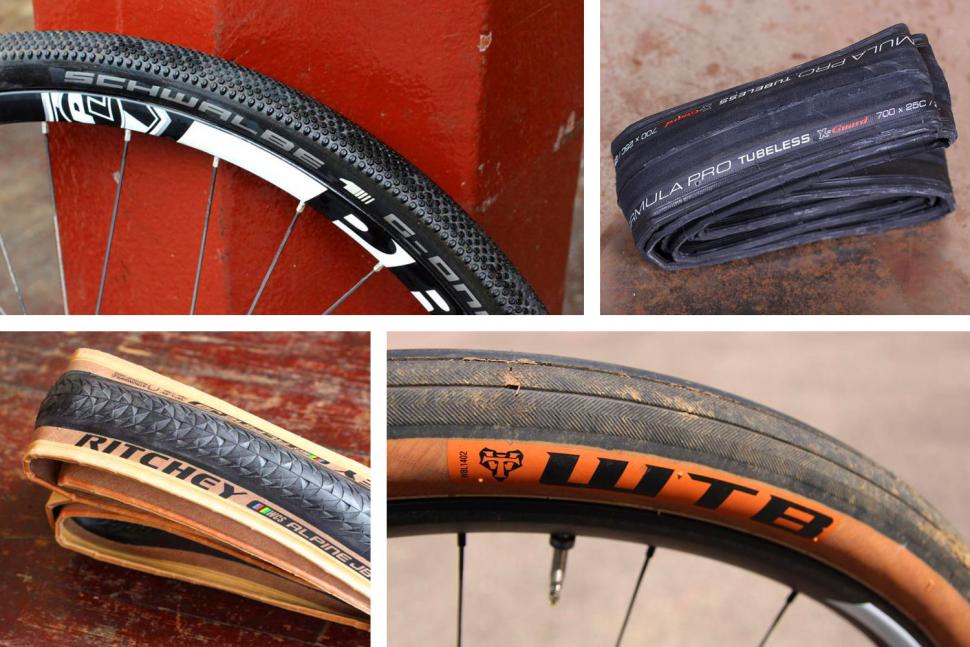 It's a nice sound when the bead snaps into place, but if you can't hear it, it doesn't mean it didn't work.
For initial inflation it may be useful to remove the spool. However, this is not always possible because depending on the pump you have, they do not always secure effectively if there is no valve core.
Using a sealant injector is the easiest way to add sealant to a tire.
If you have time to let the tire sit, this is a good idea. Sealant should not be needed to keep air in the tire. If you have time to let the tire sit with air, you can determine if it is losing air at a reasonable rate. If you left a tubeless tire inflated overnight and returned to a flat tire the next morning, then you need to troubleshoot. This almost always means new rim tape, and it's much easier and cleaner when there's no sealant. You can also check the tightness with a soap solution.
Once you've made sure the tire is installed correctly, it's time to add sealant.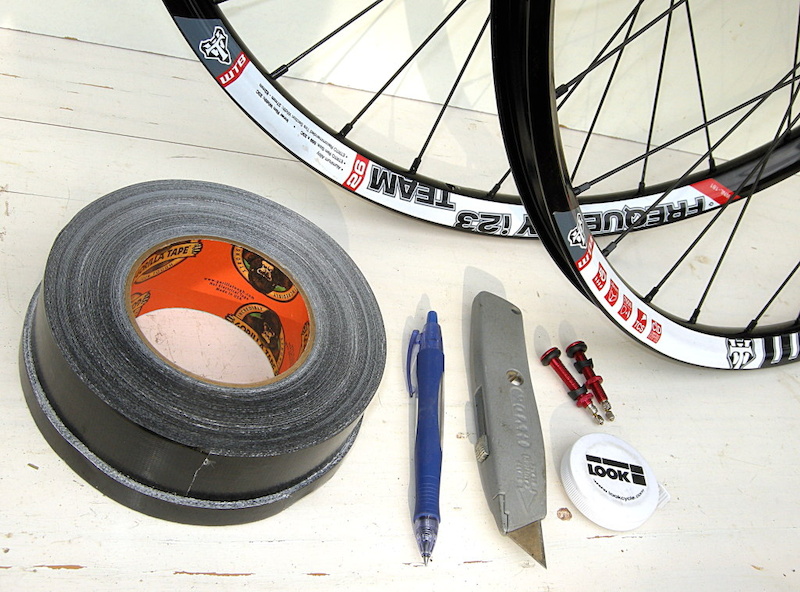 Release the air from the tire, and then unscrew the valve core.
Put some sealant into the injector and turn the tire so that the valve is not at the very bottom and not at the very top of the wheel. At the top, it can leak out of the valve, and at the bottom, the flattened tire leaves no room for sealant. Inject the sealant and install the valve core in place. Inflate the tire to the desired pressure and remove the pump. Spin the tire and give it a shake so that the sealant coats as much of the inner surface of the tire as possible.
Congratulations, you now have a tubeless tyre.
You might be interested:
According to their internal structure, tires for special equipment can be divided into chamber and tubeless. As the name implies, in the first form, the air reservoir is the tire chamber inserted inside and then inflated (as in a bicycle), and in the second, the tire itself serves as this reservoir, as well as a disk having a special device.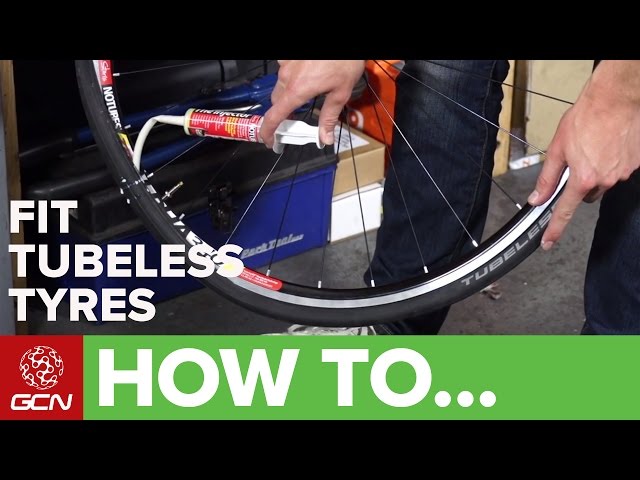
Just like tubed to tubeless, you can replace pneumatic rubber with solid rubber on the fork. Find out more about the installation service itself and the solid-cast mounting rail
Over time, for many people who constantly encounter special tires, the question arises whether it is possible to interchange chamber and tubeless tires. This question is a consequence of the fact that the internal structure of tires of both one and the second type is very similar, but at the same time it is not the same.
Let's first consider the features of one and the other type of tires, after which it will be possible to easily answer the question of the possibility of interchanging these tires.
⇒ Choose tubeless tires by size on our website ⇐
A tubed tire has a slightly easier installation system than a tubeless one. Due to the fact that all the air that maintains the volume of the tire is contained in the chamber, and not inside the tire body, chambered tires use the simplest discs that do not have any special properties. Mounting such a tire is not difficult, just like repairing and dismantling. However, this is where the positive aspects of tube tires end, especially when compared with tubeless ones.
See also how you can replace pneumatics or cast parts here
Tubeless tires (TL) are a more modern option that are more complex in design and require more effort and technical ability to carry out maintenance. So, even one person can “pull” a tubed tire onto a disk, and even in the field, but in order to put on a tubeless tire, you need specialized equipment and certain skills. This is due to the fact that tubeless tires must sit very tightly on a specialized disk, as if bursting it from the inside. Organizing this with improvised means is almost impossible.
However, in terms of operation, in general, tubeless tires are preferred, since they are much better able to withstand the load, and it is quite simple to repair them on the spot. A puncture in a tubeless tire is much less of a problem than the same damage in a tubed tire.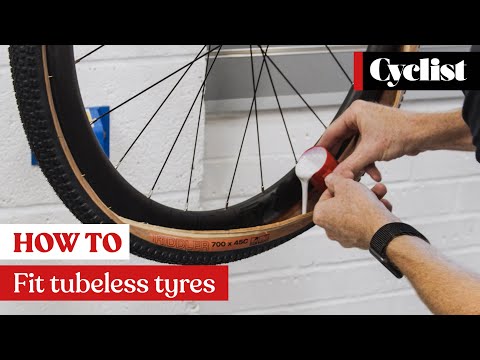 Everything is extremely simple here - tubeless tires “close” on the disk in such a way that air does not pass through it, so if a puncture occurs, the air will only exit through a small puncture hole. Moreover, a common experience is the simple screwing of a screw of the appropriate thickness into the place of damage. This screw serves as a kind of plug. In this state, you can easily get to the service point.
In the event of such damage to the tube tire, it will be blown away almost instantly, since the air will escape along the entire plane of contact between the body and the disk.
A tube can only be inserted into a tubeless tire if it says “May be used with tube” (Russian “Can be used with a tube”), otherwise tubeless tires are not recommended for use with a tube, as this may lead to rapid wear of both the inner surface of the tire body and the tube itself.
Why not recommended? A tubeless tyre, which uses only an “inline” tube, is designed for high heat dissipation and minimal friction inside, and the presence of a tube will upset the balance that was laid down by the manufacturers.