Written By: The Hive - Jeremy (and 2 other contributors)
Difficulty
Easy
Steps
4
Time Required
00:05:00 - 00:10:00
Sections
1
Flags
0
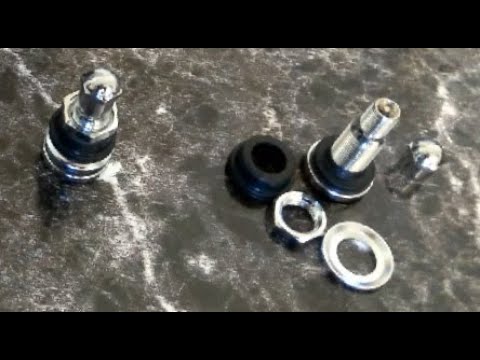
Start by choosing the proper rubber base for your rim.
Rims with curved valleys will use the curved base.
Rims with flat valleys will use the flat O-ring base.
Install the valve stem.
Tighten the valve to hand tight.
Do not overtighten - this can cause leaking and make the valve impossible to remove on the trail if you get a flat.
The base of the valve includes a hex in the head in case the valve is twisting, a 4mm hex wrench can be used to hold it.
with 2 other contributors
When you purchase through links on our site, we may earn a commission at no additional cost to you. Learn More
It’s not uncommon that valve stems start leaking only after a few years in use due to dirt, corrosion, road salt, or degraded rubber. Luckily, they are relatively cheap and easy to replace at home.
The same basic principles displayed in this guide apply to most tubeless tires, whether on an ATV, car, lawnmower, or snowblower.
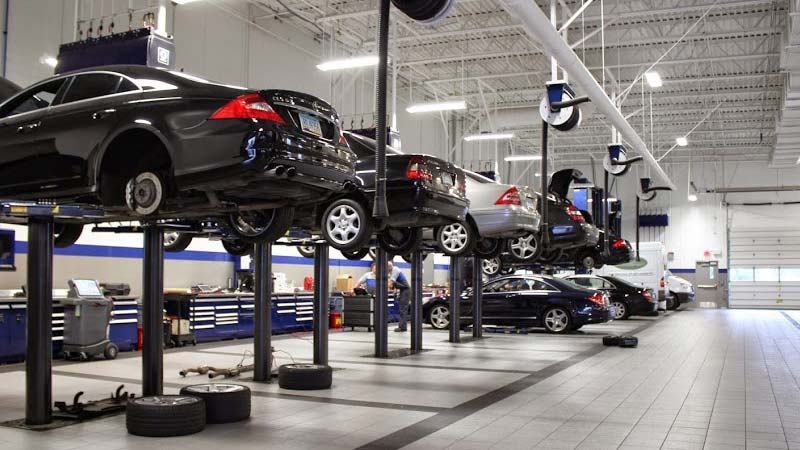
A tire shop may charge around $20 to $30 to change a valve stem. If you do the job yourself, it will cost about 5$, depending on what tools you choose and have at your disposal.
I’ve made this guide for those that wish to do the job at home to save a few bucks or don’t have a tire shop nearby. We’ll be looking at two different methods; one where the wheel needs to come of the room, and a second, where the valve can be replaced with the tire still on the rim, using a specialist tool.
You can replace a valve stem with the tools most people already have in their garage. However, to make the job easier, faster, and safer, we recommend that you get a couple of cheap tire tools as well, available at most auto supply stores

Valve stems come in a range of sizes. They vary in diameter and length, depending on the size and style of wheel you have.
A design-number is used to categorize the various types and sizes of valves available.
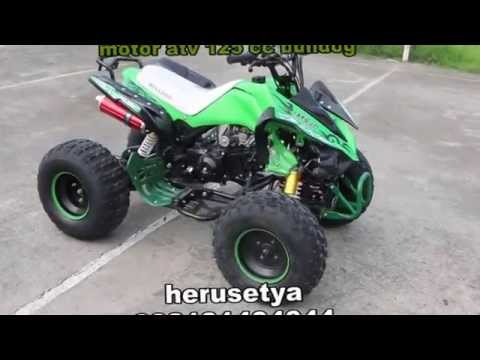
Let’s use the most common valve for ATVs as an example: TR-412.
 453 inches (11.5mm). The next size up is 0.625″ (16mm), which is less common.
 | Industry Valve Number | Maximum Inflation Pressure (PSI) | Effective Length (in) | Rim Hole Diameter (in) |
| 412 | 65 | 0.88 | 0.453 |
| 413 | 65 | 1.25 | 0.453 |
| 414 | 65 | 1.50 | 0.453 |
| 415 | 65 | 1.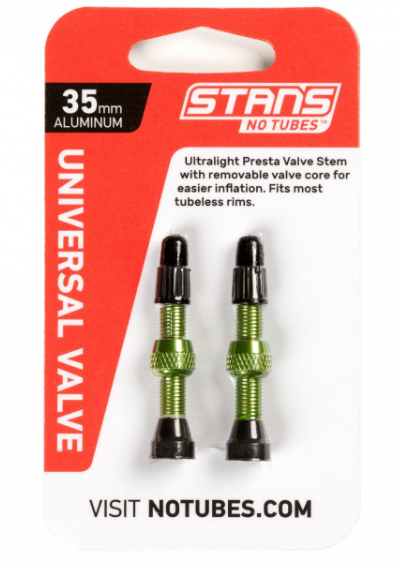 75 75 | 0.453 |
| 418 | 65 | 2.00 | 0.453 |
| 423 | 65 | 2.50 | 0.453 |
| 415 | 65 | 1.25 | 0.625 |
| 425 | 65 | 2.00 | 0.625 |
You will find the design number of your old valve stem stamped on the bottom of the stem. This does, however, require removing the valve stem or removing the tire from the rim.
TR412 valve stem.Alternatively, you can measure the old stem and compare your findings with the table above.
 It’s going to be slightly bigger than the rim hold diameter. You should be able to tell whether it’s for a 0.453-inch diameter hole or if it’s for a noticeably larger hole.
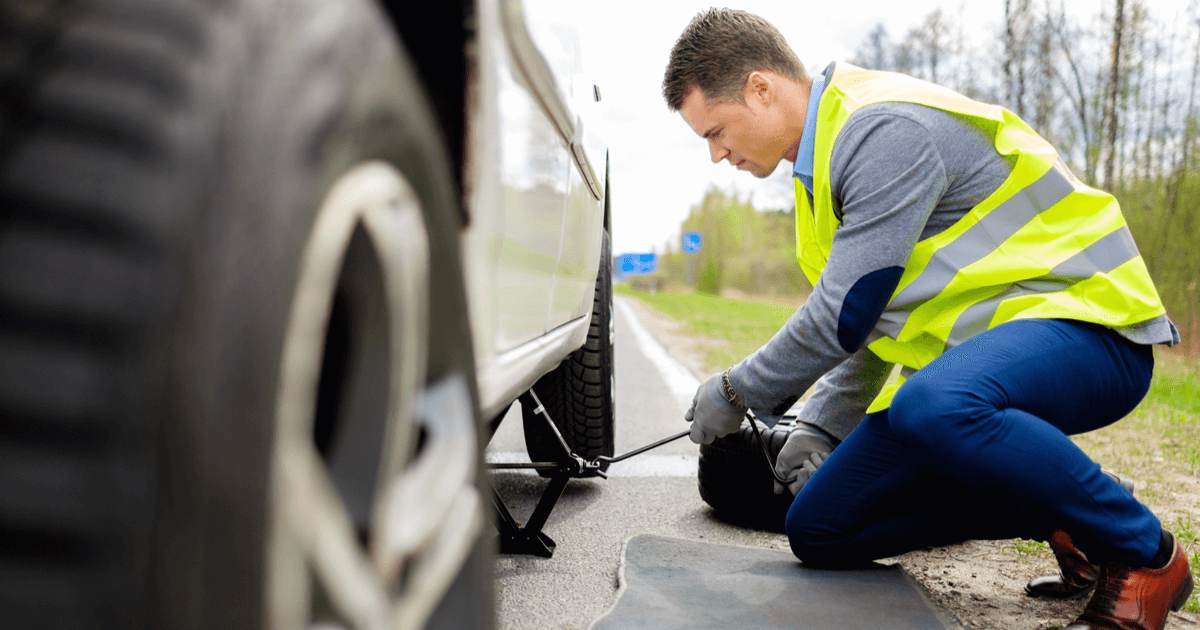
You can move straight to step 2 if you already know how to remove the wheel from the vehicle safely.
 Secure it with jack stands.
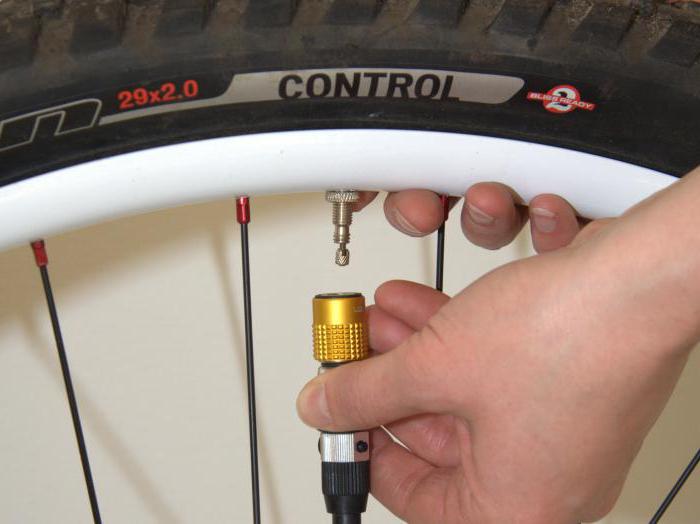
Remove the valve cap, then use a valve stem core removal tool to unscrew the valve stem core from the valve stem. This will release the air from the wheel.
Remove the valve stem core, using a valve stem core tool.If you don’t have a valve stem removal tool at hand, you should be able to unscrew the core with a pair of small needle-nose pliers. Just place the pliers on the flat portion of the core, and turn anti-clockwise. In a pinch, you could even use a pair of tweezers, as long as they fit.
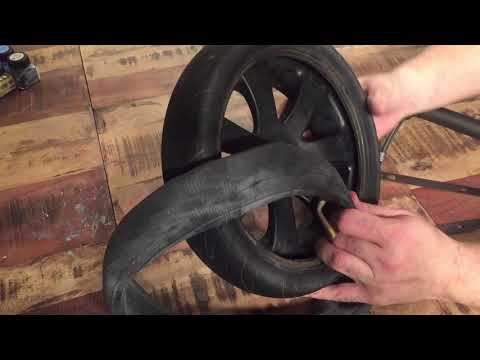
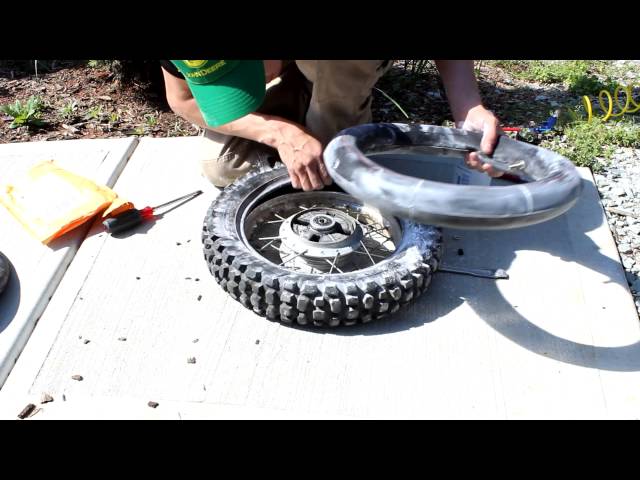
Next, you need to break the tire bead from the rim.
Break the tire bead to gain access to the inside of the rim.I tend to use my portable tire changer, but there are several ways you can de-bead a tire. Click here to find a list of alternatives for home mechanics to choose from.
After successfully de-beading the tire, place your knee or a wood block between the rim and the tire for easy access to the bottom portion of the valve stem.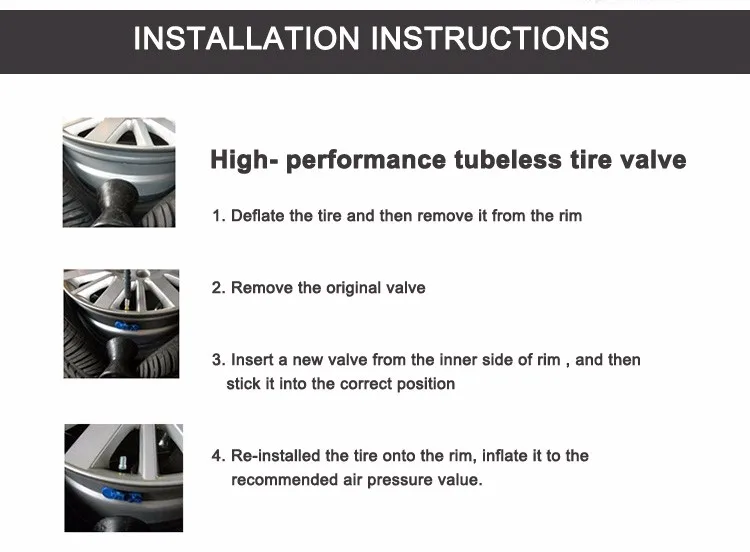
You only have to de-bead the side of the wheel that has the valve stem in it. I removed the tire from the wheel completely to take better photos for this post, but this is unnecessary.
To remove the old stem, you have two options.
You can use a sharp knife to cut it, either on the outside or inside the rim. Cut as close to the rim as possible without scratching the rim itself.
Use a razor blade to cut the old valve stem flush with the inside of the rim.After cutting, you should be able to pop out the remaining piece of the stem easily.
Remove the cut valve stem from the rim hole.Alternatively, you could use a pair of vice grips to pull the plug out from the inside of the tire. Use this method if you plan on reusing the valve stem.
Spray some soapy water on both the outside and inside of the rim as lubrication. Place the grips over the stem’s thick portion and use leverage to pull the plug out. You may need to reposition the tool several times for better grip until you get the core out.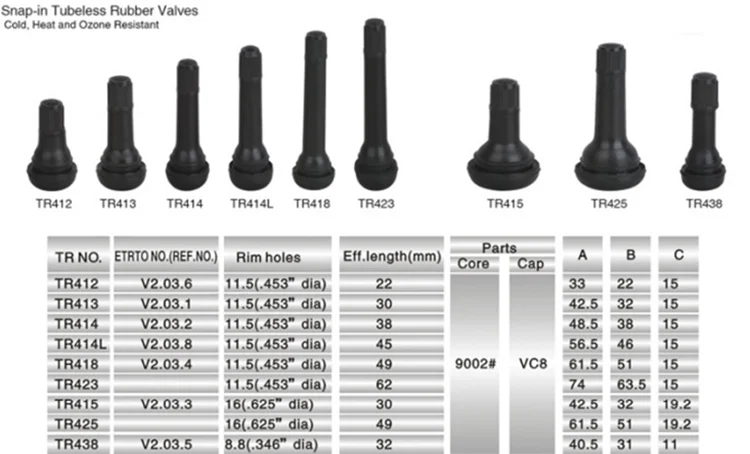
Before installing the new valve stem, you need to lube the rubber portion to slip into place much more effortless.
Use dish soap, some vegetable oil, or spray the new valve with a generous amount of soapy water.
Notice: Do not use any petroleum-based products such as oil or grease as it will degrade the rubber over time.
Lube the valve stem with dish soap.Insert the valve stem through the hole from the inside of the rim. Make sure the hole is clean and free of debris. The threaded part should protrude on the outside of the rim.
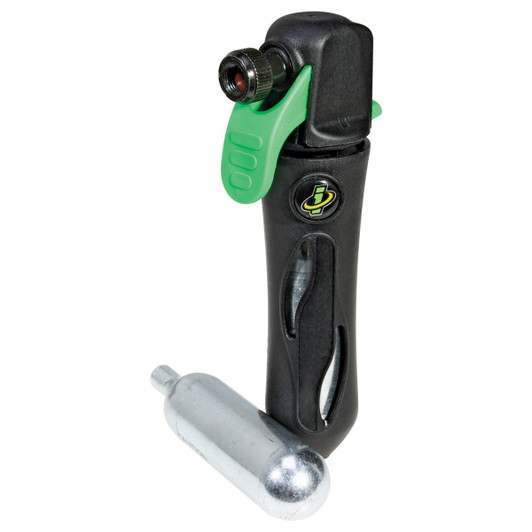
Insert the valve stem from the inside of the rim.To pull the plug in place, you will need a valve stem pull tool. You can find them at most auto supply stores at an affordable price.
These tools come in a variety of shapes, but all work with the same basic principle.
The threaded portion of the tool mounts to the valve stem core’s threads to get a good grip.
Attach the valve stem tool to the threaded portion of the valve stem.Do not use pliers to pull the valve stem, as this will likely damage the soft copper threads.
Use the tool to pull the valve stem straight out from the wheel until the small rubber groove on the valve stem pops in place.
This tool uses leverage to pull the valve stem out through the rim.As an alternative, you can use a simple 4-way valve tool to pull the valve stem in place.Make sure the valve is properly seated.The tire is seated back on the rim by using compressed air. This will press the tire outwards until it pops over the tire bead and rests against the rim’s lip.
Lube the tire and tire bead with soapy water. This allows you to seat the tire without using excess pressure, which could blow out the tire’s side.
The trick to succeeding is by adequately closing the gap between the rubber and the rim as you start adding air.
On softer and smaller tires, you should be able to close the gap manually. However, on tires with stiffer sidewalls, you may not be able to create a tight enough seal to build up pressure.
I prefer using the ratchet strap trick as this works great most of the time.
Using a ratchet strap when seating the tire will helpforcing the tire sidewalls outward.Use a ratchet strap to press the tire walls out against the rim. Attach the strap as shown in the picture and tighten it until the tire touches the rim.
With the valve stem core removed, add air until the bead pops in place. Never exceed 7-8 PSI with the strap attached.
As soon as the tire has seated, deflate the tire, remove the strap and install the valve stem core before inflating the tire according to spec.
You are now done and can install the tire back on the vehicle.
The hardest part of replacing a valve stem from the inside is getting the tire off the rim.
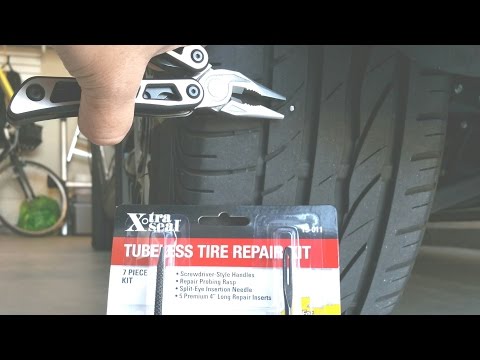
If you don’t have the tools or don’t feel comfortable with the idea of de-beading a tire, consider getting a valve changing tool kit designed to replace a valve stem from the outside, like this one from Amazon.
It can be a bit fiddly to get the hook past the old valve stem. Use plenty of soapy water as a lube, and be careful not to damage or scratch the rim as this could cause a leak.
Sometimes some customers ask us how to install a tubeless tire, so we made a video and an article which will be an instruction to teach you how to install a tubeless tire step by step.
If you have any questions about installing a tubeless tire, you can contact Contact . I hope this helps you install your tubeless tire correctly. Of course, you may run into some problems along the way, but relax, this guide will be your guide if you are a beginner.
Who installs the tubeless tire on video
Johnson is our seasoned bike expert, you can see his figure on the ICAN video channel. He has been in the cycling industry for over 20 years and is a senior engineer at ICAN Cycling.
So let's teach you how to install a tubeless tire step by step.
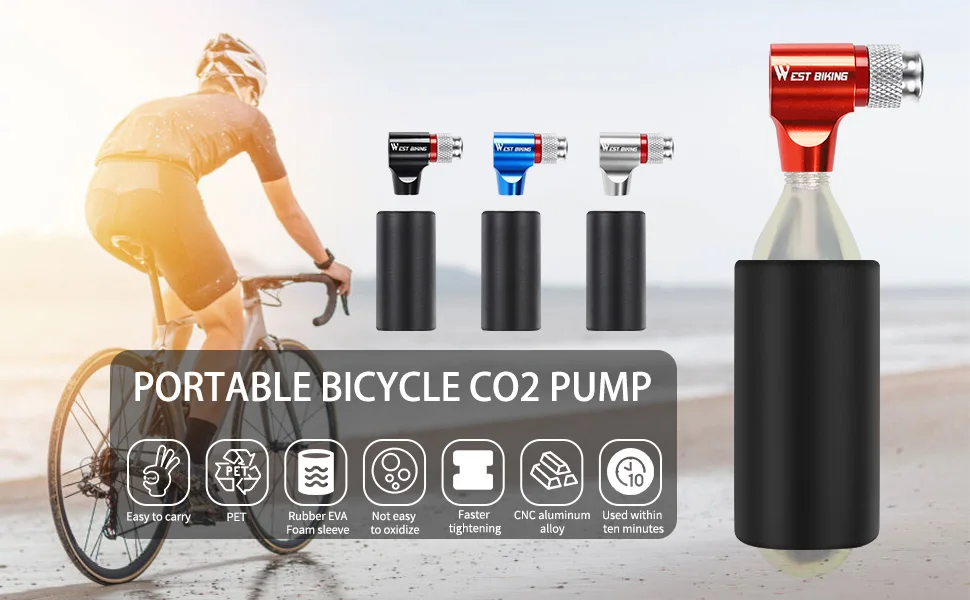
Before you install a tubeless tyre, you need to prepare: bicycle wheels, tubeless tyre, degreaser, tubeless rim tape, sealant, scissors, gas bottle, cleaning cloth, valve core, fixed wheel support.
1. Thoroughly clean the base of the rim to ensure a good fit of the tape.
Rinse thoroughly with a soft cloth or degreaser to remove more dust.
2. Install tubeless rim tape.
This is an important step that should not be ignored. It is best to wrap each rim twice to wrap around the rim bed.
3. Gently wipe and press slowly until the tubeless tape comes to the base of the rim without air pockets.
Do not press too hard to avoid damaging the tubeless type rim tape.
4. Find the right position to make a small hole,put the valve into the hole and screw the external value nut on the outer side of the rim securely.
5. Install tubeless tires according to tire manufacturer's instructions (do not use metal tools to install tires; rims may be damaged).
6. Fill tubeless tires with tubeless sealant (this step must be completed before inflation).
Tips : Make sure the valve opening is not too large, and tighten the valve nozzle to avoid air leakage.
Note: If the nozzle is loose, air will flow from the nozzle into the rim, causing a donut effect.
7. Install tubeless tires according to tire manufacturer's instructions (do not use metal tools to install tires; rims may be damaged).
Notes: When installing the tire, move the tire to the middle position, the smallest diameter will be easier to install.
8. Fill tubeless tires with tubeless sealant (this step must be completed before inflation).
you have two ways to fill the tubeless sealant
8.1 Fill the sealant through the valve core nozzle.
8.2 Inject tubeless tire sealant before sealing the tubeless tyre.
9. Place the valve stem back into the valve stem before inflating.
10.Rotate the wheels to make sure the sealant is evenly distributed in the tubeless tyre.
11. At the recommended tire pressure on the tire label, inflate the tire to the specified tire setting (70-120 psi). However, an air compressor or filling tank may be required.
You should hear the tire ring "click" on the rim hook to indicate that it is inflated.
12. Check that the tires and bead are correctly fitted and follow the rim profile evenly without leaks.
Answer Your Question
We're Open 24/7
24 Hours a Day
Open 7 Days a Week
7 Days a Week
Commercial truck owners save money by having tires removed and fitted. Improper installation can be costly to truck owners for several reasons: unbalanced tires ride poorly and wear poorly, hot beads unnecessarily degrade carcass performance, and poor inflation pressure also accelerates tread wear, carcass degradation and wasted fuel. and transmission life.
 Whether you are retreading truck tires or not, it is best to try not to damage the bead when you remove the tire from the wheel - at a 24-hour truck tire fitting (Dmitrovskoe shosse) this procedure is approached responsibly. If you don't retread, the tire dealer may refuse to buy frames with a damaged bead. Some brands of casings do not have a bead ring and it is preferable not to repair bead damage on such tires.

Putting a new retreaded or running tire on a dirty wheel is like putting dirty socks on a clean foot at the start of the day; by the end of the day, your feet will start to hurt. However, in truck tires, the hard, brittle rubber in the bead becomes less pliable and more likely to crack and crack.
Truck tires have a decorative ring around the sidewall about 2 cm from the rim. If the distance between this ring and the edge of the wheel is the same along the entire length of the wheel, the tire sits straight on the wheel (as they do at the service in the CAO). As straight a tire as possible on the wheel reduces noise and vibration, which is very important for tires that will be used on a steered axle.
To ensure that the tire sits directly on the wheel, moisten both beads with special mounting grease. Chassis lubricant or diesel fuel is petroleum based and will react with the rubber in the tire and cause damage. It is also necessary to put the tire / wheel on the ground when starting air traffic (recommended by craftsmen from the city of Dolgoprudny).
Incorrect fitting of the steered wheels to the wheel can greatly affect the wear resistance and comfort of the driver.
Another better way to install steer tires is to align the manufacturer's low point with the valve stem. The manufacturer marks the light side of the tire with yellow paint. It fits best on the valve stem to eliminate vibration and maximize performance. The point on the sidewall of the new tire should line up with the stem.
In addition to cleaning the wheel at each tread life, the small gasket that connects the valve stem to the wheel in a tubeless tire must be renewed and replaced (as they do at a tire shop in Northeast Administrative District). There is no point in puncturing your brand new tire because the part is worth less than a penny.
Finally, make sure the air pressure your tire is inflated to is correct. Always use a tire cage when mounting a tire on a rim to a vehicle.