| |||||||||||||||||||||||||||||||||
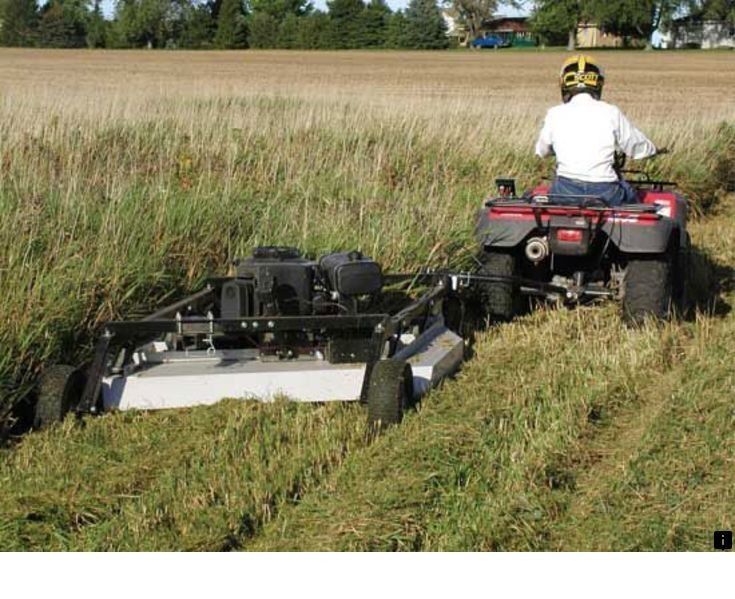
Jetting is critical in carbureted dirt bikes and ATVs and it's important to understand how carburetor tuning works to make sure your machine is running optimally. Check out our guide to carburetor jetting adjustments here.
Over the years, two and four-stroke carburetors designed for powersports machines have evolved into technological marvels with numerous features that allow engines to deliver state of the art performance. However, most carburetor designs still require proper tuning to deliver that performance. The difference between a properly jetted carburetor and one that is out of tune can result in consistent race wins or consistently bad performance, or worse yet, engine failures. So, we wanted to cover the basics of jetting, including an overview of why jetting is important, where to find the necessary info to make good jetting decisions, tools required to re-jet, where to buy jets, and tips and tricks to make carburetor adjustments easy.
To understand the criticality of jetting, we only have to go so far as to understand the function of the carburetor. The carburetor’s job is to precisely and repeatedly deliver the appropriate amount of fuel to the engine throughout its entire speed and load range.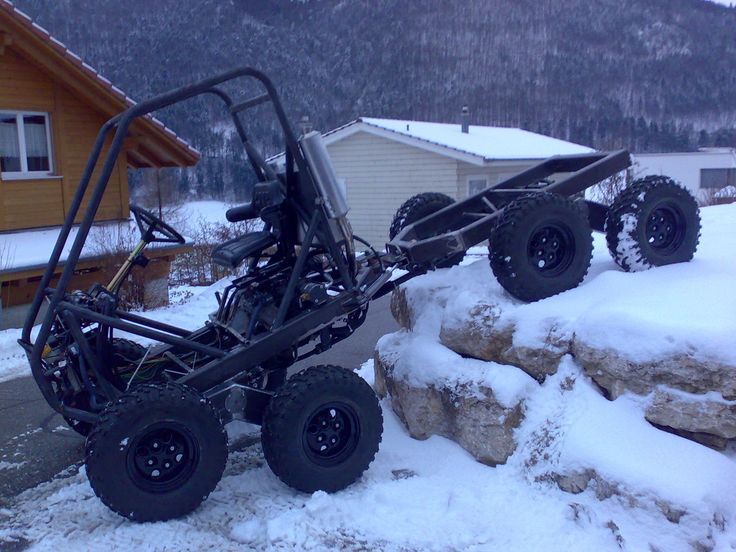 To do this, carburetors utilize several different circuits that control different parts of the speed/load range of the engine. These circuits are metered by small brass inserts called jets and by a needle situated in the slide of the carburetor. Jets come in different orifice sizes so that the amount of fuel being delivered to each circuit can either be increased or decreased. Needles are offered with various profiles but are predominately adjusted by altering their height within the carburetor. This is done by changing the needle’s clip position.
The amount of fuel that must be delivered to the engine is dependent on the atmospheric conditions in which it operates. Specifically, engine performance is dependent on ensuring the air to fuel ratio is optimal. While carburetors are very good at metering precise amounts of fuel, most of them cannot account for changes in air conditions. There are two variables that affect the ambient air conditions: temperature and pressure. Temperature and pressure ultimately affect the density of the incoming air, which has a significant effect on the engine’s air to fuel ratio.
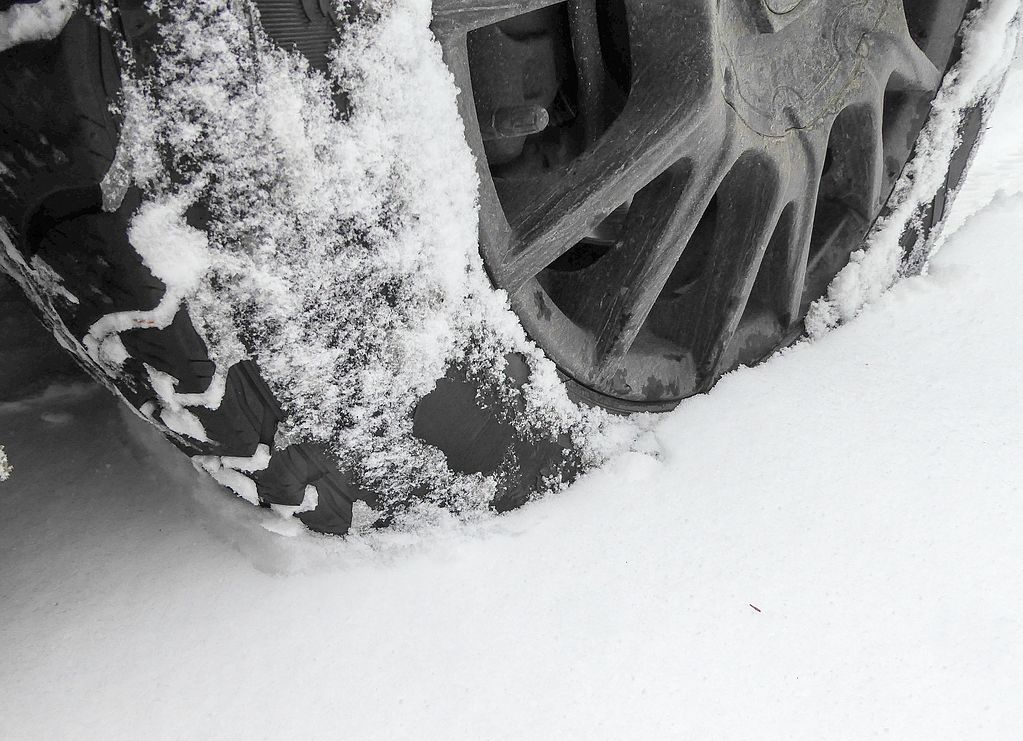
A couple of practical examples that highlight how air density changes include when temperatures or elevation changes from the baseline conditions the carburetor and engine were tuned for. As temperatures increase, air density decreases and when temperatures decrease, air density increases. Similarly, as the operating altitude of the engine increases, air density decreases due to decreasing air pressure. The opposite is true when altitude decreases.
Jetting changes are usually influenced by air density. Elevation, temperature, and humidity are the main factors that should be taken into account when tuning jetting for specific riding locations.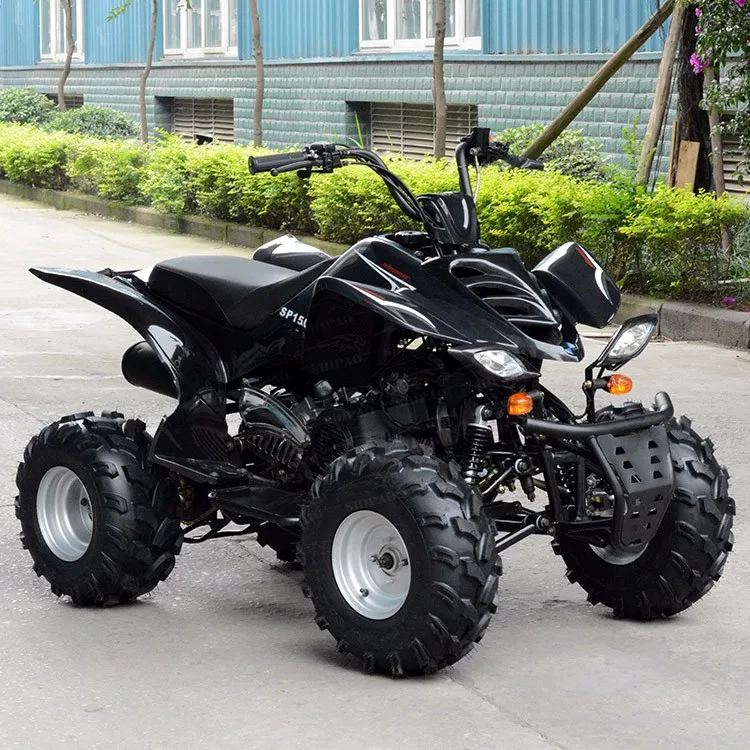
Since the world is a diverse landscape and atmospheric conditions are always changing, it is not possible to set up a carburetor correctly for all conditions. Instead, manufacturers utilize jetting charts which provide the operator guidance on how to configure the carburetor for specific temperatures and elevations. Jetting charts can be found in the operator’s manual that comes with the machine or in the service manual which is usually sold separately. A standard jetting chart for two and four-stroke carburetors provides guidance on the attributes of the pilot screw, slow jet, needle clip position, needle type, and main jet.
Many OEM owner's or service manuals will include jetting charts suggesting what changes to make based on altitude and temperature. This is an example ONLY, do not use this chart to tune your carburetor.Jetting requirements can also change when engine modifications are carried out. When engine modifications, such as the addition of a performance exhaust system, are incorporated the air flow through the engine changes necessitating carburetor adjustments. Depending on the modifications being made to the engine, fueling adjustments may need to be richened in certain throttle ranges and/or leaned out in others. When adjusting carburetor settings to account for engine modifications, it is always best to start with the setting recommended by the supplier of the aftermarket components, and then test to confirm optimal performance.
Technically, none of the metering circuits found within a carburetor are completely independent of one another, which means that any changes made to one circuit will have a small impact on another circuit. However, from an adjustment standpoint, the circuits and what parts of the speed/load range they primarily effect are shown below:
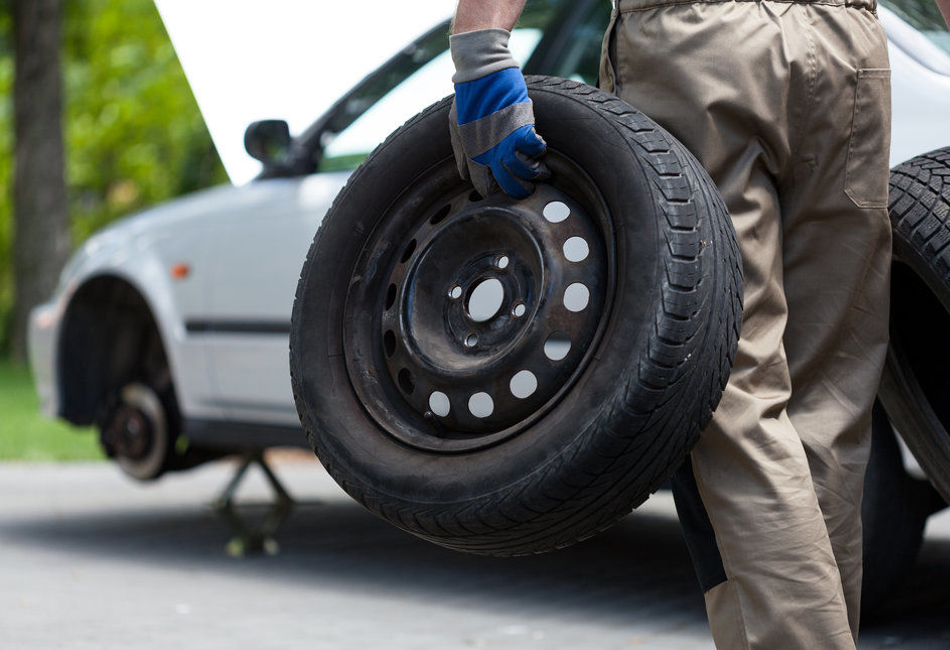
The tools required to re-jet a carburetor are basic in nature and predominantly consist of the usual tools needed to service your machine such as sockets, wrenches, allen wrenches, and screwdrivers. A set of small medium-length flat head screwdrivers is necessary to remove the small jets found within the carburetor. On machines with limited space between the carburetor and engine cases, a low-profile float bowl wrench may be necessary to remove the float bowl plug.
ProX offers jets for Keihin and Mikuni carburetors in a wide range of sizes so that no matter where you ride or what modifications you make you can precisely adjust your carburetor to ensure your engine runs optimally. ProX provides jets for all types of two and four-stroke carburetors which include FCR, PWM, CR roundslide, PJ, PWK, and PWM to name but a few. ProX jets are manufactured in Japan to exact OEM specifications and are available at cost effective prices.
Click here to find available jets and jet kits for your machine.
Before making jetting changes, it is best to ride and warm up the machine. Whether you’re putting in laps or tearing up trail, be overly cognizant of how the engine is running at various throttle positions. Take note of idle quality, transitions, mid-range, and wide-open throttle. Note any areas of concern then compare your notes to the conditions for the day and determine how they compare.
The layout of your machine will greatly influence how much work is required to make jetting changes, however, most machines are designed so that the carburetor jets can be changed without completely removing the carburetor. For specific information on how to service your carburetor to make jetting adjustments, refer to your machine’s factory service manual. The following information is provided as an overview. To gain access to the slow and main jets, the intake clamps are loosened and the carburetor can be rotated to expose the bottom of the float bowl.
To service the needle, the carburetor may be able to be rotated so the slide cover is oriented outside of the frame, otherwise, the seat and fuel tank can be removed to gain access from above. When adjusting the position of the carburetor on models equipped with a throttle position sensor, make certain that the wires are not pinched or strained in any way. Prior to making any adjustments, ensure the fuel supply is turned off. If the carburetor is equipped with a float bowl, it should also be drained.
In some cases, it may be easier to remove the seat and tank to gain access to the slide cover when the carburetor is on the bike. Be sure to turn off the fuel supply before performing any of this work!
Slow (Pilot) Jet
Needle
 Position refers to which slot the clip is inserted on, it's counted from the top down. The needle sits down in the middle of the slide and rests on the clip.
Main Jet
Once jetting changes have been completed, carefully reinstall all components and hardware. Repeat the warm-up and test riding process, then carefully note differences in engine performance from the previous session. If the jetting charts or instructions provided were adhered to, engine performance should notably improve.
ATV riding techniques could be the subject of a full book.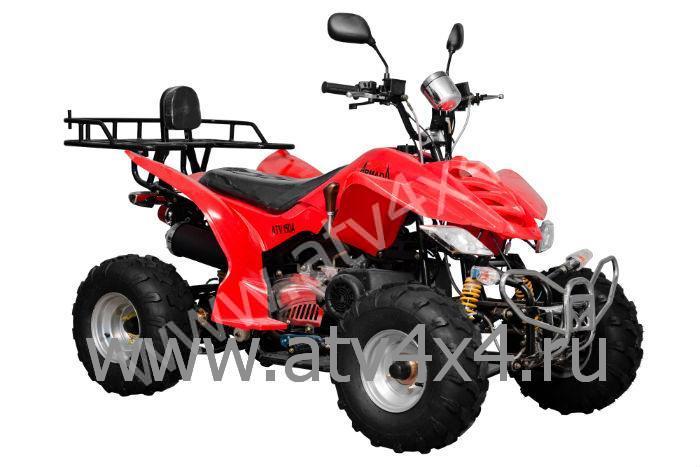 In the same article, we want to reveal to you the basics of safe riding. At first glance, there is nothing complicated in driving ATVs - you just need to steer and enjoy riding.
When driving over bumps, for example, those of the "wave" type, the driver must change his position all the time. So, when approaching an obstacle, you must shift your body back, otherwise you can hit the obstacle with your wheels. When driving over a bump, you need to move the body back forward, thus preventing excessive separation of the front wheels, i.e. rearing up the ATV. Then, when the rear wheels come off the ground, you need to move back again, otherwise you can fall out of the saddle, hitting your knees on the steering wheel.
Moving in a straight line at low speeds (up to 40 km/h), you can afford to relax. But at higher speeds or when passing sharp turns and slopes, the driver must move very actively. Indeed, due to the high center of gravity, short wheelbase and small width, ATVs are very prone to rollovers. In addition, if the motorcycle flies separately from the motorcyclist during falls, then the ATV most often covers the driver. Therefore, in order for ATV riding not to end with serious injuries, it is necessary to study the driving rules and strictly follow them.
ATV rider's weight is an important factor that affects machine handling. By shifting their weight, the driver can unload or load the front or rear of the ATV, thus compensating for centrifugal forces.
The first rule you need to learn is that when riding an ATV, you need to relax your arms. When driving, the driver can always let go of his hands, because his legs are holding him in the saddle. As the speed increases, the load on the legs also increases.
Conventionally, three racks are distinguished. The middle stance is used when driving in a straight line without turning. When opening the gas, the body must be moved forward to unload the hands. Thus, the front strut is obtained. When braking and closing the gas, the body, on the contrary, must be moved back, i.e. take a back seat. By the way, the word "stand" comes from the word "stand", and this name is not accidental. When actively riding an ATV, you do not have to sit. Standing on an ATV lowers your center of gravity. After all, there is a huge difference between the weight on a high saddle and the weight on the footrests. And the effect of shifting the body in a standing position is much greater than fidgeting back and forth on the saddle.
When going through a turn on a motorcycle, it is tilted inward, thus struggling with centrifugal force. But you can't do that with a quad bike. Therefore, it is necessary to use the weight of the driver. The main rule here is to always transfer the weight inside the turn. Moreover, it is necessary not only to tilt your shoulders. It is necessary to hang the entire body, including the fifth point. Only the shin and knee hold on to the saddle. Of course, if you turn at minimum speed, then you can limit yourself to turning the steering wheel.
The correct stance is characterized by slightly bent knees, elbows set apart, and a slightly arched and relaxed back. Why not stand on straight legs or keep your back straight and tense? Because bent knees allow you to absorb shock coming from uneven terrain. By the way, the force of these blows is sometimes quite enough to knock the driver out of the saddle. A straight tense back under such conditions can lead to injury to the intervertebral discs and even a compression fracture of the spine. Yes, and the internal organs with the wrong fit will have a hard time.
Active ATV riding requires good physical shape. So, in quad schools, the duration of the lesson does not exceed an hour, and at the end of the lesson, students can literally be squeezed out. And riding an ATV off-road is also an activity worthy of training in the gym.
When riding non-sport ATVs, it is best to avoid jumping. Firstly, this way you can break the ATV. Secondly, in order to safely perform such tricks, the ATV motor must have high-torque and fast response to the throttle. If, nevertheless, the jump could not be avoided, then it is necessary to land in the middle stance, but be ready to move to the back. When the wheels touch the ground, you need to slightly open the gas. It is better not to use four-wheel drive when jumping.
Every time you ride an ATV, you need to practice looking into the distance. This is necessary to develop the habit of evaluating the trajectory of movement in advance. Beginners often do not have time to track the road, and at some point they are not ready to perform adequate actions. And another, very predictable obstacle, can become a problem for them.
| When moving along a slope, it is necessary to move the body in the direction opposite to the slope. On the steepest sections, full overhang should be used, such as when cornering at speed.
|
Before you start climbing, you need to pick up speed. Then the resulting inertia will allow you to smoothly drive into the steepness. If you suddenly open the gas directly on the rise, the ATV may tip over. Climbing should be in the most forward stance and on medium gas. If the incline is too steep, the ATV may roll backward when the throttle is released. In this case, you should not brake with the front axle, not the rear. If the ATV starts to roll over, you can try to jump to the side, but this acrobatic stunt is unlikely to be successful.
If the driver moves his torso out of the turn, then his centrifugal forces will pull him to the outer radius, and in order to stay in the saddle, he will need to firmly grip the steering wheel. At the same time, the ATV will definitely try to roll over. To avoid such an unpleasant situation, it is always necessary to remember a simple rule - to shift the body only in the direction of rotation. Those. if we turn to the left, then we shift the body to the left side, and vice versa.
Descents must be made in the C-pillar. In this case, the arms must be extended and slightly bent at the elbows. There is no emphasis on the hands, you can even let them go, holding on with your feet. The steeper the descent, the more the driver must move the body back. The lower photos show the consequences of a descent in an incorrect landing. The main mistakes - the driver shifted the weight forward and pressed his hands to the body.

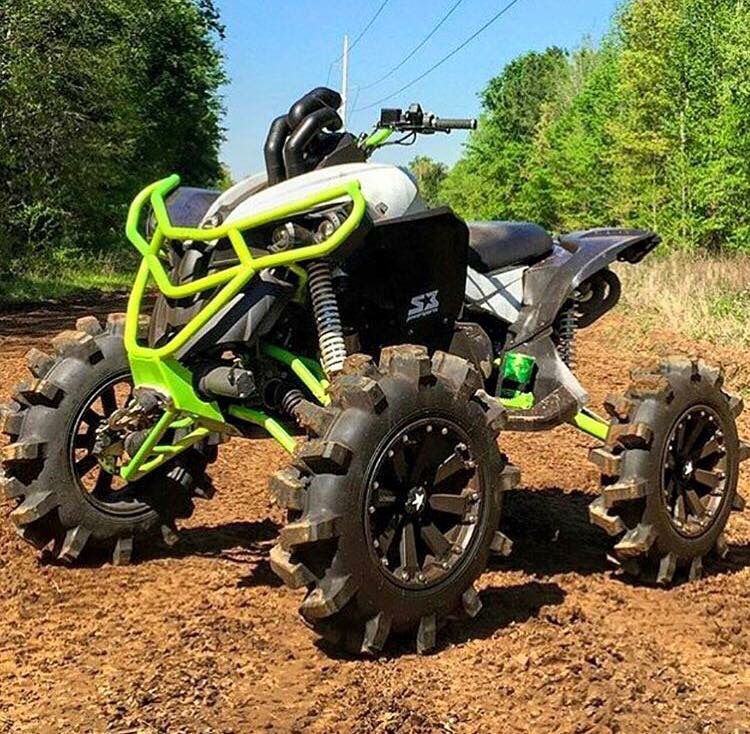
ATVs (all-terrain vehicles) are compact and versatile vehicles. They are used for extreme recreation and sports competitions. They can effortlessly ride off-road and rough terrain. Wide wheels and a powerful engine make it easy to overcome dirt roads, potholes, ravines and slopes. Many summer residents, hunters and fishermen prefer to travel on ATVs. They can carry goods. In winter, they replace snowmobiles. A trip on such motor vehicles brings a lot of pleasant emotions. However, quad biking is an extreme form of transportation. And it is better to do it with professional instructors of the QuadRider club. Unlike motorcycles and other vehicles, they have a short wheelbase, narrow width and high center of gravity. Improper driving often leads to rollovers. Important to know how to drive an ATV correctly to avoid dangerous accidents. Appropriate training and compliance with driving rules is a guarantee of safety not only for drivers, but also for pedestrians.
Before driving an ATV, you must do the following:
Operating a vehicle without a license and skills is fraught with serious injuries and large fines.
Strictly prohibited:

The rider's weight has a big impact on the handling of the ATV. Centrifugal forces are compensated by transferring body weight to the rear or front of the vehicle. Quads are a powerful technique, prone to tipping over and slipping. Wrong driving can cost lives. In this regard, it is necessary not only to know0126 how to ride a quad bike , but also to learn the basic rack.
When riding an ATV standing up, it is easier to avoid tipping over. There are 3 main stances common among ATVs. Each of them is used in certain situations.
 Tilt the body forward as much as possible and bend the knees slightly.
 A dangerous stance option is a tense back and straight legs. In this position, the body cannot absorb shocks and shocks. The spine and joints are subjected to enormous loads. In this situation, control over transport worsens.
The main ATV controls are located on the steering wheel. On the right handle are: throttle trigger, differential lock switch (2WD / 4WD / LOCK) and fuse. On all-wheel drive, cargo transportation, off-road driving and slippery roads are usually carried out. The differential lock ensures the synchronous rotation of the wheels. On the left side of the steering wheel is the ignition switch, engine start button, headlight switch and horn button.
Sit in a correct and comfortable position on the ATV. Place your feet on the footrests and place your hands on the handlebars. Insert the key into the ignition switch and turn it to the "ON" mark. Then depress the brake pedal and the electric starter button. Hold the starter button for 5 seconds until the engine starts.
When the motor starts, let it run for 1 minute. In the cold season, warm it up for about 5 minutes. Before you start driving, make sure that there are no obstacles in the way (other vehicles and pedestrians). To move off, shift the gearbox to overdrive H. Release the brake pedal and gently press the gas trigger with your right thumb until you reach the desired speed.
Slow down on curves and turns. Turn as far as possible. Entering the turn, lean your whole body and lower body into the turn. If you turn right, shift your body weight to the right. If you turn left, lean your whole body to the left side. In this way, you will avoid falling and overturning the ATV.
Correct gear shifting and ATV should be carried out after it has come to a complete stop. Release the throttle lever and press the brake pedal. Move the gearshift lever to the desired position. The selected gear indicator should light up on the instrument panel. The gear lever must be in the "H" (normal high gear) or "L" (extreme low gear) position. The "R" mode is used for reverse.
Pick up speed before entering the hillock. Drive only in a straight line. Move your body forward. Maintain a smooth speed after opening the throttle. Don't lose your vigilance. Try not to drive on hills, the angle of which exceeds 25 °. Climbing a hillock or a steep slope, do not step on the gas abruptly. Drive at medium engine speeds. If the ATV begins to roll backwards while climbing a hill, get up and apply the front brake. In this case, it is not necessary to use the engine power and the rear brake. If the quad has stopped, apply the rear brake and move the gear lever to park. Put the handcuff on the transport, turn around manually and try to repeat the ascent to the hillock again. To descend, take a back stance and bend your elbows slightly. Shift into low gear. To avoid tipping over, apply both front and rear brakes at the same time. Do it smoothly. Do not press the gas trigger when descending. Do not change the set trajectory of movement.
You need to drive down the slope in low gear, moving the body towards the top of the hill.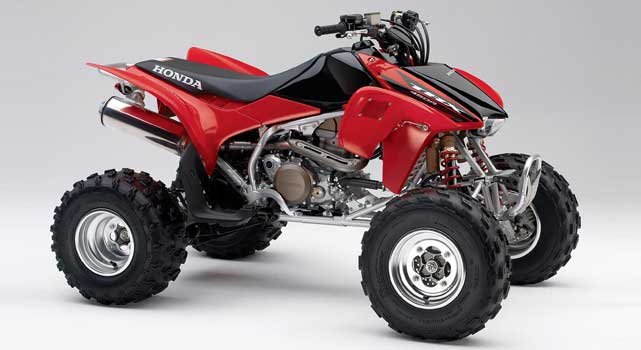 Hang your body completely on the steepest slopes. On the slopes, you can not brake sharply and pick up speed sharply. If the slope is slippery and steep, try to take a different path.
Start braking well in advance before coming to a complete stop. To slow down, release the throttle. ATVs stop quickly. But in an emergency, press the foot pedal or brake lever. Stop on a level, level surface. After stopping, shift into neutral. This will help to avoid unforeseen situations when disembarking from the vehicle.
After learning how to ride the ATV, learn how to drive on flat terrain without obstacles and other moving vehicles. Make sure the brakes are working at low speed when starting, turning and stopping. At first, try to avoid jumps and high speeds. Also, avoid jumping when riding a sports ATV. With a sufficiently high power, quadrics cannot accelerate much.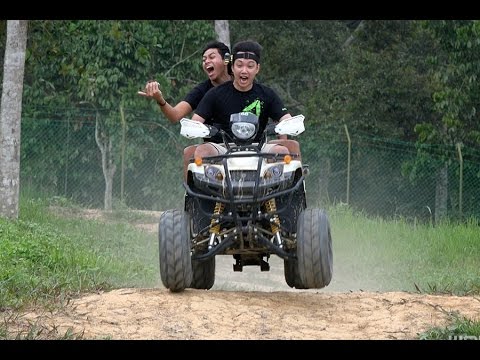

 The needle jet is seldom changed in everyday tuning, but it's still worth mentioning the fact that it's there. The needle itself is a basically a tapered rod connected to the throttle slide. As the slide opens the needle is pulled upwards. The needle is tapered so that as it's pulled up, it takes up less space in the needle jet. This allows the fuel flow to be gradually increased as the throttle is opened. The needle has a clip that allows it to be lowered or raised in relation to the carb slide, which gives an overall richer or leaner setting. Raising the clip up a notch drops the needle down farther, causing a leaner mixture. Lowering the clip raises the needle up, causing a richer mixture. You can also get different diameters, and tapers of needles. If the clip is lowered all the way, and the mixture is still lean, you need the next size smaller needle. If the clip is raised all the way, and the mixture is still rich, you need the next size larger needle.
 The pilot jet is similar
in design to the main jet, basically a small screw with a
calibrated hole in it. As with main jets they are identified
by number, a larger number pilot jet is richer, and a smaller
number pilot jet is leaner. The pilot screw on an ATV regulates
fuel flow.. Turning the screw in makes the mixture leaner,
and turning it out makes it richer. If the pilot screw winds
up being turned almost all the way in, you need the next size
smaller pilot jet. If the pilot screw is more than about 2
1/2 turns out, you need the next size larger pilot jet. Basically
the pilot screw is an adjustemnt that allows you to fine tune
the pilot circuit.
The pilot jet is similar
in design to the main jet, basically a small screw with a
calibrated hole in it. As with main jets they are identified
by number, a larger number pilot jet is richer, and a smaller
number pilot jet is leaner. The pilot screw on an ATV regulates
fuel flow.. Turning the screw in makes the mixture leaner,
and turning it out makes it richer. If the pilot screw winds
up being turned almost all the way in, you need the next size
smaller pilot jet. If the pilot screw is more than about 2
1/2 turns out, you need the next size larger pilot jet. Basically
the pilot screw is an adjustemnt that allows you to fine tune
the pilot circuit.
 From this weight is not shifted at all.