People who don’t run will see this picture of me with a tire drag and wonder what the hell I’m doing. But if you’re a runner, I bet you recognize this contraption and have wondered how to set one up for yourself.
Good thinking. I’ve used this training method for years, including 1.5-hour road drags in preparation for my run across America. Using a tire drag is the best form of sport-specific cross-training a runner can do. When you pull a tire, you change the points of resistance and load on your body, and you train your muscles in a way that’s slightly different from your regular running gait.
The key is the light to medium resistance on your mid-section that you get from pulling the tire, something like a husky hauls a sled.
By doing this, you get core and strength training while you run, along with the bonus of entraining your mind with your body as you put one foot in front of the other. In other words, your body and mind work constantly to make micro changes in your gait, working together to keep you upright and moving forward in an unbalanced situation.
Ready to go? Gather up these parts and get started …
Old tire. Any brand, 13-, 14-, or 15-inch rim diameter. The bigger you are, the bigger the tire. Source: any junk yard.
Leather weight belt. Choose one that’s wide, 3 to 4 inches on the back, with some padding. Make sure it’s a comfortable fit for you. Source: sporting goods store.
Nylon cord or rope. The cord should be 1/4 to 3/8 inches in diameter. You’ll need two pieces, one about 12 inches long, and another one about 8 feet long. Source: hardware store.
Stiff bungee cord. This should be hard to expand and 48 inches long, with carabiners on each end. Source: hardware store.
Phillips screwdriver or drill. You need something capable of getting through the weight belt padding and the tire. source: hardware store.
1. Punch a hole through the weight belt in the back, through the padding on the top and bottom, and thread the cord behind the padding. Loop it around the back of the belt and tie securely, leaving an inch slack or gap between the back of the belt and the cord.
2. Attach the bungee cord to the rope on the weight belt using the carabiner.
3. Attach another piece of nylon cord or rope to the other end of the bungee cord by making a loop in the cord and attaching it to the carabiner.
4. Drill a hole in the center of the tire that’s just big enough for the cord to be punched through with a Phillips screwdriver or something similar.
5. Thread the cord through a quarter-inch washer and then tie a double or triple knot (one on top of the other), big enough so it won’t pull back through the hole in the tire.
That’s it! Now you’re ready to pull!
A gravel road usually provides the least resistance, a concrete bike path more resistance, and somewhat rough asphalt provides the most resistance. You can use any of these surfaces for your training, depending on how hard you want your workout to be. (Trails aren’t appropriate for pulling a tire.)
On the flat, you can pull the tire to increase the benefit of Fartlek or interval training.
On hills, pull hard going up to develop your glutes and calves, and run at a brisk pace going down to develop your quads or take an easier pace on the downhill for recovery.
Choose the appropriate location (surface, grade) depending on the goals of your workout.
Secure the weight belt in a comfortable position and place the tire behind you.
Pull from your midsection in a purposeful manner. Envision a string drawing you forward from your navel.
Stay upright and with your shoulders back to open the chest and airways, and keep your chin up and your eyes looking forward down the road.
Pump with your arms bent at a 90-degree angle.
Lift your legs high. Use a shorter stride for form, or a longer stride for power.
Start training by pulling the tire one-half mile.
Increase distance by 1/4 to 1/2 mile in one to two-week increments until the pulling distance is 3 to 6 miles, or about 45 minutes to 1.5 hours if you’re training for a marathon or working to get in optimum shape.
You can run longer distances/times pulling the tire if you’re training for races longer than a marathon.
Sure, it’s a “drag” … but you can have fun with it. Enjoy!
The tire and drag harness is probably the cheapest and most effective training tool in our arsenal. Its simple design and execution allows athletes of all levels to train 3 distinct types of fitness and is a great substitution exercise for injured athletes.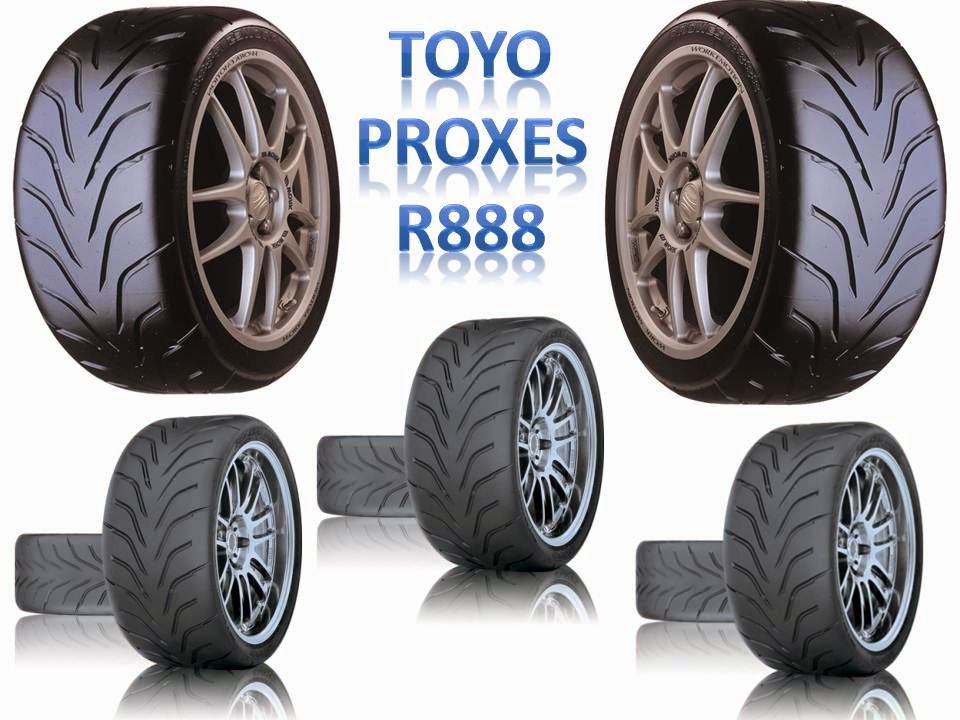
Unlike barbells which are expensive and require more technical instruction and practice, an old tire and a $25 dollar trip to Home Depot can have even the least experienced athlete sweating hard with about 20 minutes of work with no technical instruction.
Besides being able to train strength, anaerobic capacity and aerobic capacity, the tire is a great tool for athletes that struggle with running. Athletes that carry an excessive amount of mass can really do a number on their lower body joints when doing long slow runs. The great thing about the tire is there is little to no impact, but it keeps the heart rate high. My heart rate ranges from 140-150bpm during a moderately paced drag. So if you’re a heavy hitter that avoids running because it hurts, now you have no excuse.
For athletes going to the mountains, this is a great way to train the legs concentrically for extended periods of time to mimic a long ascent. Add in some jumping lunges and jump squats after and you’re getting the eccentric portion of a descent. I’m currently working through a 5-week program that revolves around this training tool in preparation for a month long elk hunt and it’s no joke. The first long drag was such a humbling experience that we actually now use a 2000 meter drag as punishment in our gym. Needless to say it usually only takes once to get the message across.

Below are 3 different training sessions with just the tire and bodyweight. Each one trains a different fitness attribute – Stamina, Strength and Work Capacity. For unfamiliar exercises check out our Exercise Library on Atomic Athlete.
Stamina Session
1) 1000m Tire Drag
2) 2 Rounds
 5lbs
5lbsComments: The pace of this is meant to be a slow walk, very similar to walking uphill under load. The dragging surface is very influential in how fast you are able to drag – look for a smooth, gravel free surface. The Tire drag alone should take 20 minutes per 1000 meters, more fit athletes can take this up to 2000 meters if they choose. The second part of the session is durability designed to increase shoulder and hip stabilizer strength. If you are a soldier or a hunter we suggest carrying a sledge hammer to mimic carrying a rifle.
Strength Session
Warmup:
1) 6 Rounds
2) 6 Rounds
3) 6 Rounds
Comments: The drag during part one should be slow and heavy. Find what ever you can to increase the load. Small children work fine if you are a family man. Part 2 is bodyweight upper body strength. If you don’t have a dip bar folding chairs work fine. Part 3 will make you breath heavy by design. You should feel fairly rested each round so take an additional 30-45 seconds rest if needed. Tire thrusters are just like barbell thrusters except the head will go in the tire in the bottom of the squat.
Work Capacity Session
1) 8 Rounds
Rest 3-5 Minutes
2) 5 Rounds for time
Rest 3-5 Minutes
3) 3 Rounds
4) 3 Rounds
Comments: Two hard efforts back to back followed by some core and durability. Part 1 utilizes the tire in an interval format and Part 2 is a rounds for time format with all bodyweight exercises. On the tire sprints rounds 1 and 2 can be done at moderate pace to warmup but each subsequent round needs to be max effort. These intervals should leave you gasping for air. If you see a large decrease in output go ahead and adjust the rest to 45 seconds, if you are still suffering then take it to a full minute. For part 2 I recommend starting out a little slower as well to get a feel for the pace then cranking up the intensity as you work through. The standard for this is sub 10 minutes. The core circuit is meant to be done with all the exercises back to back – it’ll take 2 minutes exactly. Take a short rest then hit it again. Finish off with some durability.
Editor-in-Chief’s Note: Jake Saenz is a former Special Operations soldier that lives and coaches in Austin, Texas. His gym, Atomic Athlete, is a performance based strength and conditioning company that focuses on making athletes stronger, faster and harder to kill. Their training focuses on outside performance and uses well thought out programming and periodization to get athletes of all types to elite levels of fitness. As a partner gym of Military Athlete, Jake has the opportunity to travel across the nation assisting Rob Shaul in preparing soldiers for combat deployments and missions.
The list of troubles that await drivers on the road is confidently headed by a punctured tire. And in this situation, a dilemma becomes before the motorist, whether to do tire fitting with his own hands or contact a technical center where there is all the necessary tools and experienced craftsmen.
In the first case, the owner of the vehicle can save money. Yes, and the nearest service station can be located quite far away or accept customers only by appointment. However, in order to properly perform tire fitting yourself, you need to have certain skills and tools.
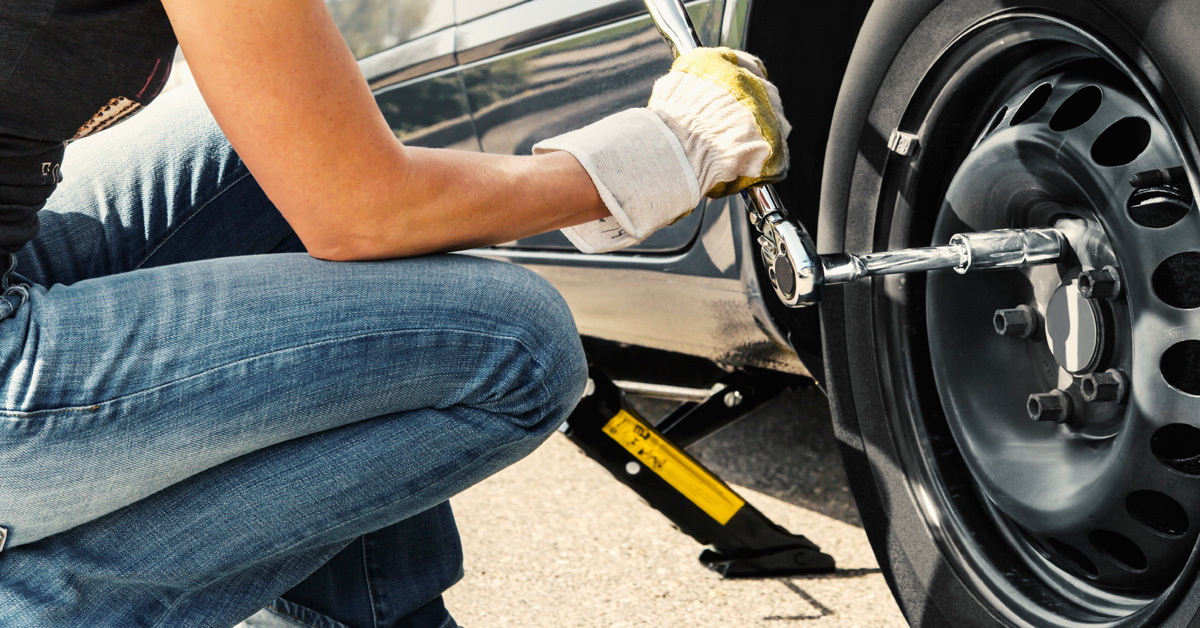
A punctured wheel does not cause serious problems if you have a spare. In the absence of such, special blades will help to solve the problem, allowing you to tear the tire from the disk. The procedure can be significantly simplified with a conventional tow rope and a car jack.
Punctured tire on the road?
Having prepared the specified tools, we perform the following steps in sequence.

The main difficulty of the work is that even the weight of a person is not enough to separate the tire from the disc. This is also affected by the decrease in rubber elasticity over time. Drivers sometimes use a car to run over a defective wheel when there is no other way to repair it.
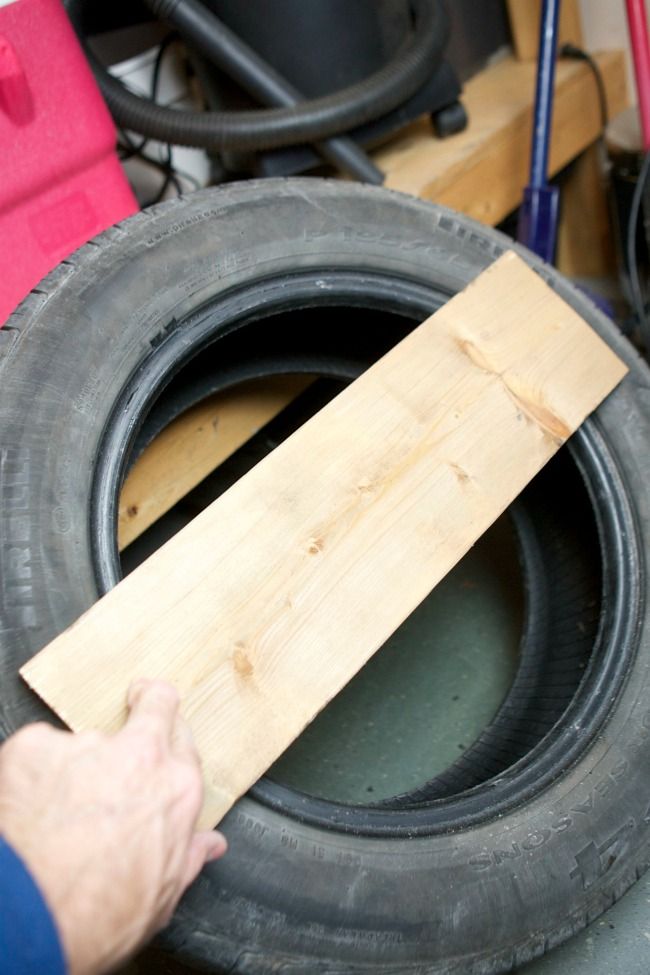
To distribute the load more evenly, you can use a piece of wide board with a length of at least 1 meter. This method is good because there are no shock loads, but often the rubber becomes unusable. This work is recommended to be carried out with an assistant in order to regulate the speed of arrival and the force generated.
A device for quickly beading wheels is called a machine. Diagrams and drawings of such mechanisms for tire fitting with your own hands are easy to find on the Internet. There you can also find a detailed description of the process of their manufacture in artisanal conditions. But is it worth the time?
Manual machine of our own production is an analogue of equipment used in car services. With such equality of functions, it has its advantages, among which, in addition to financial savings, one can note:
It should be mentioned that most of the tire changer drawings available online are for light vehicles. However, for owners of commercial vehicles on the Internet there are also recommendations, diagrams and video instructions for the manufacture of more powerful mechanisms.
How to make a machine with your own hands:
 And do not forget to wash the wheel before work.
The high forces and loads that will affect the structural elements of the tire changer require the use of durable and reliable materials. For the same reason, it is highly recommended to reinforce all connections with screw fasteners.
The most common way to break wheels is impact. It uses a metal corner, a sledgehammer or a large hammer. This method was used by tire mechanics and drivers when there were no special devices.
Attention! The corner must not have sharp edges, so as not to damage the rubber.
Assembling a manual car wheel beading machine according to the drawing. The whole process includes the following procedures.
 The distance between the jumpers of the frame must be at least 70 centimeters. You should also observe their parallel arrangement relative to each other. The fulfillment of these conditions will ensure the stability of the entire structure in any operating conditions.
  The lever itself is a separate unit consisting of a paw and a shoulder.
 It is obvious that without the use of a welding machine the mentioned works cannot be carried out. Also note that after assembling the mechanism, the entire structure should be primed and painted to protect against corrosion.
Often a punctured wheel or a slotted car tire, especially in villages remote from cities, makes the car owner want to make a self-made tire changer. There are weighty facts for such a decision
The machine can be made both mobile and stationary, the difference, in fact, is only in the presence of the wheels themselves.
That's actually all
Since it is rather difficult to explain in words and even more so to imagine, we will use folk wisdom, which says that it is better to see once than hear a hundred times
Therefore, I recommend that you watch a video of self-made tire fitting, and then the overall picture will form correctly in your head, and you will probably even come up with a different way of making a device of this type
If you succeeded, you can describe your work in the comments or even share a link in the photo of your homemade wheel breaking machine.
How to remove a tire:

When performing tire fitting work, the following tips should be observed:
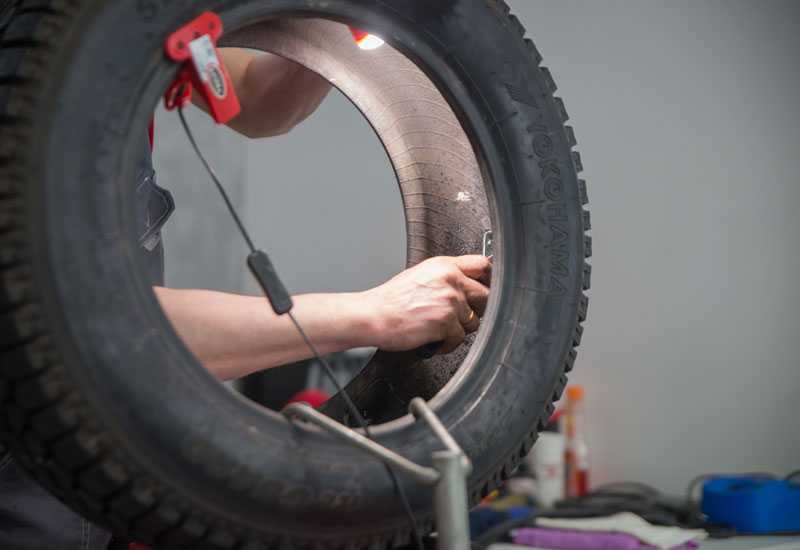
The change of seasons requires car owners to purchase two sets of tires. Off-season tires do not provide stability on an icy road and a comfortable ride in hot weather. The best solution is to purchase winter and summer tires. To save on service fees, you can use manual tire fitting when you need to change tires between seasons.
Insurance companies require timely replacement of tires. This ensures safety when moving in changing weather conditions. In the CASCO agreement, a separate clause states when to change tires to winter and vice versa. You can try to ensure high-quality tire fitting and comply with the requirements of the agreement on your own.
It is important for drivers to distinguish between warm and cold seasons in order to understand when to change tires for summer or prepare a vehicle for operation in winter. Experts advise relying on weather data, using self-made tire fitting under such temperature conditions:
In order to ensure safety while traveling, it is important to change the tires in time. I use a special tool and an understandable video about tire fitting with my own hands, you can try to cope with the work yourself.
Do-it-yourself tire fitting requires a special machine that will save you:
Having decided to make a tire changer with their own hands, a manual tire changer is assembled first. You can find suitable models in stores, but you can assemble them yourself using available materials.
To do tire fitting with your own hands, the drawings are studied, and then everything you need is purchased. You can collect different types of devices. It is recommended to pay attention to functional and convenient models, which consist of several nodes:

It is recommended to choose high-quality rolled metal for the construction. Elements must withstand increased loads. The design must remain intact, not pose a threat to the master. Having decided to do the tire fitting with your own hands, the drawings for the manual tire changer are used as in the picture below.
To perform tire fitting with your own hands, hand tools are assembled in stages:
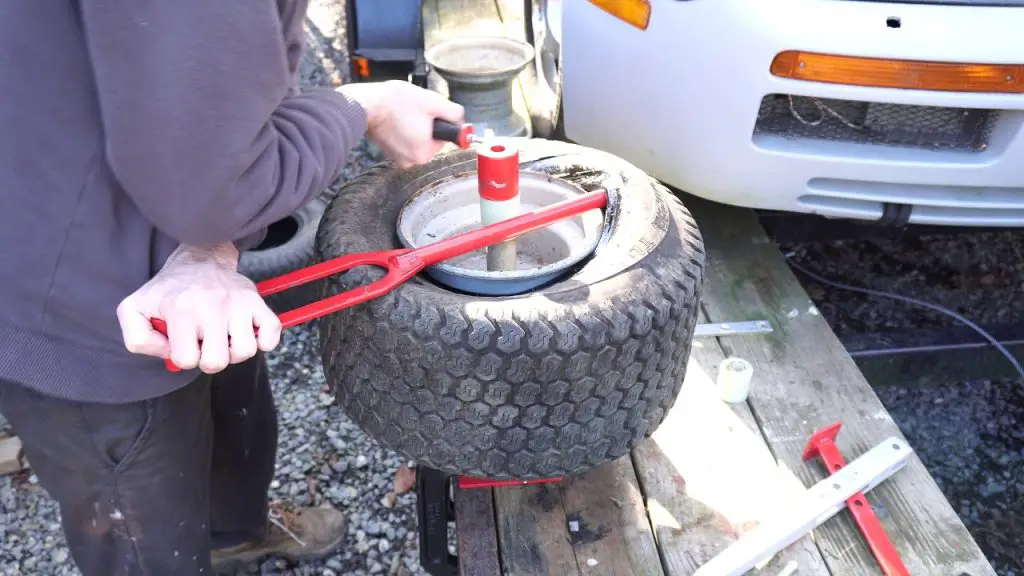
Last install the lever, which consists of a paw and a shoulder. The first element will be required to remove the tire. Having assembled the structure, you can understand how to do tire fitting with your own hands. To do this, use the video guide below, photos and explanations of the masters.
In the absence of a special machine, it is almost impossible to dismantle or install rubber yourself. After assembling the device, you can start changing tires, for which you should learn how to do tire fitting. The process is carried out in several stages:
 You can only work with a stationary product.
 Further work can be done with a simple pry bar of great length (elements with a welded handle) to completely rid the disc of rubber. To do this, it is necessary to insert the mount with a narrow part under the rubber in order to bring it out of the rim.
After installing it on a homemade machine, fix the wheels using a special clamp.
 After processing, the rubber becomes soft and pliable.
 It should be understood that the process of changing tires is quite laborious and complicated. It is necessary not only to assemble the machine with your own hands, but also to use it correctly, helping yourself with additional tools. It is not always possible to do such work, so you have to look for high-quality tire fitting.
When deciding how to choose a tire service, it is recommended to pay attention to several points:
