Your ATV is a beast of the outdoors, seldom spending much of its life inside. The plastic body of ATVs becomes faded from the sun’s rays, and thrashing around in dirt, mud, snow, and water doesn’t help. Plastics get scuffed by boots or passing debris, and cracks can appear in the body or windshield.
There are a few options for restoring your ATV’s faded plastic so it looks like a showroom model again. These options vary in cost and difficulty. In this guide, we’ll look at all the common ways to restore the luster of your ATV’s plastic body.
Image from www.can-amtalk.com
Linseed oil can restore faded plastic, but it takes ages to dry. You want boiled linseed oil, instead. Note—this doesn’t mean you boil the linseed oil yourself! It means that the linseed oil has been pre-treated to dry faster.
To speed things along, choose boiled linseed oil and mix it with paint thinner. We recommend a 40/60 ratio of linseed oil and paint thinner.
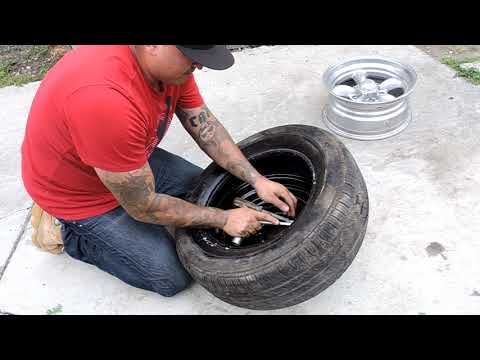
Start by cleaning your ATV thoroughly. For best results, you’ll want to remove the rack and any other parts of the machine that are covering the plastics.
Apply the mixture to your plastics using a dry cloth. You’ll notice the linseed oil will remove the oxidization that’s causing fading. After you’ve applied the mixture to all the plastic, allow it a full day to dry.
If you keep your ATV covered and don’t use it every day, this fix will last for a few months. If you constantly use your ATV outdoors, this treatment may be required to be performed again in 4-6 weeks.
Riding hard? Want to refresh your off-road look? Tune yourself from head to toe with a new top-of-the-line set of heavy-duty waders, wading boots and jacket.
You’ll need good access to your ATV’s plastics, so remove the skid plates and racks. If they are severely damaged in any way, you may want to replace them completely. To complement your better-looking new plastics, you may want to strip or sand your racks and paint them with a spray-on bedliner.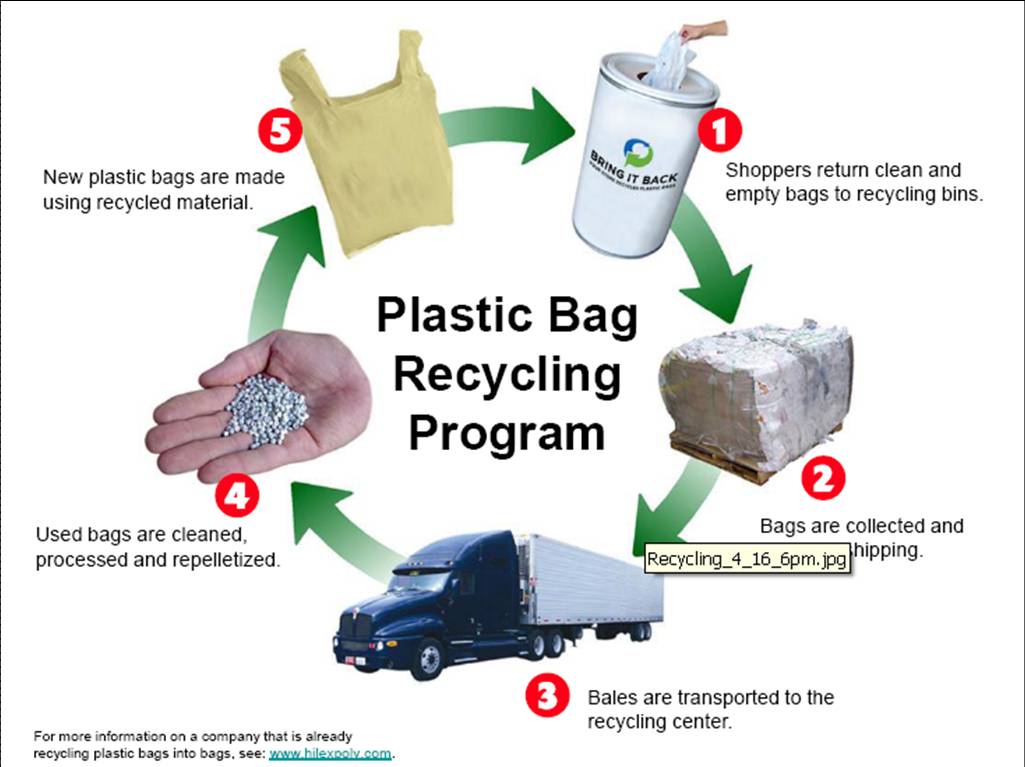
Next up, give the ATV a good clean overall. A mixture of dishwashing liquid and water will remove all the grease and oils from the surfaces.
Now it’s time to prepare the plastic for waxing. This means sanding the plastic with fine sandpaper, working your way up from the lowest number of sandpaper up to the highest. You can use an oscillating tool to speed up the process. Make sure you’re wearing safe gloves, and finish up by sanding with steel wool.
Apply a vinyl floor liquid wax to the plastic using a car wax applicator. Using thin coats, you can work on one section of the plastic while another section dries. You will need to apply several coats, buffing out the plastic after each application.
After the final coat is complete and bone dry, finish up with an automotive wax for an extra layer of sheen.
This process is more involved than the linseed oil and paint thinner fix, but it typically has a longer-lasting result.
Image from www. atvhonda.com
Instead of a linseed oil and paint thinner mixture or vinyl liquid wax, you can use a dedicated plastic restorer product. While most of these products work very well, they are basically just variations of our above options with slightly different chemical compositions.
Image from Lea Arnold YouTube channel
Using a heat gun does work to make plastics look new, but it has downsides.
To perform the procedure, you use a heat gun set to a low setting and blow it from a few inches above the problem plastic. Voila—the plastic looks as good as new.
But it’s not really an option that we recommend. It works by melting the top layer of the plastic, which in turn makes the plastic more brittle. Every time you perform a heat gun restoration, your plastics lose some strength.
Where we would suggest using a heat gun is to work out small cracks in the plastic. Severe cracks necessitate replacement, though.
These are the top ways to restore your ATV plastic. Another option is to cover your faded plastic with a new lick of paint from a spray paint that’s specifically suitable for plastic. Whatever option you choose, with just a little bit of elbow grease you can have your ATV back in showroom condition.
HIT
ENDURO Graphite
the most durable
657 EUR
AQUAMASTER Blue
reliability & comfort
647 EUR
AQUAMASTER Red
reliability & comfort
677 EUR
ENDURO BF Camogrey
bootfoot waders
528 EUR
-3%
WADEMAN Petrol
Lightweight
427 EUR
412.10 EUR
HIT
RACHEL Petrol
for women
577 EUR
HIT
RACHEL Graphite
for women
577 EUR
SPEEDMASTER-ZIP Graphite
with central zipper
857 EUR
-8%
HIT
AQUAMASTER RED
reliability & comfort
637 EUR
585. 20 EUR
Explore all
Since ATVs invest the majority of their time outdoors, their plastic body ends up being discolored from the sunlight's rays, as well as surging around in dirt, mud, snow, and also water does not help. Plastics get messed up by boots or passing particles, and also splits can appear in the body or windshield.
There are a few choices for restoring your ATV's faded plastic so it appears like a showroom model once more. These alternatives differ in price as well as problem.
In this guide, we clarify exactly how to make your ATV resemble new. We provide you with some suggestions on exactly how to restore ATV plastic.
Table of Contents
Now that you understand what creates your ATV plastic to fade allow's take a look at the various ways you can recover your vehicle to its previous glory.
When it concerns restoring your ATV, there are many methods that can be made use of to take on discolored plastic, with everyone delivering different outcomes. So to help you at the same time, we have actually detailed the various techniques down below.
Before you restore your ATV plastic, you should keep your ATV clear. Wash the ATV completely using Dawn dishwashing fluid. Dawn helps get rid of oils and grease from the surface area. And afterward, completely dry the maker totally. If there are scratches, you will also require to sand its plastic surface.
Linseed oil can recover discolored plastic, however, it takes ages to dry. You need boiled linseed oil, rather. Note-- this does not imply you steam the linseed oil on your own! It implies that the linseed oil has actually been pre-treated to completely dry faster.
To speed up points along, choose boiled linseed oil and mix it with paint thinner. We advise a 40/60 proportion of linseed oil as well as paint thinner.
Begin by cleaning your ATV extensively. For best results, you'll intend to eliminate the rack as well as any other parts of the device that are covering the plastics.
Apply the mix to your plastics using a completely dry cloth. You'll discover the linseed oil will remove the oxidization that's causing fading. After you have actually used the blend to all the plastic, allow it a full day to dry.
If you maintain your ATV covered and do not use it on a daily basis, this restore will certainly last for a couple of months. If you continuously use your ATV outdoors, this treatment might be called for to be done again in 4-6 weeks.
The following video shows you how to restore ATV plastic with boiled linseed oil.
There are plenty of products in stores that declare to recover plastic. One of the most preferred is Solution Finish and CAR GUYS Plastic Restorer.
A look through customer testimonials shows that they work. How much time the remediation lasts differs from item to item, and just how well you protect your ATV. Yet most appear to last for a number of months.
When using a certain restorer, inspect the instructions of the application on the label. Also, the majority of these items are likewise helpful for plastic. If your ATV seat has a plastic cover, you can make use of these restorers to reverse fading.
First, you should remove the skid plates and racks. If they are drastically damaged whatsoever, you might intend to replace them totally. To enhance your better-looking new plastics, you may intend to strip or sand your racks and repaint them with a spray-on bed liner.
Next up, offer the ATV a good clean overall. Now, it's time to prepare the plastic for waxing. This means fining sand the plastic with fine sandpaper, working your way up from the lowest amount of sandpaper to the highest. You can also use an oscillating device to quicken the process. Make certain you're wearing risk-free gloves, and finish up by fining sand with steel wool.
Use a vinyl flooring liquid wax to the plastic using a car and truck wax applicator. Using thin layers, you can service one area of the plastic while one more section dries. You will need to apply a number of coats, and polish the plastic after each application.
After the last layer is full and also bone dry, end up with an automotive wax for an added layer of luster.
This process is more complex than linseed oil and paints thinner restoration, but it usually has longer-lasting results.
This is the debatable one that we don't advise. It works such as this: you set the heat gun to the lowest setting and blow it a few inches away from the plastic, moving slowly over the discolored areas.
This approach generates instant outcomes. The faded plastic instantly appears new and also glossy.
While it functions, how it works is the issue. The heat partially thaws the top layer of the plastic, making it show up new.
Comparable to various other plastic restore methods, the heat gun method does not last forever. Oxidation as well as fading will certainly return after a number of weeks or months. So you need to duplicate the treatment.
The trouble is that every time you use a heat gun, the plastic gets more brittle as well as more probable to crack as you set about your riding.
So we do not suggest making use of a heat gun. Use linseed oil or a plastic restorer. If you want long-term remediation, see the last method below. You can watch the following video to learn how to restore ATV plastic with the heat gun.
 Paint
PaintFor the last approach, we are going to go over; we have selected an option that is arguably one of the most efficient when it comes to restoring ATV plastic. If you see that your ATV has actually begun to discolor, you can constantly battle the issue by repainting it.
You can do this by using spray paints ideal for ATV plastic, although you will need to apply a primer coat and a safety top layer for the best outcomes.
Like the majority of recovering approaches, paint is not permanent as well as will certainly start to fade with time. Nevertheless, it can last much longer than various other repair choices and can be quickly reapplied whenever the plastic begins to discolor.
If you want to learn more about paint, you can click here to get a guide for painting your ATV step-by-step.
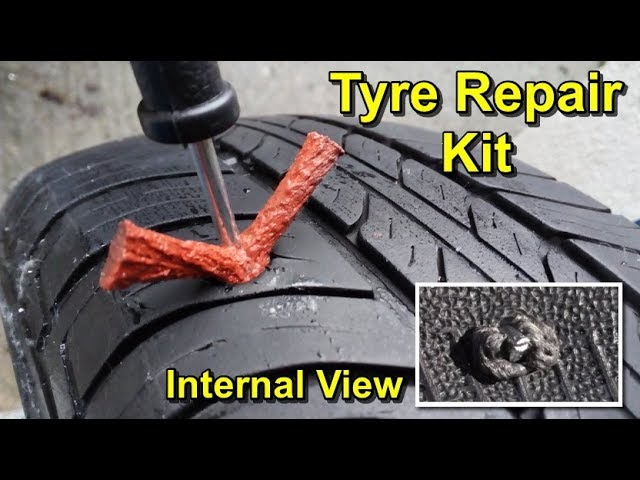
Broken plastic is a little bit a lot more challenging to fix. If a piece of the plastic has come off, not simply a basic fracture, you may be much better off changing the whole plastic part.
However, if it's just a crack, there's hope. We discovered numerous feasible means to repair broken ATV plastic. Nonetheless, most of them, such as using epoxy or superglue do not work well. As quickly as you go out with the ATV once again, the sealed cracks are then loosened
The solution that appears to work ideal is melting the plastic. You can use a plastic welder, heat gun, soldering iron, or some other source of heat to melt the plastic along the crack. You'll require to apply stress on both sides of the plastic up until the melted plastic remedies and holds.
For larger fractures, you may need to thaw an exterior plastic to fill the fracture. You can also get plastic welding rods or reinforcement plastic mesh.
When it comes to the windshield, because it is likely acrylic, an acrylic solvent concrete or an acrylic adhesive is the best option.
Adhere to the directions on the label. Keep in mind to clean the windshield before using any item.
Plastic burs very easy as well as wet fining sand will prevent that. With the 180 grit just sand the actually bad areas as well as get the deep scratches, nothing even more. After they have gone away, Use 220 on the overall vehicle. Sand up until the shade is also all over and the scratches are gone.
Brightening with Toothpaste or Sodium Bicarbonate Toothpaste and baking soda are both light abrasives that you can make use of to brighten plastic. For deeply etched or blemished plastic, capture non-gel toothpaste straight onto the surface and also buff it in a circular movement with a microfiber or cotton cloth.
WD-40 Multi-use product is excellent for most plastic surfaces that have actually had a great deal of exterior direct exposure, so it's great for garden furniture. It is very important to note that Polycarbonate and clear polystyrene plastics are among the very few surfaces where WD-40 multi-purpose products can be avoided.
The very best method I have actually located for removing light scrapes is to choose some 1500 Grit Wet Sandpaper. Just utilize the sandpaper over the locations with scrapes and also enthusiast it out when you're done. You can end up with a coat of the plastic restorer I discussed above to make it look new.
To restore the shine, apply a small amount of plastic or metal polish just enough to cover the dull areas, then apply it in a circular motion with a clean, dry cloth. You may need to repeat the process a few times, but eventually, the plastic will shine like new again.
The Most Comprehensive Motorcycle Camping Gear Checklist (Ultimate guide for you)
Rodney L Herron
Rodney L is a technical writer and product consultant with over a decade of experience in the motor industry. Rodney is a fan of performance machines that run fast and loud and an expert in all things custom. His numerous articles and write-ups are available at our knowledge base. Whether it’s something wrong with your motorcycle or you are building a custom bike, you can trust Rodney’s experience.
Back Next
Tags:
How to make a homemade ATV with your own hands - drawings and videos.
It is not uncommon to find an old motorcycle in a garage or somewhere in the country. In such cases, the thought appears, and not to make an ATV out of it? By and large, any engine is suitable for a quadric, but I must say that an overly powerful car engine will make a car of very large dimensions, and it will be inconvenient to drive.
We won't bother too much, a good old Soviet Ural motorcycle will be enough. A homemade motorcycle-based ATV is a great solution. If you have a different model, it's okay, do what you have.
The first problem. which will get in our way is the cooling of the motor. Since we have it with air cooling, in the summer there will be a problem with overheating, in order to prevent this, you need to make forced airflow. The question is how to make airflow on a Soviet motorcycle. Since the cylinders will be found behind the wings, this is not so easy to implement. Moving the seat closer to the steering wheel is not an option, in which case the legs will be very close to the boilers. It may not affect it in any way in winter, but in summer you can easily get burned. Also, it can cause overheating. It's good that the boxers have really amazing traction and the potential to easily perform a sure and undemanding driveline. This option attracted our attention, especially knowing that liquid cooling is possible in mass production. There are a lot of articles on its installation on the Internet. Do-it-yourself videos on the topic of ATVs can also help you in the manufacture of a four-wheeler based on the Urals.
As for the frame. there's not much to experiment with. The obvious choice fell on strong round steel pipes and a metal profile. Usually the best solution is to build an additional frame around the motorcycle frame itself. But I must say, this does not always lead to an ideal solution to problems. Here already it is necessary to look at each individually.
Gradually we come to the suspension and transmission. The ideal solution for the rear suspension, without question, will be a dependent suspension with the exception of the differential.
You absolutely do not need it, and since you are building an ATV, it will not be very useful either. It is not worth changing anything if your motor drive is chain standard. We do it. In this case, the implementation process is simplified, the subordinate number is quickly selected, and the power loss is much less, since the weight is less.
Not everything is as smooth as it seems, because the chain needs an eye and an eye. If the chain breaks, it will be necessary to re-adjust the length of the new one, since it is extremely difficult to find an analogue.
Of course, it would not be bad to install independent suspension back. But since we make an ATV with our own hands, this option is no longer possible due to the complexity of the implementation.
The front suspension is usually made by yourself, ATV drawings will help you with this. We advise you to do it on the basis of the Oka car. If you got down to business even more seriously and decided to make an all-wheel drive model, then front-wheel drive VAZs will help you.
We picked up an interesting video about a self-made all-terrain vehicle
If we somehow helped you in creating a four-wheeled homemade iron horse, then this is a big plus for us. But remember that when creating homemade ATVs according to the drawings, you will need at least a little experience as a welder, mechanic and electrician. So we advise you to buy ATVs in Yekaterinburg.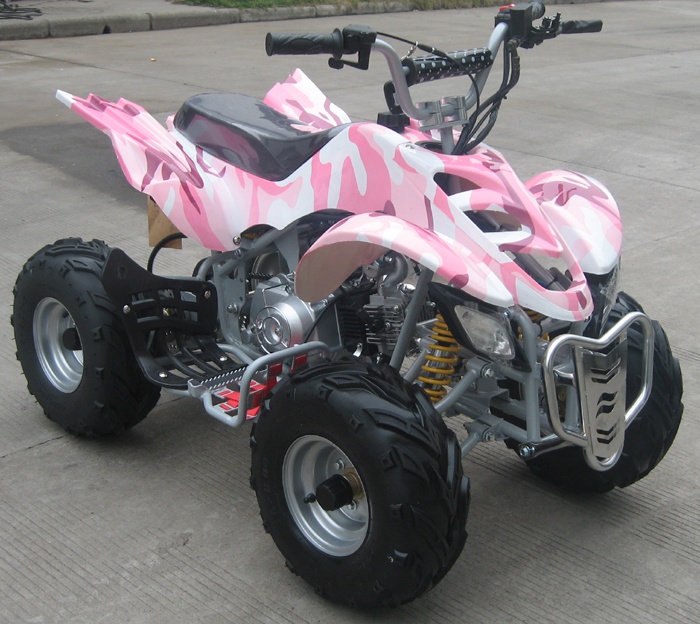
And if you have made a four-wheel drive motorcycle with your own hands, you can consider that you have accomplished a feat in general. Indeed, in this case, you have to manually produce a large number of parts. Only a turner with extensive experience is capable of this. And if you buy all these parts in a store, then, in my opinion, it’s easier to buy a used ATV and not suffer.
:
| Image | |
|---|---|
| Crossovers with low fuel consumption. Description, price Crossovers | Feedback :0pcs |
| Crossovers 2012-2013 Review. Characteristics. Hyundai 2012 Santa Fe. If you are planning to purchase a Hyundai 2012 Santa Fe crossover, then it would be more appropriate to be patient, as the third generation of the 2013 model year Santa Fe is coming out with significant changes in design and with more modern technical stuffing. Specifications and the same stuffing will be relevant for the next few years, or at least until the release of the next ... | Feedback :0pcs |
| Truckportal.ru — Kommersant-Omsk… Kommersant-Omsk: Transmash will produce all-terrain vehicles Arktika | Feedback :0pcs |
| Crossovers: description, available options, price, photo station wagon, hatchback and minivan. | Feedback :0pcs |
| How to upgrade VAZ 2109 VAZ history. | Feedback :0pcs |
Kazuma ATVs, like any transport, need good care and respond to it with excellent performance. However, you need to monitor not only the internal state of the ATV, for many drivers the appearance of the device is no less important than for a woman, for example, an excellent manicure. Therefore, today our story is about how to give the appearance of your ATV a little shine and gloss.
Every ATV has a lot of plastic parts on its body. Most of the body of the ATV is made of plastic to keep the machine light. But plastic, no matter how strong and hardened it may be, in a collision with an aggressive external environment tends to scratch and break, leaving battle scars and marks on the body. And although the scars adorn the man, the ATV looks much prettier without them.
Before I talk about how to get rid of scratches, I want to remind you that even with scratches, different plastics can look different. On some surfaces, scratches stand out brightly, while on others they are almost invisible. I remember how at the same time my friend and I had two ATVs, both were brand new and shiny, sparkling in the sun with absolutely smooth plastic. But very soon the blue plastic began to look worn and old. At the same time, scratches on black were not at all noticeable, although when checking them, they turned out to be no less. Some plastics somehow perceive scratches more strongly and age just before our eyes. If you want to know what your ATV will look like after a short use, take a look at the car market and look at the used models that are sold there.
When I found out how much new plastic costs, the desire to change it completely disappeared, so I decided to start restoring its former beauty. But before wasting time and effort, you should carefully examine the condition of the plastic - small, shallow scratches can be easily smoothed out using fine sandpaper and then polishing pastes. After careful processing from scratches, there is practically no trace left. Deep scratches will be more difficult to deal with, but they can be smoothed out and the ATV will look a little better.
But the color of plastic, burnt out in the sun, cannot be restored by polishing, under the sun's rays and from time to time the pigments in the plastic gradually disintegrate and only painting will help restore the brightness of the details. Painting will help hide some of the scratches. If the plastic has oxidized, it starts to look like it has been powdered, however this does not affect its qualities in the least, and if you are not very worried about the appearance, you can ride such a burnt ATV for a very long time.
Large fenders are not always needed on an ATV and many owners cut them off to give the ATV more aggressive appearance. This does not affect the aerodynamic characteristics of the device too much, however.
To do this yourself, properly prepare the ATV. You can mark the cut line by sticking electrical tape or colored tape on the wing. Just mark the cut line with it to make it easier for you to guide the tool later. The duct tape comes off easily, so you can try on the cut line before proceeding with the operation.
In principle, the preparation is now complete and you can start cutting. An angle grinder, popularly called a grinder, is best suited for cutting, put a disc for precise cutting and you can start. However, you can take any other tool with which it will be convenient for you to cut plastic. Do not forget about protection, the fragments can fly quite far, so protect your eyes with goggles.
Now you need to finish the edges - wrap the sanding sheet around the bar to make it easier to hold and sand the edges until then. Until you like their condition. You can also gently melt the edges, making them perfectly smooth and even. Just do not overdo it - the edges should not bubble under a blowtorch or a building hair dryer, but just become soft and neat. If you do it right, no one will ever guess that you cut the fenders yourself, and did not receive such an ATV from the factory.
However, if you are afraid of damaging the plastic with high temperatures and have enough time and effort, you can achieve a similar effect using a grinding wheel on a power tool. This completes the processing of the wings and you can go on your first trip on the updated ATV.
Of course, the main tuning of any ATV is primarily to increase its speed characteristics.

 Here is the compact crossover Mazda CX-5, a vivid confirmation of this.
  ..
..