Your shopping cart is empty
German
French
Spanish
All products listed as “in stock” are in our warehouse and ready to be shipped within the next day. Exceptions to this are pre-orders and possible, but unlikely, errors in stock numbers. All products include the VAT according to the destination country. Prices are subject to change without prior notice.
We are answering emails everyday from the morning to the late evening, no matter if its Sunday or Christmas eve. We work in the EET time zone which is +2h from GMT. During the day our customer service is usually really fast and in the evening we are little slower due we have less people to answer questions. Easier things are usually handled within the hour and shipping related things we try to handle during the day so they can be shipped out the same day. Our goal is to
answer all emails within 24h no matter how difficult the question is. The fastest way to get customer service is always to send us a email. Please include relevant pictures and a structured email with proper sentences so we can answer you faster. Take your time and read trough your email once before you send it to us.
We ship globally for example to Austria, Belgium, Bulgaria, Cyprus, Czech Republic, Denmark, Estonia, Finland, France, Germany, Greece, Hungary, Ireland, Italy, Latvia, Lithuania, Luxembourg, Malta, Netherlands, Poland, Portugal, Romania,Slovakia, Slovenia, Spain, Sweden and United Kingdom, Norway, Turkey, Switzerland). And many other countries, just go to the checkout and see if you can checkout. If not just let us know and we will quote you a price as we are able to ship to any country in the world.
We accept Paypal, credit card payments and IBAN/BIC (SEPA) bank transfers.
Payment service
Our credit card and web bank services are delivered by Finnish Paytrail Oyj.
Paytrail Oyj, Business-id: 2122839-7
Innova 2
Lutakonaukio 7
40100 Jyväskylä
Finland
www.paytrail.com
All payments are made in Euros. You can however browse the shop in other currency but the price then is not final. You will see the final Euro price in your shopping basket when paying for the product. The price is shown in “5. Send Order” part of the checkout form.
Our shop automaticaly includes or excludes VAT percentage from the prices by the destination country. You can change the destination country from the checkout pages before you order. All our customers will pay the same price no matter the included VAT percentage. Companies who are buying with VAT numbers can buy products with exluded VAT according to destination country.
You can browse all our shipping options with out registering. Just add the products you are interested in and proceed to checkout page where you can see all the shipping options and estimated delivery times.
Basic tracked shipping starts from 4,90€ (GLS road freight) in European Union countries.
An international GLS parcel is delivered to neighbouring states of Finland like Sweden or the Baltic countries in a standard delivery time of 24 to 72 hours. To more distant European countries the international parcel dispatch takes between three and six working days, to remote areas up to eight days. Rough estimate is 1 week from order to delivery.
Please note that GLS shipping time is calculated in working days (Monday to Friday) and excluding the day when parcel is shipped.
Note! Here you can find estimated delivery times.
Note! Here you can find collected statistics about average delivery times.
• DHL Express and UPS Express are our fastest delivery options. Both options can reach almost anyplace in EU in 1 day, but some places take 2 days.
• Depending what kind of products you want to order the shop will let you choose from available shipping options.
• Both Options are also Door To Door Services. The Courier will deliver the parcel to your door. But they also have pickup points where they might drop your package off so you can pick it up when it suits you.
When you are checking out your order you can see a more precise estimate of each shipping option to your country.
We accept returns of new, unused merchandise within 14 days from the delivery. Please contact us at [email protected] to receive return information. The customer is responsible for any return costs unless otherwise agreed to with our customer service. We try to return the money with the same payment method that was used to pay for the order, if its not possible we make a wiretransfer. You can also request a gift card if you are making a new order to speed up the process.
We also accept returns after 14 days upto 50days, but we refund them with a giftcard to our shop so you can replace them with any products we sell. Please contact our customer service for details.
After we receive the merchandise and verify its re-sellable condition, we will refund the money or give you a giftcard. Depending on the item this will take 1-3 days after we have received the item. If there is a delay we will contact you.
Please note that all parcels that are returned to us because customer has not picked it up / accepted it or paid customs fees of it will processed. Handling and shipping costs will be reduced from the refunds.
Note! Every return made without notice via email will be charged with handling fee of 20€. Handling fee will be reduced from the total refund.
In the rare occurrence that the shipment has been damaged, please take pictures and send those to our customer service [email protected] immediately and we will make sure we get you sorted and back to enjoying our hobby. Also notify the courier bringing you the shipment that it has been damaged.
If you feel that your product is defective please send us a email and we will let you know what to do next. Most items do not have a warranty as they will break in normal usage. For example if you hit something solid or take a larger tumble. Properly used items should easily last 3-12 months and during this period we are able to replace broken items if they have a manufacturing or material fault. We have years of experience with different makes and they all have different warranty policies. We have chosen to work with brands that have a good understanding how to serve their customers and you can be assured that you will get the best customer experience possible with us.
We do not replace or exchange products that are not defective or broken by improper use or have not been maintained. But we do help and teach you how to do things properly so you do not break anything in the future, just email us and we will help you out. We are however unable to wrench for you, its part of the hobby so its important that you will learn that part also your self, we have great tools to sell you so just ask us what you need.
Note! Many manufacturers are strickt that electronics are not allowed to be modified (connectors changed etc.) without disabling the warranty. Remember to check this from your products manual.
Don’t worry you are safe with us! Most of our customers feel that they get excellent service in the rare occurrence that they encounter a problem with the product they have bought.
And remember if you run in to a problem or you feel that there is a problem with arrived products do not hesitate to contact us. We are here to help and we do our best to sort it out as soon as possible.
We ship a lot of orders each day and rarely there are errors. We do however try to minimize the effect on the customer.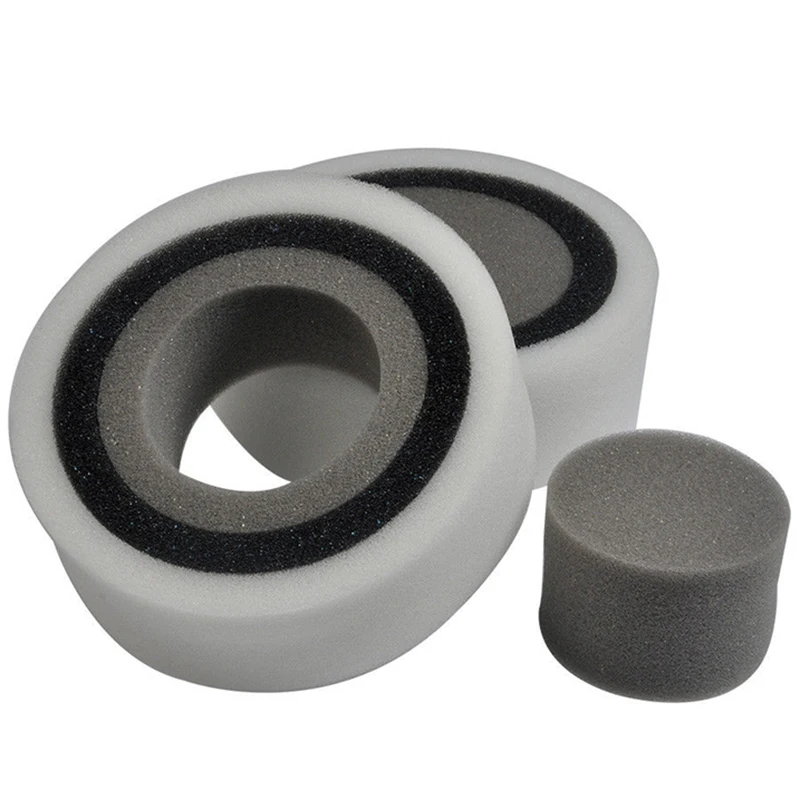 Please contact us immediately if we have made an error and we will make it right.
Always contact us before returning any product, we can not take responsibility for shipments that are sent without prior notice. Its very important that we can tell you how to mark the parcel so it will be processed in a timely fashion.
EuroRC Oy
Päiviöntie 8
12400 Tervakoski
Finland
[email protected]
Table of Contents
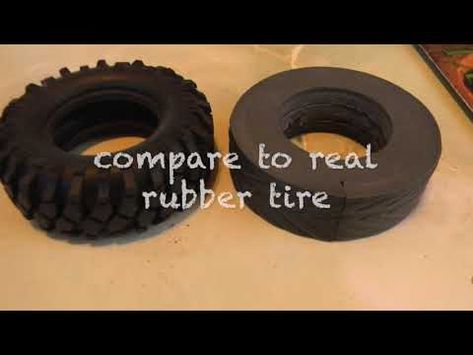
RC cars use inserts because they are more practical than trying to fill the tires with real air. Inserts support the tire at high speed to keep it stable.
Most RC cars use foam inserts in their tires instead of air. However, unlike air, these do not exert the same amount of pressure towards the tire walls and this might cause the car to be very unstable.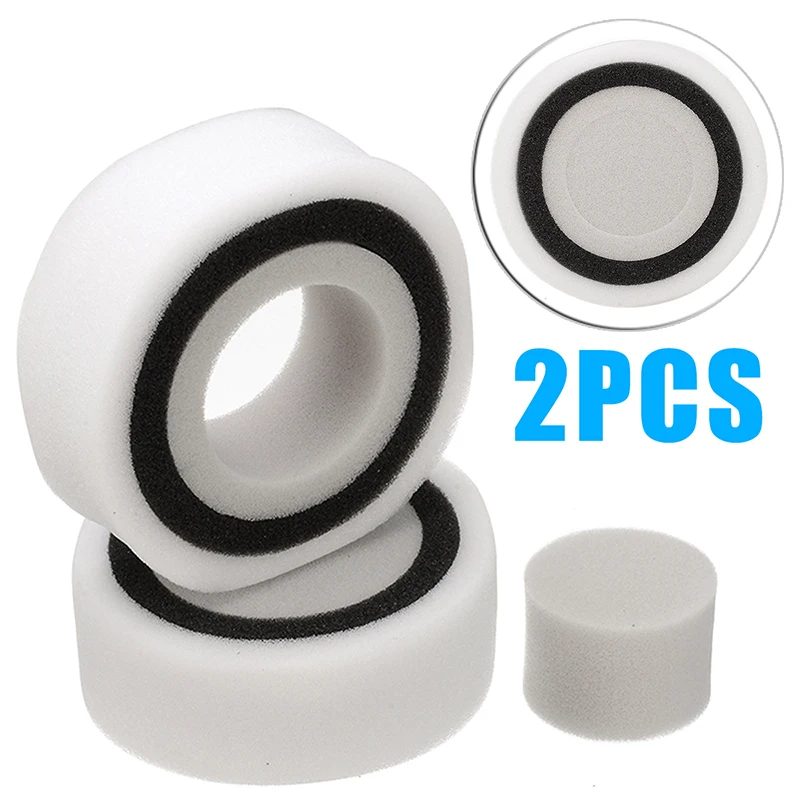 This happens because the tire reacts differently as different pressure points along its periphery hit the tarmac. The result of this is that the car might flip over, especially if you run it at high speed.
Well, you might be wondering, why not use pneumatic tires instead? The reason is simple.
Why use inserts for RC cars instead of pressurized air? 2.
2. However, there are different types of foam inserts that are meant for different uses.
What are Types of foam insertsThey come in 3 basic types. These are:
Normal or regular Foam insertsAs the name suggests, these inserts have nothing that makes them special or gives the car extra performance.
This means that they are also the cheapest of all the types. In terms of appearance, they are square cornered and have a flat face on all sides.
Duel stage foam insertsProline 617400 1.9″ Dual Stage Closed Cell Inner/Soft Outer Foam InsertsThese are also square cornered and have a flat face on the outer side.
The difference between these and the regular ones is that they either have a firm foam forming the inner half and a softer foam forming the outer half or the vice versa.
However, the most common one is the firm inner foam and soft outer foam combination.
This dual layer is the one that gives it its name.
Moulded foam insertsThese inserts are actually “moulded” to fit inside the tires perfectly.
They have a curved outer face, curved sidewalls, and a curved inner face, making them fit snugly over the rim and inside the tires.
However, this intricate construction means that they are the most expensive among these 3 types.
What are Foam Tire Inserts For RC Cars We Explain AllFunctional differences between 3 types of foam insertThe design and structural differences of these inserts might not matter to most people but they play a crucial role towards their functional differences.
Traxxas 6468 Ultra Premium Tire GlueBasically, when you buy an RC car, you want to take it on smooth roads, rough roads, and rocky surfaces and probably do some drifting along the way.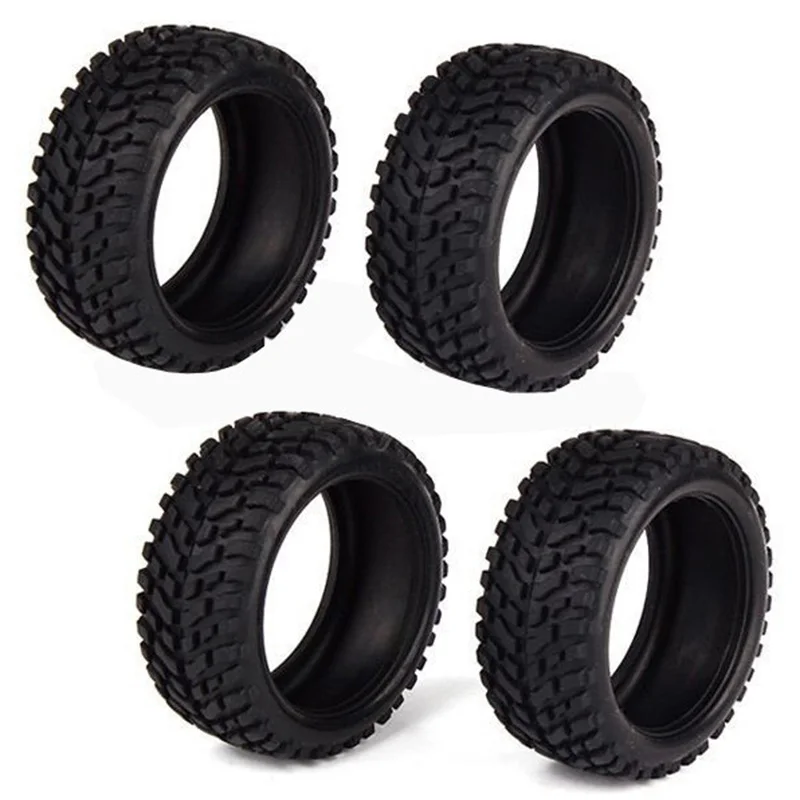
All these different conditions need different inserts.
Most RC cars come with regular inserts but for extreme performance, you might want to change them to the dual stage, moulded or any other wide or narrow foam inserts that fall in between.
The difference is this:
Width of tire insertWider inserts are always better than their narrow counterparts.
These wide ones press firmly on the tire sidewalls, enabling the tires to maintain their shape and rigidity as you take sharp corners.
This means that if you are a drifting fan, you need to get moulded foam inserts because they hold the entire inner side of the tire firmly in place.
It is important to make sure that the foam is a little bit wider than the tire so that it fits tightly in order to deliver good results
Firmness of tire insertWhen it comes to firmness, a compromise needs to be made.
Firm inserts support the tire better, giving you superb cornering capabilities.
However, they do not have the ability to absorb shocks from rough surfaces.
Therefore, if you intend to drive on a smooth road, firm inserts are the best for you.
However, if you intend to drive on a rough track, firm inserts are obviously not the best choice.
The car will bounce a lot and probably destroy some internal components if you drive too fast.
This is where you will need dual stage inserts.
Their firm inner layer will provide some good cornering abilities while the soft outer layer will absorb the shocks.
With these inserts, you get a little bit of both worlds and this makes them ideal for going off-road.
Rock crawlers, in particular, perform best with dual stage inserts because the stiff core gives you great stability and steering accuracy, which is important for navigating through the rough terrain.
On the other hand, the soft outer layer cushions the rims while also providing all-around traction as they compress inwards and let all the tire treads bite into the rock surface.
There are a couple of alternatives but none are as good as foam tire inserts. However, some people do make their own “inserts” from foam boards.
Foam boards are basically the same as foam inserts but are firmer and can be cut to form round inserts, which are good for driving on smooth surfaces.
Traxxas 4971 Foam Tire Inserts (pair)Another alternative is to remove the tire and if you can turn it inside out and wrap it duct tape.
If you are unable to turn the tire inside it is still possible to reinforce the tire by cutting the tape into strips and carefully sticking the strips to the inside walls being careful not to create a imbalance on the wheel.
The other option is using foam sprays. Although not popular, foam sprays can be sprayed into the tires to create permanent foam, which is also good for smooth surfaces
Another alternative is to remove the tire and if you can turn it inside out and wrap it duct tape.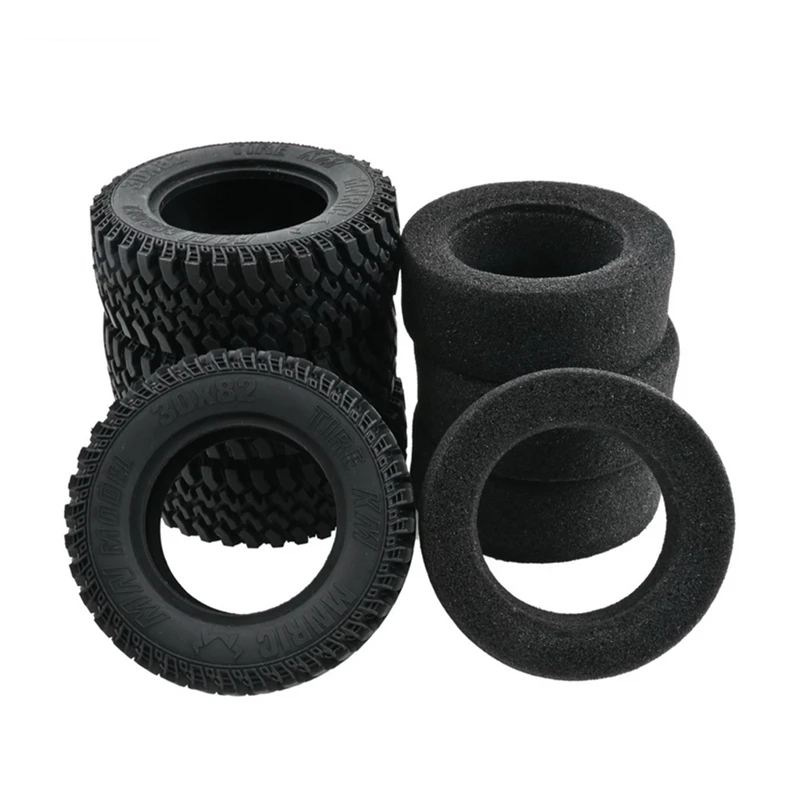
If you are unable to turn the tire inside it is still possible to reinforce the tire by cutting the tape into strips and carefully sticking the strips to the inside walls being careful not to create a imbalance on the wheel.
The other option is using foam sprays. Although not popular, foam sprays can be sprayed into the tires to create permanent foam, which is also good for smooth surfaces.
The stiffness caused by these alternatives can reduce each tire’s grip significantly.
Remember how the soft outer layer of the dual stage inserts improves a tire’s traction?
Well, these types of DIY alternatives are firm throughout. A temporary solution to give them a little bit more traction would be to use tire additives.
What are RC car tire additives?Tire additives are not only for use in such situations.
Their purpose is to increase traction by softening the rubber tires so that they grip more.
These additives are quite easy to apply and usually come with an applicator to help you spread out the liquid so that it penetrates deeper into the rubber.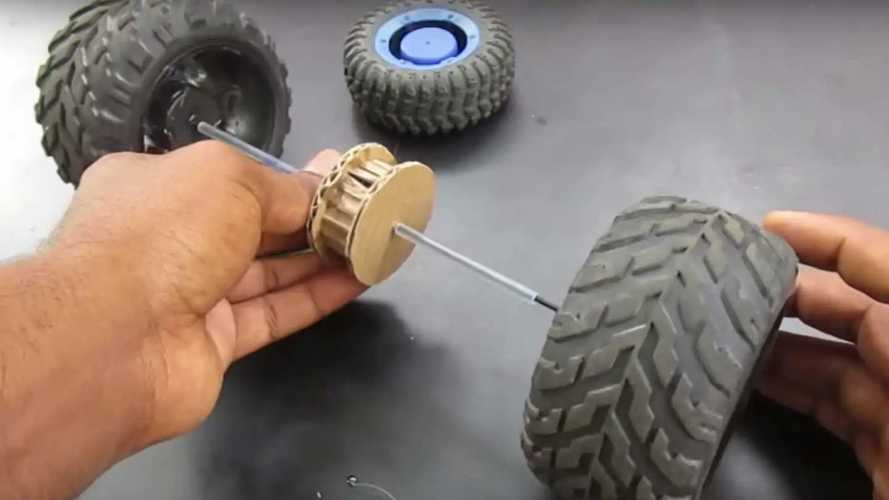
This penetration will ensure you get continued traction even as the tires continue getting worn out.
Ballooning is when the tire is spinning so fast centrifugal force causes the tire to lose its shape completely and of course this will have a dramatic effect on performance.
RC cars are not just simple toys to mess around with anymore.
They require the right foam inserts for different types of surfaces so that they can compete at their level best.
They also require tire treatment, in the form of tire additives, to boost their gripping power and consequently, their performance.
I have long wanted to talk about the construction of a model of this aircraft, but I put everything off until later. Right now, when you have to be forced to stay at home, and the time has been chosen to tell you about the manufacture of this aircraft model.
So, we will talk about the aircraft model aircraft Saab 37 Viggen, (viggen - lightning strike) - Swedish multi-role fighter of the third generation.
The author of this radio-controlled aircraft model has kindly prepared all the patterns for cutting out the model's structural elements using a foam string. It is best to cut all the templates with a jigsaw or CNC machine from plywood 2-3 mm thick. This is the most acceptable option available to every modeler.
nine0008Before proceeding directly to the creation of an aircraft model, it is necessary to make a simple and reliable "foam cutter".
I am sure that many will want to make such a tool, which is necessary in the work of an aircraft modeller. Everyone should choose the dimensions of this foam cutter for themselves, but my advice to you is not to make it very bulky so that the hand does not get tired of the weight and this tool can be manipulated more freely.
It will require 1/2-inch PVC pipes and elbows. By connecting them together in this way, we get such a "bow". There is no need to weld pipes and corners, the pipes are strong enough to hold in the corners under the action of friction. nine0005
Fine Nichrome wire, 0.4 mm thick, or plain steel can be used as a cutting edge.
To solder a current-carrying busbar to the nichrome wire, the author suggests putting a piece of brass tube on the nichrome and clamping it with pliers.
In order to create a constant tension of the cutting edge, when tensioning the Nichrome wire, you need to slightly tighten the ends of the "bow" with your hands, fix the wire and release the tubes. nine0002 A wire is easily soldered to a piece of a clamped tube.
Power supply wires are hidden inside the tubes.
A servo-tester, a regulator-controller and a battery are used to control the heating of the cutting edge.
\
The further course of work assumes that you already have plywood templates ready.
As a material for the model, you can use Penoplex sheet insulation, 100 mm thick. They are glued together with Regent or ordinary polyurethane foam. For convenience of work, the plates are cut in half along the length. nine0005
To cut the sheets at a right angle, hang the foam cutter in the right place and apply power. Under the influence of gravity, your "bow" will cut off the plate itself.
Templates - patterns can be pinned to the insulation.
At the very beginning, the air ducts are cut.
The larger pieces are then cut into smaller pieces.
Next, all contours of the duct parts are cut out.
If necessary, additional pieces of insulation are glued to the finished parts.
A bolt is screwed into the blank for the fuselage nose cone.
The bolt is inserted into an electric drill and processed to the desired shape.
Finished cone.
All parts of the fuselage structure are glued together.
Nose cone adjustable to fit.
Model fitted with 70mm impellers.
The impeller is installed in each channel in compliance with the CG (center of gravity).
Duct intakes are cleaned and levelled.
The edges of the air intakes are covered with fiberglass on epoxy or paper on Titanium or Aqualac for increased strength. nine0005
Final cleaning, priming and polishing of the fuselage.
The next step in the creation of the model is the wing.
Small parts are reinforced with carbon rods.
When mounting PGO (front horizontal tail) - canard, do not forget to set a positive angle of attack.
The wing is glued in. The servos are mounted. nine0005
Servo wiring.
Final assembly of the exhaust nozzle.
The inner surface of the outlet channel is protected by a plastic insert.
Attach the regulator.
Some parts of the model are made of balsa wood.
Keel and rudder mounted. nine0005
All tie rods connected, model ready for first flight.
Final painting of the model.
Application of decals.
Canopy mounted with magnets.
Photos of the model in flight.
Before the first flight.
After a successful landing.
As you can see, there is nothing complicated in building such a radio-controlled aircraft model. The electronics for the aircraft model are listed at the link at the beginning of the article, where you can download the drawings of the aircraft model and follow the links to the recommended electronics for the radio-controlled aircraft model.
Also on the site http://rc-plans.com/ there are many other drawings of radio-controlled aircraft models. nine0005
April 18, 2017
11402 interested
Article prepared
Katerina Abramtsova
Content manager
Summer is on the way, it's time to take care of the rest. A trip to the sea, lake, river will be a great option to change the bustle of the city. And as an entertainment, we advise you to take a radio-controlled boat with you. It will make not only children, but also adults squeak with joy. In addition, prices for finished models start from 1300 UAH. nine0005
For children, this fully assembled version is the best choice. You do not need to buy anything, install or glue - everything is in the box. You only need to buy batteries for the app. Everybody! You are ready to swim.
Adults can be advised to pay attention to Kit-sets. They are a disassembled model with the possibility of self-assembly. Thus, you will get a do-it-yourself radio-controlled boat! But usually in such models, not everything is supplied in the kit. Individual items will need to be purchased separately. nine0005
Professional racers are rarely satisfied with the characteristics of water transport, especially if they choose a boat for sports competitions. In this case, aces tend to make a radio-controlled boat with their own hands completely. That is, they buy the necessary spare parts and parts based on their requirements and finances. Next, they begin to assemble the boat on their own. It is much more difficult, and takes a lot of time and money. But if you have a technical mindset, then you will not have any special problems in the production of a unique boat on your own. nine0005
In our assortment you will find everything you need to build a radio-controlled boat with your own hands. All details in one place. If you have any doubts, call our specialists. They will direct you to the right section of the store and give you good advice on how to build an RC boat. Well, are you ready to start? Then maybe we'll start.
The most expensive parts in the whole structure will be:
I would like to immediately warn you that motors can be of two types: electric and internal combustion engines.
The first option is also divided into two subtypes: collector engines and brushless ones. Brushless motors are the most expensive option, but they get the most out of the models. Batteries are the source of power for them. Their selection is huge in the store, and the price is affordable. How to choose the right battery for the RC model can be found here. The only thing worth noting is to choose a battery in a hard case (Hardcase). nine0005
The second option - internal combustion engines are fed from a special fuel or filling fluid. We have a very large range of this product. In addition to the main task of giving energy to the engine, the fuel also takes care of the engine itself. The oils included in the composition have a positive effect on the duration of the “heart” of the model.
It is from this duo that the transmission of commands and the correctness of their execution by the model will depend. Therefore, we recommend that you choose equipment with two or three channels of control. This will be enough with your head to enjoy the races of a radio-controlled boat with your own hands. nine0005
The remote control you have chosen may be useless if you forget to purchase a receiver. Here, too, I would like to draw your attention to the fact that there are transmitter + receiver models in the kit, and it is also possible to purchase these components separately. In the latter case, you should remember about such a feature as compatibility.
You may also need these parts to make your own RC boat model:
And, of course, the finishing touches - painting the hull, placing stickers, installing the captain's figures, as an option! And it will be impossible to take your eyes off your radio-controlled boat with your own hands.
And finally, one more piece of advice. Before you launch your boat on the pond, try it out first in the bathroom.