$102.99
As Low As 0% Financing Options Available "See Options"
Vehicle Fitment Info In Tabs Below
In Stock Item (See Below Shipping Tab)
Polaris Sportsman Winch Mount quantity
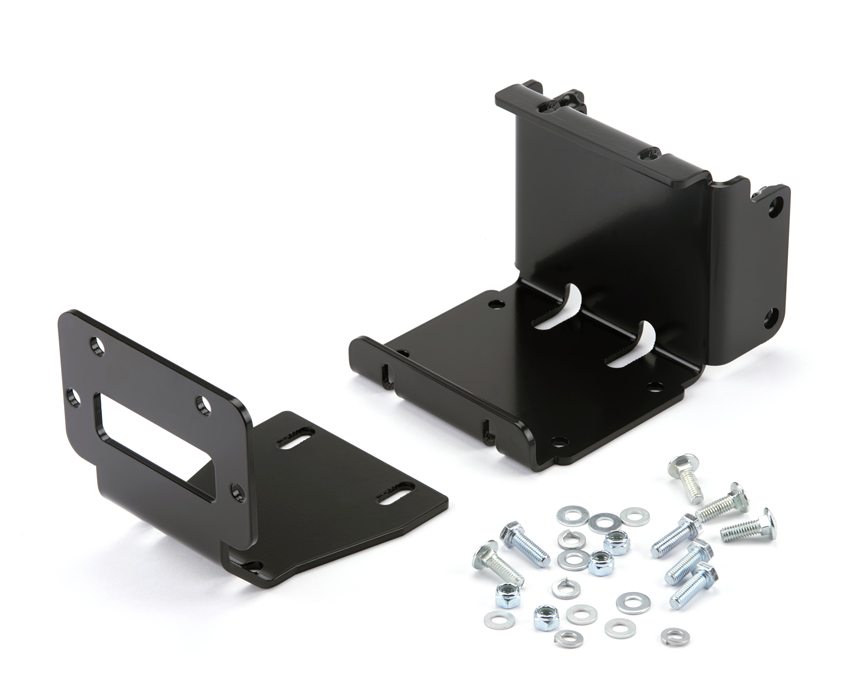
Looking To Mount A Winch, Over Your Diff or Out Front Without Adding Bumpers And Add-Ons, This Polaris Sportsman Winch Mount, Is Laser Cut, Powder Coated and Direct Bolt On
WARN mounting systems are made to withstand the rigors of winching and the incredible forces that come with it.
Plus, they have that just-right fit because they’re designed and built with precision.
Laser cut to the vehicle’s exact dimensions, shaped on a computer controlled press brake, and robotically welded for consistent results.
Features:
COMPATIBLE WITH ALL AXON AND VRX WINCHES
In Stock Items:
Any In Stock items will be shipped within 24-36 hours of order processing Monday through Friday, orders placed on Saturday or Sunday will be processed Monday.
When Your items are Picked Up By The Shipper Our System will Updated and Email You Tracking.
| Make | Model | Year |
|---|---|---|
| Polaris Off Road | Scrambler XP 1000 S | 2020 - 2022 |
| Polaris Off Road | Scrambler XP 1000 | 2015 - 2021 |
| Polaris Off Road | Sportsman 570 | 2015 - 2022 |
| Polaris Off Road | Sportsman 850 | 2015 - 2022 |
| Polaris Off Road | Sportsman 850 High Lifter | 2015 - 2022 |
| Polaris Off Road | Sportsman 850 Premium | 2020 - 2021 |
| Polaris Off Road | Sportsman 850 SP | 2015 - 2019 |
| Polaris Off Road | Sportsman XP 1000 | 2015 - 2022 |
| Polaris Off Road | Sportsman XP 1000 High Lifter | 2015 - 2022 |
 ..
..Leave a Review Ask a Question
How would you rate this product? *Perfect Good Average Mediocre Poor
Title (optional)
Attach a photo or videoPhoto Video
Enter a URL (optional)
Choose a file
Attach a photo or videoPhoto Video
Enter a URL (optional)
Choose a file
You must be logged in to join the discussion.
×
Username *
Email address *
A link to set a new password will be sent to your email address.
Your personal data will be used to support your experience throughout this website, to manage access to your account, and for other purposes described in our privacy policy.
This site is protected by reCAPTCHA and the Google
Privacy Policy and Terms of Service apply.
Email address *
Already have an account? Log In
Don't have an account? Sign Up
Continue as a Guest
By the staff of Dirt Wheels
INSTALLING A POLARIS PRO HD WINCH
As great as aftermarket parts are to modify and personalize your machine, some can be a real pain to install. Other parts are relatively easy to install, but more are easy the second time around! You learn a lot the first time, and subsequent installs are both quicker and easier. We installed a new Polaris Pro HD 3500-pound-rated winch that was a plug-and-play fit for a Sportsman 4×4 quad and installed it on a 2018 Sportsman 570.
This winch boasts rapid rope recovery, auto stop and a wireless remote. It comes pre-assembled, has a dedicated mount included and the instructions claim it is a 40-minute install. Now that we installed the first one in considerably longer than 40 minutes, we are sure that we could install a second one in a shop with a lift in 40 minutes. Nevertheless, we were impressed with how comprehensive the package is and how easy the install was. Some of the fault was ours. We read the directions, which was a good thing. The instruction book has the instruction as well as a troubleshooting guide. All the way at the back of the book is a wiring diagram. If you don’t find that, it is problematic. Of course, the instructions say to read the entire book before you begin.
INSTALLING A POLARIS PRO HD WINCH
1. The entire winch package comes in a compact box. It had everything that we needed for a clean install. The winch comes with a poly rope, a thumb switch and a remote fob to control the winch. It has a rapid recovery feature selected by a large knob on the side.
2. The first step is to open the front cargo compartment and remove this rubber gasket that runs around the full perimeter of the cargo compartment. We needed to prop the cargo lid open to make working on the top of the machine easier.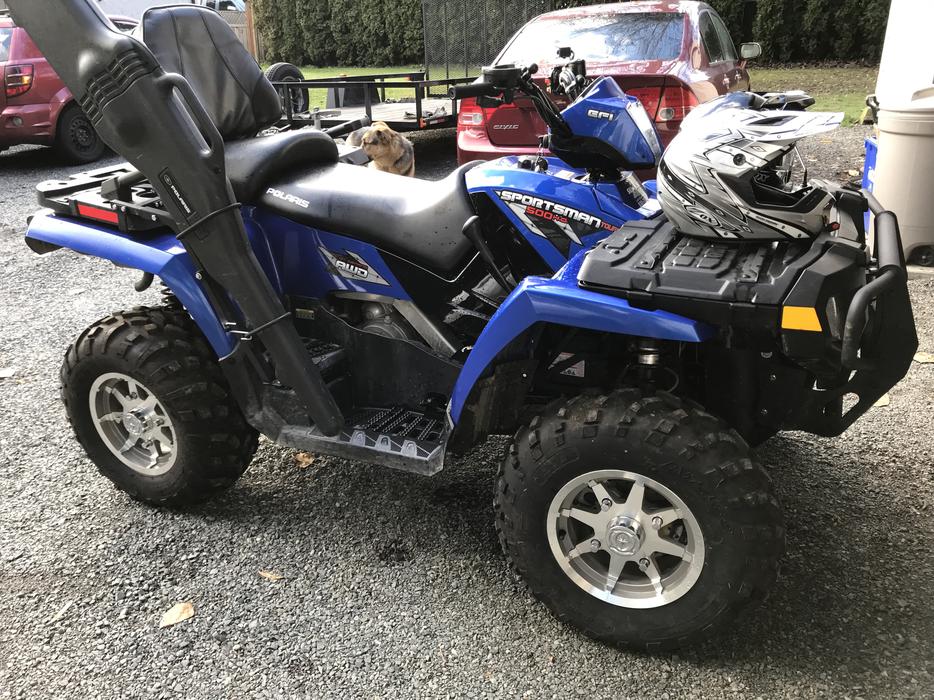
3. This plastic trim piece extends from the front of the cargo box all the way across and past the other side to the steering stem. You remove a few Torx fasteners to pop the trim piece out. It was a bit scary popping it loose, but it snapped back in easily.
INSTALLING A POLARIS PRO HD WINCH
4. Under the trim piece is an electrical cable junction box. The various positive and negative cables are stacked on the appropriate posts and double-nutted to keep the cables from coming loose. Remove the nuts and the cables for now.
5. The instructions are quite clear on how you remove the front fascia. It takes only a couple of bolts and two reusable plastic rivets. You end up leaving the smaller section off.
6. Holes in the pre-mounted bracket line up with existing holes (red arrows) in the frame. Cut the zip-tied wire and move it out of the way. It will be used for the install.
INSTALLING A POLARIS PRO HD WINCH
7. No matter what we did, we could not get the bottom bolt on one side to start. We figured there must be powdercoat in the threads and pulled the winch back out. It turned out that the bottom corner of the bracket was bent. We bent it back easily.
8. To avoid further issues, we ran a tap through the threads to make sure everything would thread up easily. The threads are 8×1.25mm. It is always a good idea to chase the threads on a new part. If we had, we would have noticed the bent tab.
9. After the bracket was straightened, the winch bolted up in seconds. The instructions say to mount the handlebar switch next. It jumped right on, but we were glad to have Torx drivers handy for the tight confines.
INSTALLING A POLARIS PRO HD WINCH
10. A pre-wired plug is already zip-tied to the handlebar. You only need to remove the protective plug cover and connect it to the switch. The wires are even the perfect length.
11. We found the pictures in the directions a little confusing. This little controller mounts to a support on the throttle side. You must position it just like this to avoid interference with the wires.
INSTALLING A POLARIS PRO HD WINCH
12. Once we completed the mechanical installation and located the wiring diagram, we were left with this untidy situation. We made sure that the winch was working before we tidied up.
13. The wiring tidied up neatly, and there were even enough cable ties included in the winch kit. Reinstall the fascia, the trim piece in the storage box and insert the gasket.
INSTALLING A POLARIS PRO HD WINCH
WORKING IT
A large knob on the left side of the winch allows you to switch the winch to a fast mode to extend or retract the poly rope. You shouldn’t actually winch anything in recovery mode. Doing so can damage the winch. We used both the handlebar switch and the remote. The remote looks like a key fob from one of those cars that don’t take an ignition key.
When you actually want pulling power from the winch, rotate the knob back and the rope extends and retracts slower, but it is like putting the winch in low range for added pulling power. This winch has plenty of power. If the traction isn’t perfect, the winch will simply drag the quad with all of the wheels locked! When you do need it, though, having a winch can be a total lifesaver. Getting the winch directly from Polaris costs $549.99. Being able to use all stock-type wiring connections gives us a lot of faith in the longevity of this winch. It has all the performance you want on a machine this light, and the install is complete and clean.
To subscribe to Dirt Wheels Magazine in print or digital form click here https://hi-torque.com/product/dirt-wheels.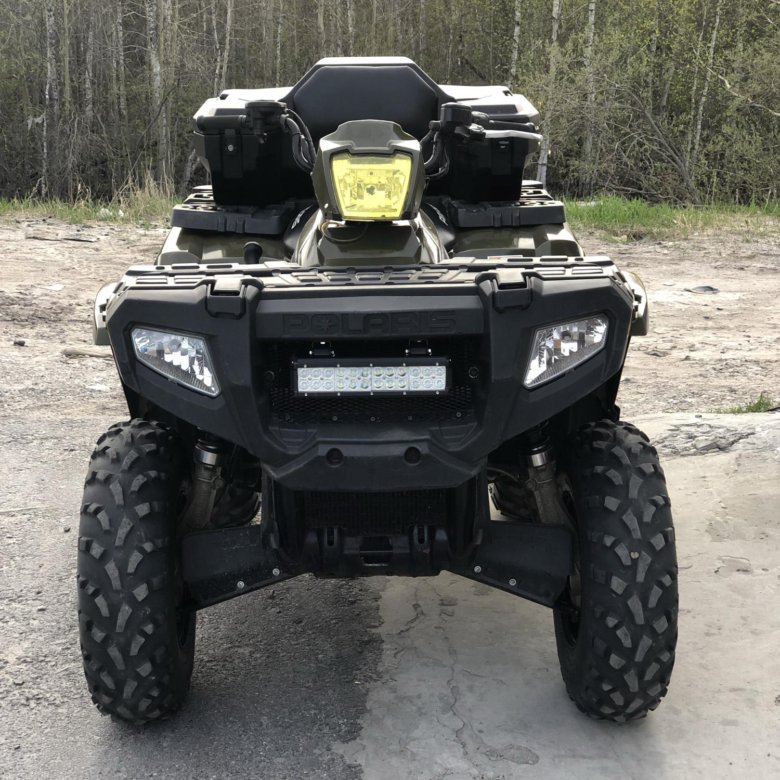
A winch is a must have for off-road riding. It allows you to pull a stuck ATV out of mud, water or deep ruts. Many models of CFMOTO ATVs and ATVs have a winch from the factory, for others it needs to be purchased separately. In this article, we will tell you how the winch works, what to look for when choosing, and also give useful tips on how to use it.
ATV winch is a drum with a cable. An electric motor is located on one side of the drum, and a gearbox on the other. Rotation from the electric motor to the gearbox transmits a shaft that passes inside the drum. The gears of the planetary mechanism are located in the gearbox.
Reducer reduces speed and increases traction. The rotation from the gearbox is transmitted to the drum, which winds the cable, creating traction and gradually pulling out the stuck equipment.
One of the key parameters to consider when choosing a winch is traction.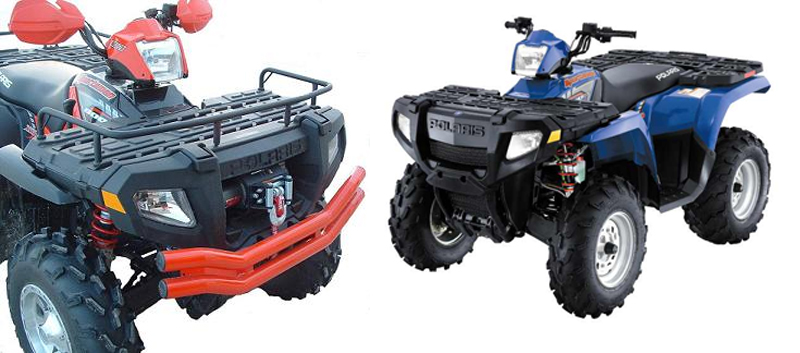 It determines the maximum weight of the load that can be torn off the surface. With each skein of the drum, the winch force decreases.
Thrust is measured in pounds (labeled on winches as lbs), 1 lb = 0.45 kg. The force depends on a number of features: the diameter of the drum, the number of wound turns, the power of the electric motor, as well as the gear ratio of the gearbox.
It is not always necessary to choose the most powerful and fastest winch: the more powerful the mechanism, the more difficult it is to handle. Beginners can harm equipment and even their health - it is not uncommon for a broken cable or a broken hook to cause injury.
Matches the cubic capacity of the ATV:

Steel - cheap and easy. Requires work with gloves, not repairable. May cause injury if mishandled.
Synthetic - requires maintenance but is easy to use. It does not "shoot", and if the cable is damaged or torn, it can be braided on the spot.
Most experts believe that material choice should be based on personal preference: some riders lean towards steel over time, others towards synthetics.
The winch is installed on a special platform on the ATV frame. If there is no platform, you need to buy it and install it according to the instructions. The site has standard anchor points that fit classic winches up to 3,500 feet of pull.
When choosing a winch, pay attention to the width of the drum:

With certain skills, you can modify the fasteners and install almost any winch - the main thing is not to make the fasteners “to break” and not to strengthen weak points. If the ATV is under warranty, it is advisable not to touch the frame and buy a standard winch.
Installing the winch is easy, but the connection will have to be tricky. To lay the wiring, it is advisable to remove the plastic from the ATV. The winch must be connected to the control unit and battery. It is recommended to keep the power cable as short as possible to avoid current loss. All wires must be hidden in the corrugation so that they do not come into contact with the frame and are protected from moisture.

If you have any questions or would like further advice on purchasing, installing, operating and maintaining an ATV or ATV winch, please contact your nearest authorized CFMOTO dealer.
Dealers CFMOTO
2. Do not park in reverse or forward gear, always put the ATV's shift lever in P.
3. Avoid using the ATV's emergency brakes while standing, you may put your body on the throttle and make things worse.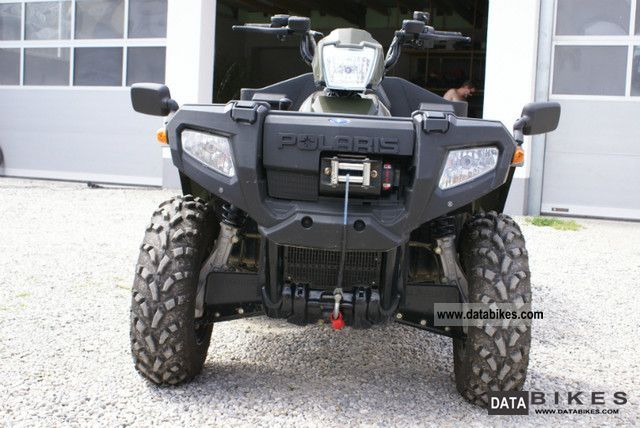
4. When unwinding the winch cable, use the electric drive, not the drum lock. Do not unwind the winch by hand and it will last a long time, especially the WARN winch.
5. When packing items in the trunk, especially a thermos or food, fill any remaining empty space with rags or something useful. Take extra clothes, shoes, gloves, rope, etc. There should be no free space in the case. Otherwise, everything will be broken, scattered and damaged.
6. Drive on asphalt with rear wheel drive only. Drive on the ground only in full drive. Be sure to downshift L before mud, large puddle, swamp, etc.
7. BRP Can-Am owners, do not get carried away with slipping, try to move in tight or propulsion. Skidding - back up or use a winch. The variator belt will "say" you thank you.
8. Do not ride the Yamaha Grizzly together with a loaded case. The grizzly becomes very unstable and easily flips back. Over time, the frame bursts. Grizlik is a single-seat ATV!
9.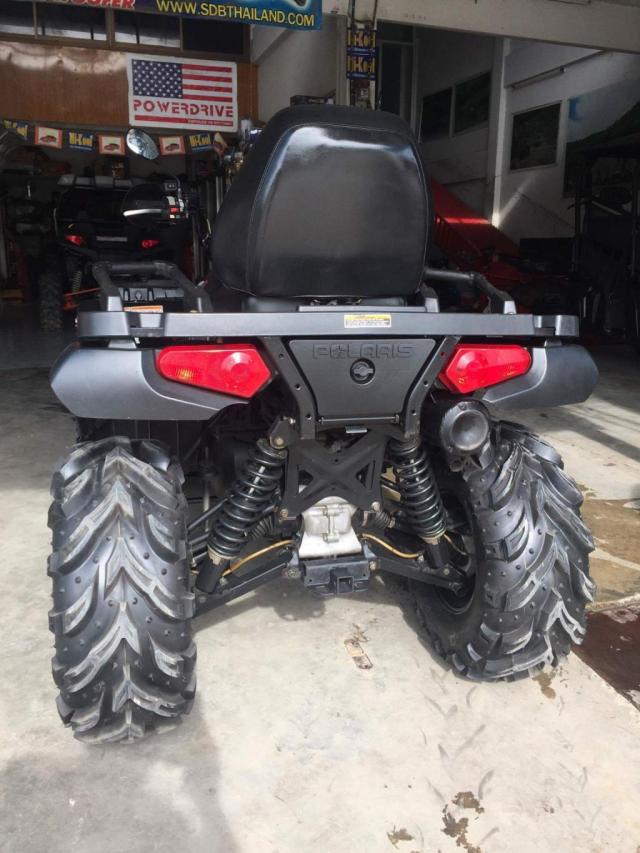 Do not ride the ATV alone, especially in the woods and off-road. The ATV rolls over easily and can crush the rider with its weight. The weight of the ATV is from 350 to 500 kg, it is difficult to get out from under it without help.
10. Always wear a helmet. It's not even a matter of falling, in the forest you can be hit on the head by a branch or a stone that has flown out from under the wheels of the ATV in front.
11. Do not fly at speed into an unfamiliar puddle, there may be a step, a pit, a stone, a log.
12. Do not force an unfamiliar ford without checking. Walk it on foot first and check the depth.
13. When driving out of a puddle, ditch, pit, or just driving over a hill, do not step on the gas abruptly, especially if the ATV is on rear wheel drive. The ATV may roll over backwards and crush you.
14. Always clean the muffler and drive boots from peat and dirt, especially before leaving the road after the swamp and mud. When the muffler is heated at high speeds, peat particles can ignite and cause a fire.
15. If the ATV sinks in the water, and there is no chance to leave, you need to have time to turn off the engine. Repairing a disabled engine will cost less.
16. Use beadlock discs if you're riding in the mud. With beadlocks, the risk of “taking off your shoes” is minimal, in addition, on some tires, such as Assassinator or Cryptid, punctures are not terrible and you can drive with zero pressure to a garage or tire fitting even on asphalt, no consequences for the tires will come.
17. Do not trust homemade snorkels from the plumbing range, such plastic is not designed for vibration and heat.
18. Never stop the ATV in water or mud unless it sinks. After driving out of the mud or water, blow the muffler mesh, put the gearbox in neutral and turn on the gas.
19. Be sure to wear goggles in the woods with a cross helmet. The branch can get under the visor and further into the face and eyes.
20. Always carry a first aid kit, clamps, adhesive tape, drinking water, etc. with you. Detailed list of required items.
21. Be sure to unwind and dry the winch cable after use, in the garage or in the parking lot.
22. Do not use a straight-through muffler without a controller, it is not good for the engine, and the temperature of an unadjusted muffler and exhaust will usually exceed all acceptable limits, which will lead to plastic melting and other damage.
23. When arranging a barbecue with friends at the dacha or at home, do not let them ride a quad bike. Something will definitely be broken and perhaps relationships with friends will be ruined. With rare exceptions, this is exactly what happens.
24. When transporting the ATV on a trailer, do not secure it with a winch cable, as this will damage the winch over time. Use special cables, rope, tie-down straps, etc., but not a winch.
25. Be careful in the forest in spring, after winter there are various traps, spikes, nails, stretched wire, etc. in the forest. The reasons for the appearance of these items are different, now we will not talk about it. Be attentive and careful!
Together with ATV club NorthWay
Creative video about INTERPARTS actuators
Watch with sound, cover your children's ears, buy actuators here after watching
03/16/2015
BRP Can-Am Maverick Interparts Drive Installation Instructions
Step-by-step instructions for installing or replacing an Interparts drive, with commentary. Recommended for viewing on your own...
02/26/2015
You can save a person!
01/22/2020
Yamaha 2019 - the latest news
For Yamaha, 2019 turned out to be a fruitful year: several new products for lovers of two appeared on the Russian market at once...
Is everything all right here? Why are snowmobiles in the water?
08/21/2019
Taiga Motors - new electric snowmobile
Taiga Motors, the developer of electric snowmobiles, has announced a third generation electric snowmobile line called...
06/13/2019
Introducing the new SHERP
SHERP MAX all-terrain vehicle - the new model has grown in size and has become more comfortable.