There are many things that you should do in order to maintain your ATV in good shape. In this article we are just going to explore the steps to clean the air filter of your ATV which, even though it sounds like a minor thing to do, which you shouldn’t pay that much attention, you should.
A clean air filter on an ATV avoids future problems on the engine. Sometimes you can clean the foam from your filter by hands but other times you may need some chemical assistance. While paper filters are easy to clean, foam filters can be a little bit trickier.
So, the first step is actually checking what kind of filter your ATV has. Most ATVs have the foam type filter. You will also want to purchase, if you don’t already have them, the right products for the process. You won’t need much apart from a cleaning solution and a waterproof protection. You don’t have to worry about this yet since we will explain in more detail what the right products to use for your type of filter are.
Besides that, check if you have a bucket or another type of big container and a tray or something similar. If you follow the steps you won’t have any troubles cleaning the air filter of your ATV because it’s a very easy process to go through.
Cleaning Solution: If you want to soak you filter overnight to really deep clean it, try this Air Filter Cleaner found here from Amazon that I use.
Oil Treatment: You need to treat the filter after you clean it. I recommend this kit that has an Oil Treatment Spray found here on Amazon.
A Bucket: To clean the filter in.
A Tray: Or piece of cardboard to lay under the air filter box.
The first thing you will need to do is to find a large container (like a bucket for example) in which you will wash the filter. Keep in mind that, wherever you decided to set your work/cleaning space, you should put away anything that you may damage accidentally while cleaning the air filter.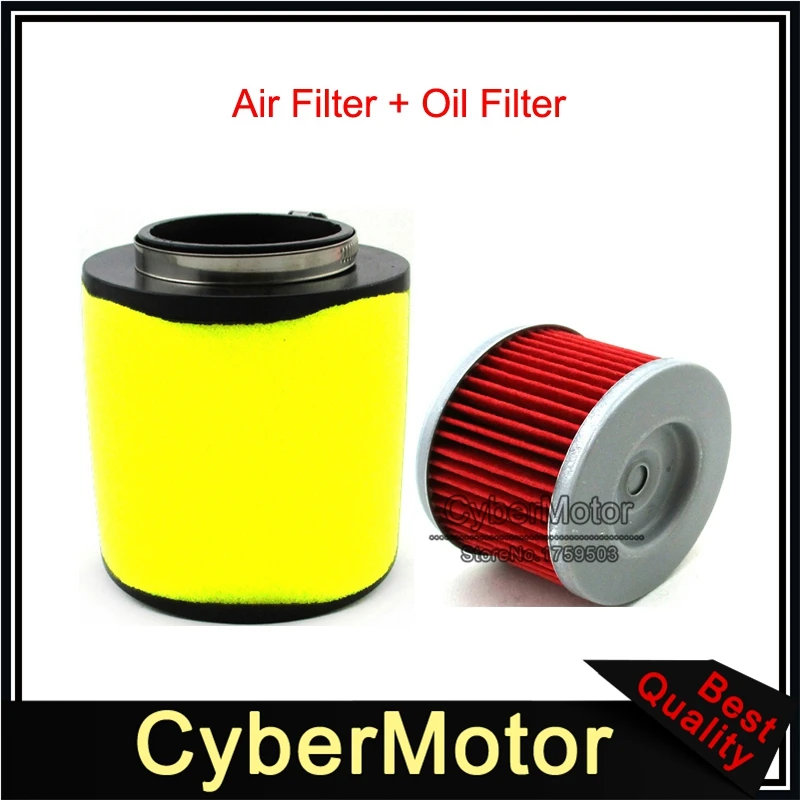
The next step is to pour the cleaning solution into your bucket as directed. Be sure that it is the right one for your type of filter, otherwise you can damage it. Do not immediately rub the filter because you can tear it apart. Instead, carefully massage the filter into the solution.
When doing this, you should be looking for signs that you are breaking down the oils from the filter into the solution. After making sure that you managed to take all the debris and oil out from the filter, always rubbing it carefully, transfer the filter into another bucket with clean water.
After transferring the filter into a bucket with clean water try to check, ever so gently, for potential tears or other type of damage in the filter to make sure everything is okay. Please do not use gasoline to clean a foam filter since gasoline or other flammable chemicals can create damage to the filter.
Then, you need to put your filter aside and let it dry completely.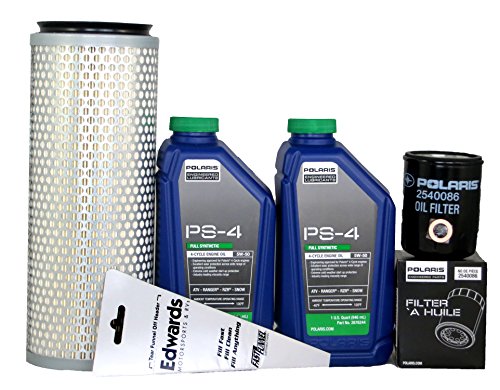 Remember that this is not about rushing the process, the filter needs to be completely dry to move forward. So, now that you made sure that your filter is completely dry, you will have to apply fresh oil to the filter.
The same way you had to remove all the debris from the filter very carefully, you will also have to oil the filter very carefully. When doing this, you need to be sure that all the filter’s surfaces are equally oiled as well as the layers. Take your time when working the oil into the whole filter.
Once more, after you oiled the filter you will need to let it rest for a few hours to dry the oil (also, make sure to take the excess of oil out of the filter by squeezing it gently before you let it dry).
This time you don’t need to be sure that the filter is completely dry. In fact, the filter can be left to dry in the air box. So, if you have the time which we advise you should, only put the filter in when the oil is almost dry.
If you are having doubts for when you know when the filter is ready or not, you should check for a change in the thickness of the filter oil. When the oil is looking thicker, almost with a tacky feeling than you know it’s ready to go into the air box.
When inserting the filter in the air box be sure to use an indicated product to spray the inside of the air box with and remove the plug in the bottom of the box. The reason why you want to do this is to guarantee that there won’t be any excess oil trapped inside. For that you will need to place a tray or another tray-looking recipient to catch the excess with.
The last step of cleaning an air filter of an ATV is to find a waterproof product to finalize the process. These kind of products are usually based on a grease-like protection. The reason why you will want to use a product like this is to prevent other contaminants from going into the filter unnecessarily, by sealing the edge of the filter.
This part is not completely necessary but can help extend the life of your ATV. This way, your filter will last longer until the next time you will have to take it out to clean it again. Besides, it will ensure the best performance of your ATV for a much longer time.
If you followed all these steps then you most likely didn’t experience any troubles when cleaning the air filter of your ATV. You will find that, with the right tools and products there is really no reason for not doing this in the comfort of your home (or home garage).
Like you might have noticed when reading through the steps, even though this is an easy thing to do, it’s not a fast process. The main reason is the whole wait for the filter to dry two times thing. However, it is worth being patient when cleaning the air filter to ensure that your time won’t be wasted and to end up with a perfectly cleaned air filter ready to go into your ATV. Otherwise, if you rush the process you can easily accidentally damage the air filter to the point where it can’t be used again and then you would have to find and buy another one.
Sharing is caring!
Your ATV air filter is critically important, but you already know that. The correct oil is important, too though a filter can’t trap
WD40 doesn’t have the correct characteristics to act as an air filter oil substitute. Air filter oil needs to coat the filter evenly and remain sticky. This helps trap dust, dirt and repel moisture.
In this post, You’ll learn about an air filter oil alternative, how to oil your filter, and cleaning your filter.
Page Contents
WD40 is a fantastic product. I couldn’t run my shop without it. But it won’t be of any use as an air filter oil. WD is excellent at cleaning and penetrating, but it drys out and won’t help trap much dirt.
And you already know how important keeping your ATV or dirt bike air filter clean is. A dirty filter can cause your engine to feel sluggish and cause black smoke, which is a real sign she’s running rich.
A rich running engine is washing the bore with raw gas, which will kill the motor eventually. Running without a proper functioning filter will kill your motor too. Fine dust particles will sandblast the insides of your engine, eating it from the inside.
Engine oil isn’t ideal, and I don’t recommend using it long-term, but if you are stuck, you can use clean engine oil. Synthetic oil works best as it’s lighter and coats more evenly.
Using engine oil will cause the oil to drip off and pool in the bottom of your airbox. It simply doesn’t have the right properties for air filter oil. It will, however, trap fine dirt and dust particles and help repel moisture in the short term.
But I would recommend getting air filter oil as quickly as, because you know running your engine in dusty conditions increases the chances of problems.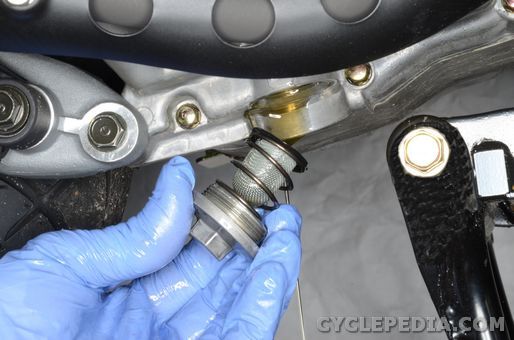
Air filter oil is special. It may seem like it’s just oil, but it contains additives that make it:
Some manufacturers have come out with an Eco-friendly biodegradable oil, but petroleum and synthetics are available too.
Go ahead and remove the filter from the ATV or bike. Be careful when removing the filter from the airbox. That’s when crap from the filter can drop into the carburetor intake rubber duct.
Examine the mouth of the duct. It shouldn’t be dusty. If it is, your filter wasn’t seated properly or is damaged. Check the rest of the ducting for tears.
To oil the filter, I keep fresh filter oil in a clean, sealed container. Alternatively, pour some filter oil into a clean plastic bag and submerge the filter in the oil and work it in by squeezing (not twisting). Allow it to sit for ten minutes and repeat.
The filter now needs to sit and dry until the oil turns sticky for 2-3 hours, depending on temperatures.
The final step before assembly is to apply a ring of regular axle grease or whatever type you have to the sealing ring of the filter. This is guaranteed to stop crap sneaking in under the filter seal.
You may also find the following posts helpful:
How often to service a bike?
ATV leaking oil from the oil drain plug
ATV fuel filter not filling up
11/23/2015
Many different filters are used in automotive systems. Their general purpose is to cleanse the corresponding flows that affect the functioning of the engine or other components of motorized equipment. One such filter is the air filter. It cleans the air entering the engine from road dust and various impurities that harm the engine. The absence or poor performance of the air filter significantly reduces the life of the engine, and if it is not replaced, flushed and lubricated in a timely manner, the engine of your ATV will become much noisier, its power will begin to drop, and eventually the motor may refuse to work at all. In the case of replacement or high-quality cleaning of the air filter, there will be a decrease in noise and an approximation of the air flow to a uniform distribution.
For ATVs, the problem of the air filter is the most acute, compared to other modes of transport. This type of equipment is used when traveling over rough terrain, where there is much more dust than on roads. All summer long you rode your ATV around the neighborhood in large numbers, of course, now you need to replace or flush its air filter, otherwise next year you won’t be able to conquer the slopes so famously.
Ambient air enters the carburetor through the ATV's air filter, which sooner or later (depending on the ATV's operating conditions) becomes clogged with dust and aerosols contained in the ambient air. Dust is the main "enemy" of ATVs, because off-road driving in dry weather is necessarily accompanied by clouds of dust. Imagine now the condition of the air filter of an ATV after a long ride on a dusty off-road.
Of course, it is difficult to come up with some kind of general average figure for the mileage after which it is necessary to clean or replace the air filter - it all depends on your driving style and the quality of the road surface. In any case, after extreme rides, including swim rides, it is recommended to check the condition of the air filter.
So, let's proceed to the inspection and cleaning of the air filter. Typically, an ATV air filter is located under the seat, in a sturdy plastic case with a bolt-on cover. Unscrew the bolts, remove the housing cover and remove the filter. If the filter is paper, then it must be blown through with a compressor, but it is better to replace it with a new one. But more often in ATVs, foam rubber filters impregnated with a special liquid are installed. If the foam rubber is elastic enough, devoid of visual defects, then it can be washed, otherwise, you need to spend money and buy a new filter element.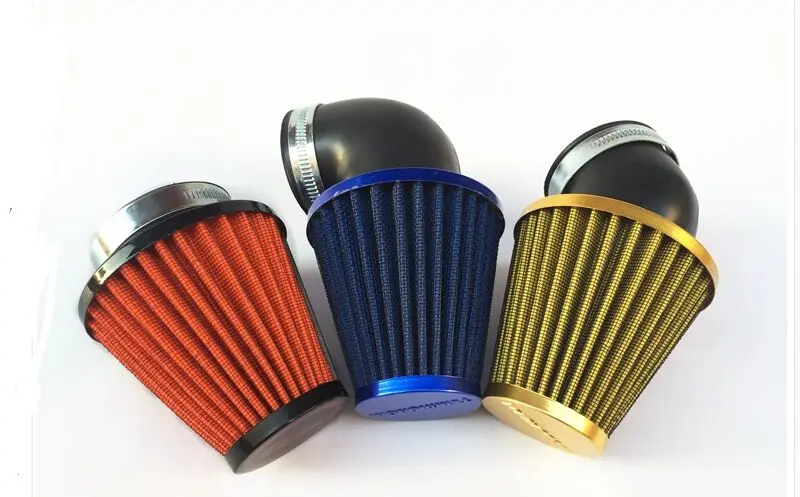
Soiled foam rubber can be washed in gasoline: pour about a liter of gasoline into a container, lower the filter into it and rinse it, wringing it out periodically. Next, the foam rubber must be dried and soaked with a special liquid or ordinary engine oil, gear oil is also suitable. Among the disadvantages of washing in gasoline: fire hazard and the possibility of destruction of foam rubber, since not all types of foam rubber have gasoline resistance.
Therefore, we suggest you use a more “humane” method for foam rubber - washing in a regular washing powder or any other detergent. In addition, as practice has shown, this method gives excellent results. After washing in powder, the air filter must be dried and impregnated with a special liquid, engine or transmission oil.
After putting the filter element into working condition, do not forget to clean the filter housing itself from dirt and dust. And then: laying the filter, screwing the housing cover, installing the seat and - you can go out again!
Cleaning is, of course, good, but do not forget that the filter sometimes needs to be changed.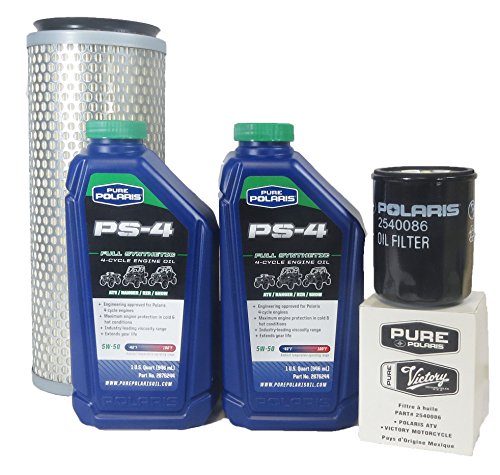 Inspect the filter for damage, tears, disintegration and shrinkage of the foam. Keep an eye on the condition of the air filter, and may the health of your ATV engine come with you.
Eduard Raskin
While the whole country is in quarantine, studying reports from the coronavirus front, there is a myriad of free time. How not to read posts in auto communities and not look for a new element to improve your own car? One of the most popular "hot" questions was, oddly enough, the air filter.
It all started with a cabin filter, which was proposed to be impregnated with alcohol or bleach, or even Miramistin, and ended “for peace”. The drivers began to argue about how to finalize the "air". The story is actually "with a beard", but a consensus has not been found. Well, let's try to figure it out.
Photo youtube.com
So, the air filter is necessary to clean the air entering the cylinders from dust and debris. After passing through the barrier, the air enters directly into the furnace, where it mixes with fuel and creates the mixture necessary for the operation of the motor. If there is not enough air (for example, the filter is clogged), the motor begins to choke. If the filter is removed, then dirt will enter the cylinders, which will cause irreparable damage to the internal combustion engine. This is theory.
However, experienced connoisseurs have noticed that if a little oil is added to the composition of the air filter, the cleaning will be more thorough, and the amount of dirt lying in the filter housing will be significantly reduced, simplifying subsequent replacement. Moreover, ZILok is usually cited as an example, in the air filter housing of which at least a liter of engine oil was poured. Another argument is the so-called "zero resistance filters", which are often used on sports cars and motorcycles. They should also be treated with special oil.
Combining both of the above examples, we get a situation: a car owner buys a new “air vent”, impregnates it with engine oil and expects explosive dynamics from his car. According to the plan, such an operation should turn Moskvich into a Ferrari. Alas, everything happens exactly the opposite: the car starts to troit, stall and stops driving at all.
Photo zil131.net
The fact is that the oil that the driver poured onto the filter was absorbed and significantly reduced the amount of air that the engineer expected in the cylinders. Not enough air - a lot of problems. Old engines, such as those on ZIL, consumed much less oxygen, were low-forced and therefore, by the way, very reliable. At that time, no one really thought about fuel consumption and efficiency, as well as about the environment. We needed heavy equipment that could work in difficult conditions. With motorcycles and racing cars, everything is not so simple either: indeed, their filters are impregnated with oil, but the filter itself is built differently, and requires regular maintenance. It must be constantly washed and re-impregnated with a special oil. And not motor from a canister.
Only one fact speaks in favor of the theory of impregnation: many Japanese companies - Nissan and Subaru, for example - do impregnate air filters with oil, but they do it on the conveyor under special conditions. In the garage, doing a similar operation will not work: the filter will either remain dry or stop letting air through. The golden mean cannot be found manually.
The only affordable and comprehensively correct solution is to purchase only original "consumable" materials and strictly follow the regime for their replacement. Otherwise, the engine itself will begin to impregnate the air filter with oil. And this is already very bad. This is a complete overhaul.
What must be done to clean the air entering the Auto Salon
25426
What must be done to clean the air entering the Auto 9000 25426
Subscribe to the Avtovzglyad channel:
