Mar 12th 2018
Honda Motor Company is currently the world’s largest manufacturer of internal combustion engines by volume with over 14 million engines produced annually. The Japanese keiretsu, or conglomerate, is famously known for producing automobiles, power equipment, aircraft, powersports vehicles, and even robotics. However, it’s the company’s success with motorcycles and engine production that have earned them the top spot as the world’s largest motorcycle manufacturer; a title they’ve held since 1959. Honda’s all-encompassing range of motorcycles, from dirt bikes to touring cruisers to high-performance sport bikes, has allowed them to best even the most legendary motorcycle marques including Harley-Davidson, Indian, Triumph, BMW, and Ducati, as well as their contemporaries in Yamaha, Suzuki, and Kawasaki. When the Jiger Corporation introduced the world’s first all-terrain vehicle (ATV) in 1965, Honda was one of the first motorcycle manufacturers to attempt to capitalize on its success and stake their claim in this new market.
1970 Honda ATC90
In 1970, Honda developed their very first ATV called the ATC90 (originally known as US90). It was a 3-wheeled, motorcycle-based concept that was designed to tackle most any terrain and environment. In 1984, Honda’s first 4-wheel ATV, the TRX200, was released followed by the first 4-wheel drive ATV, the TRX350 FourTrax 4X4, 2 years later. By applying the same spirit of innovation to their ATV series as their motorcycle lineup, Honda became one of the leading names in ATV powersports vehicles and is currently one of the market’s best-selling manufacturers.
2006 Honda TRX450R
Owners of Honda TRX series ATVs such as the high-performance TRX450R all know that proper maintenance is crucial for long-term reliability. One of the most basic and routine of maintenance tasks is the oil change. Oil is the lifeblood of your engine and regularly-scheduled oil changes, regardless of how often or how little you use your sport ATV, will ensure that your four-wheeler is ready to take on the next off-road adventure or outdoor excursion with ease.
The engine in your Honda TRX series ATV may have either a dry-sump or wet-sump type oiling system. In a dry-sump system, the oil reservoir is kept separate from the engine and uses 2 or more pumps to send oil to and from the crankcase. A wet-sump oiling system places the oil reservoir, or oil pan, directly underneath the crankcase and uses only 1 pump. Dry-sump oiling systems are typically used in high-performance or racing applications whereas the conventional wet-sump system is found on most everyday passenger cars, trucks, and motorcycles.
Here, we’ll cover how to change oil in a Honda TRX450R 4-stroke engine that uses a dry-sump oiling system. The directions are the same as changing the oil in a vehicle that uses a wet-sump, but without the additional step of draining the auxiliary oil tank. If you’ve ever changed the oil in your car or truck by yourself, you’ll have no problem changing the oil in your Honda ATV. If you’ve never changed oil yourself and always had someone else do it, here’s a chance for you to learn a simple and important maintenance skill that’ll prolong the life of your sport ATV as well as save you some extra bucks.
Fire the engine and let it idle for about 5 minutes, then shut it off. You always want to change the oil when it’s at temperature. Oil flows freer when it’s hot and this is the most effective way to clear out as much of the old contaminated oil as possible before replacing it with fresh new oil.
Place your oil drain pan underneath the engine of your ATV. If your ATV’s engine utilizes a dry-sump oiling system (as in the case of the Honda TRX450R), loosen the dipstick on the oil tank to relieve internal pressure.
Move around to the opposite side of the ATV and remove the two 8mm bolts that secure the oil filter cover. There is oil in this compartment, so make sure that your oil drain pan is still underneath the ATV. Once the bolts have been removed, take off the oil filter cover and let the excess oil drain completely. While you have your oil filter cover off, now would be a good time to inspect the o-ring gasket that seals the cover to the engine block. If you notice any visible cracks or wear, replace the o-ring gasket (HQ Powersports sells Winderosa OEM-quality replacement oil seals and complete gasket kits for Honda ATVs, including the TRX450R).
 Tighten both bolts securely.
K&N filters aren't just for cars and trucks!
K&N Engineering is, perhaps, the most popular brand in automotive filter technology. Famous in the automotive world for their line of washable cotton gauze air filters and performance cold air intake systems for cars and trucks, K&N also develops a full line of spin-on and cartridge-type oil filters for motorcycles, ATVs, and powersports vehicles. K&N oil filters meet and exceed OEM specifications and are designed and engineered to outperform the stock standard filter, all without voiding the manufacturer’s warranty. K&N filters trap more harmful particulates and contaminants as well as allow for greater capacity flow at higher rates.
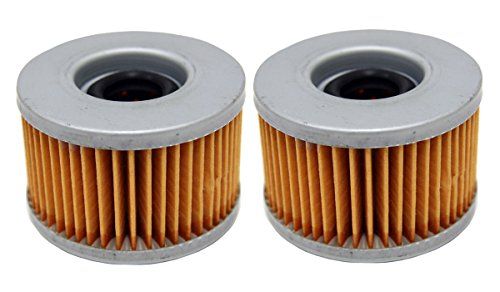
At HQ Powersports, we’re proud to be a retailer for K&N Engineering and we stock a full array of replacement K&N cartridge oil filters for ATVs such as the Honda TRX450R.
Remove the dipstick (on a dry-sump system, the dipstick will be on the oil reservoir tank) and insert the funnel. The oil capacity for the Honda TRX450R is 1.9 quarts, but you cannot pour in the amount all at once. Instead, gently pour in the first quart, remove the funnel, then reinsert the dipstick. Turn on the engine and have it idle for 15 seconds. This lets the new oil begin to circulate throughout the crankcase and the engine. While the engine is running, visually inspect the drain bolts and oil filter cover bolts for leakage. If leakage is discovered, stop the engine immediately and re-tighten any loose bolts. If no leaks are found, shut the engine off after 15 seconds, remove the dipstick, reinsert the funnel, and pour in the remaining 3/4ths of the second quart of oil. Remove the funnel, reinsert the dipstick, and fire the engine for 3 minutes. After the 3 minutes, shut off the engine and check the dipstick. If the level on the dipstick reads ‘UPPER’, you have properly refilled the oil to the specified capacity.
It’s that simple!
Basculer la navigation
 2016
2016
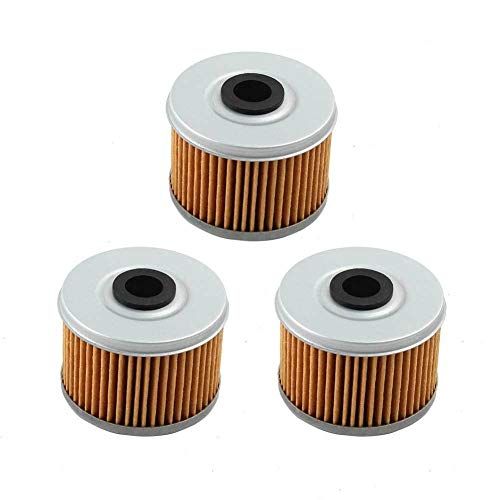
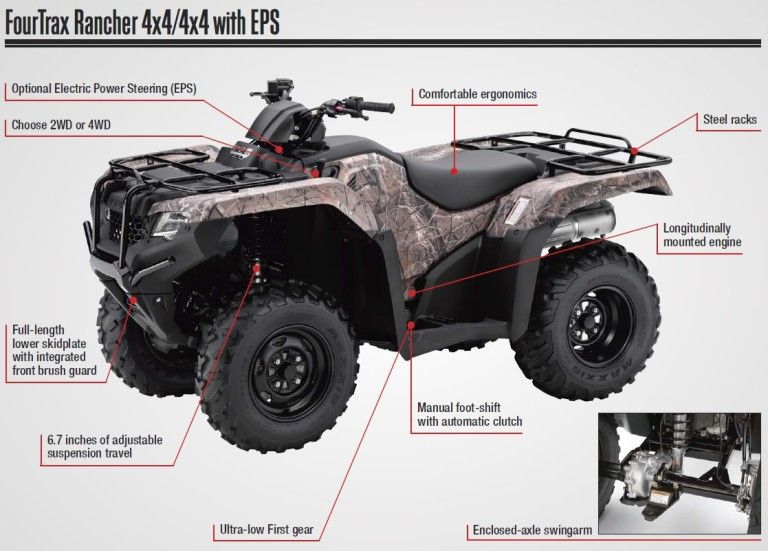
The demand for higher-performing filtration systems on ATVs and motorcycles has blossomed – first from the racing community, then among sport and working ATV operators. K&N's focus on ATV performance has led to the production of the KN-114 Powersports Cartridge Oil Filter designed specifically for the more than 30, 2009-2016 Honda Rancher, Fourtrax Rancher, Pioneer and Fourtrax Foreman ATV models. Most ATVs live in a demanding performance environment, from herding and hauling on the ranch or farm, carrying happy campers, or taking off on an impromptu friendly competition, and it is usually on rocky off-pavement terrain. The engine works hard, and to keep it at peak performance, a KN-114 replacement oil filter is the right part for the job.
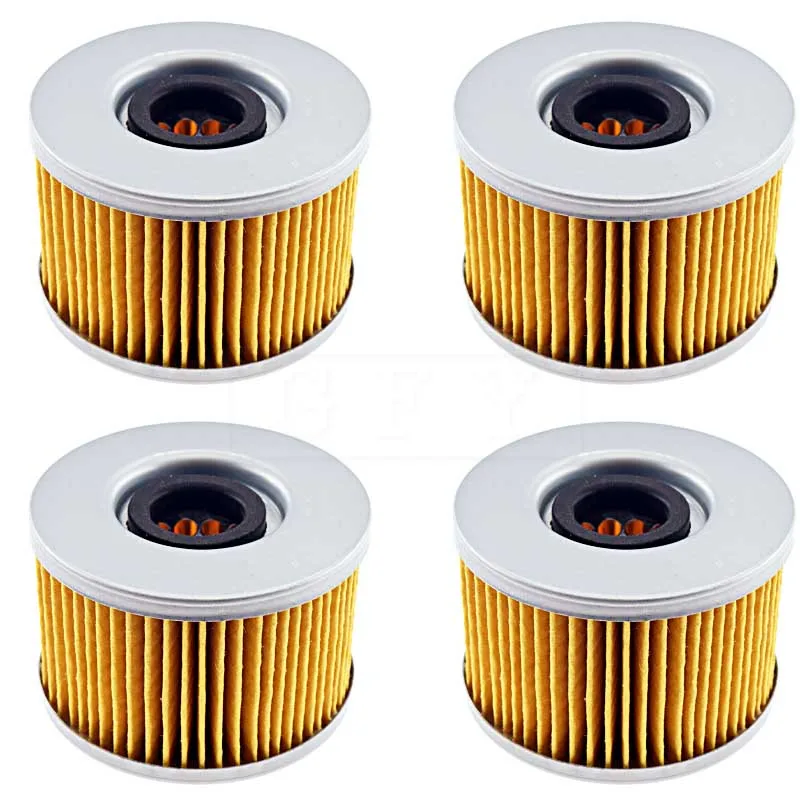
As in automobile applications, a K&N Powersports Cartridge Oil Filter excels at trapping harmful contaminants and its construction allows for high oil flow rates. It is also extremely capable of handling high-end synthetic motor oils, a must for the most current ATV models. The KN-114 replacement oil filter is simple to install, while being mindful of the manufacturer's recommended service intervals and engine specifications. The filter can be used with confidence, having a limited warranty that covers defects in materials and workmanship standing behind the product. When shopping for a replacement powersports cartridge oil filter, owners of Honda ATVs are going to find that this segment of the marketplace presents an array of choices, but they won't have to look further than K&N. The K&N Cross Reference listing shows the KN-114 will replace this part number: This Vehicle Applications List includes those ATVs that can use the KN-114 Oil Filter: K&N suggests using the K&N application search to find the correct oil filter for your ATV, and then refer to the K&N dealer search to locate a K&N dealer near you to make your purchase. | |||
| |||
Categories
Recent posts
11/23/2015
Many different filters are used in automotive systems. Their general purpose is to cleanse the corresponding flows that affect the functioning of the engine or other components of motorized equipment. One such filter is the air filter. It cleans the air entering the engine from road dust and various impurities that harm the engine. The absence or poor performance of the air filter significantly reduces the life of the engine, and if it is not replaced, flushed and lubricated in a timely manner, the engine of your ATV will become much noisier, its power will begin to drop, and eventually the motor may refuse to work at all. In the case of replacement or high-quality cleaning of the air filter, there will be a decrease in noise and an approximation of the air flow to a uniform distribution.
For ATVs, the problem of the air filter is the most acute, compared to other modes of transport. This type of equipment is used when traveling over rough terrain, where there is much more dust than on roads. All summer long you rode your ATV around the neighborhood in large numbers, of course, now you need to replace or flush its air filter, otherwise next year you won’t be able to conquer the slopes so famously.
Ambient air enters the carburetor through the ATV's air filter, which sooner or later (depending on the ATV's operating conditions) becomes clogged with dust and aerosols contained in the ambient air. Dust is the main "enemy" of ATVs, because off-road driving in dry weather is necessarily accompanied by clouds of dust. Imagine now the condition of the air filter of an ATV after a long ride on a dusty off-road.
Of course, it is difficult to come up with some kind of general average figure for the mileage after which it is necessary to clean or replace the air filter - it all depends on your driving style and the quality of the road surface. In any case, after extreme rides, including swim rides, it is recommended to check the condition of the air filter.
So, let's proceed to the inspection and cleaning of the air filter. Typically, an ATV air filter is located under the seat, in a sturdy plastic case with a bolt-on cover. Unscrew the bolts, remove the housing cover and remove the filter. If the filter is paper, then it must be blown through with a compressor, but it is better to replace it with a new one. But more often in ATVs, foam rubber filters impregnated with a special liquid are installed. If the foam rubber is elastic enough, devoid of visual defects, then it can be washed, otherwise, you need to spend money and buy a new filter element.
Soiled foam rubber can be washed in gasoline: pour about a liter of gasoline into a container, lower the filter into it and rinse it, wringing it out periodically. Next, the foam rubber must be dried and soaked with a special liquid or ordinary engine oil, gear oil is also suitable. Among the disadvantages of washing in gasoline: fire hazard and the possibility of destruction of foam rubber, since not all types of foam rubber have gasoline resistance.
Therefore, we suggest you use a more “humane” method for foam rubber - washing in a regular washing powder or any other detergent. In addition, as practice has shown, this method gives excellent results. After washing in powder, the air filter must be dried and impregnated with a special liquid, engine or transmission oil.
After putting the filter element into working condition, do not forget to clean the filter housing itself from dirt and dust. And then: laying the filter, screwing the housing cover, installing the seat and - you can go out again!
Cleaning is, of course, good, but do not forget that the filter sometimes needs to be changed. Inspect the filter for damage, tears, disintegration and shrinkage of the foam. Keep an eye on the condition of the air filter, and may the health of your ATV engine come with you.
A dirty air filter on a scooter significantly enriches the fuel-air mixture, as a result of which the scooter loses power, increases fuel consumption, deposits in the combustion chamber and muffler (if the scooter is two-stroke), the scooter is unstable.
To avoid such problems, it is recommended to clean the scooter's air filter regularly. Depending on the model of the device, as well as the operating conditions of the scooter, flushing can be carried out at intervals from 500 km to 2000 km. What does this mean? For example, the scooter is operated in rural areas, where the concentration of dust on the roads is especially high, and the air filter is located close to the road surface, near the wheel itself. Naturally, it will need regular cleaning every 500 km and subsequent impregnation with a special compound (if the filter is foam rubber).
However, if the scooter is used in a metropolis where there is quite a bit of dust, where roads are washed regularly, and the filterbox suction pipe is located in a protected place (for example, as on Honda Lead scooters), even after 2000 km, the concentration of dust in the foam element will not be sufficient to create significant resistance to the passage of air flow to the carburetor, provided that the lid of the filter box is hermetically sealed. The tightness of the contour determines the presence and quality of the gasket between the two halves and the quality of the tightening elements, usually self-tapping screws.
It is important to know that some models of scooters are equipped with paper filters that cannot be cleaned and only need to be replaced with similar ones. Sometimes it is possible to select for these models an analogue of a foam rubber filter with an identical throughput.
0003
So, you have removed the scooter's foam filter element, determined that there is no obvious damage.
Proper rinsing can only be carried out in gasoline or in ordinary warm water using detergents (dishwashing detergent or washing powder). Now you can also buy a special tool for washing foam air filters.
Consider each item separately:
Pour a small amount of petrol into a separate container. The filter must be thoroughly washed in it, and then rinsed in clean gasoline. After that, squeeze carefully. This method allows you to install the filter on the scooter without pre-drying. It is enough just to treat it with a special impregnation or engine oil, more about this in paragraph 3.
This method is also effective. The foam element is washed in warm water using washing powder or dishwashing detergent. After that, rinse thoroughly and wring out. Then the filter must be dried until completely dry. It is not allowed to dry it with the use of hair dryers, and even more so, technical hair dryers.
After cleaning and drying the filter element, immediately before installation on the scooter, it must be impregnated with a special impregnation in cans or engine oil. This allows fine dust particles to stick to the filter surface and not pass further to the carburetor and CPG. Moreover, the foam air filter on a scooter without pre-impregnation does not even perform its functions by half, this is important to know.
If you use a special spray-on impregnation, which can be bought at any auto supply store, it is enough to cover the entire surface of the filter element with a thin layer. This liquid is very sticky and reliably captures even the smallest particles of dust.
If this impregnation is not available, you can use ordinary motor oil, the one you pour into the reservoir (for two-stroke scooters) or into the engine (for four-stroke scooters).