ATV Riders Forum > ATV Riders Mechanical Section > ATV Body > best way to paint rims?
PDA
View Full Version : best way to paint rims?
jordan 23
09-08-2009, 08:47 PM
hey guys i was wanting to paint my rims black there chrome right now what would be the best way to paint them and it stick..
06 Honda 450R
09-08-2009, 09:09 PM
only way to make it stick is to pc it
hack
09-15-2009, 10:39 AM
autozone sells rim paint, i've heard amazing results on car rims, and i read of some people doing it on quad rims, and it worked well, but not recommended for creek riding, obviously
quadboy-55
09-26-2009, 10:44 PM
PC, or Tremclad it. i cant see paint holding up well. and most door knobs these days dont have the common sense to remove the rim so it looks beautiful when its done and you got paint on youre tires.
hurley#68
09-27-2009, 11:11 PM
at your local auto parts store, look for DUPLICOLOR bed liner spray paint (smooth). its roughly 7 bucks. i painted my frame,sub frame,lower a-arm, and rims on a few of my quads/bikes... it works amazining!!!!!! and its indestructible!
87HONDATRX250X
10-06-2009, 09:13 AM
Originally posted by hurley#68
at your local auto parts store, look for DUPLICOLOR bed liner spray paint (smooth). its roughly 7 bucks. i painted my frame,sub frame,lower a-arm, and rims on a few of my quads/bikes... it works amazining!!!!!! and its indestructible!
Can you post a pic? I was thinking about doing my rims and my a-arms to. Does it hold up pretty good? How many coats do you suggest. Just scuff up the parts i want to paint?
Altusrider
10-19-2009, 10:14 AM
hey sorry took so long to reply.. i am about to do another set and i will take step by step pics.. the set i have done anlready are on a buddies quad and i cant get to it cause its in his storage unit
edit.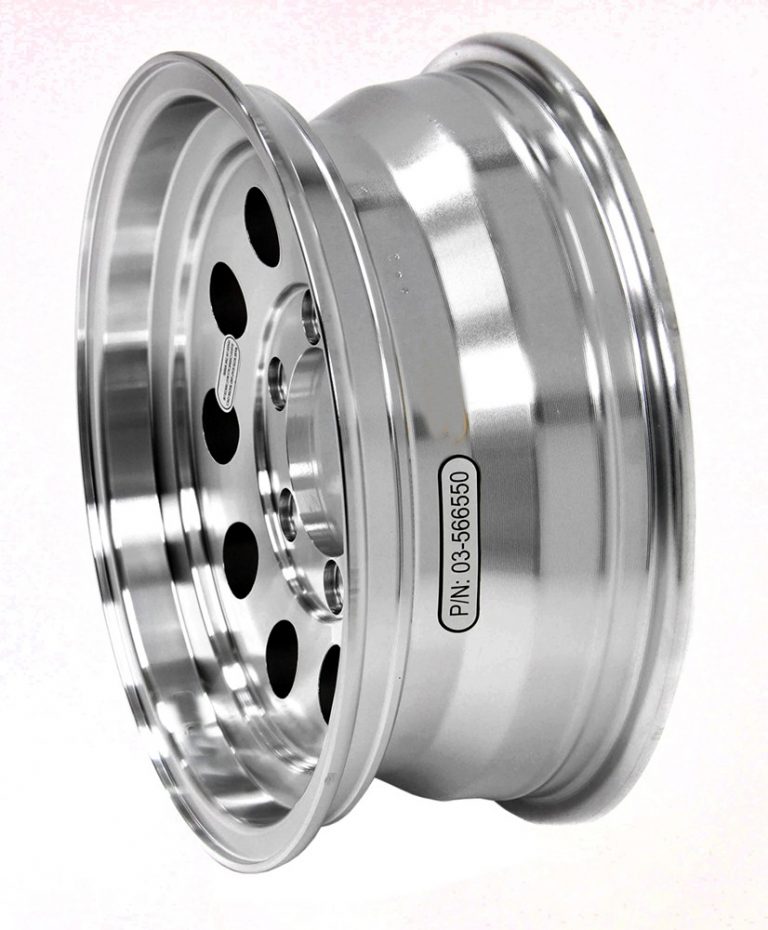 wrong thread but same topic.. ha
87HONDATRX250X
10-19-2009, 11:08 AM
Looking forward to it.
bobizzle
10-21-2009, 08:43 AM
i just finished painting my rims, i taped off a nice lip on both front and back, i sanded the inside of the wheel, and taped off the brass inserts for the lug nuts to sit, so when you take the wheels on and off the paint wont scratch and peel. i also used TSP, tri sodium phosphate, to clean the dirt, oils, and anything else that was left befind after sanding. i used two to three coats of black engine enamel. and i sprayed 2 coats of satin clear coat. when everything was dry and able to be handled, i used some blue magic rim cleaner to polish the lip. blue magic works well, and leaves a silicone residue behind, so that the dirt builds up on top, and you can easily wipe it up. i will try and post some pics asap.
bobizzle
10-22-2009, 10:52 AM
left side front and rear rims
bobizzle
10-22-2009, 10:55 AM
left rear rim and tire, this was a half *** done rims, when i get new tires, i will strip it down and repaint it w/o the tires on it. i also taped off the lug nut holes, so that when you screw them on, then the paint will not chip and scratch. if you have any ques just ask, also the pic quality is not the best because it was off an i-phone.
bobizzle
10-22-2009, 10:58 AM
there are a few little chips around the valve stem because i accidently got some grease of the rim before paint, i put grease on the valve stems, so that when i was done spraying, i could just wipe off the paint. the best way to do it is to unmount the tire from the rim, and take out the valve stem, then prep the rim for paint.
troybilt
10-22-2009, 11:05 AM
i've used this stuff before. Is ridiculously durable... DURACOAT
Tried it on an old shotgun and it is impossible to scratch off, I always wonder how it would hold up on ATV parts.
http://www.lauerweaponry.com/
bobizzle
10-22-2009, 11:20 AM
damn, i might have to order some of this and try it out.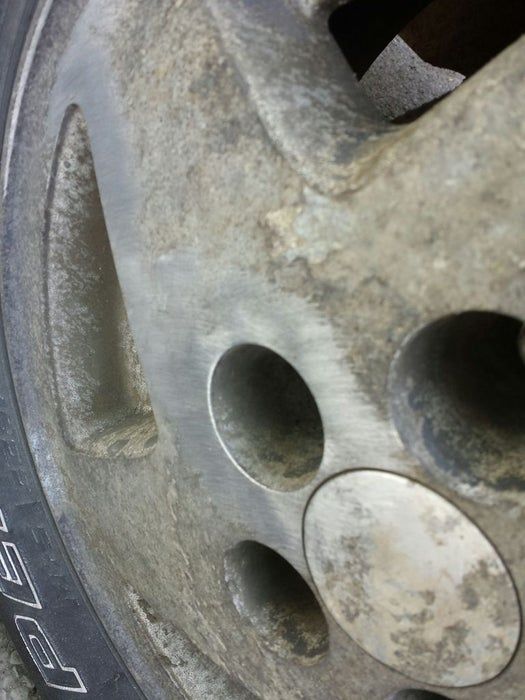
87HONDATRX250X
10-22-2009, 11:29 AM
thanks for the wright up!
jordan 23
10-23-2009, 08:34 PM
heres what i did i just started only got one painted right now but the rest are ready going to finish tommorow...i first took a electric drill and put like a steel brush pad in it and sanded the rims down so the paint would stick better and then took air hose and blowed them off after that took brake cleaner and srayed on them and whiped all them down with a rag to clean anything left on them after that i sprayed etching primer on them then i used dupli color semi gloss black engine enamal going to put a few coats of that on and then going to put a few coats of clear coat on i think its called dupli color wheel clear coat so far i think its looking great
bobizzle
10-24-2009, 07:54 AM
do ya have a pic of the wheel ya already did? i would like to see how it came out
jordan 23
10-24-2009, 09:49 AM
ill tryin post some soon but i havent put clear coat on it yet so once its done i will i was goin to finish today but its not sunny and its cold
bobizzle
10-24-2009, 07:26 PM
yeaah, i know what cha mean, i bead blasted some parts for my friend, but its could and damp out tod, had to spray a ruff coat of primer, and imma bead blast it off again before i paint it
jordan 23
11-13-2009, 06:42 PM
sorry it took so long had some delays they turned out really good thou the back ones are not finished yet.
jordan 23
11-13-2009, 06:52 PM
close up looks like a missed a little spot on hub i just went over the hubs fast
Pappy
11-13-2009, 07:15 PM
Have them powdercoated....
http://farm3.static.flickr.com/2660/4101385721_dbd25ea464_o.jpg
jordan 23
11-13-2009, 08:14 PM
how much would it cost for 4 wheels just normal black pappy??
Pappy
11-13-2009, 09:20 PM
standard bare aluminum rims are $20 each
hack
11-13-2009, 10:56 PM
powdercoating or annodizing is def the way to go on these. i used truck bed liner and after a days worth of riding on trails and creek, there were very few scratches. if you only ride track, you'd be completely fine.
Powered by vBulletin® Version 4.2.1 Copyright © 2022 vBulletin Solutions, Inc. All rights reserved.
JavaScript is disabled. For a better experience, please enable JavaScript in your browser before proceeding.
1 - 18 of 18 Posts
 A.Rinconrider ·
 1 - 18 of 18 Posts
 Please consider creating a new thread.
Join now to ask and comment!
Continue with Facebook
Continue with Google
or sign up with email
Top
Photo from social networks.
Worn and cracked wheels can turn even a luxury car into a wreck. Not for nothing they say that the wheels are half the responsibility for the appearance of the car. However, high curbs and road reagents are not dormant - the disks, alas, quickly deteriorate. However, there is a simple and, most importantly, inexpensive way to restore their former gloss and even add a “zest”. Which one, the AvtoVzglyad portal will tell.
Eduard Raskin
Another scratch — it's about the wheels. Either let the ambulance pass, or park in the center, right next to the granite, or simply from fatigue: the wheels suffer much more often than the body.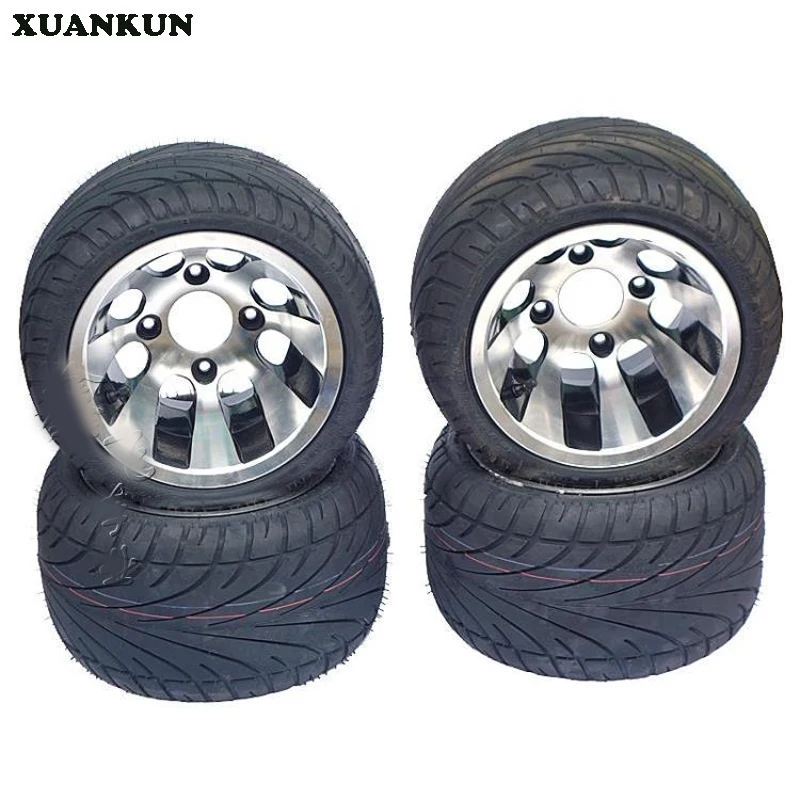 And the larger the disks with a radius, the more they get. I got ready, bought myself a really attractive kit with rubber in the style of "duct tape", and then you park the car a kilometer from the curb. However, even such precautions do not help - there will still be scratches. Which means it needs repairs.
There are thousands of companies on the service market that dream of taking on the restoration of your rims. Prices are different and often depend on the diameter and model, but if you sum it up, it's just "expensive". Waving your hand won’t work either - damage will quickly lead to delamination of the paint and destruction of the metal, and exponentially. It is necessary to repair, but the question is how, if the salary is no longer enough for everyday needs? There is only one answer - on your own.
Gather your strength, buy consumables and do the work yourself. Moreover, there is nothing complicated there, and tire fitting is not needed. It is foolish to claim an ideal result, but a “solid four” is within the power of every domestic driver, regardless of gender, age and political preferences.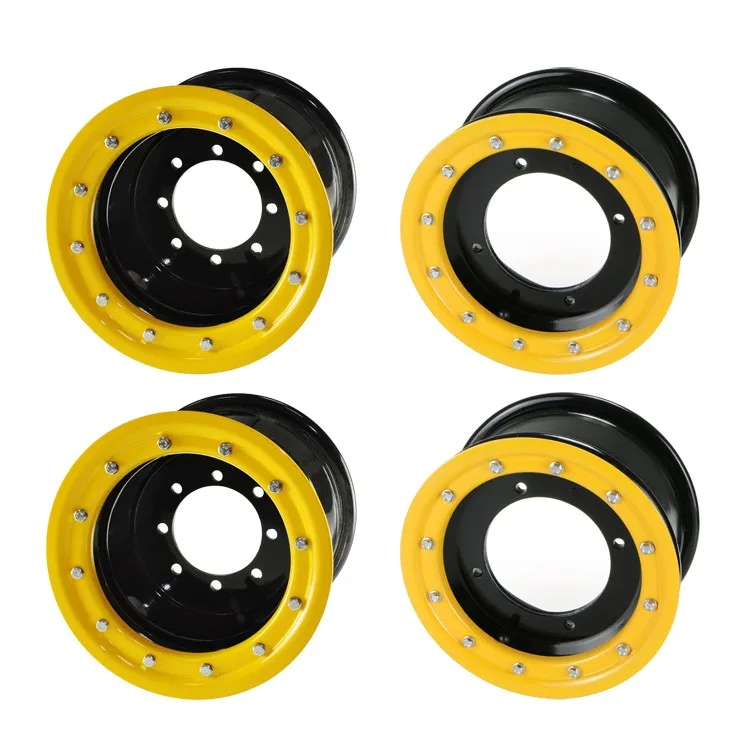
Photo dockermsk.ru
So, for complex restoration you need a primer and a special aluminum putty, degreaser and varnish, as well as paint. For the best result, you will need paint for the wheels - a couple of cylinders for four wheels will be enough with a margin. We will leave the fashionable procedure on the Internet with sticking playing cards around the disk to bloggers - we need a good old newspaper and masking tape.
First of all, wash and clean the disc from dirt, rip off the peeling paint with a blade. Having surveyed the resulting ruin, otherwise this spectacle cannot be called, we take a skin or drill with an appropriate nozzle and bring the disk into a decent look. The factory varnish should be peeled off, ideally sandblasted, but you can just walk with a grinder with a brush nozzle. The work is easy and you get the hang of it quickly.
Then - sandpaper: first 120, then 200, then 320. Blown with a compressor, degreased, applied primer, then putty the damaged areas.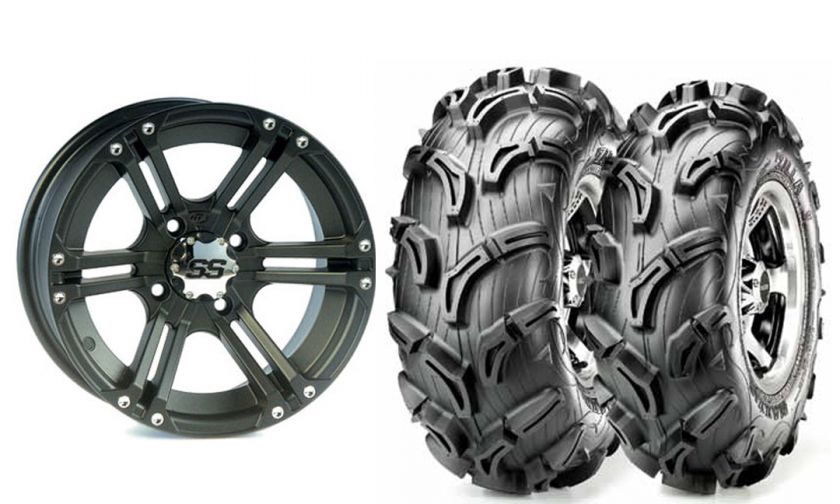 Putty is put in a thin layer, after which it dries for 20-30 minutes, and you can put more. Ten thin coats are much better than 1 thick coat. Here you have to sweat, but cunning and dexterity will come on the second wheel. Further - easier.
347239
Photo tvoirazmer.ru
When the putty is dry, you can sand it, giving it the desired shape. After - again degrease and prime. And you can paint: the first layer is spraying, then two dense ones. Smoke breaks between layers - about 20-30 minutes, but it is better to read the details on the paint can. After all, all manufacturers have their own requirements. After the last “pass” has set, you can apply varnish. We also purchase two bottles of it and put it in two layers. It's not hard to remember.
When choosing paint for wheels, you should forget about your native color - you will never pick it up - and choose the one you like. Dark, light, chameleon or bright - to your taste. The salt of history is not restoration, but putting in order.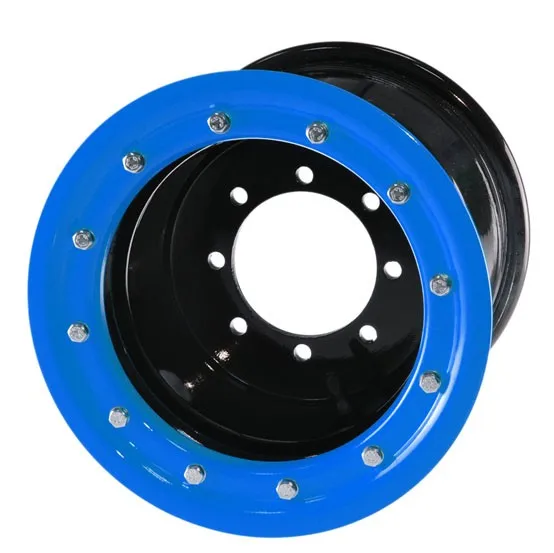 The main thing is that such work will take a whole day, but it will bring pleasure for many years. And the realization that it was made with your own hands - for the rest of your life.
The police took on car audio lovers
83176
Police took up lovers of auto -sound
83176
Subscribe to the Autovzglyad channel:
Polymer painting allows you to restore the old gloss of the rims or give them a new look. But only if everything is done right. The nuances and features of this technology - in the report of Ivan Krishkevich.
In a few years, wheel disks lose their original appearance: aggressive environment and mechanical damage (chips from stones, "lapped" on the edge curbs) quickly do their job.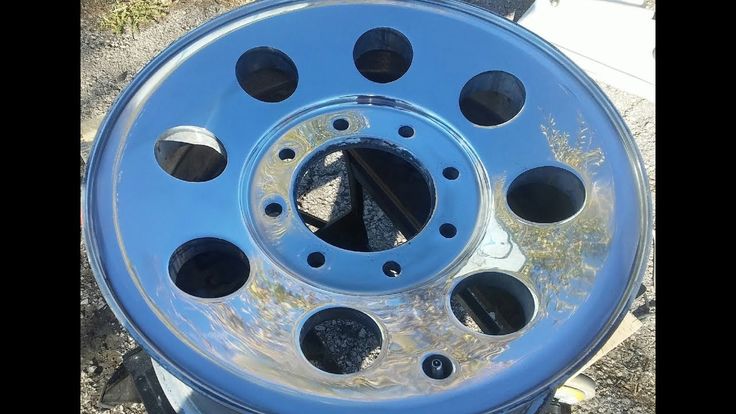 When it comes to steel wheels, the owners do not particularly bother. The same applies to inexpensive and old "casting" of the 13-15th dimension. But those motorists who are kind to the aesthetics of the car in general and its wheels in particular are ready to invest in the appearance of the wheels.
Taking into account the fact that a set of good "casting" of large dimensions can cost 2-3 thousand dollars, it is not advisable to buy new disks only because of the loss of appearance. Restoring and repainting will cost much less. At the same time, the car owner faces a choice: ordinary painting or polymer? We'll figure out!
- Compared to conventional painting, polymer painting has its pros and cons, - Andrey Kazak, director of DiskService, notes . - Among technological advantages - speed. On average, wheels are painted with automotive paint from three to seven days, and with a polymer this can be done as quickly as possible within a day. Liquid paint must be given time to dry. The polymer is baked in the polymerization oven, and it turns out faster. Each layer, when properly baked (depending on the size of the discs, material and equipment), takes from 30 minutes to an hour.
There are other bonuses. If aluminum alloy oxide has gone, then you can’t remove it with ordinary painting. Polymer painting technology involves preparation, in which sandblasting or shot blasting of the disc is used, after which the oxide is removed.
The resistance to minor mechanical damage of the polymer coating is higher, but if you continue to rub against the curbs, then no paintwork will help. Finally, the cost: on average, polymer painting of a set of disks is 1.5-2 times cheaper than conventional painting.
The color palette of polymers is smaller than that of liquid paint, and colors and shades must be selected from those available. There are some standard colors that people take most often.
Basic colors - glossy black, grainless and fine grained silver. Basically they want a factory. It's hard to find the exact shade, but it's possible to match it. It is impractical to buy a box of paint that will not be in demand. Here you can not buy 100 grams, you must immediately take the box. A good paint material costs from 20 euros per kilogram.
Some manufacturers (Audi, BMW) have rims with grooves on the front. It can be restored. An already prepared and painted disc with primer and base paint is placed on a machine with numerical control (CNC) - and the front part is machined. Then the bare metal is varnished, glossy or matt.
Looks nice, but the groove almost doubles the cost! And this is only for the summer season. The varnish falls on bare metal - the thickness and strength of such a coating is less than with primer and base paint. Therefore, the minimum chip "breaks through" to the metal, salt gets there with all the consequences. One, maximum two seasons - and you need to repaint.
Any wheels can be painted. But in order to make good chrome, you need to remove it by electroplating to get a smooth metal on which paint is applied. If the disc is sandblasted, then only the upper part of the coating is removed - it is matted. And this is bad in terms of the durability of the new coating.
What else? The entire disk must be repainted with a polymer, it will not be possible to "tint" it. If the disc was previously painted with polymer paint, it is much more difficult to remove it than usual.
Another important factor: a violation of technology is fraught not only with a loss of appearance - you can permanently damage the disk itself. Some offices sinned by violating the technology: in order to remove the old coating, they set 300-350 degrees in the polarization furnace. Yes, after such a "warm-up" the old coating is very easily removed, but the strength of the discs is lost.
Hence the "horror stories" that the wheels were destroyed after polymer painting. The whole point is in violation of the technological process. If everything is done correctly, there will be no problems with the disks. Therefore, the recommendation is to contact exactly those companies that specialize in polymer painting of disks and know all the nuances of this work. A lot really depends on this.
First of all, you need to check the wheels for geometry - they should be leveled before painting. Minor defects (shells, oxides, traces of borders) are immediately visible, some appear during the cleaning process. Looking ahead, I will say that minor defects are eliminated by grinding, large ones - by argon welding.
The quality of work depends both on the materials used and on compliance with the technology. But in any case, it all starts with the right preparation. Necessarily, in order not to spoil the surface of the disk, it is soaked in mild chemicals for several hours and only then is given for sandblasting or shot blasting.
Some workshops, in order to speed up and reduce the cost, do not use chemistry and use a coarse shot fraction (0.8). Yes, the paint flies off in a moment, but the surface will no longer be smooth, there will be craters. We make sure to soak the discs and give them for shot blasting, where fraction 0.3 is used - the surface is smoother than sandblasting.
If alloy wheels after sandblasting can lie for several hours, even a day - nothing will happen to them, then the steel wheel must be painted immediately after cleaning, otherwise corrosion begins to develop before our eyes!
This is followed by manual preparation. Using sandpaper by hand, the disc is completely "sanded", the surface is completely leveled so that it is smoother and even.
At this stage, shells, small chips, damage from curbs are eliminated. After grinding, the surface of the discs is degreased.
Then the prepared discs are sent to the oven, where they are about 40 minutes at a temperature of 200 degrees. This is how the degassing process takes place so that the air comes out of the small pores of the metal. At the same time, the stress of the metal after sandblasting is also removed.
Polish stoves cost from 20 thousand dollars, and this one is made in Belarus. More precisely, it is self-made, but the "brains" themselves are made by a very experienced electrician who made more than one such furnace. In addition, all technological features and needs are taken into account here, and the quality of work also depends on these nuances.
After "warm-up" the still warm discs are covered with primer, which is then baked in the oven. Low-temperature soils require 150 degrees, high-temperature soils - up to 200 degrees. The baking time depends on the equipment and takes from 30 minutes to an hour.
A powerful extractor is used to keep dust out of the painting area. By the way, the filters in the system are from MAZ!
After the primer has hardened, the discs are sanded again and prepared for painting. Minor damage to the disk can also be repaired at this stage.
Each subsequent layer (base paint, then varnish) after application is also baked. In this case, both the temperature and the time spent in the oven are important. If you underexpose the varnish, it then cracks. Underexposed paint - there will be no necessary adhesion, overexposed - it will be more fragile. In general, there are nuances in terms of both the selection of materials and the correct baking mode - their ignorance can result in the fact that all the work will go down the drain.
A lot depends on the materials. The most obvious: there are polymer paints that cannot be used on car rims at all - they are intended for products that are not outdoors. Some powder primers, on the contrary, are designed specifically for rims.
Next - the choice of manufacturers. Here, every experienced craftsman at one time tried many options before settling on those that are best suited - and he keeps this secret, does not reveal which materials he uses.