Asked
Modified 2 years, 1 month ago
Viewed 64k times
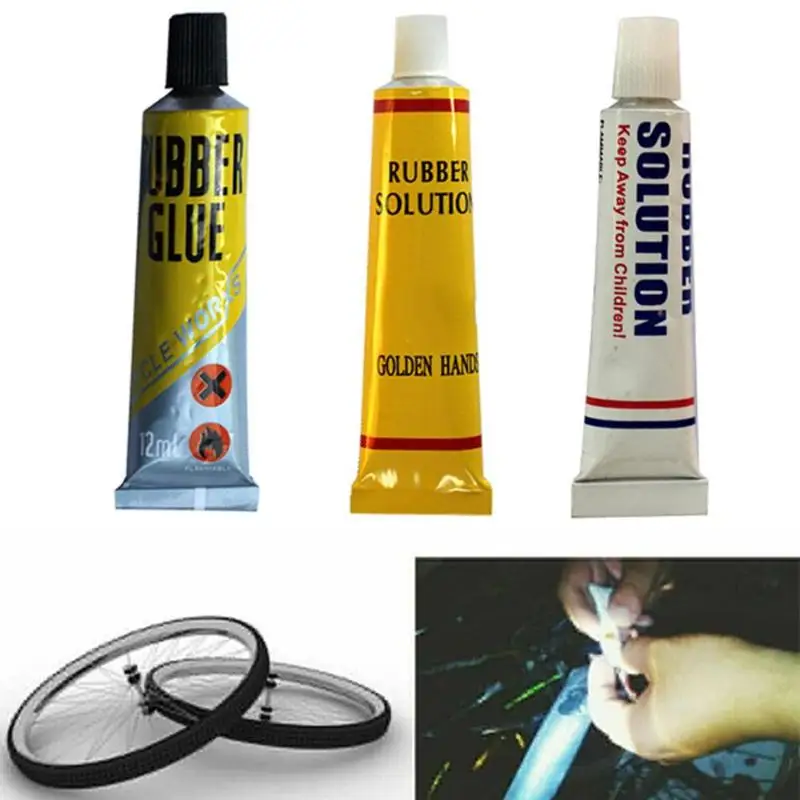
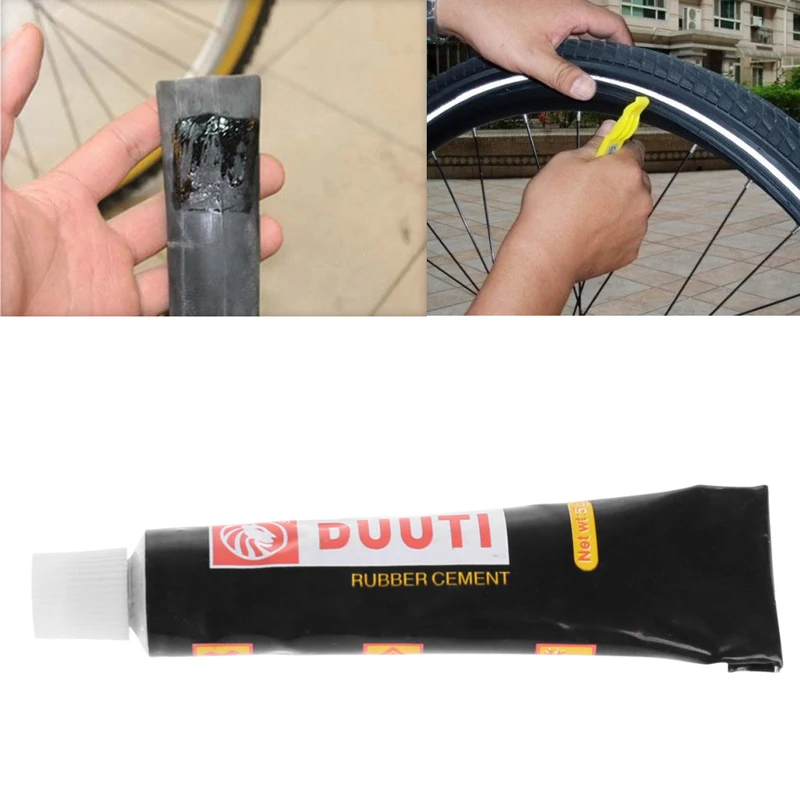
Is the rubber cement that you can buy at the stationery shop:
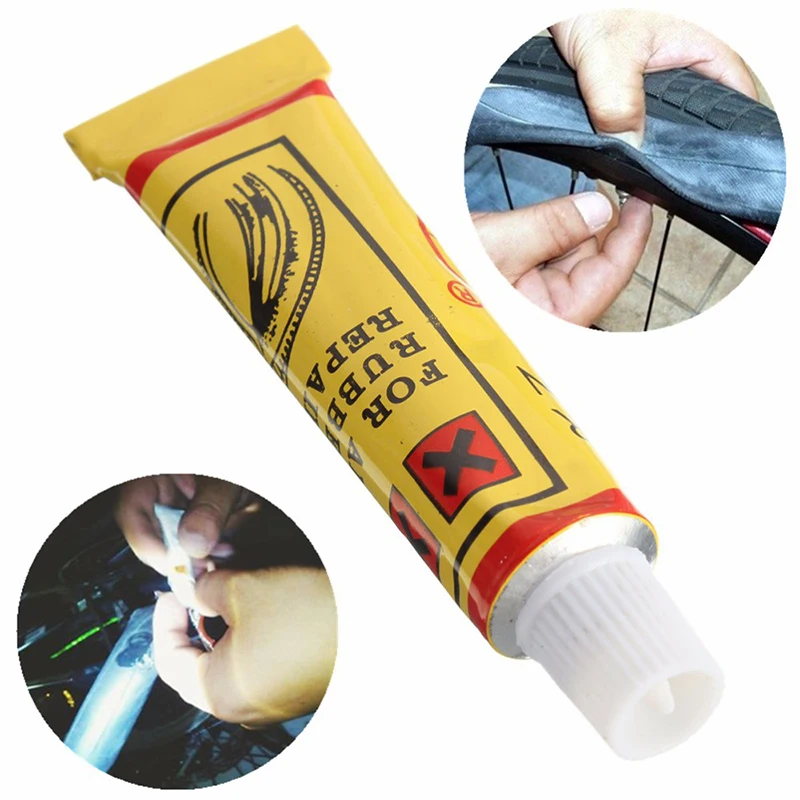
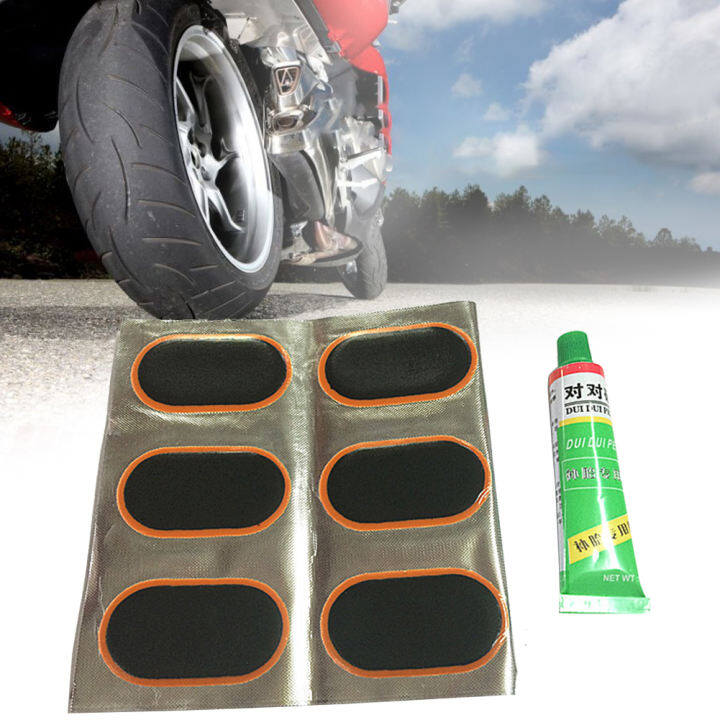
the same as what's in the little tubes of cement that come with your patch kit:
If not, then exactly what is different? What makes tire patches stick much more strongly?
9
The "cement" used in tire tube patch kits (de)vulcanizes the rubber in the patch and of the tube. Which is a chemical process, usually using sulfur, where the rubbers bond and form a stronger bond than just an adhesive would do.
Rubber cement is just a gooey adhesive. Usually latex with acetone and other chemicals to make it more pliant. You wouldn't want to use it to patch a tube since it is not very strong, will degrade the integrity of the surrounding rubber and patch, and in general make a mess.
6
They are both types of rubber cement but not the same
MSDS will tell you a lot
One difference is tire uses a mainly naphtha as a solvent and the elmers does not.
Park MSDS
Elmers MSDS
Looked up a couple other vulcanizing fluids and the commonality is the use naphtha as a solvent. According to this link naphtha is also rubber solvent. A bicycle tube is vulcanized but the surface is treated to de-vulcanized (you don't want it bonding to the tire). So I suspect the naphtha is used dissolve a little bit of the tube to expose the cross links (vulcanization) and the patch has exposed cross links.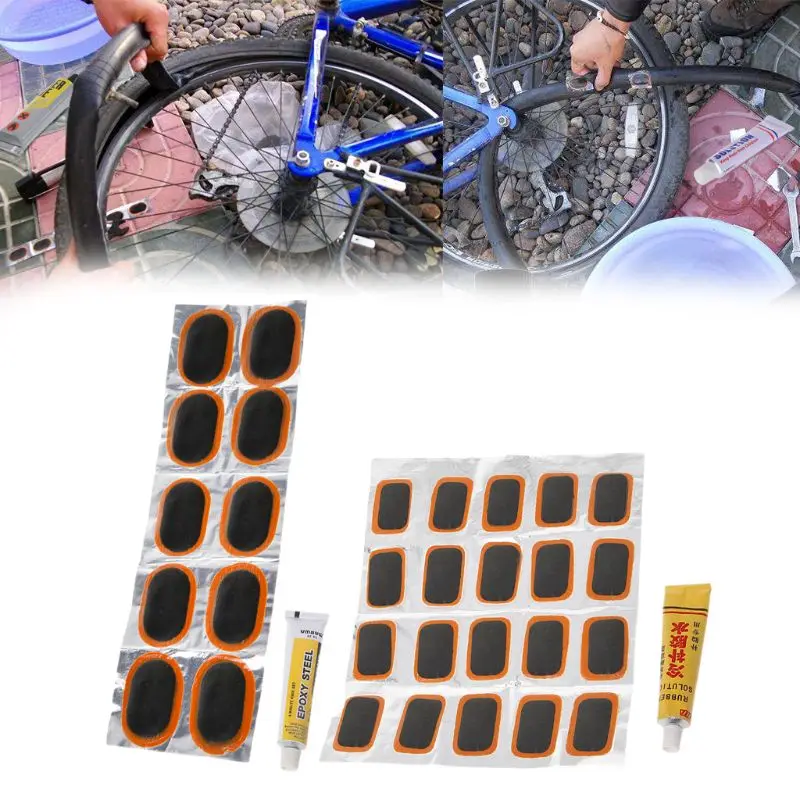 The adhesive part holds the patch to the tire long enough for these cross links to hold hands. Do I have a citation - no - could not find one. That is just my analysis.
16
A chemist on reddit answered this question fairly authoratively:
Chemist here - natural rubber is a polymer (long chain-like molecules). Vulcanizing adds cross-links (through disulfide bonds) to the rubber, basically turning the strands of rubber molecules into a net, greatly increasing strength. Bike tubes are vulcanized rubber, but the outer surfaces are treated such that all those cross-linking sulfur groups aren't reaching out and trying to grab anything. You put on some vulcanizing fluid (henceforth "glue") and a few disulfide bonds in the tube get broken and re-formed with bonds to the polymers in the glue. Once the glue dries (there's a bit of solvent that has to evaporate) the inner side of the glue spot is chemically bound to the tire.
The outer side is left with a bunch of free sulfur groups waiting to grab onto some other sulfur groups. Then you peel that piece of foil off the orange side of the tire patch (which exposes the free sulfur groups left on the patch) and press it to the glue spot - you've now made millions of chemical bonds between the patch and the glue spot. It's not really glued, though - the patch-"glue"-tire system is now one single molecule all chemically bound together.
The chemical bond holding things together is why:
The tube has to be clean and dry - the sulfur groups reaching out for something to grab onto will grab dirt, water, and other gunk instead of the patch.
You can't use duct tape or regular glue - these are sticky substances that don't vulcanize the rubber together. Rubber cement may hold a patch in place but it is NOT the same stuff.
Glueless patches kinda suck - the vulcanizing fluid in the little tubes works better at making bonds with the punctured bike tube.
You can make patches out of old tubes - at its most basic you're vulcanizing two pieces of rubber together, so two pieces of bike tube will stick to each other. TL;DR - Vulcanization. http://en.wikipedia.org/wiki/Vulcanization
So the take-away points are:
The "rubber cement" in the patch kit isn't a vulcanizing glue, it's a devulcanizing compound which breaks apart the little vulcanized polymer chains allowing for new cross-linking to happen
the naptha in the 'glue' is a carrier fluid that is designed to evaporate quickly
This also explains why:
you want the patch area clean
you want to use the sandpaper or scraper to scrape the rubber to expose some 'fresh' rubber
the 'glue' has to dry absolutely before you patch (as it's not 'glue' in the sense we know it)
a glued patch is as strong as the original rubber -- or stronger.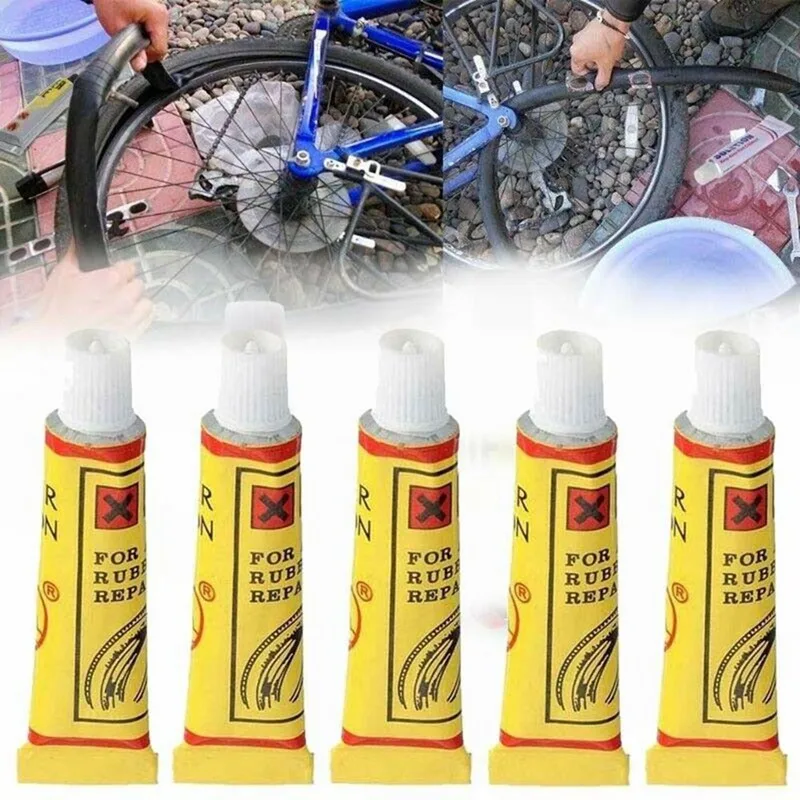
Plain ole Elmers rubber cent uses "n-Heptane". n-Heptane will dissolve rubber, and is used as a bonding agent for many types of rubbers, plastics, etc... Very similar to naptha. But different rubber cements use different chemicals.
I am a former boxer, and now an instructor. I have literally patched hundreds of rubber speed bag bladders. Also having four kids and eight grand kids, I have patched many a bike and off-road motorcycle tire. My grandfather taught me to cut old tire tubes to make patches, and use standard rubber cement. It wasn't until I was in college that I learned that not all chemical things are created equal. I have used plain ole off-the-shelf rubber cement with no problems. But now I usually look for Elmers (because I know it has n-Heptane in it), or I look for a tire patch rubber cement in the automotive or bike section. Motorcycle shops are a good place to look as well.
So the answer to the question is: Not all rubber cements are the same.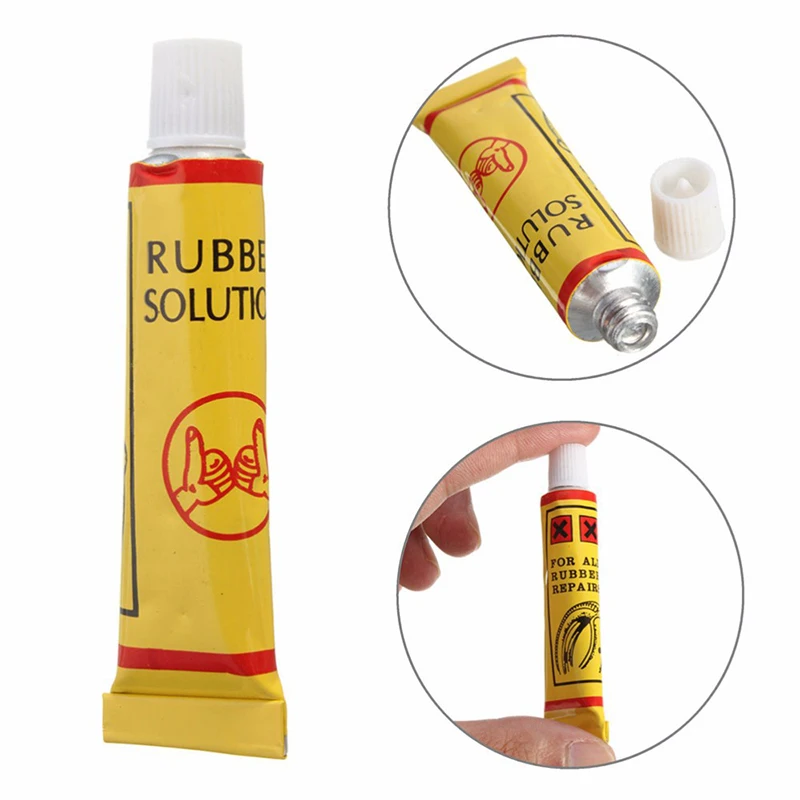 Read the SDS (formerly known as the MSDS). Have a great day.
I've used elmers rubber cement to patch tires with pieces of old tube countless times over the last 20 years and can't recall any of the patches failing. I simply roughened up the tire and patch-piece (usually at least 1-inch square, I don't bother to cut them round), applied rubber cement to both areas. Allow them to dry. Then apply. Used this method for high pressure racing tires and lower pressure mountain bike tires to the same effect. I've later taken the tubes out for subsequent patching of another puncture and seen my old patch and tried to see if I could peel it off (see if it was glued strongly or not, or merely being held in place by the tire pressure) and was not able to pull them off with my bare hands, so I'd say they were pretty secure.
1
While rubber cement and vulcanizing glue are different, rubber cement can be used to repair tube.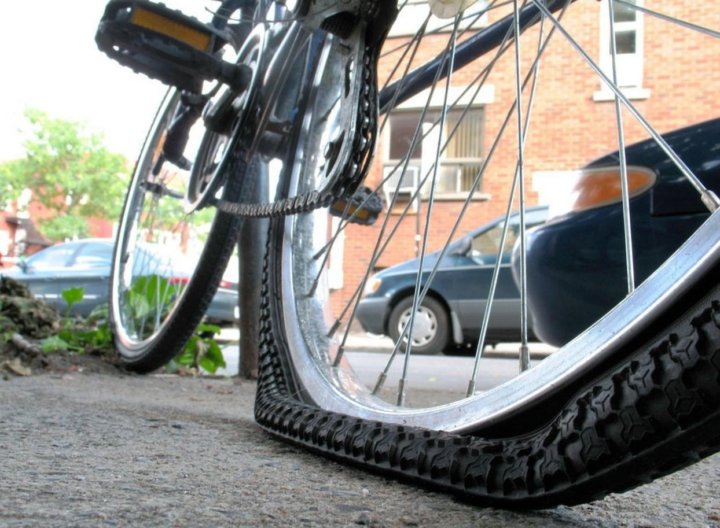 The keys are: 1) use large rubber patch, 2) apply rubber cement to both patch and tube 3) let the rubber cement dry for 10-15 min before applying patch to tube.
Assumung the tube is properly sized to wheel (ie it does not stretch to make circumference) the patch will hold. The most likely cause of failure is apply patch to early: the cement solvents need to evaporare away first. Also you absolutely have to apply cement to both sides. It is a cement-to- cement adhesion process.
Sign up using Google
Sign up using Facebook
Sign up using Email and Password
Required, but never shown
Required, but never shown
By clicking “Post Your Answer”, you agree to our terms of service, privacy policy and cookie policy
Reading time: 6 minutes • Published August 30, 2022 by Bradley Knight
Can you use tacky glue on fabric?
Please enable JavaScript
Can you use tacky glue on fabric?
If this post helps you, share it with a friend!
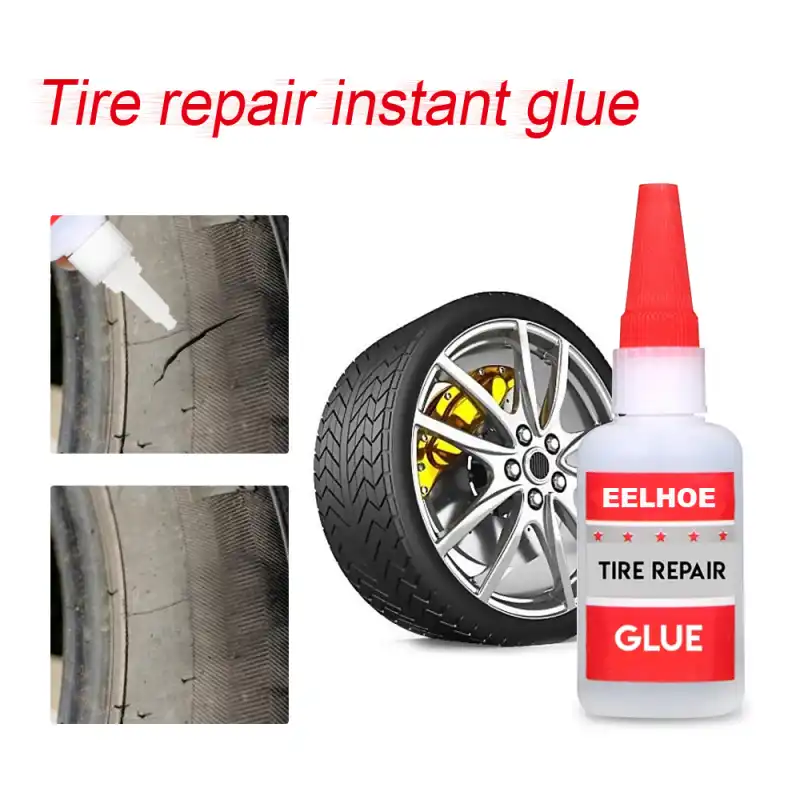
Flat tires are a common occurrence while cycling. And there are currently several methods for overcoming the inconvenience of a sudden flat tire, ranging from run-flat tires to tire sealants and down to traditional tire mending procedures. But can you use super glue to fix a punctured tire? If not, what type of clue can you use?
This article will teach you what super glue is, how it works, whether you can use it to temporarily fix a punctured bicycle tire, and the best types of glue to get the job done.
Thumbnail For A Blog Post Tittled Can You Use Superglue To Fix A Punctured Bike TireYou can use it, but it is not recommended. Although superglue may be effective in mending punctures, it is not intended for fixing tire punctures. In addition, after drying, superglue becomes stiff and very brittle. This means that any patch with super glue will eventually fail. However, there are some glues you can use that are specifically designed for temporarily fixing punctured tires that utilize rubber cement instrad.
Cyanoacrylate adhesive, also known as superglue, is an immediate, high-strength, fast-bonding adhesive designed to connect virtually any substance. Super glues are prized for their durability to temperature and moisture and are often used with stone, metal, wood, plastic, glass, ceramic, paper, and the majority of other common materials.
Superglue should not be utilized to patch or repair a puncture in tires or their associated inner tubes. Superglue (cyanoacrylate) gets dry, brittle, and inflexible after prolonged exposure to air. For this reason, it is simply not appropriate for tire mending. Thus, super glue is a poor option for tire repair.
You can use a vulcanizing rubber cement. This adhesive is composed of elastic polymers, such as gum arabic or natural rubber, dissolved in toluene, acetone, benzene, chloroform, or heptane. As the solvent evaporates, the polymers solidify and link the components together.
If you have a flat tire or want to be prepared if you get one, check out the volcanizing bicycle tire cement glue options below.
Gorilla tape can and is regularly used to fix tire punctures with satisfactory results. To be able to fix any tire puncture with gorilla tape, first locate the offending hole. Next, apply a little gorilla tape and spread it evenly and smoothly.
Press it firmly to ensure that it has adhered to the surface of the tire or tube, and that’s it.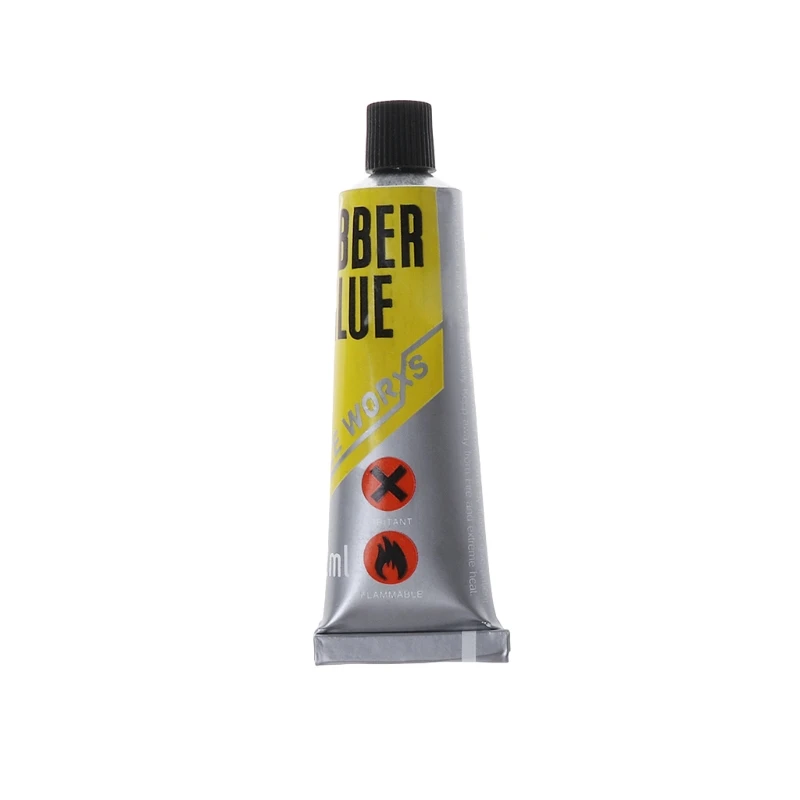 Your puncture is sealed and reliably too.
One advantage Gorilla tape has over most tire glue compounds is that it has significantly reduced the time it takes to satisfactorily execute a puncture, which is not more than 15 to 30 minutes.
Of course, duct tape can seal a tube or tire leak almost as efficiently as any other sealant. What’s more, applying it is the easiest and fastest means of fixing a tube puncture when considered side by side with other methods of puncture repair.
All you have to do is place the strip of duct tape over the hole while making sure that the hole is in the center of the applied tape. Then, wrap the tape around the tube and press it firmly for a more proper fix or adherence to the tube rubber, and you’re good.
Remember that using gorila and duck tape is only a temporary fix. You still need to eventually get a new tub or tire.
Image of an opened bottle of superglue on a tabletop.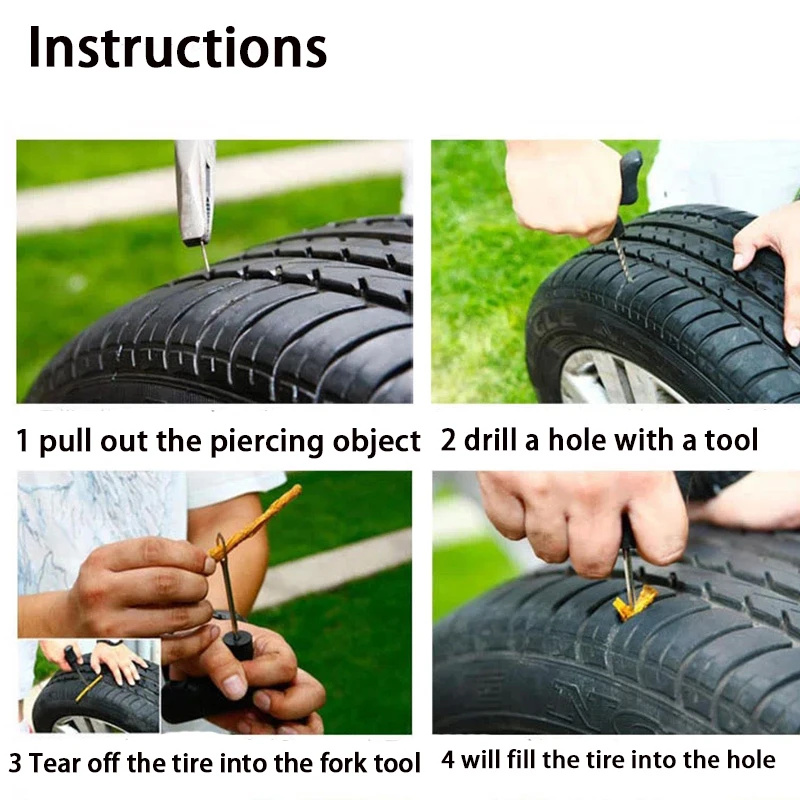 Source: Adobe Stock
How long this temporary fix will last depends on how hard you ride. It also depends on how good the puncture materials used are, how well the patching was done, and the condition or status of the punctured tube.
Just remember that superglue is brittle and won’t stretch when you ride, so it likely won’t last for more than a few rides.
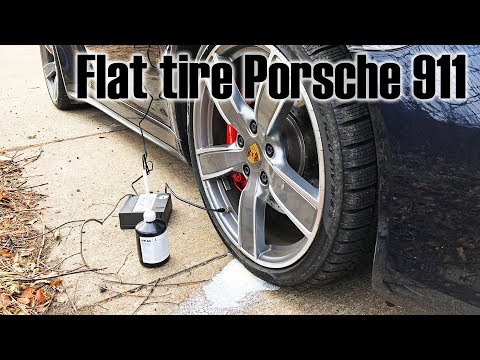
If you want even more tips and insights, check out this video called How to Fix a Flat Tire on a Bicycle from the Path Less Pedaled YouTube Channel.A video called How to Fix a Flat Tire on a Bicycle from the Path Less Pedaled YouTube Channel.
Advertisements
Do you still have questions? Below are some commonly asked questions about tire patching with glue.
Yes, it is certainly worth it a lot to patch a bike tube. Without even going any further, it should be clear that once done correctly and carefully; patched tubes are almost as good and durable as new tubes. Secondly, it is much more economical to patch up bike tubes than to go for new ones. Another glaring plus for tire patching is the simple fact that patching a tube is environmentally friendlier than its replacement with a new one.
A good superglue such as Loctite Super Glue Liquid Professional ( 20 gram) bottle can dry and set in just a few seconds. It can give full bond strength if you leave it undisturbed for up to about 10 minutes. It can also fully cure in a mere 24 hours and can last as long as possible unless the tire is punctured again.
Standard patches are durable and long lasting and are made with rubber cement. This sealing material makes the strongest bond, which can hold firmly for several years.
Since super glue is not designed for bike tires, it might cause more harm than good. However, if you’re desperate and the tire cannot wait, you can use a patch kit instead. Another way to get your bike going again if you don’t have a patch kit is by replacing the tube with one from another bicycle.
This article covered what super glue is, how it works, whether you can use it to temporarily fix a punctured bicycle tire, and the best types of glue. Here are some key takeaways:
So, were you planning on using superglue to fix our flat? And did I cover everything you wanted to know? And what do you think of my list? Let me know in the comments section below (I read and reply to every comment). If you found this article helpful, check out my full blog for more tips and tricks on fixed gear and single-speed bikes.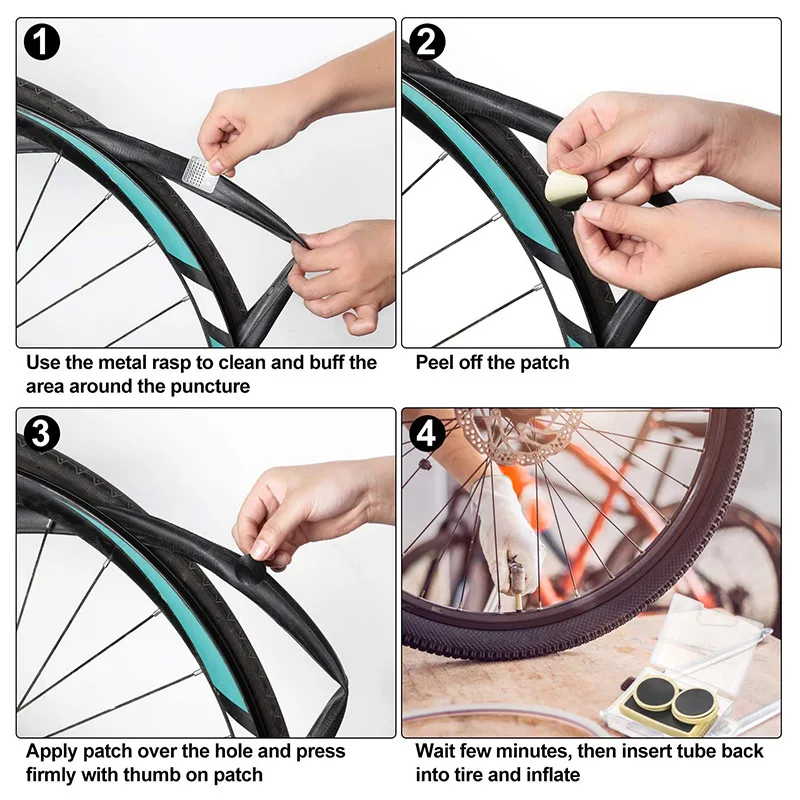 Thanks for reading, and stay fixed.
Written By Bradley Knight
As a native New Yorker, Bradley is no stranger to the fixed gear scene. He’s been riding fixed for years. When he’s not on the bike, you can find him practicing his many hobbies, including playing guitar, video production, and photography.
Contents
 He sees how the tire and rims fall into disrepair ...
 First of all I need to give some advice to those cyclists who find this article on the Internet, but they do not have anything with them: no repair kit, no bike first aid kit. If there is absolutely nothing to glue the wheel with, then you can continue the journey, however, with some precautions.
Tips if there is nothing to repair the camera:
 But in order not to burn with shame, looking friends in the eye, it is better not to do this.
 So, every self-respecting biker should have a repair kit in order to seal the wheel properly. Moreover, its weight and volume is very small. Recently, very small and convenient bicycle first-aid kits have appeared that do not require rubber glue, and therefore time. Plugged it in and went. It used to be, in Soviet times, that you first had to coat the chamber with rubber, wait for it to dry, then apply it again ... Currently, you can glue a bicycle wheel very quickly.
What you need to take with you to seal the wheel on the bike:
Fitting kit. Ideally, you need to have three pieces, with skill you can get by with two. As a child, I had to make do with a spoon, which is very convenient in order to "hook" the camera.
Pump. If there is no pump, then everything else is in vain. You don't have to spend money on a pump. Years of experience show that the best, compact, lightweight and reliable folding telescopic pumps are made in Taiwan, the Philippines and Europe.
Russian pump manufacturers, even under the conditions of the “import substitution” policy, produce a miserable semblance. Our pumps are disposable products that allow air to pass through, which must be held with both hands, etching from a cable that does not screw on the valve, and if screwed on, then only once due to poor quality steel.
Bicycle patches. Usually they are included in the set and are both round (for punctures) and oval (for tears). In extreme cases, you can cut them yourself. In this case, you will need rubber glue. Modern kits include self-adhesive patches.
Tip: use the same old tube as a source of patch rubber. In this case, the curve of the rubber will ideally fit the curve of the chamber. In the event that you find flat patches, you need to glue them well around the edges, and when installing, make sure that they do not come off.
Metal mesh, sandpaper. With this tool, you will need to clean the chamber to give the rubber a velvety finish for more precise grip, as well as for degreasing. A 2x2 cm piece is enough.
Rubber adhesive. With its help, the rubber of the chamber is first primed, and then gluing occurs, that is, it is used twice. Glue, as well as self-adhesive patches, must be checked before the start of the season. Otherwise, you may find yourself in a situation where sealing the camera is simply impossible, since everything has dried up.
What kind of glue can be used to glue the camera, except for rubber? The masses have tried everything: from cyanoacrylate and Moment glue to epoxy resin, which is capable of pouring everything tightly. It is best to use rubber glue because of its affinity for the camera material. Cyanoacrylate and epoxy make the material brittle and unreliable joints.
In addition, rubber glue is inexpensive, sold in miniature tubes, which are enough for the whole season.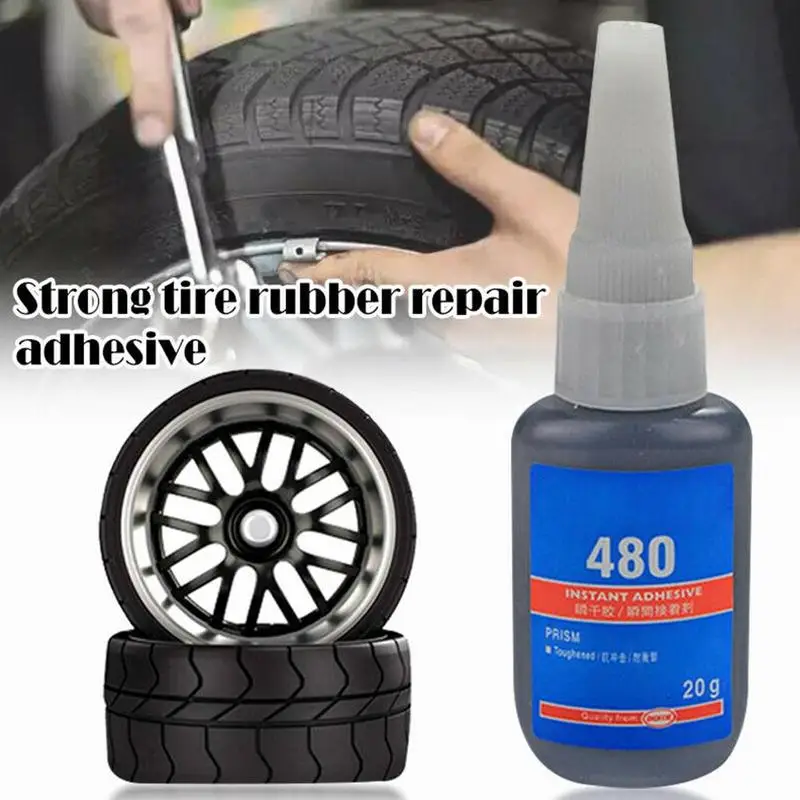
These are all the basic tools and accessories to be able to comfortably seal the bicycle tube.
Tip: you can take a small bicycle handle and a small bottle of water if you are not bringing liquid to drink. This is useful to make it easier to find the puncture site. In addition, a LED headlamp will not hurt, which the cyclist should always have in case they have to do something on the route at night.
It's time to practice. We present the complete algorithm of action. Let's try to be brief, because sometimes there is so much written on the Internet...
 Many advise starting next to the chamber valve, many on the opposite side. The second method seems to be preferable, since at the beginning of the tire removal process, lateral loads are possible and the valve can simply be torn off, especially if it is at an oblique angle to the rim plane.
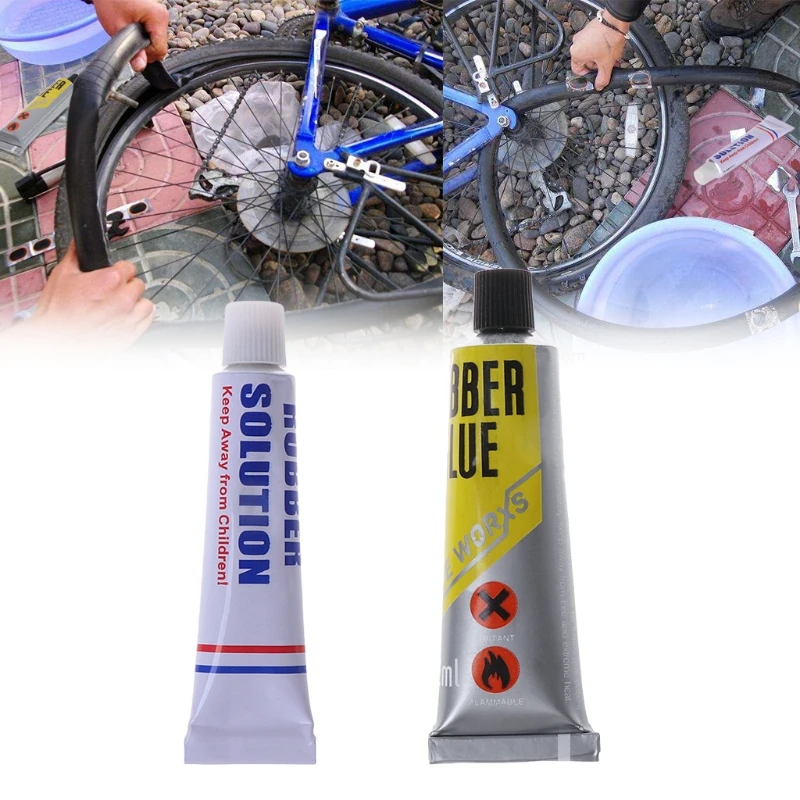
If there is no water source, you can bring the camera to your face. The most sensitive place is the lips. If you bring the camera to your lips, and even pre-wet them, you will feel the lightest breath.
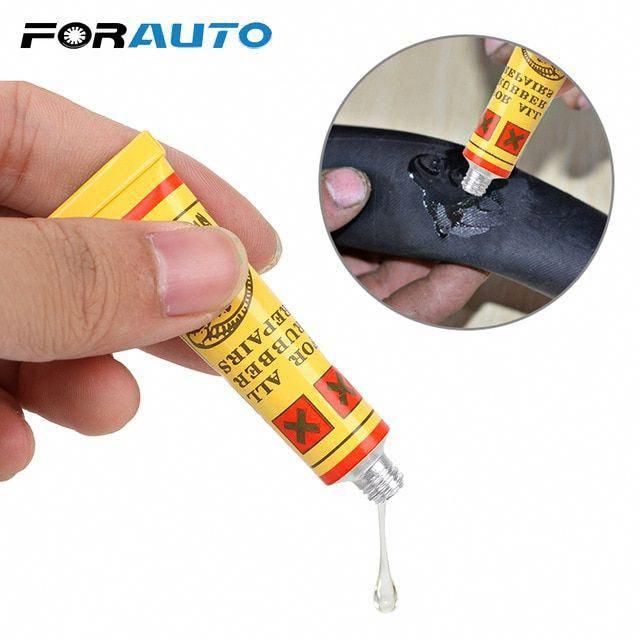
If you have rubber adhesive, you need to follow the instructions: first lubricate the cleaned area, wait a few minutes and press the patch.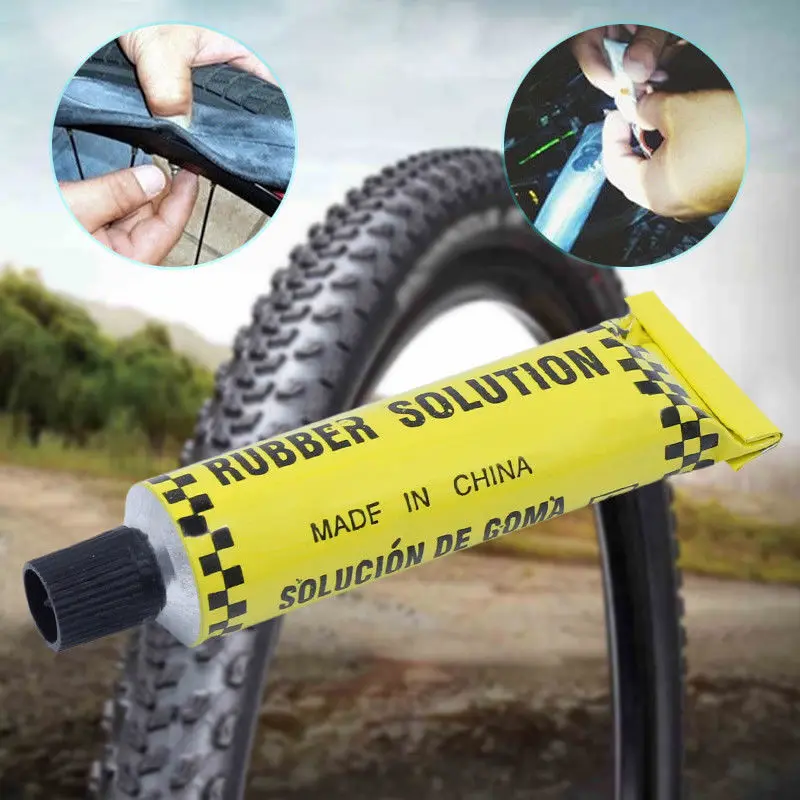 This wait is necessary so that the glue is thicker, and the patch does not move relative to the puncture.
That's actually all that can be said about the repair of the bicycle inner tube.
In conclusion, we can say that even an experienced biker cannot always avoid a puncture. A detour of planks, sparkling fragments is possible if they are visible. But it happens that a lone screw stands on a hat, lost in the mud, and a puncture is inevitable. In the most annoying cases, in one trip, you can puncture two wheels on a bicycle at once, having run into the same obstacle.
Not a single cyclist is insured against a puncture on the way. Damage to the wheel is easy - just run into a sharp stone, glass or rebar. Therefore, try to always have a minimum set of tools with you - a pump, patches for holes, glue, “mongers” and grout. Such a set will definitely help to seal the bicycle chamber if an unexpected hole occurs.
Contents of the article:
On long trips, it is better to take a spare camera with you in order to solve the problem with a hole as quickly as possible. If the breakdown happened unexpectedly and there is no spare wheel with you, you will have to remove the damaged wheel and repair the punctured chamber. Let's take a look at what to do in such situations.
Remove the damaged wheel from your iron horse before you seal the tube:
An important point - if the bike is equipped with hydraulic brakes, then carry out all the manipulations as quickly as possible, since air can enter the hydraulic system in an inverted position.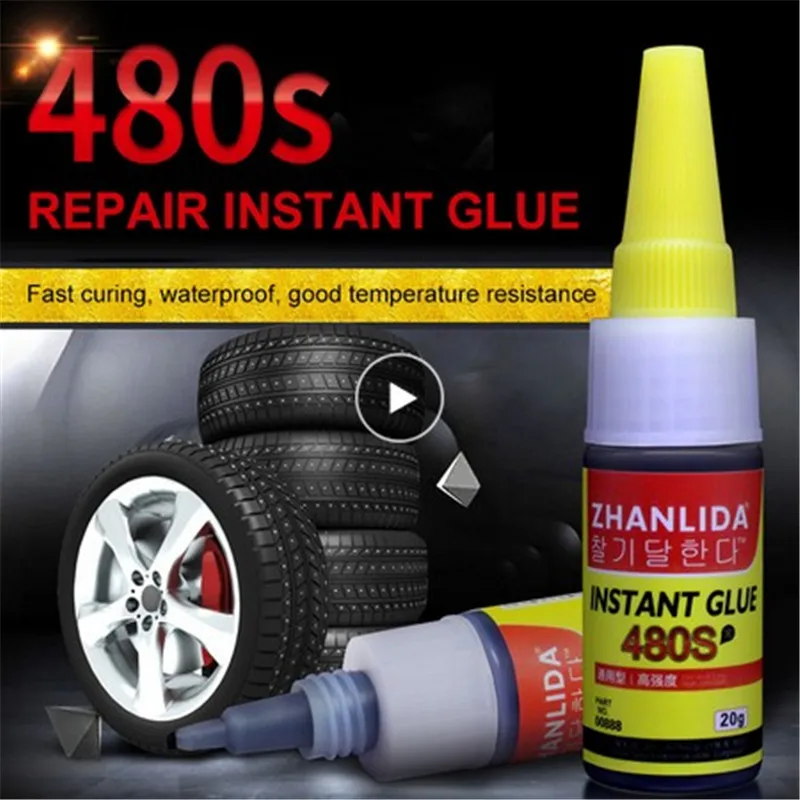 To prevent damage to the brake and shift knobs, place a blanket under the bike before turning it over. This will reduce the likelihood of accidental scratches and chips on fragile controls.
After removal, carefully inspect the wheel for foreign objects stuck in the rubber, which can cause subsequent holes.
After that, you can proceed to the beading:
Then remove the chamber for future repairs.
Before sealing the bicycle inner tube after removing it, you need to find the place where its tightness is broken. To do this, re-inflate the chamber with a pump and conduct a thorough inspection. You will immediately see a big hole. Otherwise, you will have to make a little effort to search.
First, hold the camera to your ear and try to find the hole by ear. At the site of the hole, you will hear a slight hiss and feel the movement of air over the skin. Another option is to put the camera in water. In the place where it is pierced, you will see small, upward bubbles.
Once you have pinpointed the puncture site, be sure to mark it with a pen or duct tape so you don't lose it later. There may be more than one damage, so it is important to find and label them all.
Always clean the surface of the inner tube before sticking it on. This will create better adhesion of the rubber to the adhesive and increase the life of the repaired wheel.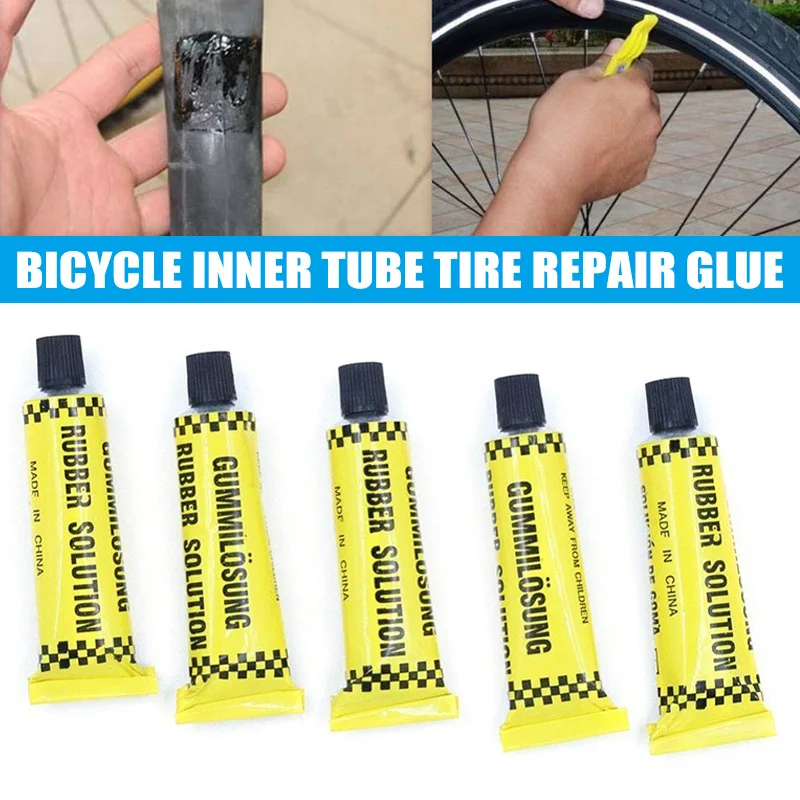 Use fine grit sandpaper for sanding. It is necessary to process the surface until it becomes matte.
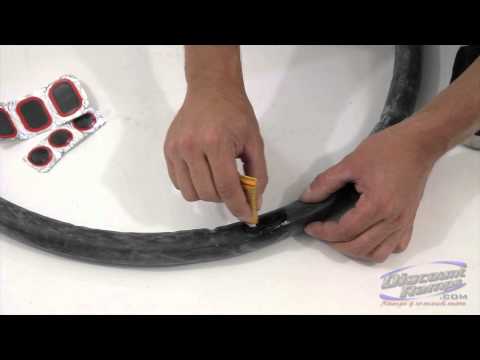
If you have not taken care of the availability of a special repair kit, then you can use a stripped piece of an old tire as a patch for the bicycle inner tube. Apply a couple of drops of rubber adhesive to the patch and the chamber in the area of damage, gently spread it over the surface, press firmly. This is best done with pliers, after placing a piece of cloth under them. Check the edges of the patch, the rubber should be carefully glued around the entire perimeter.
For repairs, it is better to use a special glue that is designed for rubber, it is usually found in bicycle first-aid kits, but the usual “Moment” will also work. But it is not advisable to use superglue, it destroys rubber, and it is unlikely that it will be possible to fix the problem with it.
Once you have glued the inner tube on the bike, you can put it back into the wheel.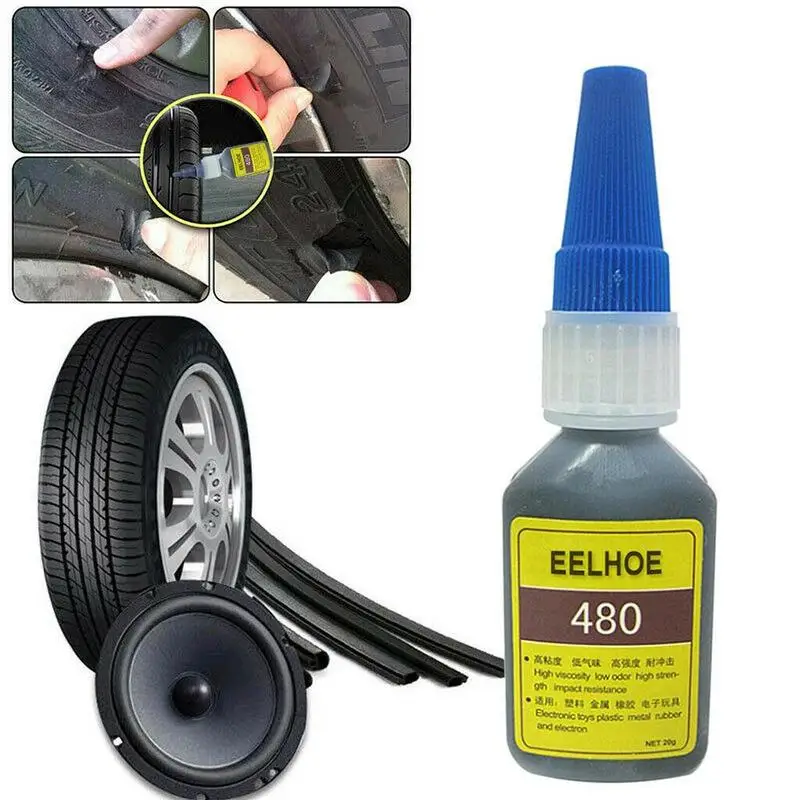 Check the insulation tape inside the rim, put the inner tube in there and fill the tire. Be precise and careful not to damage the wheel further.
Attach the wheel to the bike, following the direction of travel exactly. Then proceed to inflate the chamber, checking its tightness in the process. You may not have noticed another hole or you may not have glued the main patch well. If the air does not descend, the repair can be considered completed.
Repairing a bicycle inner tube at home is much easier than in the field. To do this, you do not need to have any special knowledge and skills. Only a minimal set of tools is required.
Taping a bicycle wheel with a repair kit is an easy and cheap way to restore its integrity at home. Such a kit usually includes special glue for rubber, patches and sandpaper for stripping.
How to work with the repair kit is described in detail in the attached manual.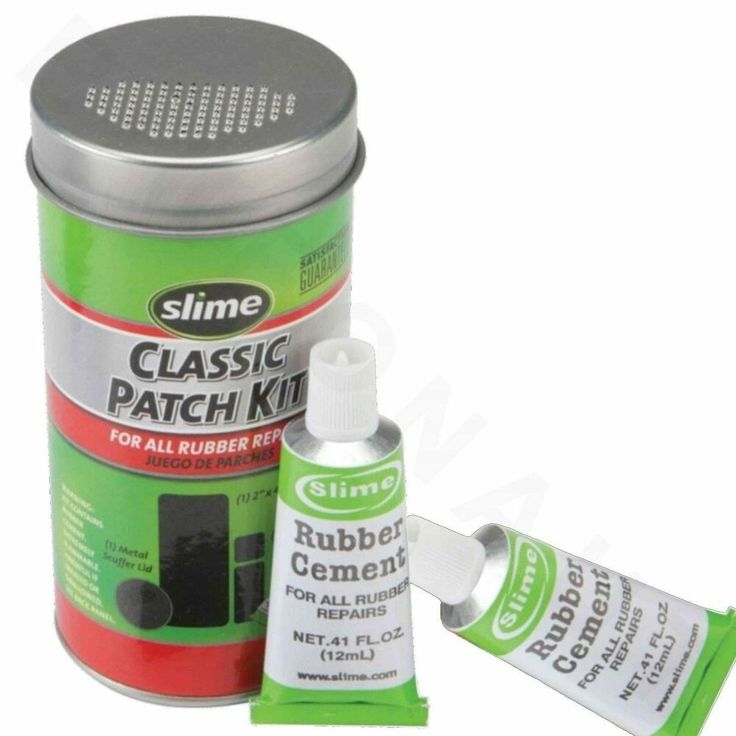 It usually consists of the following steps:
Keep the patch pressed for 10 minutes while the glue dries. The exact time will be indicated in the attached manual.
We figured out how to glue the bike inner tube with a repair kit. Now let's look at how to fix the wheel in the case when there was no repair kit or patches with you. Glue will come to the rescue. It is important that it is suitable for bonding elastic materials. However, it is better to use this method only in really emergency cases, since the composition of some types of glue can destroy the rubber coating, and instead of one puncture after a while, you will get a couple of new cracks.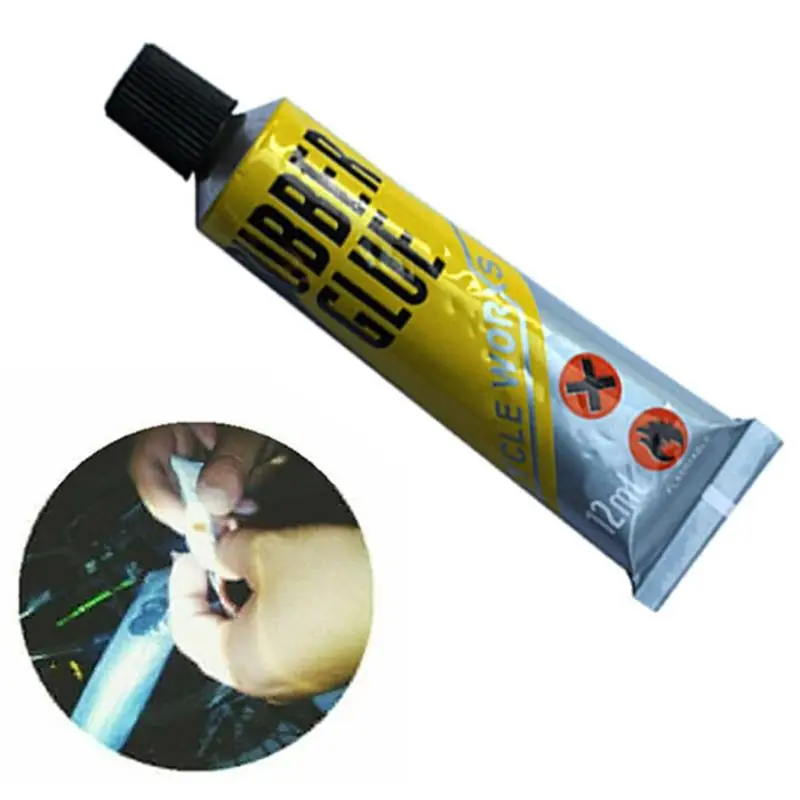
The convenience of this method is that no additional manipulations need to be carried out with the damage site - neither degreasing nor rubbing:
You can then put the camera in its place.
Sometimes you may not have glue at hand, but you need to get rid of a hole in the wheel to get home. In such situations, a patch is made from a piece of rubber, preferably of industrial origin, which is applied to the damaged area so that when the chamber is inflated with air, it is strongly pressed against the tire. In the absence of rubber, you can use a regular plastic bag or adhesive tape. However, it should be borne in mind that such repairs do not withstand heavy loads.
You can also use the vulcanization method to seal the bicycle inner tube.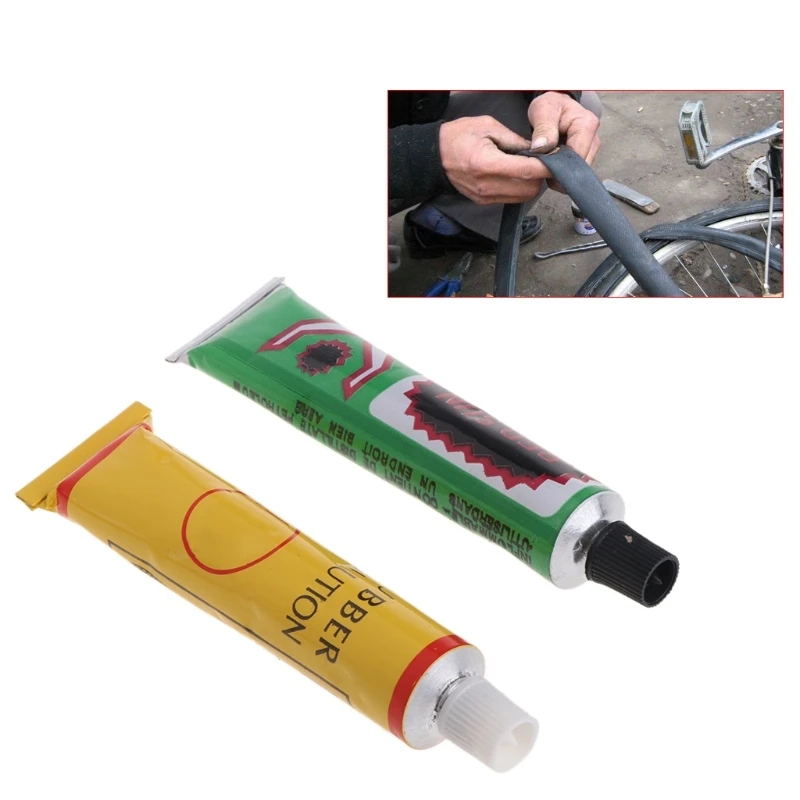 Usually it is used for car wheels, but it is also applicable for a bicycle. To do this, you will have to arm yourself with special equipment, but in the end you will get an almost new camera. The essence of the method is that the patch and the chamber are clamped and heated to such a temperature that the rubber begins to melt.
Vulcanization is much more reliable than conventional chamber bonding, but is more expensive. For such repairs, at a minimum, you will have to buy a vulcanizer and follow strict safety rules.
Modern technologies have gone far ahead and offer new ways to solve old problems. So, today in specialized stores you can find unique self-sealing cameras. Inside they contain a resin or a special gel, which, when damage occurs, penetrate into it and securely fasten the crack.
These tubes are good to use on long trips, when the chance of accidentally puncturing the wheel increases dramatically.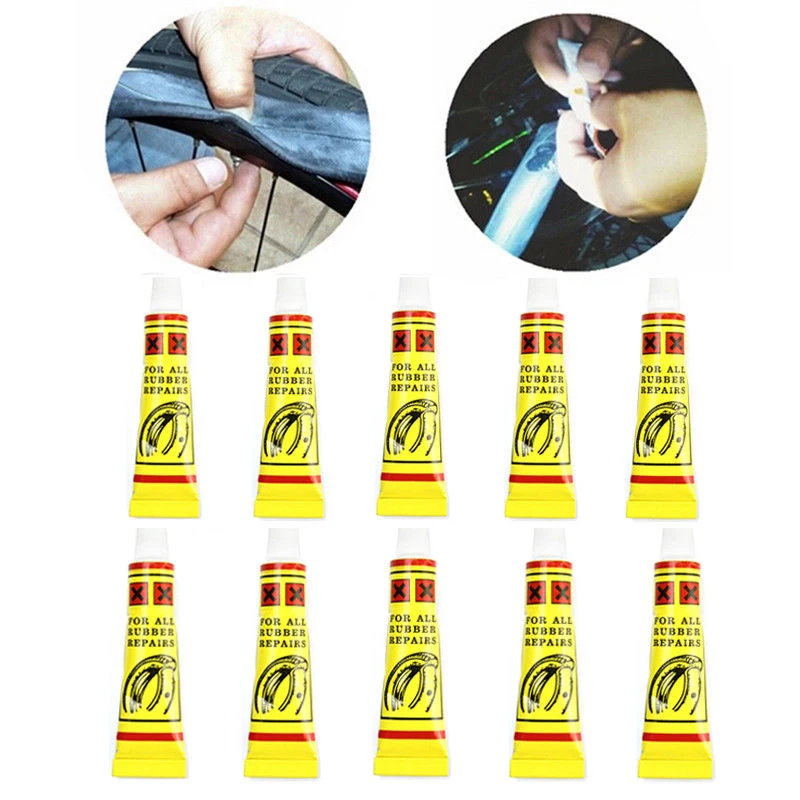 On them you can easily reach the end point of the route. However, further repair of the wheel is still necessary.
Taping the tube on your bike while on the go takes a little ingenuity and creativity. In the absence of a first-aid kit, you will have to use any available means at hand.
Try to find adhesive tape, adhesive tape or electrical tape in your belongings - this will greatly facilitate the problem of repairing a wheel. In an emergency, you can even peel off a sticker from the bike frame, if there is one.
Locate the damaged area and bleed the chamber. Cut out 4-5 patches of various sizes from the existing material. Fix on the puncture first the patch that turns out to be the smallest, then the larger one, and so on, until the largest. If you have adhesive tape, then the patch can be wrapped with it in several layers. The repair will not be durable, but it will definitely allow you to get to the desired point.