Accidentally run over a nail or find out that you have a puncture or hole in one of your tires? You probably want to fix it quickly and get back on the road as soon as possible.
If you’re on a budget and want to get it done yourself, you’re in luck because rubber cement is one of the most cost-effective methods of fixing your tires.
Check out our guide to everything you need to know.
You can plug or patch your punctured tire as long as the hole is not bigger than a quarter of an inch and the location of the hole is not too close to the sidewall.
Consider checking: How To Use A Tire Plug Kit
Though you don’t need to be an expert on it, knowing how to properly handle rubber cement and understanding what it’s made of is necessary if you want to learn how to use rubber cement on a tire correctly. It is acid-free and dries without wrinkling. As long as rubber cement is tightly contained in proper storage, it can last indefinitely.
However, air exposure causes rubber cement to thicken and renders it unusable. To prevent your rubber cement from drying out, you can put a little grease or Vaseline around the opened nozzle. It will serve as an air sealant and prolong its use.
Rubber cement contains hazardous, highly flammable ingredients such as trichloroethane, heptane, and acetone.
Be sure to only use rubber cement in a well-ventilated area. An open garage is a good choice, but if you need to work indoors, allow fresh air to circulate through an open window. Repeatedly sniffing rubber cement can cause severe damage to your kidneys, lungs, and brain.
Getting a tire repair kit makes the process of how to use rubber cement on a tire easier; you’ll have all the tools you need to complete the job correctly.
However, the type of kit and instructions you need will depend on whether you’re operating a car or a truck.
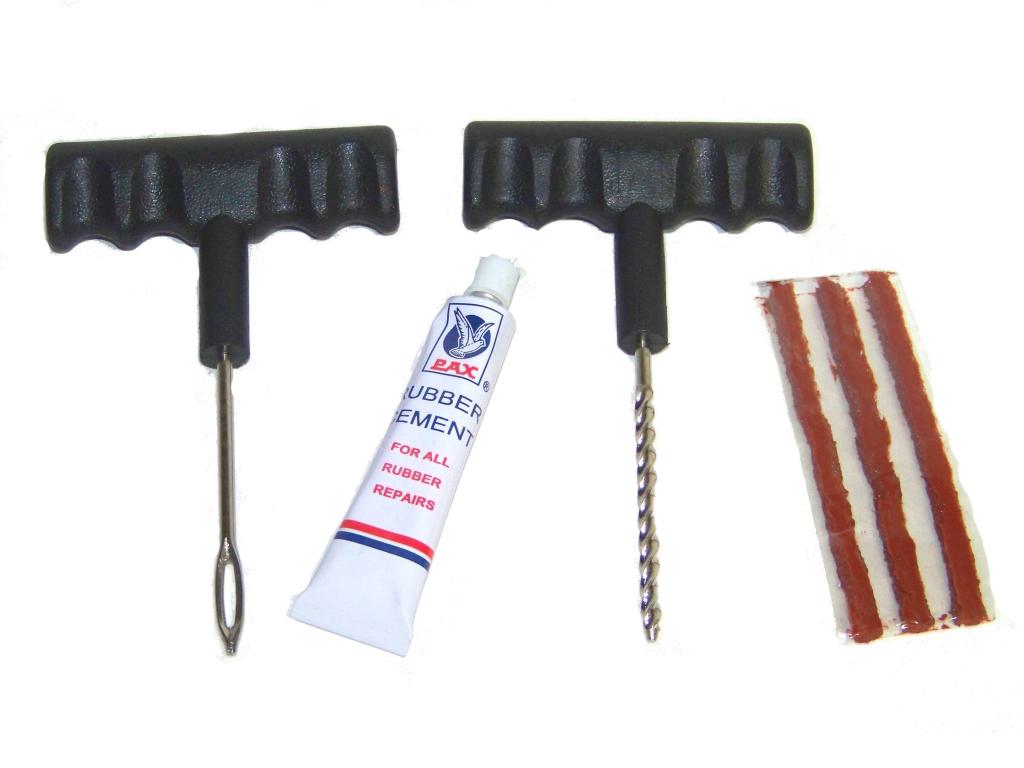
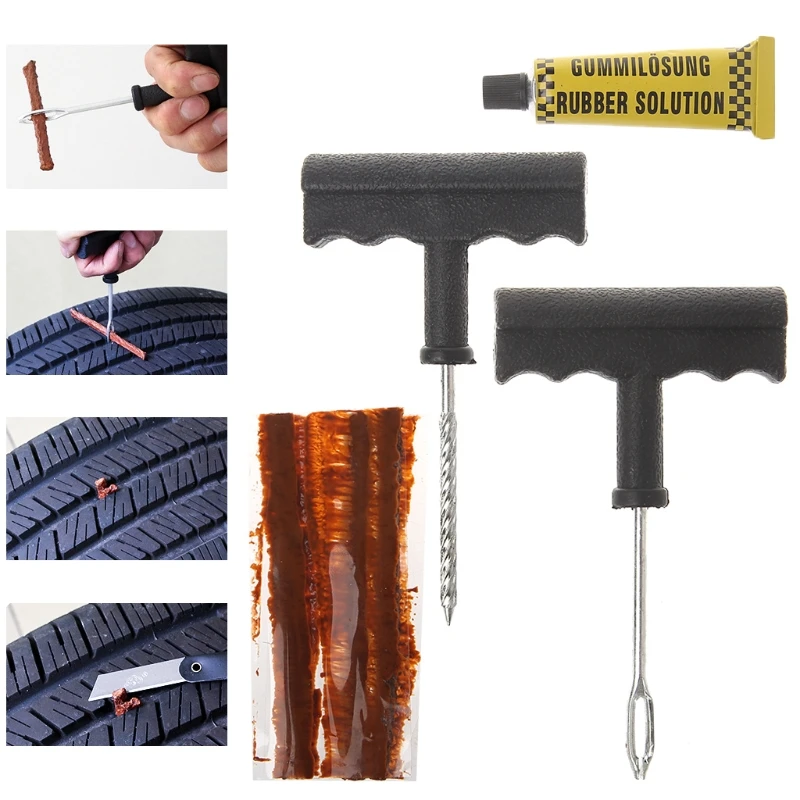
Along with quality rubber cement, you’ll need a good patch. The rubber cement allows patches to adhere to the inside of tire walls. Most standard tire repair kits have:
Not sure if you need to plug or patch your tire? We’ll help you decide below.
Plugs are best suited for small holes away from the sidewall of the tire. Whether you’ve treaded on a small nail, screw, or puncture, you can fix your tire by plugging.
Do not plug if:
Patches work well only if the puncture is less than a quarter-inch in diameter. However, the location of the puncture is very important in determining if a patch will be effective.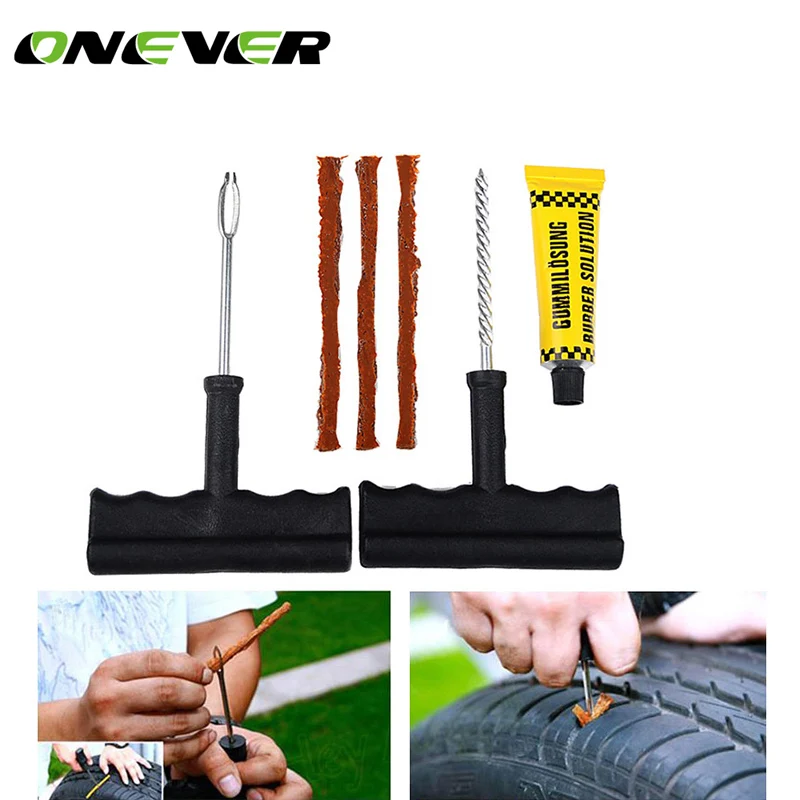
Unlike plugs, patches are better for bigger holes that are closer to the sidewall. This does not mean that a patch can repair a sidewall. If your tire’s sidewall is damaged, then you need to get your tire replaced.
Do not patch if:
 Work into the material.
Rubber cement can dry in a hot, dry environment in a minute or two. It takes about five minutes for a tire patch to dry. It takes fifteen minutes for it to cure, and by then, you can air the tire up and recheck for leaks.
As long as you’ve applied the rubber cement evenly, you won’t have to worry about leaks after checking.
Consider checking: How To Fix A Tire Rim Leak
Many people say that you can drive with a plugged tire for about seven to ten years, but we recommend proceeding with caution as it is most effective for a few months.
If the location of the hole is too close to the sidewall and there are installation issues, the tire may not last as long as you would like it to.
You can plug or patch your punctured tire as long as the hole is not bigger than a quarter of an inch and the location of the hole is not too close to the sidewall.
Exercise caution when using rubber cement and be sure to safely store it when you’re finished by sealing it completely. Make sure you remove the tire from the wheel and check for other holes and issues before tire plugging or patching.
Did you find this guide helpful? Then feel free to have a look at others:
How Much Is It To Repair A Tire
How To Seal Tire Bead
How Do You Patch A Tire
How Long Does A Tire Patch Last
How Much Does It Cost To Patch A Tire
How To Seal A Tire On A Rim
How Close To The Sidewall Can You Patch A Tire
How To Fix Flat Spots On Tires
How To Vulcanize A Tire
How To Fix Hole In Tire
How Much Sealant Per Tire
How To Use Slime Tire
How Do Tires Get Dry Rot
How To Fix Dry Rotted Tires
How To Fill Tires With Foam
by Sean Mendez
You can easily repair your tires by plugging them. But is rubber cement necessary while plugging a tire? Can you do the repair without it? Let’s find out.
Table of Contents
Tires play an important role while driving vehicles on roads. But sometimes, while driving, various sharp objects on roads like a nail or a piece of glass may puncture your tires and cause them to lose all the air. There are multiple ways to repair a tire, like plugging, patching, or a combination of both plugging and patching on tires.
Plugging is one of the quickest and easiest methods to repair tires. In this method, you can repair your tires without removing the tire from your vehicle. Most car owners prefer to keep plugging kits in their cars to use them in an emergency.
You will find various types of plugging kits in the market, like with some kits with rubber cement while others have only glue.
One question that we often hear on forums and comments sections is: “Is rubber cement necessary while plugging a tire?” Yes, it’s essential because the rubber cement acts as a lubricant and helps in a better way to get the plug inside the crack or hole in the tire.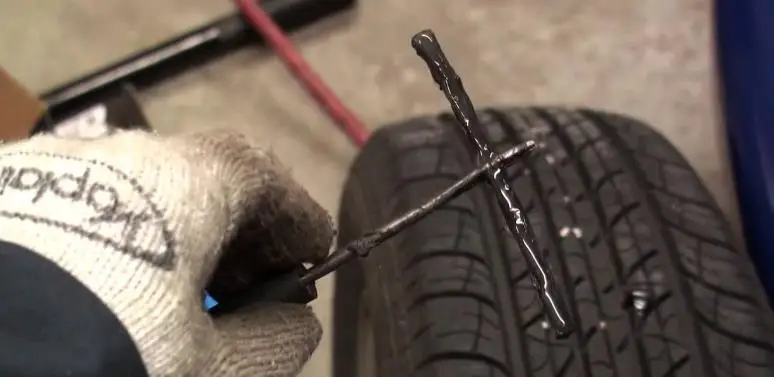 Consequently, you will have a better seal, and your tire will be able to run on the roads. This article focuses more on plugging tires. So, continue reading this article for more information.
You might also like to read : Why Is My Front Tire Leaning In
How Do You Fix a Leaking Tire Plug?
You may encounter flat tires while moving your vehicle on the road. You can quickly repair your tire with the help of a plug kit. If you have never plugged a tire by yourself, you need to follow the below steps to learn how to use a tire plug kit.
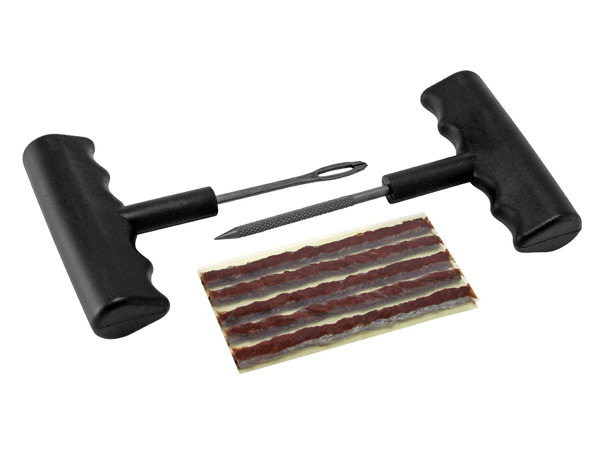
#1. Buy A Tire Plug KitYou can easily get a tire plug kit from various online stores. The tire plug kit consists of a rasp and plug tool, plugs, rubber cement, and utility blade. You may also need pliers to remove the object from your tire.
The reamer tool is a file you need to clean the hole or the spot from where the air is leaking so that the plug can fit tightly and make a good bond with the tire.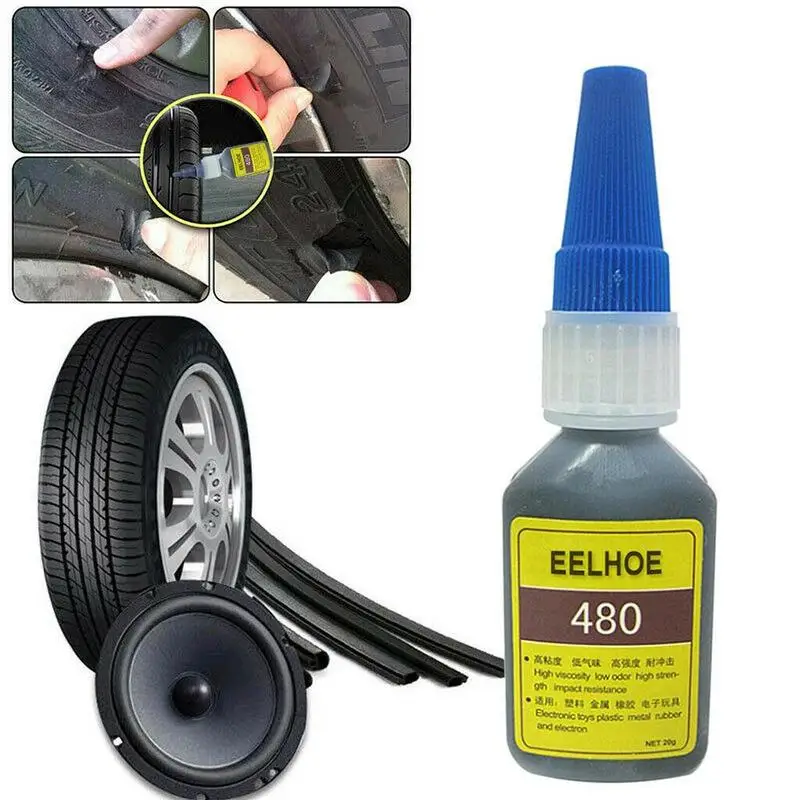 In that kit, you will see rubber strips which are a bit sticky. They are known as plugs. You will find rubber cement in the plug kit, which is pretty essential for successful plugging.
If you observe a flat tire on your vehicle, first detect the spot where the air is leaking. You can easily see the spot where the nail or screw has made its way into your tire. You can use pliers to remove the nail or screw from your tires. Sometimes it’s hard for you to find the spot even after rotating the tire of your vehicle. If you face such an issue, take an air compressor and fill your tire with air.
Once you observe that the tires on your vehicle are pressurized, remove the air compressor from the car and secure the vehicle on a jack stand by keeping the parking brake in condition.
Now take a spray bottle and fill it with soapy water. Then spray the soapy water on all parts of the tire, including valve stem, sidewalls, rim, and opening after removing the cap.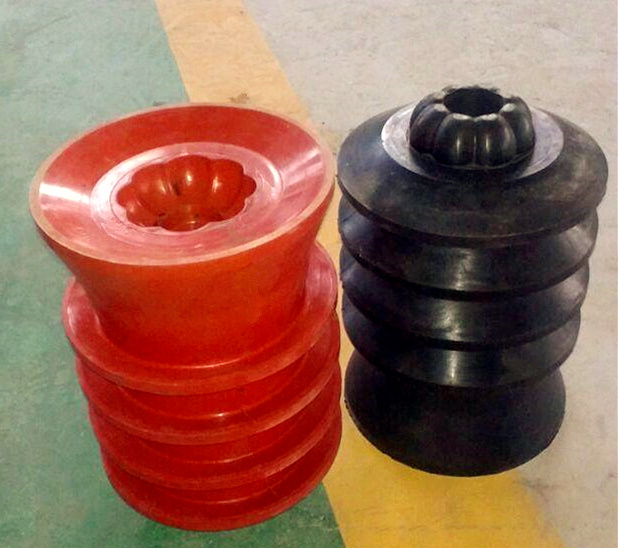
The pressurized air will try to escape from a tiny hole. As the air escapes, it will create bubbles in the soapy fluid. Observing the bubbles lets you know that this is the spot from where the air is leaking, and it needs immediate repair.
#3.Ream The Edges
You can use the reamer tool to clean the edges of the leaking hole. It will surely enhance the adhesion of the rubber tire plug. But if your plugger kit does not have a reamer tool, you may use the tip portion of the plug insertion tool to clean the leaking hole.
#4.Insert PlugOnce you clean the hole, it’s time to insert the plug. Take one plug strip and insert it on one end of the plugging tool. It may involve some twisting movement.
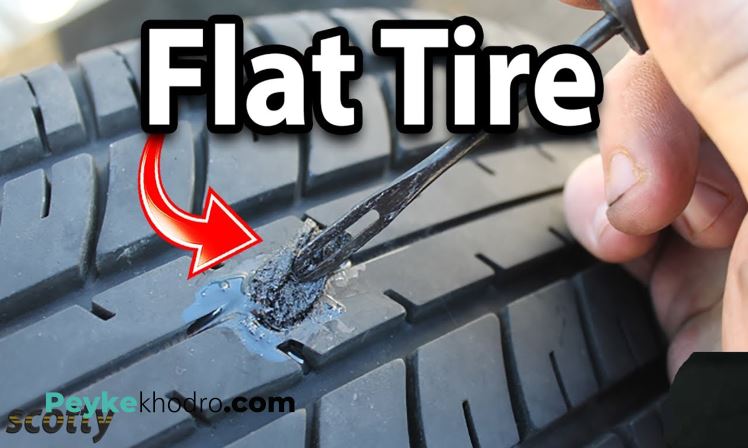
You need to apply some rubber cement into the plug before inserting it into the leaking hole in your tire. The cement helps in lubricating the plug, and after some time, it dries and creates a bond with the tire to have an airtight seal.
After applying the rubber cement, push the plug inside the hole. But you need to stop pushing until the plug is three by four inches outside of the plug.
#5. Pull The Tool OutNow your plug has been inserted into the leaking hole at a proper depth. So you need to take out the tool from the plugin in a very gentle way. You have to do a bit of twisting to release the rubber strip entirely from the tool.
#6. Check The Leakage Of Tire Once AgainYou have to inflate the tire to design air pressure and check for air leakage with soapy water. If you still find any leaks, you need to repeat the process or opt for other repairing methods of the tire.
Frequently Answered Questions#1. What is the rubber cement for in a tire plug kit?
The rubber cement in the tire plug kit acts as an excellent adhesive to the leaking hole of the tire. But after opening the tube for the first time, it dries out.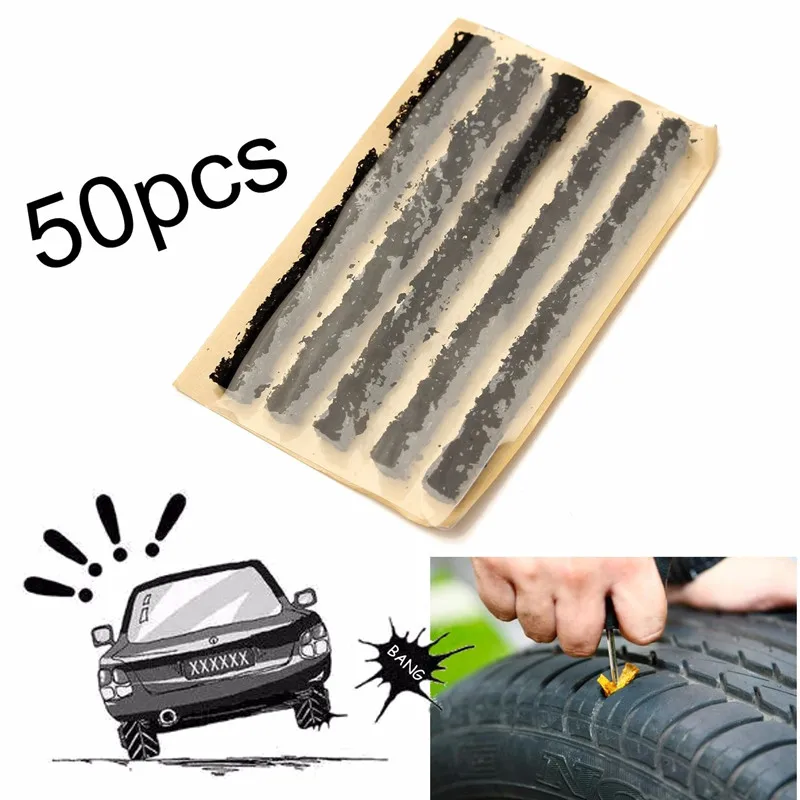 So you cannot use it for the second time. It proves the importance of rubber cement in plugging a tire.
You can apply the rubber cement directly on the rough surface of the tire and wait until it becomes tacky. You can also use the rubber cement in patches.
#3. How long does rubber cement take to dry on a tire plug?Rubber cement will dry in two to three minutes if the outside weather is sunny dry weather. But if you have applied a thick coat, then it may take fifteen minutes to dry.
Wrap UpYou might also like to read : Why Do Mercedes Have Different Size Tires
Sometimes you notice flat tires on your vehicle, and there is no tire shop nearby. So plugging a tire is the best way to repair a tire in an emergency. The tire plug kit is also affordable. It will cost you between $10 to $20.
I will say it’s safe to drive a plugged tire, but it’s not a permanent fix.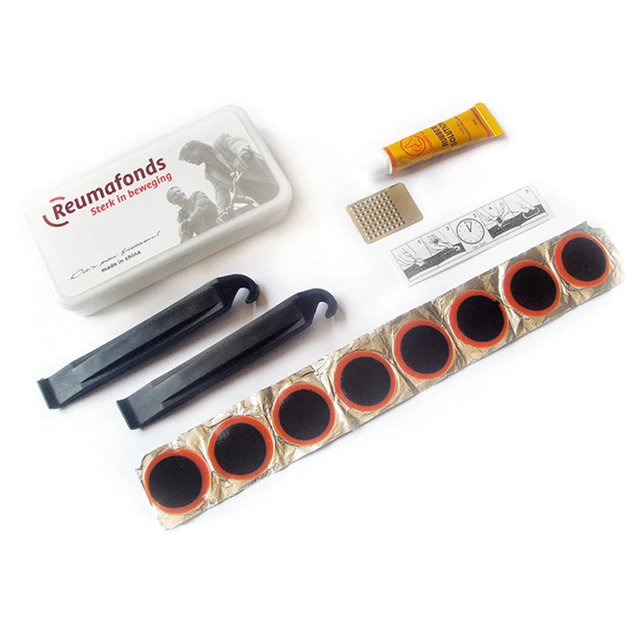 The plugs do not fill the void. As a result, water may enter inside the tires and corrode the steel belts. Again if you have poorly installed the plugs, then it will dry out with time. So try to check your tires in a local tire shop if you have repaired tires with a plugging kit.
However, if the leak hole on your tire is more than one-fourth inch or 6mm, it’s not advisable to use a plugging kit to repair the tire. If you face such issues, then you may need to replace the whole tire. Furthermore, you should not use plugs on the sidewalls or treads of your tire.
I hope this article is informative and please don’t forget to share suggestions for this article. I would love to read your suggestions in the comment section.
Happy Driving!
Contents
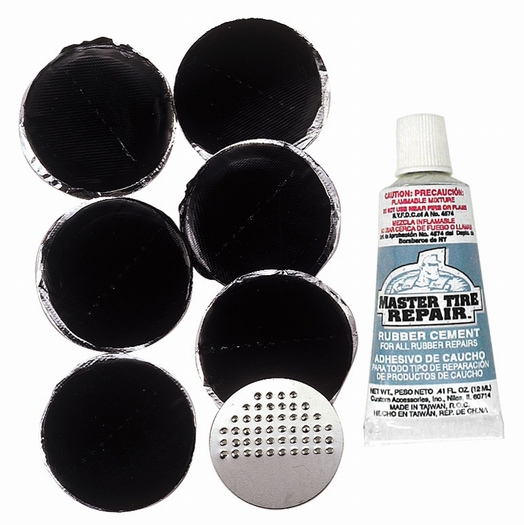 It's annoying, because, in extreme cases, you can continue to move "on the rims" if there is absolutely nothing to fix the breakdown. In addition, if you have sufficiently high-quality and expensive wheels, then every meter that you had to drive over potholes gives pain to the biker's heart. He sees how the tire and rims fall into disrepair ...
 First of all I need to give some advice to those cyclists who find this article on the Internet, but they do not have anything with them: no repair kit, no bike first aid kit. If there is absolutely nothing to glue the wheel with, then you can continue the journey, however, with some precautions.
Tips if there is nothing to repair the camera:
 But in order not to burn with shame, looking friends in the eye, it is better not to do this.
 So, every self-respecting biker should have a repair kit in order to seal the wheel properly. Moreover, its weight and volume is very small. Recently, very small and convenient bicycle first-aid kits have appeared that do not require rubber glue, and therefore time. Plugged it in and went. It used to be, in Soviet times, that you first had to coat the chamber with rubber, wait for it to dry, then apply it again ... Currently, you can glue a bicycle wheel very quickly.
What you need to take with you to seal the wheel on the bike:
Fitting kit. Ideally, you need to have three pieces, with skill you can get by with two. As a child, I had to make do with a spoon, which is very convenient in order to "hook" the camera.
Pump. If there is no pump, then everything else is in vain. You don't have to spend money on a pump.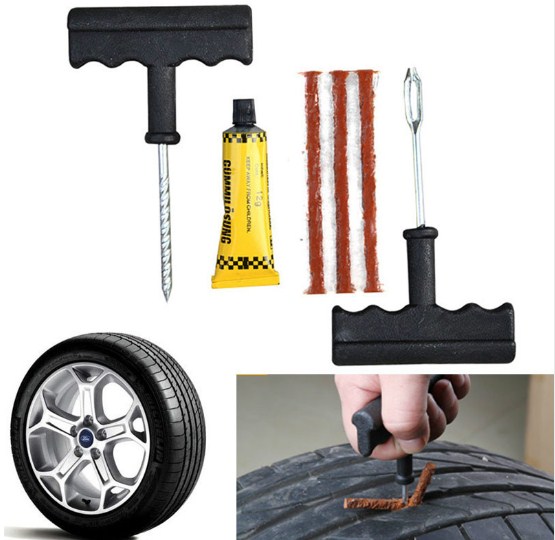 Years of experience show that the best, compact, lightweight and reliable folding telescopic pumps are made in Taiwan, the Philippines and Europe.
Russian pump manufacturers, even under the conditions of the “import substitution” policy, produce a miserable semblance. Our pumps are disposable products that allow air to pass through, which must be held with both hands, etching from a cable that does not screw on the valve, and if screwed on, then only once due to poor quality steel.
Bicycle patches. Usually they are included in the set and are both round (for punctures) and oval (for tears). In extreme cases, you can cut them yourself. In this case, you will need rubber glue. Modern kits include self-adhesive patches.
Tip: use the same old tube as a source of patch rubber. In this case, the curve of the rubber will ideally fit the curve of the chamber. In the event that you find flat patches, you need to glue them well around the edges, and when installing, make sure that they do not come off.

Metal mesh, sandpaper. With this tool, you will need to clean the chamber to give the rubber a velvety finish for more precise grip, as well as for degreasing. A 2x2 cm piece is enough.
Rubber adhesive. With its help, the rubber of the chamber is first primed, and then gluing occurs, that is, it is used twice. Glue, as well as self-adhesive patches, must be checked before the start of the season. Otherwise, you may find yourself in a situation where sealing the camera is simply impossible, since everything has dried up.
What kind of glue can be used to glue the camera, except for rubber? The masses have tried everything: from cyanoacrylate and Moment glue to epoxy resin, which is capable of pouring everything tightly. It is best to use rubber glue because of its affinity for the camera material. Cyanoacrylate and epoxy make the material brittle and unreliable joints.
In addition, rubber glue is inexpensive, sold in miniature tubes, which are enough for the whole season.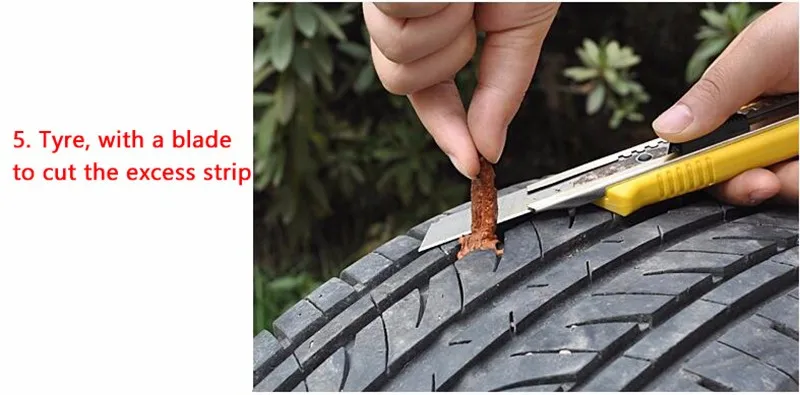
These are all the basic tools and accessories to be able to comfortably seal the bicycle tube.
Tip: you can take a small bicycle handle and a small bottle of water if you are not bringing liquid to drink. This is useful to make it easier to find the puncture site. In addition, a LED headlamp will not hurt, which the cyclist should always have in case they have to do something on the route at night.
It's time to practice. We present the complete algorithm of action. Let's try to be brief, because sometimes there is so much written on the Internet...
 Many advise starting next to the chamber valve, many on the opposite side. The second method seems to be preferable, since at the beginning of the tire removal process, lateral loads are possible and the valve can simply be torn off, especially if it is at an oblique angle to the rim plane.
If there is no water source, you can bring the camera to your face. The most sensitive place is the lips. If you bring the camera to your lips, and even pre-wet them, you will feel the lightest breath.
If you have rubber adhesive, you need to follow the instructions: first lubricate the cleaned area, wait a few minutes and press the patch.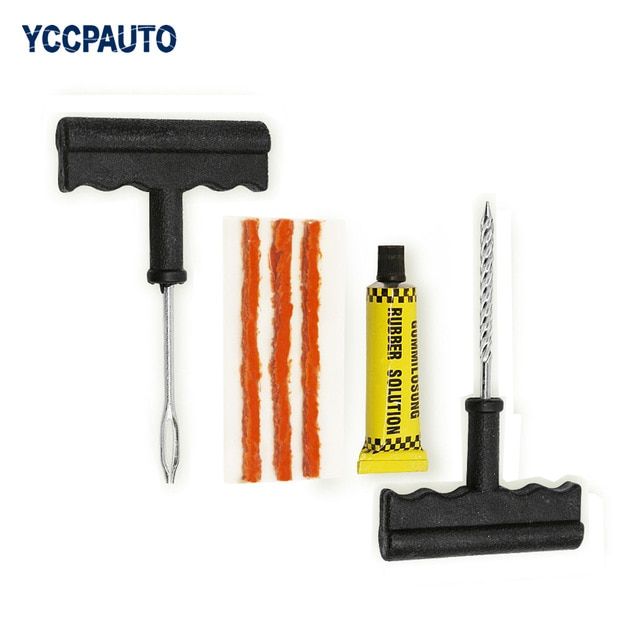 This wait is necessary so that the glue is thicker, and the patch does not move relative to the puncture.
That's actually all that can be said about the repair of the bicycle inner tube.
In conclusion, we can say that even an experienced biker cannot always avoid a puncture. A detour of planks, sparkling fragments is possible if they are visible. But it happens that a lone screw stands on a hat, lost in the mud, and a puncture is inevitable. In the most annoying cases, in one trip, you can puncture two wheels on a bicycle at once, having run into the same obstacle.
views 29721
If you don't know how to seal a bicycle inner tube, then everything is quite simple - you only need glue and a patch. But wrenches, hexagons, disassembly, a container of water and a vise will also come in handy. The set is enough, so you can carry out repairs in any conditions.
Do-it-yourself repair of the bicycle chamber is carried out according to the following algorithm:
 Then the film is removed from the patch, the adhesive is applied. It is pressed to the puncture site and held for several minutes;
 Sealing a bicycle wheel tube is easy - just remove it, patch the puncture site with a patch and put it back in place.
How to seal the bicycle inner tube with a repair kit is understandable, but what to do if it is not there, but repair is necessary? For example, a patch can be made from any rubber. Any glue is suitable, but the main thing is not to choose industrial.
There are also critical moments. In some cases, it is necessary to close the hole without glue and without removing the wheel. The patch is applied so that when inflated, it is pressed with strong pressure. But in this case, you need a pump.
If you don't have a rubber patch, a dampened plastic bag or duct tape will do, but only if you don't know how to seal the inner tube of your bike to get home, because the wheel won't withstand heavy loads.
Another option is vulcanization. This requires special tools, but the result is reliable. The point is that the patch and the camera are pressed against each other. Thanks to heating, both elements form a single whole. Before you seal the camera at home, think about vulcanization.
Even if you know how to properly seal a bike inner tube, it's worth learning how to avoid a puncture.
One of the most interesting options is cameras that can be sealed by themselves. Resin or a special gel is poured inside. When a breakdown occurs, the substance flows into the puncture point and seals it. In this case, it will be possible not to think about repairs for some time, but it will still have to be done sooner or later.
It is worth following a few simple recommendations to prevent a puncture:
