If you’re wanting to change the look of your ATV without needing to spend the money to buy all new plastic body parts, one option is to paint the existing plastics. There’s a quick and easy way to get this done, and a longer more professional approach. Either way, it’s cheaper and more rewarding than buying new ATV plastics all together.
Most ATVs come with colored plastics already, maybe with some printed graphics on them. Some ATVs may even have hydrographics or water transfer printing done. This can lead to some pretty cool designs that would be almost impossible for the average person to recreate with spray paint or other painting methods. I go over hydro dipping in more detail below.
In general, to paint ATV plastics, you’re going to need to clean the plastics and sand them down, then remove contaminants in the plastic that prevent paint from sticking. After you’ve done that you’ll want to use a primer, paint, and top coat to seal and protect the paint job. I will go more in depth below with a step by step guide.
If you don’t want to go through all that trouble, there is a quicker method. It probably won’t last as long as taking the professional approach, but it works well. Before you begin either method, you’ll want to make sure your plastics are in good condition. Check out this article on Repairing ATV Plastics if you want to fix them up a bit before painting.
This method is the easiest most straight forward way to paint your ATV plastics. Simply get a can of this Krylon Fusion Spray Paint For Plastic from Amazon. It can’t get much easier than just spray painting right?
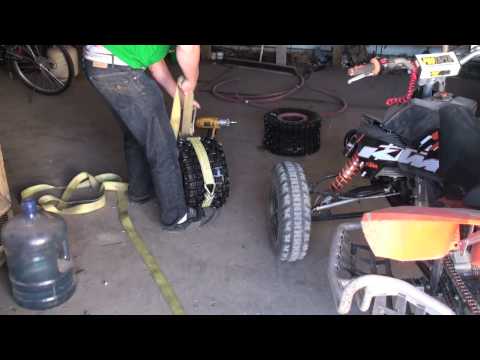
You will first need to take all the plastic pieces off the machine that you want to paint, unless you’re really good at taping off the painting area. Every time I try to just tape off the area, I end up still getting paint where I didn’t want. It’s up to you on this one, I take the plastics off the quad from now on.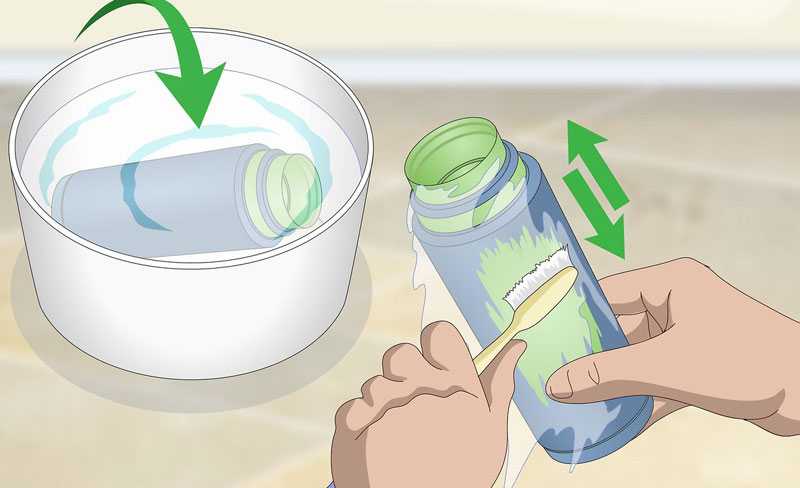
It’s also easier taking the plastics off because you need to clean them before applying paint. It’s best to use a bucket of warm soapy water, take extra care to get all of the dirt and grime that will prevent the paint from sticking. Use a rag or sponge to thoroughly clean the plastic parts.
Krylon claims that you don’t need to apply a primer before painting with Krylon Fusion paint. I’m a little skeptical about that, but it’s up to you. I’ve just seen the paint last longer when a primer is used. You might be ok if you’ve cleaned the plastic well enough.
Now you’re ready to paint, I’ve done this before by hanging the plastic from a tree with a rope. But this can also be done by simply laying the plastic on a bench or outside. Try to get into an area about 65 – 70 degrees if you can to help cure the paint.
I recommend painting from the bottom up. If you spray from the top down, then when you get to the bottom the over-spray will get into the top and make it look grainy.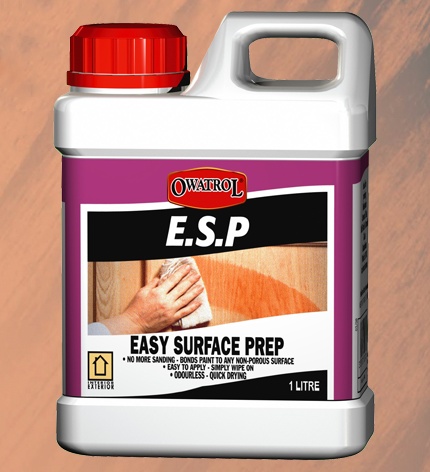 You should try to spray in light coats to avoid the paint running. If you spray too much in area the paint will lift. It’s up to you how it looks after the first couple coats if you need another one.
The paint itself will dry in about 15 – 30 mins but it’s recommended to wait 24 hours before handling. Also, it will take a week before the paint is chip resistant, according to Krylon.
The biggest problem with this method is it doesn’t last a long time. Chipping and cracking after a couple years is pretty common with this approach.
Hydro dipping is only in the article because I think it’s one of the coolest ways to paint something. You may have seen this before. They lay a graphics film over a bucket of water and as they dip something into the film adheres to it giving it a cool graphic design paint job.
They do sell kits you can use at home for pretty cheap, like this HydroGraphics Kit From MyDipKit on Amazon. I can’t vouch for this myself because I’ve never tried it out.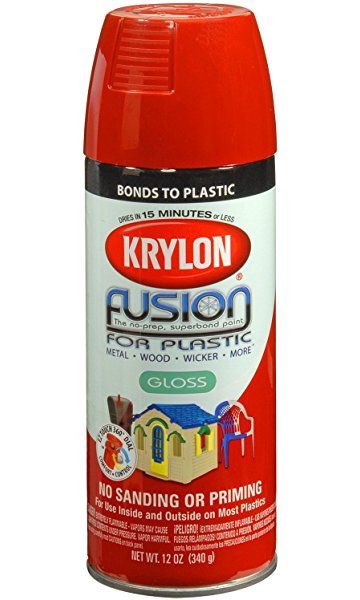 I do know, to get it professional done at a place is usually gonna run you somewhere around $500.
I’ve seen the hydro dip paint jobs hold up pretty well too, but again, those were professionally done. Not to mention you can get some pretty awesome looking graphics on your quad. It will definitively turn some heads.
This is not that hard to do, but it will take some time. A lot of sanding, cleaning, and waiting for paint to dry. First, take all the plastics you want to paint off the machine. You can’t do this method with the plastics on the machine, it just won’t work.
Start by cleaning the plastics thoroughly with warm soapy water. This is just to get all the dirt and dust that you can off the plastic. Next sand the plastic with 180 or 200 grit sand paper. You don’t want to press hard enough to create wells in the plastics so be careful.
Over time, ATV plastic exposed to the sun and other elements will get a thin coating on them. The point of this step is to remove that coating.
Use a scouring pad or scuff pad like they do with burnt on stuff on the dishes. Like a Scotch pad or Brillo pad. Use whatever cleaner you’d like for this step, 90 – 95 percent alcohol works or even carb cleaner if you have any laying around.
Make sure to scrub good this time, not to wear out the plastic but to get a good scrub on all parts of the plastic. This will determine how well the paint sticks to the plastic, it needs to be super clean.
You should sand with 200 grit sand paper again if you notice any spots you missed the first time around before starting with the sandblaster. Use 80 grit aluminum oxide in the sand blaster.
If you don’t have a sand blaster, sand with 400 grit sand paper and scrub again with a cleaner. It’s best to use a sandblaster, but if you can’t, do the best with what you’ve got right?
Get the plastics dry and spray down with a surface cleaner or degreaser of your choosing. Something like this Panel Prep Surface Cleaner and Degreaser from Amazon will work just fine.
Spray a nice heavy coat of this stuff onto the plastics and give it a minute to work. This will dissolve any contaminants still on the plastics surface that might prevent the paint from sticking. After waiting a minute or so, wipe the cleaner off with a paper towel or rag.
Now apply an adhesion promoter of some kind. This will help keep the paint stuck the plastics for a long time.
It helps keep your paint job durable and prevent chipping and cracking in the future.
I use this Polyvance Plastic Magic from Amazon. It’s an aerosol spray like a can of spray paint and it’s nice and easy to work with. Apply two coats of this, making sure to let it dry completely.
You will need to let the first coat flash before applying the second. You’ll see it sort of change color and it should happen pretty quick.
Now apply a coat of a high build primer of your choice. Here’s a link to a 16oz Grey High Build Primer if want to stick to the spray cans.This step is important for filling any scratches left by the sanding or sandblasting steps. Or any existing scratches you had that you want covered.
Wait for the primer to completely dry before continuing. After the primer has dried, sand it down with 320 – 400 grit sand paper. A lot of primers dry with a thin top coating you need to remove. Plus this will smooth out the surface for the next step.
Before applying the flexible sealer, now is a good time to fill any gouges and big scratches with some type of flexible filler like Putty Flex. Let cure and sand down until smooth to match the rest of the plastics.
The flexible sealer is for use over any primed plastic parts. You could skip this step, and a lot of people do because of how expensive the sealers can be. It’s not totally necessary, but will extend the life of your paint job for sure.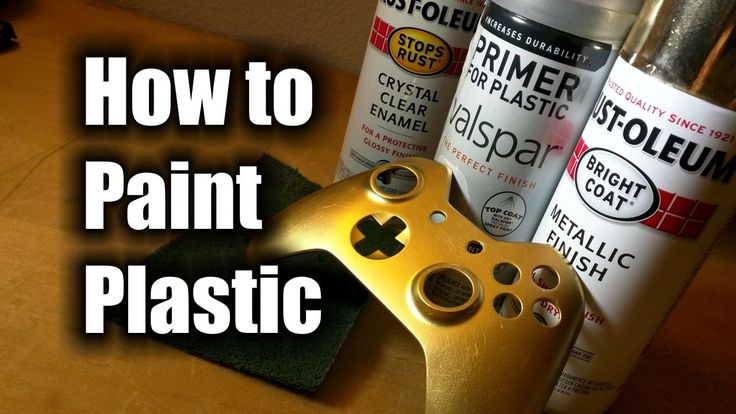
The all season sealer will protect against cracking due to the heat of summer and cold of winter. Here’s a link to a good option if you want to check it out. It’s the All Seasons Waterborne Flexible Bumper Sealer from Amazon.
Let the sealer dry completely before continuing.
Finally, the actual painting step. Use a paint and clear coat of your choice, if you still want to use spray cans the Krylon Fusion for plastic we talked about above will work. When selecting a top coat, make sure there is a flex additive in it or add one yourself.
Let the paint dry between coats and don’t put too much paint on at once. The paint will run and you’ll have to sand down and start over. If you do need to sand down the paint, just sand down to the primer or sealer, I would start with a higher grit like 600 – 800 and drop to 320 if you need to. That way you don’t have to re-do those steps.
That’s it! it’s really not too hard once you get going.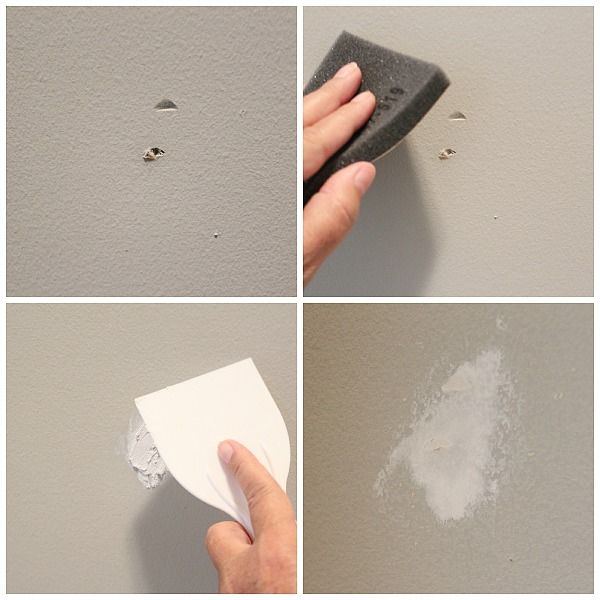 It can be time consuming waiting for all the different primers, sealers, and paints to dry though. Just to recap, the quick method works great, just won’t last for years and years. It’s definitely a lot easier though.
If you want your machine looking pristine, go with the professional method. your time and effort will surely show once you’re done.
Sharing is caring!
Clean the plastic with a Polyvance plastic cleaner. Spray a heavy wet coat; wait about 20 seconds for the solvents to dissolve or emulsify any contaminants, then wipe with a clean paper towel. Apply 2 heavy coats of Plastic Magic. Be sure to allow the first coat to flash off before applying the second coat.
Can I paint ATV plastic? In general, to paint ATV plastics, you’re going to need to clean the plastics and sand them down, then remove contaminants in the plastic that prevent paint from sticking.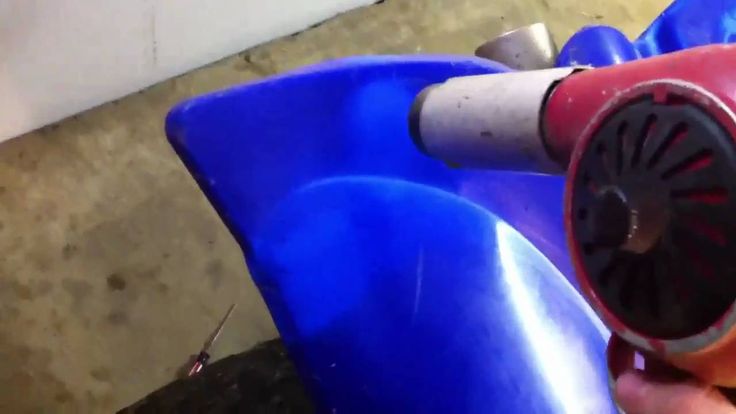 After you’ve done that you’ll want to use a primer, paint, and topcoat to seal and protect the paint job. I will go more in-depth below with a step by step guide.
How do you paint an ATV? The key to successfully painting ATV and dirt bike plastics is proper preparation. Using these procedures, you will be able to prepare your ATV and dirt bike plastic for painting. It goes without saying that the first step is to clean the plastic. Once this is done, sand the entire surface with 180 grit sandpaper.
How do you paint a dirt bike? Using these procedures, you will be able to prepare your ATV and dirt bike plastic for painting. It goes without saying that the first step is to clean the plastic. Once this is done, sand the entire surface with 180 grit sandpaper.
Table of Contents
Choose a paint that is suitable for plastic. Spray paint works especially well for plastic, but you can use acrylic or enamel/model paint as well.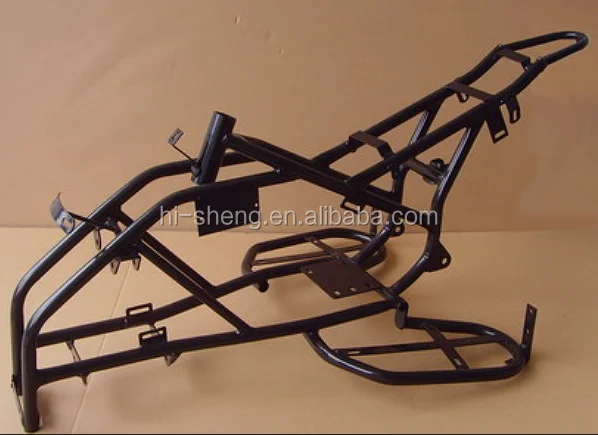
– Clean the Surface of the Plastic. Fill a bucket with warm water and a little dish soap. …
– Sand Glossy Surfaces. Paint adheres far better to rougher matte surface plastics than to glossy plastics. …
– Wipe Down the Plastic With Mineral Spirits. …
– Spray the First Coat of Paint. …
– Apply Subsequent Coats of Paint.
You definitely need a primer designed specifically for plastic if you’re using regular spray paint. The specialty primer can create a foundation that helps the paint stick. Apply the spray primer in even amounts to the completely sanded, clean, and dry plastic item.
For truly stubborn paint spills on plastic, turn to isopropyl alcohol (rubbing alcohol), which you can buy pretty much anywhere, including Amazon. Rubbing alcohol helps remove paint without melting the plastic, unlike harsh paint thinners.
Use paints that are specifically formulated to adhere to plastics. There are several available on the market such as Krylon Fusion for Plastic® , Valspar® Plastic Spray Paint , and Rust-Oleum Specialty Paint For Plastic Spray.
– Clean the Surface of the Plastic. Fill a bucket with warm water and a little dish soap. …
– Sand Glossy Surfaces. Paint adheres far better to rougher matte surface plastics than to glossy plastics. …
– Wipe Down the Plastic With Mineral Spirits. …
– Spray the First Coat of Paint. …
– Apply Subsequent Coats of Paint.
The best thing you can do to keep your plastic from fading is to store your quad in the shade, plain and simple. Everything else will cover up the condition until you wash it. You cant really buff your plastic like a car because only the outer layer of plastic is smooth and glossy.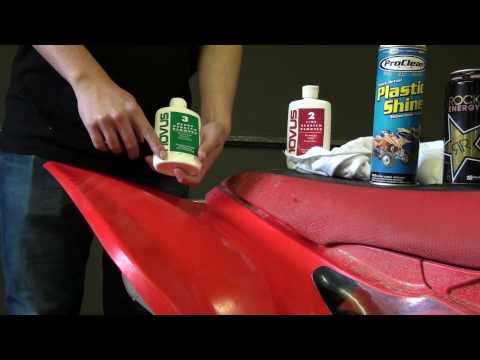
– Step 1: Remove the Racks and Skid Plates. To be able to work easily on the plastic surfaces, it is advisable to remove the racks and skid plates. …
– Step 2: Wash and Dry the ATV. …
– Step 3: Sanding/stripping & Painting the Racks. …
– Step 4: Preparing the Plastic. …
– Step 5: Applying the Wax. …
– Step 1: Remove the Racks and Skid Plates. To be able to work easily on the plastic surfaces, it is advisable to remove the racks and skid plates. …
– Step 2: Wash and Dry the ATV. …
– Step 3: Sanding/stripping & Painting the Racks. …
…
– Step 4: Preparing the Plastic. …
– Step 5: Applying the Wax. …
– 2 Discussions.
Paint adheres far better to rougher matte surface plastics than to glossy plastics. Since most plastic is glossy, sanding is then an essential step. Lightly sand all surfaces to be painted with 180- to 220-grit sandpaper.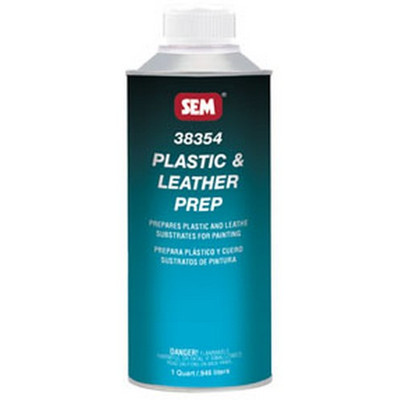 … This is especially important when using an electric sander on the plastic.
Use paints that are specifically formulated to adhere to plastics. There are several available on the market such as Krylon Fusion for Plastic® , Valspar® Plastic Spray Paint , and Rust-Oleum Specialty Paint For Plastic Spray .
A clear acrylic sealer gives your freshly painted plastic surface an extra layer of protection. You don’t have to use the sealer, but it can help the results be more permanent, especially if you’re painting an outdoor item. You can get a spray sealer to make the job easier.
Plastic is nonporous and removing its shiny surface will help your paint to adhere. Use a soft, clean brush or cloth to remove all dust from the sanding process. Paint your item: Once your object’s surface is completely clean and dry, block off areas you don’t want to be painted with painter’s tape.
– Clean the Surface of the Plastic. Fill a bucket with warm water and a little dish soap. …
– Sand Glossy Surfaces. Paint adheres far better to rougher matte surface plastics than to glossy plastics. …
– Wipe Down the Plastic With Mineral Spirits. …
– Spray the First Coat of Paint. …
– Apply Subsequent Coats of Paint.
Prepping for Painting Plastic Surfaces Use a little elbow grease with soapy water and a sponge to remove any gunk on the surface. When you’re finished scrubbing, hose off the plastic to get rid of any remaining soap. Let it dry off completely before you continue your prep.
The process of coloring plastic from an aerosol can has its own characteristics. First of all, they relate to the choice of materials and surface preparation. Let's go through the process step by step.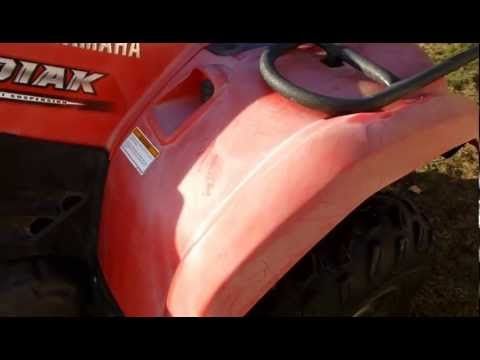
It is almost impossible to paint products made of polyethylene, Teflon, silicone and polypropylene - the paint simply does not adhere to them or is very weak. Other plastics can usually be dyed. But keep in mind that there are tens of thousands of different plastics, and some of them may surprise you. Therefore, if you are dealing with some material for the first time, it is best to test stain on a small area.
If possible, if the plastic is hard enough, it is better to mat the surface with a special abrasive sponge. Adhesion to a matte surface will always be higher than to a glossy one. The choice of primer depends on the type of enamel that is supposed to be applied to the plastic and on the condition of the surface.
If you plan to use Acrylic Enamel or Primer, you can do without the use of Adhesion Activator KU-6000 - acrylic materials have good adhesion to plastics and high elasticity. But the use of the Adhesion Activator will not spoil the situation, but will only further improve it. The activator is applied in one thin layer.
If alkyd enamels are to be used, the use of Adhesion Activator KU-6000 becomes mandatory. Without it, the adhesion of alkyd materials to plastic will be low. In addition, alkyd enamels are less elastic, so it is recommended to cover plastic with them only in case of emergency. For example, when high solvent and abrasion resistance is required.
If the surface has minor scratches or other shallow damage, apply KU-220X Acrylic Filler Primer or KU-210X Universal Acrylic Primer in a sufficiently thick layer. After drying, the filler primer should be sanded with fine sandpaper.
Plastic surfaces can be painted with acrylic, alkyd and cellulose ether (metallic car base) enamels. But first, you need to pay attention to the primer-enamel for KU-60XX plastic. As the name implies, it can be used both as a primer and as a top coat.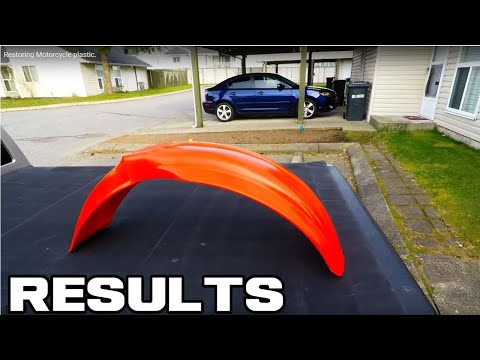 It can be applied directly to plastic (it can also be applied to the Adhesion Activator and acrylic primer) in several layers. And that's it, a matte finish corresponding to one of the RAL colors is ready. But if there is no suitable color in the priming-enamel palette, you can apply the enamel that you like the most on top of it.
Acrylic materials are best for applying to plastic: universal quick-drying high-gloss and matt enamel RAL KU-AXXXX and silky-matt enamel SATIN RAL.
Acrylic metallics SILVER GRAIN FINISH, REFLECTIVE FINISH, MIRROR FINISH, although they differ in the type of pigment (more about the types of pigments here), are applied only to pre-primed surfaces. Primer - acrylic KU-210X.
Cans of alkyd paints can only be applied to plastics using Adhesion Activator KU-6000. Alkyd enamels have some peculiarities during application, drying and polymerization, so we recommend reading about them here first.
Cellulose Ether Metallic Automotive Topcoat is also applied over acrylic primer. You can read about the repair painting of automotive plastics in this article
It is necessary to varnish only car metallic on cellulose ether base. 1K acrylic car polish KU-9010 is best, you can also use universal acrylic KU-9002 and KU-9004 (gloss and matt).
Matt acrylic enamels can be varnished for gloss and extra protection, but this is not necessary.
Alkyd enamel should not be varnished - it itself gives sufficient gloss and is superior in strength to acrylic varnish.
Prices
Professional motorcycle plastic painting may be required for various reasons: during repairs to eliminate surface defects or to renew the top coat of paint if the vehicle has been used for a long time. Masters of Pm-moto motorcycle service guarantee high-quality performance of these works in the shortest possible time.
Motoplastic painting is carried out using the best consumables that will help restore the spectacular appearance of the bike and reliably protect parts from inevitable mechanical stress and subsequent destruction.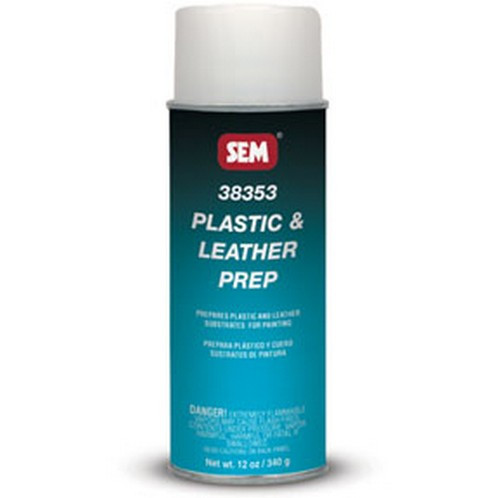
The staining procedure is performed in a special chamber. We use only those coatings that were created for motorcycles. In addition, we can paint the plastic of a motorcycle with a preliminary restoration of its surface.
Repair of plastic sheathing is carried out using modern technology, which allows you to maintain the maximum strength of the product. This procedure is effective in the presence of cracks, chips, dents and other defects. Restoring the surface of plastic parts and fasteners, as well as further painting the plastic of a motorcycle, will cost you much less than replacing them completely.
Among the benefits of service in Pm-moto it should be noted:
The quality and durability of painting are ensured by special surface preparation. First, sanding and puttying is performed, and only then a paint and varnish coating is applied. Thus, the effect obtained persists for a long time.
Clients who apply to the Pm-moto service are guaranteed reliable motoplastic painting in Moscow and a spectacular look of the vehicle. We use only those paints and varnishes that do not contain toxic substances, which ensures their safety for humans and the environment.
Another undoubted advantage of contacting us is the provision of a long-term guarantee for this type of work. For your convenience, we have provided the possibility of recording at any time. You can clarify the details regarding this service or sign up for it online and by phone.
| Name of work | Price, rub | Note |
|---|---|---|
| Maintenance complex (changing spark plugs, changing oil and oil filter, replacing air filter, replacing all pads and bleeding the brake system, changing coolant) | ||
| Maintenance complex (Cleaning, adjustment and synchronization of carburetors, replacement of candles, oil and oil filter replacement, air filter replacement, replacement of all pads and bleeding of the brake system, replacement of coolant) |
| Name of works | Price, rub | Note |
|---|---|---|
Fork overhaul, with oil seals changed.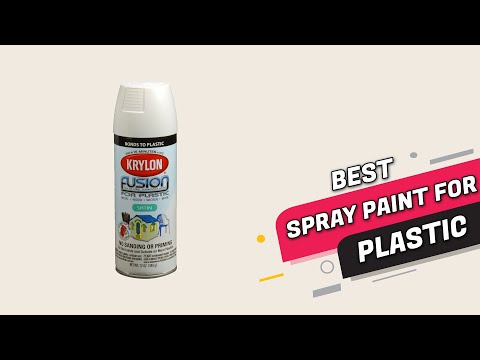  |