A lot of cyclists would not give a second thought on whether the bike is using tubeless or tube tires till something goes wrong. Tubeless tires are becoming popular mainly because they are lighter and they have fewer flats and give better performance. How to inflate tubeless bike tires?
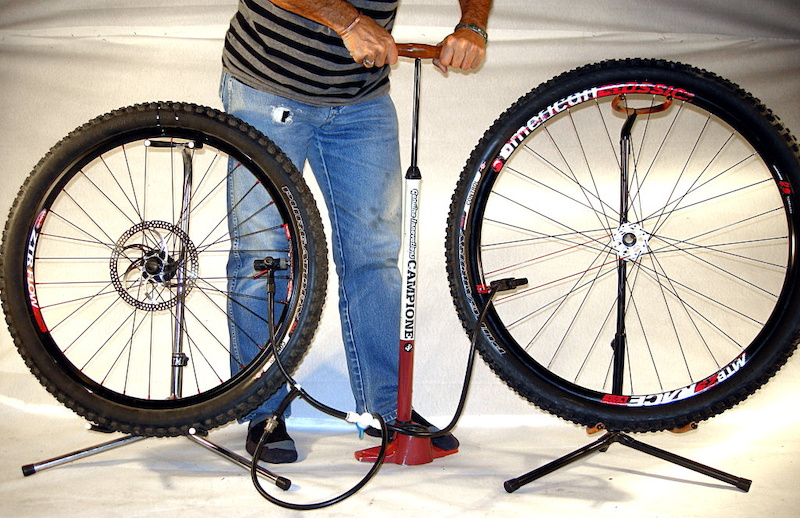
To pump tubeless tires on a mountain bike you can use a tubeless tire booster, compressor, or foot pump for tubeless tires. When you connect the pump to the tire, you can now proceed to inflate your tire. The tightening of your tire will enable it to build enough pressure and thereafter form a seal between the tire and the rim.
In this post, we will go through how to inflate tubeless bike tires. Let’s get started!
Tubeless tires have been around for a good few years for mountain bikes and road bikes. The biggest benefit is tubeless tires are self-healing but the biggest benefit is that it helps to prevent pinch flats which happen when the tube is pinched between the ground and the rim.
To inflate a tubeless tire is a fairly straightforward process. The steps are as follows.
Clean The Rim That The Tire Sits OnThe first step when you need to inflate a tubeless tire is to clean the rim that the tire sits on to make the contact between the rim and the tire strong. This ensures no air loss as there is no tube.
This can be done using a dry, clean rag without necessarily having to use water and soap. And you need to add the sealant if there is none.
Ensure That The Valve Is At A 3 Or 9 O’Clock PostionYou need to ensure that the valve is in a 3 or 9 o’clock position as if it is a 6o’clock position you will get fluid build-up. And from the12o’clock position, it will also affect the valve. Open and remove the valve.
Use Straps Or Ties To Secure The TireStraps or ties can be used to secure your flat tire.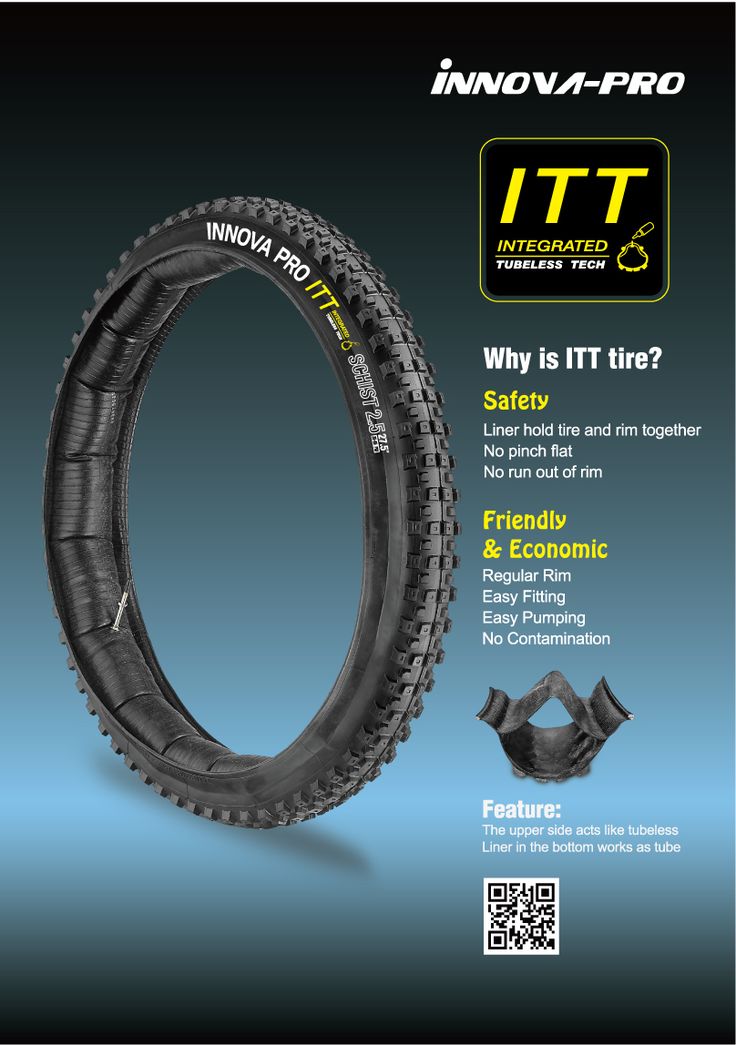 You can hold and tighten your tire by wrapping whatever you are using around the length of your tire. The straps help to hold the tire in place when starting to fill with air.
By using a compressor or tubeless foot pump, you can now proceed to inflate your tire. The tightening of your tire will enable it to build enough pressure and thereafter form a seal between the tire and the rim.
As the tire inflates it shall form its own seal due to the pressure build inside it. The straps or ties shall have been overturned by the pressure thus requiring you to remove them.
Finishing UpYou can finish off inflating the tire and put the valve back and close.
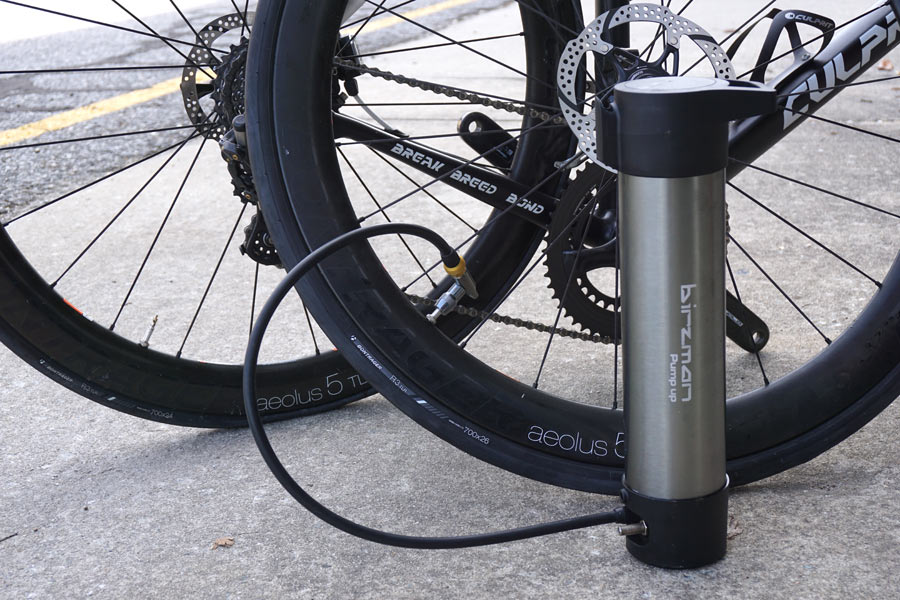
Do You Need A Special Pump For Tubeless Tires?There are special pumps for tubeless tires available like a tubeless tire booster and foot pumps for tubeless. You can use air compressors to inflate your tubeless tires.
Some additional advantages of using it such as fastness, ease, and better performance may make you go for the special pump. Special pumps also enable the tire to form a perfect seal with the rim.
Good tire pressure for tubeless mountain bike tires is around 26 psi on the front and 28 psi on the rear tire. For road bikes, the tire pressure is around 80 psi on the front and 83 psi on the rear tire. Also on the sidewalls of your tire, the recommended pressure level is stamped.
There are many factors to consider such as the overall weight of the bike including the rider, and also the conditions of the road. The range of the pressure level should lie between the maximum and the minimum of that on the sidewall of your tire.
How Long Do Tubeless Tires Last?The lifespan of a tubeless tire depends on several factors especially the way it is going to be used and how often. Tubeless tires are technically self-healing which sounds too good to be true but the sealant needs to be replaced.
A lot depends on the sealant that is used. There are 2 main sealants which are fiber-based and latex-based. You can expect the latex-based sealant to last 8000 miles and fiber-based sealants can last a lot longer.
If your tire develops cracks, gets cut, or bulges, it is better to change it for safety reasons regardless of the time it has lasted since you buy it.
Why Won’t My Tubeless Tire Inflate?There are several reasons that can make your tire not inflate. Firstly, before inflating especially a new tire, you need to check whether.
If by any chance your tire isn’t inflating and it meets all these conditions, it means that there might be an opening existing in it. This might be the cause of it not inflating.
Wrapping UpFinally, to pump tubeless tires on a mountain bike you can use a tubeless tire booster, compressor, or hand pumps for tubeless.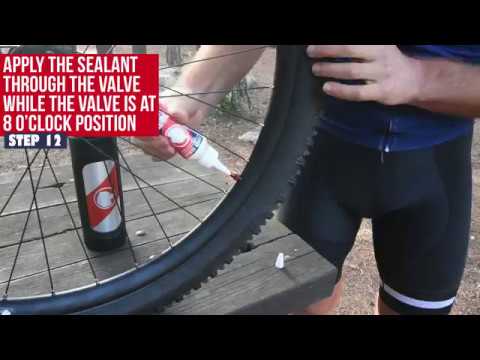 The tubeless tires do have the benefit of helping to prevent pinch flats and offer better performance.
And that’s it for now! I’d love it if this post on how to inflate tubeless bike tires was helpful to you. Let me know if you have any questions and let me know if there is more to add.
Did you enjoy this post? Then don’t forget to pin it!Ten foot poles are useful things, however I am not going to touch the topic of "should I or should I not use tubeless" with one today. Instead I will spend the entire time emptying my bag of magic tricks for working with tubeless should you be so inclined.
Nearly all of the wheels we build include tubeless compatible rims. The RCG36 and GX24 series are notably tolerant of a bunch of different tires and just don't burp, while Easton R90SL builds can be touchy to inflate but then don't burp even at super low pressure.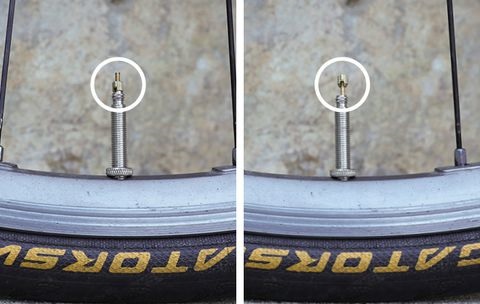 HED Belgium+ are inflation tolerant and brilliant at burp avoidance except at super low CX pressures. Stan's rims are usually quite easy to get inflated, but tires can fit really tight on them. Boyd rims usually need an extra wrap or two of tape but then they're good. It's not that straightforward, but as ever we're here to help.
Caveat number one: For mtb tubeless, use whatever the heck tires you want. For CX and gravel tubeless, tubeless ready tires generally work way better. For road tubeless, don't even try without tubeless tires, as regular beads will eventually blow off and the potential for personal injury is huge.
Slight smoke break here - congratulations for finding this page and thanks for reading. We'd like to offer you free US domestic shipping on any order over $100. Just use code "ilearnedsomething" at checkout. And now we return to our regular programming.
Our wheels come wrapped with two wraps of tubeless tape, except mtb wheels which get wrapped with just one wrap. These wraps perform the function of sealing the spoke holes against anticipated air pressure. Usually but not always, they are what's needed to get a good tire fit.
Instruction number one: Inflating your tires for the first time WITHOUT sealant is smart and saves mess and shame later. Sealant is for final seal and puncture sealing, not for initial inflation and seating. I prefer sealants that you can inject through the valve, and that's the way I do it. If you use a sealant which can't be injected, you'll have to take one bead partially off to dump the sealant in the tire, but if the tire has already inflated in your test then at least you know that goodness and not badness and shame awaits.
If your tire almost wants to inflate, remove the valve core and re-try the inflation method. That will often do it. Once the tire is inflated and seated on the rim, take the pump head off of the valve stem and plug it with your finger. Then quickly sneak the valve core back in. You'll lose some pressure but with practice this is a cinch. You can use the special tool to remove and retighten the core, or you can use a needle nose pliers. Either way.
If your tire has no interest in inflating, you need a tighter rim to tire fit. You can try more tubeless tape, or you can break out the heavy artillery. From my considerable experience, the interference that the tape provides is almost entirely useful for inflation and does not prevent burping. Just having a super tight tape fit doesn't turn any old rim into a mack daddy cross tubeless rim. But it makes inflation easier. From my experience, the duck tape/gorilla tape solution is more often needed and more often viable in mountain bike situations. The only wheel I can remember using this on in the last few years is my RaceFace ARC rim/Continental X-King mountain bike tire combo (which really needed it, but works great).
The new "tank" floor pumps work well, by delivering a huge shot of air all at once. Quite often, that rush of air will provide just enough push to create the critical amount of interference to start the tire inflating, and from there you are off to the races. 90% of the time I use this sucker I need to do it with the valve core removed to achieve success.
If you have a few extra bones, a compressor is a nice tool. You only need a super cheap one and they can be had for around $50. Some come with a version of a crappy pump head on them, which you can replace with a good pump head. We have a Prestaflator here at the shop, and it's the bees knees though it cost more than the compressor did.
The corner gas station almost always has a compressor. This is how I inflated my mtb tires for years. Just take a presta/schrader adapter, put it on your valve, put the quarters in the slot, and go. Be VERY careful with pressure. A guy I know* once blew a tire off a rim and covered himself in sealant for not being careful.
If you are going to a race or you have a race team and a fancy tent and a hot dog grill to put in your fancy tent but your fancy tent doesn't have power to run a compressor, you might want to invest in an air tank to take to races. You can fill it at the gas station or with your compressor, and it holds enough to inflate a whole mess of tires. This one costs $30 at Harbor Freight.
I really never use soapy water anymore. Shake the wheel and go for a short spin around the block. If your tire is going to seal, that will seal it.
Sealant replacement interval depends on an horrific alchemy of dew point, sealant type, tire pressure, the barrel price of Brent Crude, and the birth rate in France. Better too often than not enough.
*It was me. It was me.
Back to blogIn a little way this is like saying “I’m far from anywhere and I see a unicorn, what do I do?” I’ve never seen a tire burp except in cross racing. If you’re using ghetto/non-tubeless components in this scenario, install your spare tube and inflate that and continue riding. If you’re using tubeless components, your pressure was too low so add some from the mini pump you surely have and continue riding. You can also choose to install your spare tube and inflate that with your pump and continue riding.
If you’re “on a forest trail a hundred and eleventeen miles from anywhere” and you don’t have spare tubes and redundant air (CO2 AND a pump – one or the other you choose pump) then you’ve gone out unprepared in the extreme and you might die out there. Sorry. That sure wasn’t tubeless’s fault.
DaveI am on a forest trail a hundred and eleventeen miles from anywhere. My tire burps. What do I do?
Jack KesslerForgot to put the link to the video in there — https://www.youtube.com/watch?v=Dd0QsdCwq6E&t=12s
Dave Stans Grails with Schwalbe G One 700×30′s inflated immediately with standard floor pump. A Force Al 33’s with Schwalbe Pro One 700×25′s would seat but begin to leak at about 80 psi.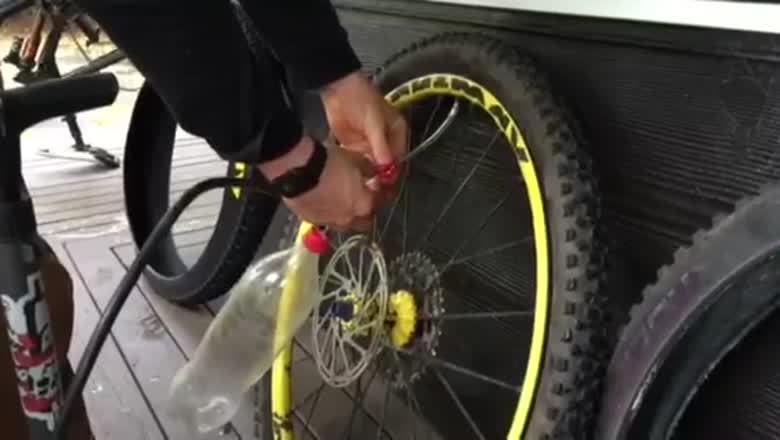 A small amount of “soap & water” did the trick. Both tires mounted relatively easy, by hand, no tire levers necessary. After the beads were set I then installed 2 ounces of Finishline sealant through the valve stem. Both working flawlessly! Goodbye tubes!!! Steve K
Here is a video on tire installation technique. It uses a tubed tire, but just don’t do the “install tube” step and you’re good to go. In absolute seriousness, I install a profound number of tires and while it’s nigh on impossible if you don’t use the drop channel, it’s quite straightforward of you do. And by “use it” I mean not 1mm of tire is up on the shelf – ALL of it down in the channel (except at the valve stem, where it can’t go down there).
DaveSubscribe to our blog alerts. We'll let you know when we've had something to say.
4583 views Bicycles 1 comment » 24 Mar 2020
Let's figure out under what conditions it is possible to make bicycle wheels tubeless?

So let's say we have tubeless rims, we have tubeless tires. What else is needed?
 Usually enough 3-5 atmospheres. But if there is no compressor at hand, no booster, then we just try to pump the pump sharply and hard. As soon as you heard silks, then everything worked out and the tire fell into place. At the same time, air through the sides can poison, this is not scary and will be eliminated with the following steps ...
  If without sealant it poisoned, now it should not poison.
 That's it. The procedure for assembling a tubeless bike is not easy, but it's worth it. Better rolling, lighter wheel, self-sealing when punctured.
Write comments, do you use cameras or switched to tubeless ... What are your experiences and impressions?
Share the article on social media. networks!
4.5/5 - (2 votes)
It may be elementary, but being able to inflate bike tires is an essential skill for any cyclist.
Many of you already know how to do this, but for those who don't, the different types of valves, pumps, and more importantly, how much to inflate your tire can be a little overwhelming. Let us help you through this process.
Contents
Pneumatic tires were invented to overcome the harsh "ride quality" of massive wheels.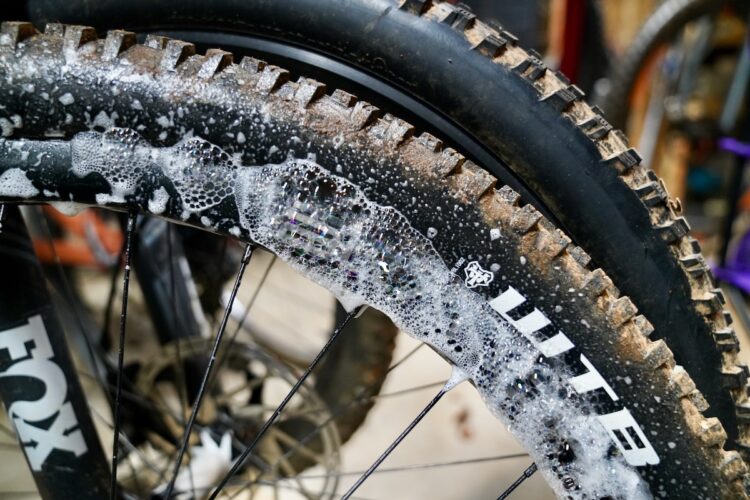
The air inside acts like a spring, giving you suspension and allowing the tire to adapt to the terrain for better traction.
Tire inflation is a quick job that can easily improve your driving pleasure. Incorrect tire pressure will adversely affect cycling and make it more prone to punctures.
If you've never repaired a puncture before, you may not have thought about how your tires hold air in.
The vast majority of bikes will use a tube. It's a donut-shaped airtight tube that sits inside the tire with the inflation valve you see on the outside.
Inflated tire rests on the ground and provides puncture protection.
You may have heard of tubeless tires which do not have a tube but use a special rim and tire to seal air without using a tube. This usually requires a tubeless sealant, which is a liquid that plugs any air outlets.
Tubeless tires are more commonly used on mountain bikes, but the technology is moving to road bikes.
Tubeless sealant also closes punctures, and no tube means much less risk of pinching flat surfaces - that's when your inner tube gets pinched by the rim, causing a puncture. Thus, tubeless tires can run at lower pressures than inner tube tires to improve comfort, speed, and traction.
At the highest level, you also get tubular tires. They are essentially a tire with a tube built into it, but they are rarely seen or used outside of professional racing.
Inflating your tires to the correct pressure is an important part of bike maintenance.
Running tires at too high or too low pressure can be potentially dangerous and can also affect your bike's handling.
Later we will discuss the correct pressure, but for now let's look at possible problems.
An under-inflated tire will reduce your efficiency and leave you vulnerable to annoying punctures.
If you drive with tires at too low pressure, the tire may wear out prematurely. Excessive sidewall deflection can lead to carcass cracking and tire brittleness. This can eventually lead to tire blowout.
Excessively low pressure also increases your susceptibility to punctures and can even cause your tires to literally jump off the rim if you turn at speed (the pressure inside is what keeps your tire on the rim).
Damage can also be caused by tire deflection up to the rim. This can lead to dents or cracks, which can compromise your wheel and require a costly replacement.
Conversely, too high pressure can cause the tire to come off the rim with explosive consequences. This pressure can also compress the wheel because if it is too high, the compressive force on the wheel can be too great.
From a drivability point of view, low pressure can lead to poor drivability due to the tire squirming under load. Your bike will be difficult to control and will be slow and sluggish.
On the other hand, too much pressure can lead to poor traction and a rough ride, leading to fatigue and in turn poor handling.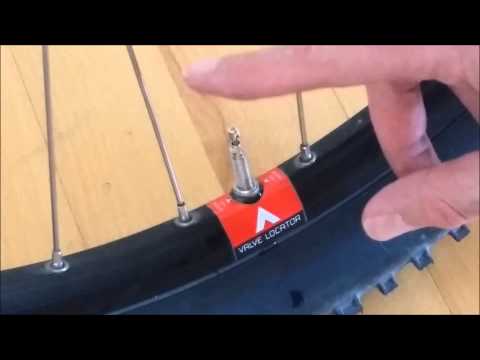
There are two possible reasons for your flat tire. Either you have a puncture or your tire has deflated over time.
The adhesiveless patches are great for a quick fix, while the more traditional kit is a versatile option when you have a bit more time.
All tire systems will bleed slowly because the tubes are not completely sealed. For example, standard butyl tubing retains air fairly well compared to lightweight latex tubing, which bleeds relatively faster. Even tubeless setups will slowly leak air.
Old tubes will pass more air than new ones, so if they haven't been replaced in a while, it's worth taking a look at them. It is less likely, but also possible (especially on older tubes), that the valve is no longer sealing properly.
The best way to check what's going on is to try pumping up the tire. If it's holding air, you probably have nothing else to do. If this does not happen, most likely you have a puncture.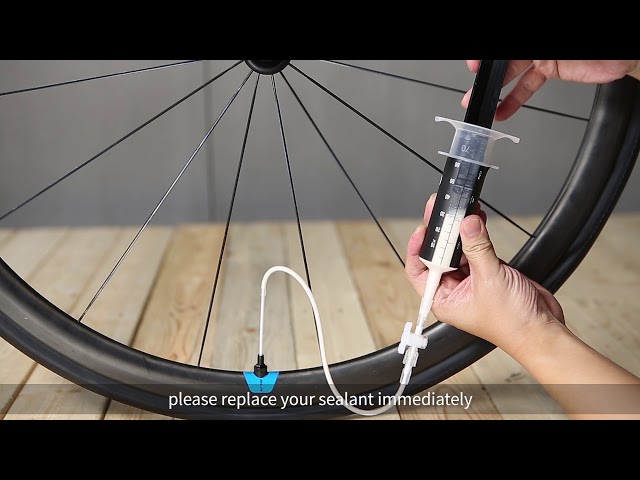
If air leaks slowly overnight, you have a slow puncture or just an old tube that needs to be replaced.
The first thing you need to know before inflating a tire is the valve type.
The valve is the key part that keeps the air in the tire but also allows the tire to be inflated (or deflated).
The Schrader valve is also used for car tires.
Schrader valves are more commonly found on low end bikes and, in the past, mountain bikes. The same valves are used on car tires.
The valve assembly is a hollow tube with a spring loaded valve that automatically closes and screws into the outer housing. The pin comes out of the valve and is usually flush with the end of the outer tube. This pin can be pressed to release air.
The dust cap on Schrader valves is an important part of the design that can help close the valve completely if it is not fully sealed. Essentially, it provides a secondary "backup" seal.
The spring-loaded design of the valve is slightly susceptible to contamination from dirt or sand, so it is important to protect it as well.
These Presta valves are longer and narrower than the Schrader style valve.
Presta valves are only found on bicycles.
They originated on road bikes, where a narrower valve (6mm versus 8mm for the Schrader) meant a smaller valve hole (usually the weakest part of the rim).
These days you can find them on both mountain bikes and road bikes. Instead of using a spring, the valve is held in place by a nut that holds it closed, although the valve itself seals "automatically" when the pressure inside the tire forces it to close.
With a schrader valve you can simply press the pin to release the air, but with a Presta valve you first need to unscrew the small lock nut. Don't worry about the nut coming off the end of the valve body because the threads are rounded to prevent this from happening.
There seems to be a myth that Presta valves handle high pressures better - this is probably not true given that there are Schrader valves that can handle many hundreds of psi (much more than you'll ever need). in your tire).
However, Presta valves are definitely a bit more fragile than Schrader valves. It is very easy to strike the threaded inner body of the valve, bend it or break it, so care must be taken. However, valve cores are easily replaced with standard tools.
Compared to Schrader valves, this requires a special tool.
Presta valves can be supplied with a retaining ring that secures the valve body to the rim. This can make them easier to inflate. The dust cap is not essential to sealing it, but helps keep the valve clean.
The only other type of valve you may encounter is the Dunlop (also known as Woods) valve. The base diameter is the same as the Schrader valve but can be inflated with the same pump as the Presta valve.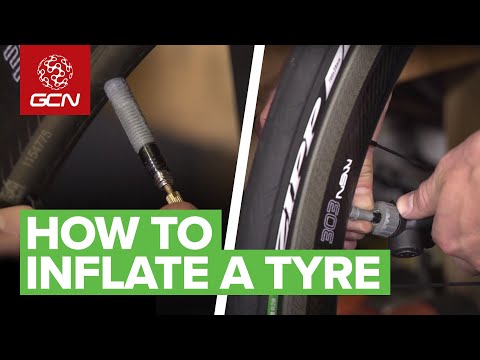
They are very popular on city streets in Europe and elsewhere in the world, but you are unlikely to find one in the UK or the US.
The tubeless valve is difficult to distinguish from a regular Presta valve.
Valves for tubeless tires are attached directly to the rim, not part of the inner tube.
Most often they are of the Presta type, but there is also a Schrader.
If you have a Schrader type valve like the one shown above, the first thing you need to do is remove the dust cap (if there is one).
Simply unscrew the cap counterclockwise to open the valve.
Now attach the pump head.
Inflate the tire to between the minimum and maximum indicated on the tire sidewall and remove the pump. Ready!
If your bike has a Presta style valve like this one, you will first need to remove the plastic valve cover (if any).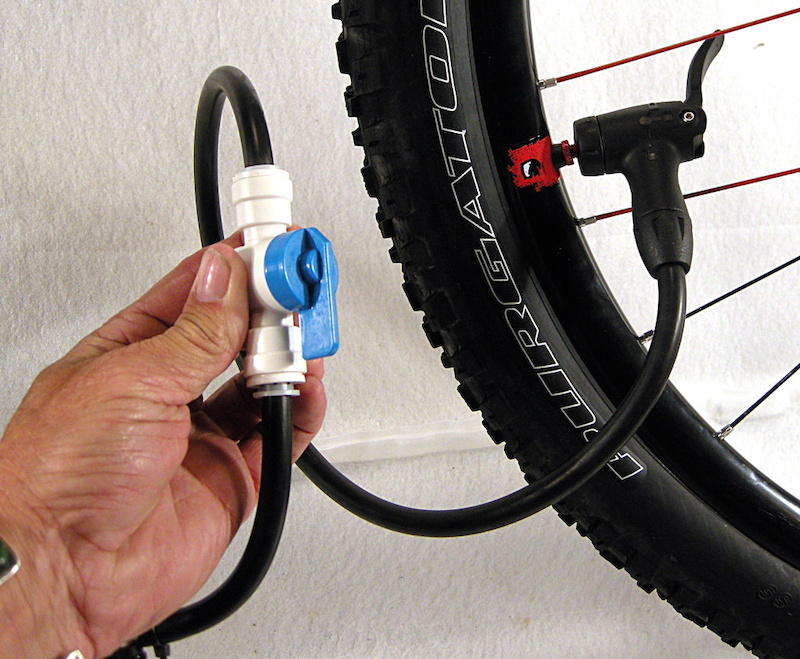
The plastic cover will open another threaded valve cover.
Loosen the threads, but be careful not to damage them in the process.
Now attach the pump head of your choice to the open valve and inflate the tire to between the minimum and maximum pressure indicated on the sidewall of the tire.
Inflate the tire to the desired pressure and remove the pump.
Finally, close the valve by turning it clockwise and install the plastic valve cover.
If you have a tubeless tire or a tube with sealant inside, there are a few extra steps you should take to avoid pump contamination.
Turn the wheels so that the valves are at the bottom and leave for a few minutes to allow the sealant to drain.
Turn the wheels so that the valves are up and inflate the tires. The same thing happens when the tires are deflated to prevent the sealant from splattering all over the place.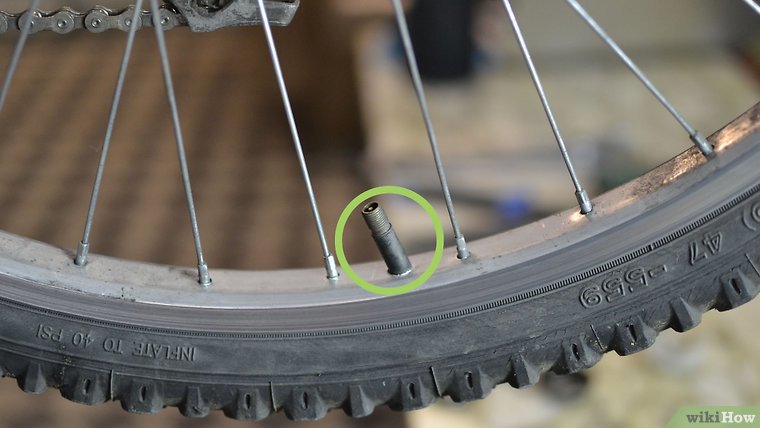
We would say that if you can only own one type of pump, get a foot pump for home use because it is efficient, fast and easy to use.
However, there is no doubt that having an extra mini-pump for the duration of the trip is very useful - otherwise you risk getting stuck on the side of the road in case of a puncture.
There is no limit to pump selection. Basically, they all do the same job, some of them look better than others.
From budget to outrageously expensive, you'll find something to suit your needs.
Mini pumps work but are much more difficult to use. Again, there are many options that will fit in your pocket. We prefer hose mini pumps because it reduces stress (and potential damage) on the valve.
Another option for your inflation needs is the CO2 pump. They use compressed carbon dioxide in a small cartridge to inflate or fill a tire very quickly. Not something you would like to use on a regular basis, but perfect for emergency repairs.
The first thing to do is attach the pump to the valve.
Remove the valve cap, and regardless of valve type, we find it useful to let some air out to make sure the valve doesn't stick and opens and closes cleanly. Screw on the chuck, or push it in and lock it.
If your tire is completely flat, it may be difficult to install the cartridge at first because the valve tends to move back into the rim. Simply hold the valve at the back while pressing down on the outside of the tire so you can lock the cartridge in correctly.
The locking ring on Presta valves (if equipped) can also help by preventing the valve from dropping, holding it in place for you.
The connection to the valve must be tight. It is normal for a small amount of air to escape when installing the pump, but this should not last long.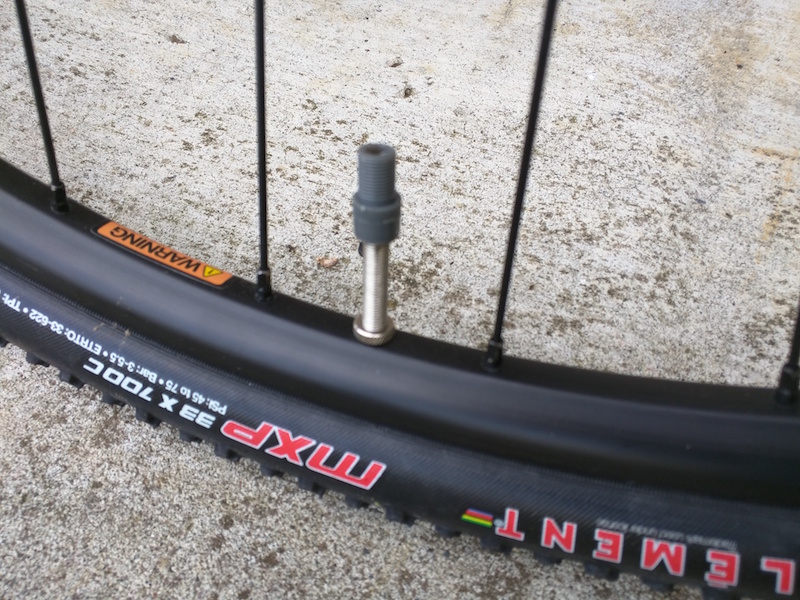 If so, remove and reinstall cartridge. If the problem persists, it might be worth checking the rubber seal in the chuck to make sure it's not worn out and needs to be replaced.
Remember to be careful with the valves - they are fragile. This is especially true if you are using a mini pump without a hose.
Be sure to secure the pump by hand to avoid applying too much force to the valve, which could cause damage.
When you start pumping, make sure you use the full stroke of the pump. You will find that most of the stroke is compressing the air to the point where it will be forced into the tire.
If you don't run the pump all the way, the air won't be forced out of the bottom - you need to pressurize to move the air from the pump to the tire. Instead, you'll just end up wasting your energy to no avail.
With a floor pump, don't just use your hands, use your body weight to push down and pumping becomes much easier.
Sometimes you may find that the pump does not hold pressure, especially when inflating a tire from a fully deflated position.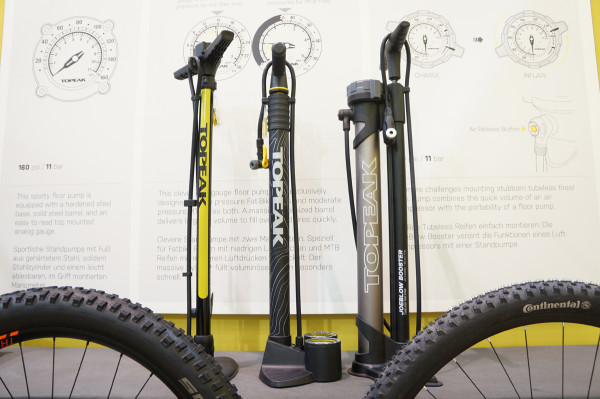 This may especially apply to older pumps where the seals may be slightly worn.
We find that vigorous inflation first helps to create enough back pressure (i.e. tire side rebound) in the system to ensure that the valves actuate properly and seal the tire. Keep going until you get the right pressure.
When the cartridge is removed from the valve, a hiss of air loss can usually be heard. This usually happens on the pump side, not the valve side. The pressurized air from the hose and cartridge just comes out.
The pump pumps air into your tire. The principle of operation is simple; you increase the pressure inside the pump until it exceeds the pressure inside the tire. This "overpressure" forces air into the tire, which also increases tire pressure.
The pump is simply a manually operated piston. As the pump moves down, a check valve (allowing air flow in one direction) seals the piston chamber, causing the air pressure to rise as the pump is compressed. This pressure increases until it exceeds the pressure inside the tire.
At this point, the second one-way valve will allow air to flow from the pressure pump chamber into the tire. You extend the pump again, the check valve opens to fill the chamber with air, and you repeat the process.
To prevent leakage of tire pressure, the second check valve at the base of the pump closes. If it wasn't there, the pump would just open up again.
Presta valves close automatically, but spring-loaded Schrader valves are usually held open by a pin in the valve mount (meaning you don't need any additional inflation force to overcome the pressure exerted by the spring).
The pump head is also known as the cartridge.
The cartridge is the part that attaches the pump to the valve and forms an airtight seal over the valve. There is one of two designs: threaded or push-on with a locking lever. Most pumps nowadays can also be adapted to Schrader or Presta valves.
They will either have two different mounting points or a cartridge that can be changed for both types.
For large pumps (and many mini pumps too) the cartridge is often on the hose, preventing your force from damaging the valve.
Pumps are often equipped with a tire pressure gauge.
Proper tire pressure is perhaps one of the most controversial topics, but there are a few guidelines you can follow.
As a rule of thumb, your tire should be strong enough to prevent it from flexing all the way to the rim, yet malleable enough to provide some suspension - after all, the beauty of a pneumatic tire is that you don't have an incredibly hard ride.
Most tires have a minimum and maximum pressure marked on the side. It is advisable not to go below or exceed these limits, because manufacturers have indicated them for a reason. Of course, this means there is still plenty of room to play around with the pressure and what works for you.
For mountain bikes, the problem is relatively easier to solve, as the goal is usually to improve traction, cornering, and damping.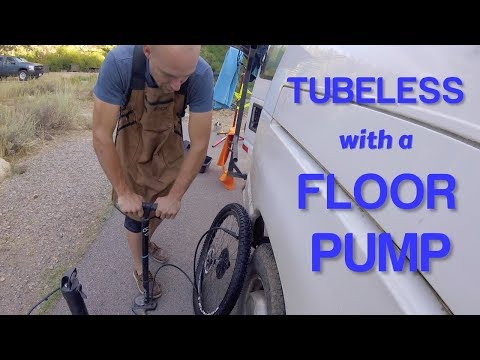
As a rule of thumb, riders try to run as low pressure as possible without making it so soft that the tire squirms under load in a corner or flexes enough to damage the rim.
For road bikes, things get a bit more complicated because along with grip and comfort, rolling resistance (how efficiently the tire rolls) is an important factor.
On all but the smoothest surfaces, a stiff tire will have no advantage, and instead of the tire being able to lean and conform to the bumps, causing the bike to move forward, you will bounce.
On all but the flattest surfaces, lower tire pressure can provide greater comfort and efficiency.
Testing showed that 20 percent tire compression (the amount of tire compression when a load is applied, measured by the height from the ground to the rim) was the optimal balance.
Incidentally, some manufacturers recommend the same level of tire compression, although this figure is somewhat controversial.