by leo
Winches are amazing gadgets to have when you are fond of going out on off-road trips. They are your constant partner and help you to get out of situations of emergency, whenever your off-road vehicle gets stuck for instance in mud or soft sand. It reduces your dependency on external help and makes you self-sufficient to get yourself out of such situations.
If you find yourself passionate about off-roading and are serious about getting your skills improved as an off-roader, then you surely need to learn about winching, and the way it can be used to pull your vehicle. Although people have been using winches for different purposes since a long time now, but they are still not as common as you would expect them to be considering their practicality. Having the know-how and the skills of using a winch in different situations can offer value in many tough situations.
This can specially be the case when you often have to drive in less than ideal road conditions.
One of the key features that come in a winch is its ability to free spool. Now the question is that what is free spooling and how can you use free spool winch. To find this out, stay tuned!
As apparent from its name, the free spool feature is just that it ‘frees’ the ‘spool’. To explain the definition, it actually disconnects the drum which contains the rope from the gearbox. This phenomena is similar to holding on to the clutch of a manual car which disconnects the gear train from the driveshaft, or simply putting your car in neutral.
Free spooling helps in pulling out your winch hook and rope with ease, so that you can connect a load which is to be pulled. It also comes useful when you need to recover your vehicle by anchoring the hook to a point. The other option to take the winch rope out is by powering it using the motor of the winch.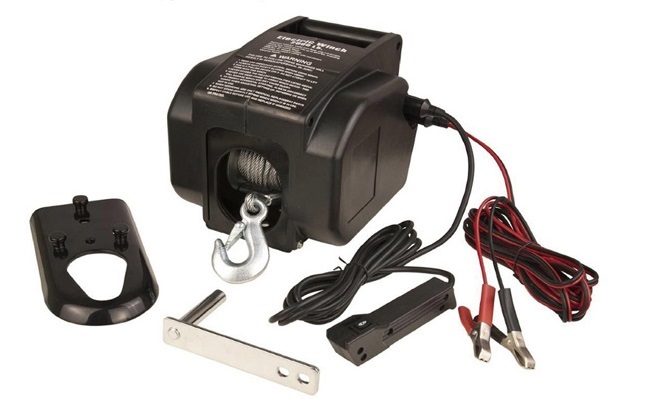 This however can take much longer and in the long run, it results in wearing out the bushes of your winch motor at a faster rate.
Therefore, using the free spool feature to pull the cable out of the drum manually saves you a lot of power, time and reserves your motor for the job it does the best, which is pulling. It can also sometimes feel satisfying to carry out the manual free spooling compared to cable release by the motor.
On most of the winches that are there in the market, the free spool mechanism is operated typically by a lever or knob that is pulled or turned along a specific direction. Until you set the lever or knob back to its original position, the winch will remain in the powerless free spool mode, for you to pull the cable out. Free spooling is hence also termed as the disengaging of gearbox
However, there are also some safety considerations you should look out for when you are operating in the free spool mode. You should make sure that there is no load on the winch before putting it in free spool mode, otherwise this can make the situation dangerous and vulnerable to accidents.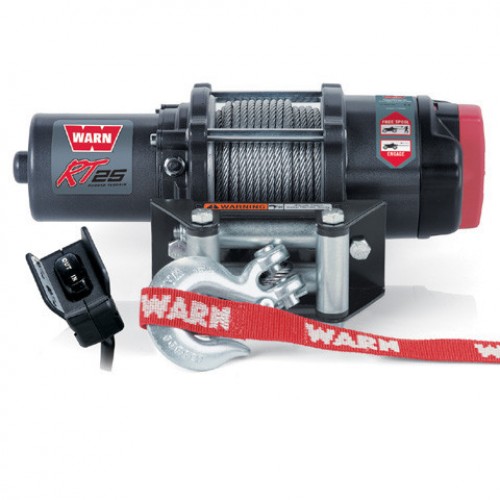 Therefore the cable should be under zero load before you reach out for the free spool knob or lever.
After you are done using the free spool feature, and then you turn the lever or knob back to its original position to engage the gearbox, the gearbox still may not be engaged. It may probably require another action to do so. It may take a couple of second for the motor to run and sometimes may require a slight pull on the winch rope as well, so that the mechanism aligns itself and latches back to its position.
The free spool mechanism may also consist of some type of pin that engages with the pocket of a gear, or it could also have a gear that needs to be pulled sideways so that it gets released from a mating pocket. Practicing on your particular winch will eventually teach you how to you can properly use the free spool feature, so that in case of need or emergency, you can implement it well.
Although free spooling is the easiest way of unspooling a winch cable, in which the operator can keep hold of the cable with merely two fingers, there still might be some issues. If the rope holds on tightly due to a small force, there is surely a malfunction, which in most of the cases arises due to too much resistance. This can be removed using a lubricant oil.
Not using the free spool for a long time may also lead to difficulties in disconnecting the drum from the gearbox. Therefore it is recommended to use the feature and disengage the clutch after specific time intervals to ensure proper working. Sometimes dirt finds its way and gets stuck in the free spool knob, which can be removed by disassembling, cleaning and lubricating the part. After all, proper maintenance is the key to ensure long life of your winch and complete functionality of all its features.
To be on the safer end, it is always recommended to leave at least 5 cable wraps on the winch drum.
Technically, it doesn’t matter whether your winch is upright or upside down, however you should be sure that the attached winch cable or strap does not hang down to avoid hazards.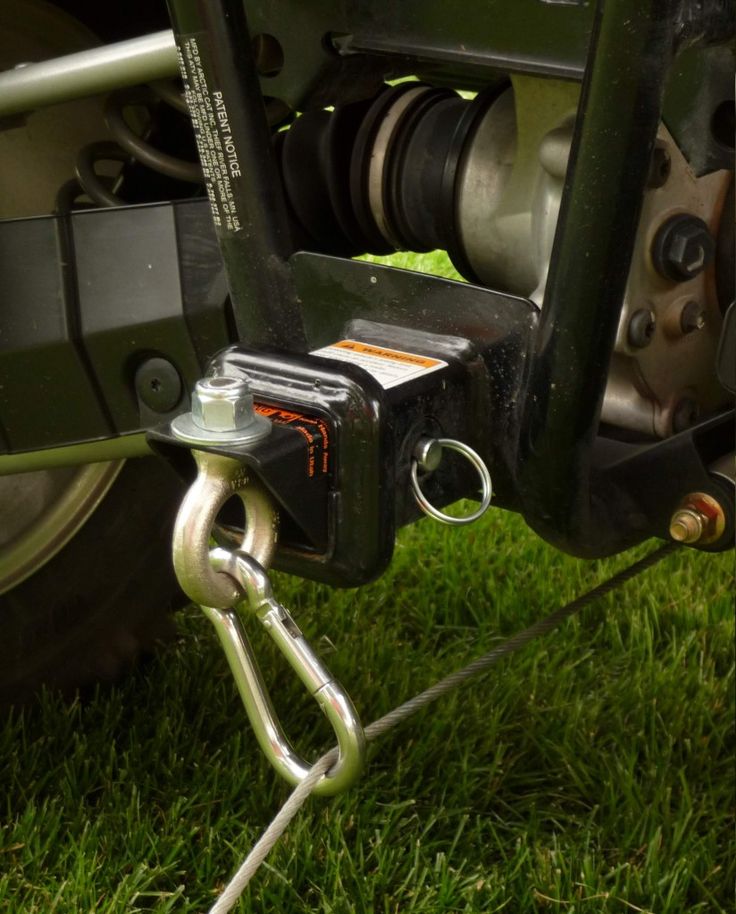
3. Can I use roller fairlead with synthetic rope?
Synthetic ropes may cause chafing and abrasion, thus steel rollers on a conventional roller fairlead is not compatible.
Whether you had one rough pull or a hundred easy ones, wear and tear on your winch cable is natural. Everybody has to replace theirs with something new eventually.
It’s a simple job right?
Not so fast!
There are a few major pitfalls you need to avoid when changing your line. We’re going to walk you through how to replace an ATV winch cable or rope to make sure you get it right and don’t damage your gear.
Table of ContentsYou’ll need a few basic tools to replace your winch cable. There’s nothing special here—you should already have everything.
These steps will take you through the process of removing your existing synthetic rope or steel cable and replacing it with a new one. The process is nearly identical whether you’re replacing cable or rope, but we’ll note the differences when they come up.
Before you do anything else, you need to figure out if you have room to remove your ATV’s winch cable while the winch is still installed.
If your winch is mounted on top of a bumper, you’ll have no problem keeping it installed.
However, if you can’t reach your winch drum with both hands, you may need to remove it. In some cases, removing the fairlead alone will give you enough space to work with. If you do have to remove your winch, the process is simple enough:
Removing your cable or rope is a piece of cake. If you’re working with cable, be sure to don your heavy-duty gloves to protect your hands.
Then, follow these steps:
The line will run through a hole in the drum. With synthetic rope, the line will have a simple knot (tip: take a picture of the knot now so you can replicate it later). Steel cable will be secured with a set screw or locking bead.
If you’re removing synthetic rope, lighten the tension by pushing the long end of the line through the hole. Then, undo the knot and pull the rope through the drum. You may have to cut the end off if it’s covered in glue or tape that won’t allow it to run through the hole.
With a steel cable, you’ll need to use an allen key to loosen the set screw so you can pull the line out. On some winches, the cable will loop around a locking bead set into a slot in the drum. Just feed the cable through to lighten the tension on the bead so you can unloop the line.
After you’ve spooled your line all the way out, you’ll have to undo the knot on your synthetic rope or remove the set screw from your steel cable to separate it from the drum. This is also a good time to inspect the condition of your drum.It’s important to take this opportunity to inspect the condition of your winch, especially if you’re replacing a steel cable with a synthetic winch rope.
Look for grooves and ridges—anything that’s not smooth.
If it’s roughed up, you’ll need to file it smooth or replace the winch before using a synthetic rope. Those grooves can easily slice fibers when under the intense pressure of a loaded winch.
Installing your new line is a little bit more complicated than removing it. Make sure you pay careful attention to these steps. This is the part of the process where mistakes are likely to happen.
For synthetic rope, that means looping it around the drum and tying a knot. We recommend using electric tape to attach the loose end to the drum.
For steel cable, tighten your set screw or loop it around the locking bead.
To secure a synthetic rope to your drum, feed it through the hole and tie a knot. It’s helpful if you take a picture of the knot on the original rope so you can replicate it.
To properly spool the line, you need a heavy load to tighten the line around the drum as you reel it in. Attach the end of your line to a tree and slowly winch the line in as you guide it onto the drum. Your goal is to achieve neat, tight rows with no crossover.
The tension ensures that the rows are packed tightly and won’t get damaged the first time you use it in a real winching situation.
Don’t be tempted to put your fingers through the hook or loop as you guide the last few feet in. It’s easy to crush your fingers in the fairlead if you get distracted for a moment.
The even loops around the drum ensure that the rope will feed out easily when you need it and won’t get damaged when you winch in under tension.
Now you know how to replace an ATV winch cable or synthetic rope. The process is simple enough, but paying attention to the details will ensure that your new line lasts longer than your busted one.
If you need a new line, check out our replacement synthetic winch ropes. We have bright colors to make them easier to spot if you’re in mud, or you can roll with classic black if that’s more your style.
But if your winch has fully bit the dust, check out our Black Ops Winches. We have 2,500 lb. winches that are perfect for ATVs, but you can also get 3,500 lb., 4,500 lb., 6,000 lb, and 12,000 lb. winches if you need a little more oomf.
Now get back out on the trail and have enough fun to get stuck. With your ATV’s winch cable replaced, those ditches and mud holes will look a lot more inviting.
Check out how to change a UTV winch rope on a Black Ops Winch:

If you are used to using an ATV, as they say "to the fullest", if you cannot imagine existence without measuring deep puddles and swamps, overcoming hilly terrain, and the thirst for extreme sports was born faster than you, then installing a good powerful winch is just what you need. what you need.
Installing a winch on an ATV is a simple process, but responsible and requires certain skills and care.
You can read an article on the correct use of a winch on an ATV here.
Winch platform.
Suppose you have already decided on the choice of a winch, then you should pay attention to the mounting of the platform. You can make the platform yourself or purchase it specifically for your ATV model (although you will most likely still have to grind and finish).
It must be said that the attachment of the winch platform to the frame must be reliable and thoughtful, because all the weight under load will fall on this particular unit.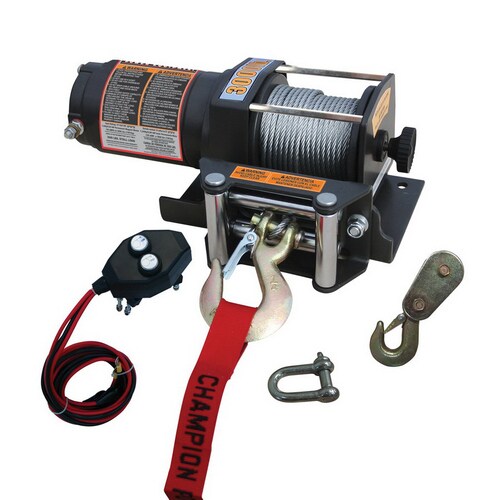
Winch wiring harness.
For easy cable routing, we recommend that you remove the ATV plastic, this will make your job much easier.
When laying wires, try to keep the power cables as short as possible, this will avoid current loss when the winch is running. If the wires are too long, they should be shortened after laying near the battery and put new terminals in place of the cut.
Cables should be tucked into the corrugation to avoid short circuits and direct contact with the ATV frame.
Attention! Wiring should be carried out with the battery terminals disconnected.
Wiring diagrams for the winch and control panels.
Connection for control unit, winch and battery.
Scheme for connecting the winch console to the solenoid.
Winch radio control connections to dual solenoids.
After installing the winch and wiring, check the winch and control panels for proper operation.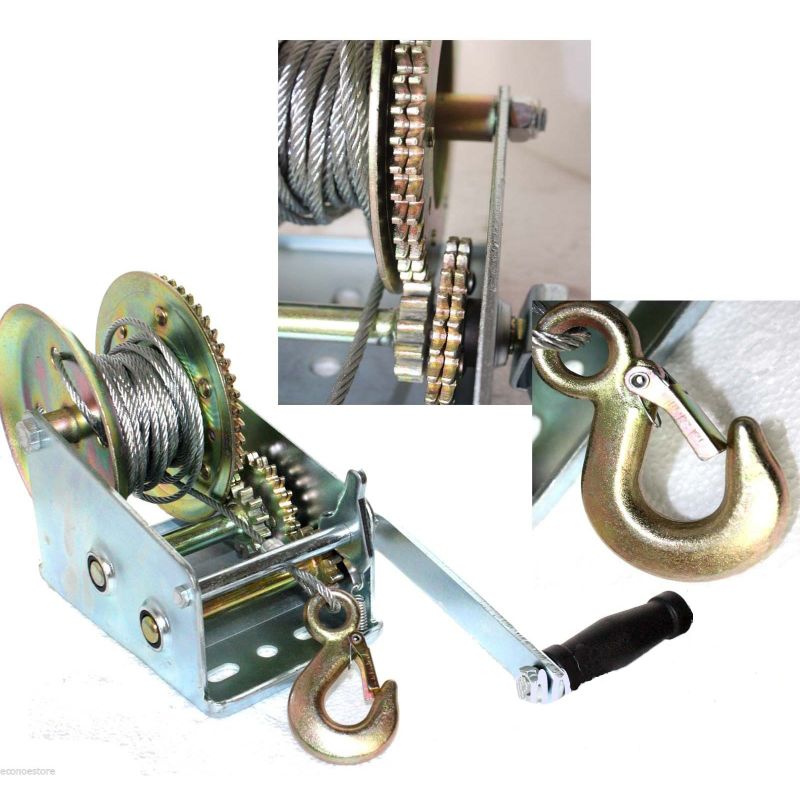
A video that shows in detail the entire process of installing a winch on an ATV:
you can always ask a question or make a suggestion in the comments. I wish you a successful installation of the winch on your ATV, and fewer situations in which you have to use it.
"...
Arch extensions for a flat..."
A winch is a must have for off-road riding. It allows you to pull a stuck ATV out of mud, water or deep ruts. Many models of CFMOTO ATVs and ATVs have a winch from the factory, for others it needs to be purchased separately.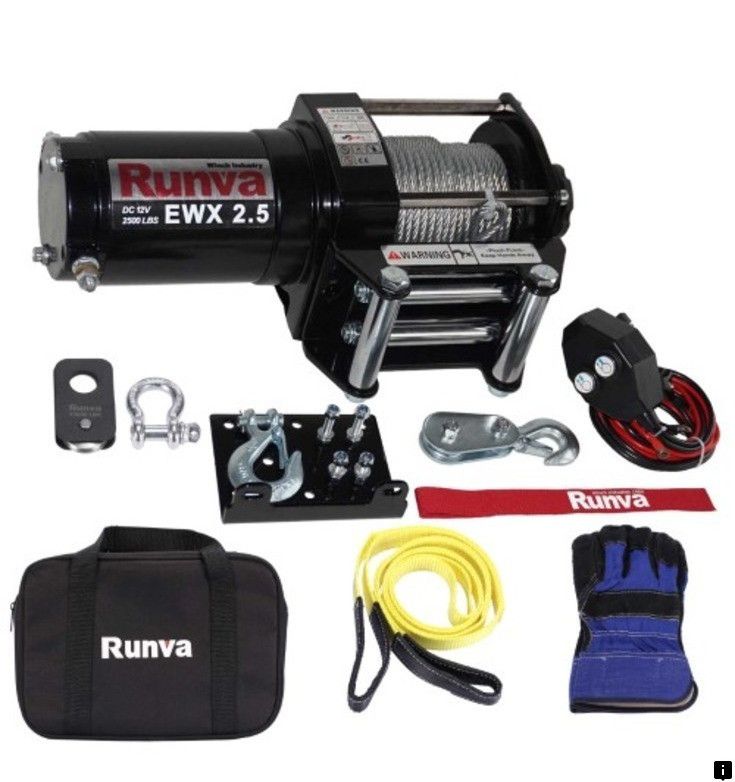 In this article, we will tell you how the winch works, what to look for when choosing, and also give useful tips on how to use it.
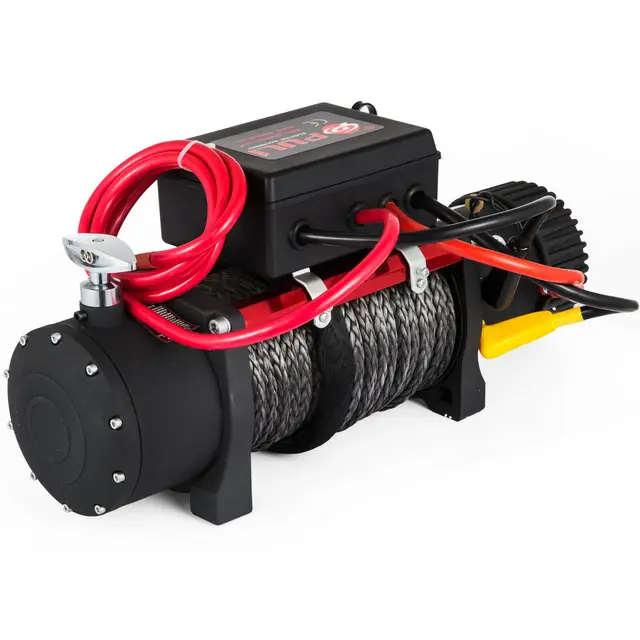
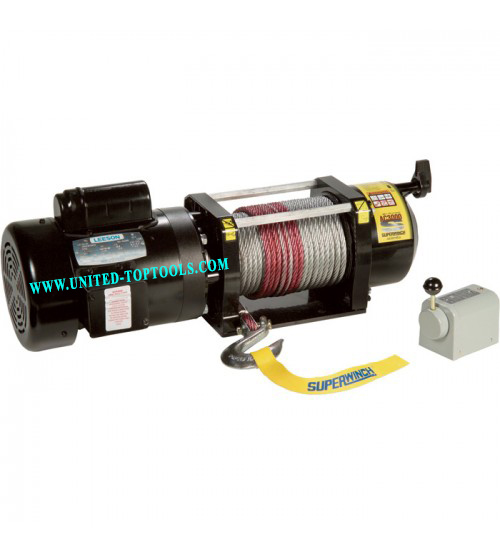
ATV winch is a drum with a cable. An electric motor is located on one side of the drum, and a gearbox on the other. Rotation from the electric motor to the gearbox transmits a shaft that passes inside the drum. The gears of the planetary mechanism are located in the gearbox.
Reducer reduces speed and increases traction. The rotation from the gearbox is transmitted to the drum, which winds the cable, creating traction and gradually pulling out the stuck equipment.
One of the key parameters to consider when choosing a winch is traction. It determines the maximum weight of the load that can be torn off the surface. With each skein of the drum, the winch force decreases.
Thrust is measured in pounds (labeled on winches as lbs), 1 lb = 0.45 kg.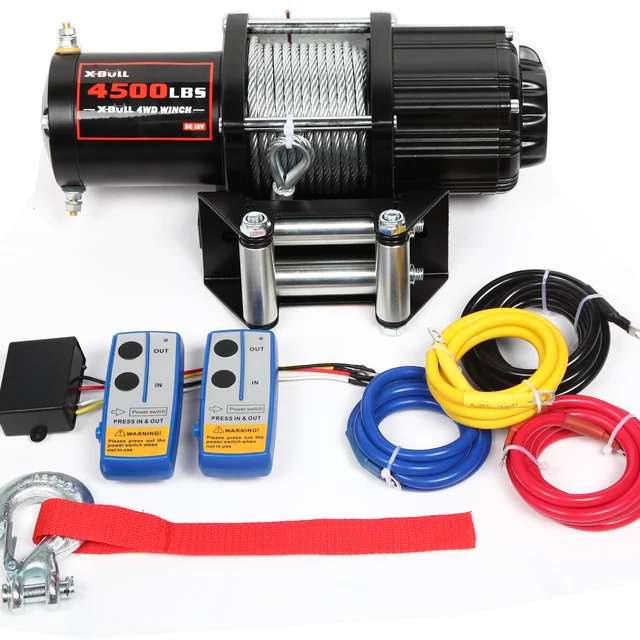 The force depends on a number of features: the diameter of the drum, the number of wound turns, the power of the electric motor, as well as the gear ratio of the gearbox.
It is not always necessary to choose the most powerful and fastest winch: the more powerful the mechanism, the more difficult it is to handle. Beginners can harm equipment and even their health - it is not uncommon for a broken cable or a broken hook to cause injury.
Fits ATV cubic capacity:
Steel - cheap and easy. Requires work with gloves, not repairable. May cause injury if mishandled.
Synthetic - requires maintenance but is easy to use. It does not "shoot", and if the cable is damaged or torn, it can be braided on the spot.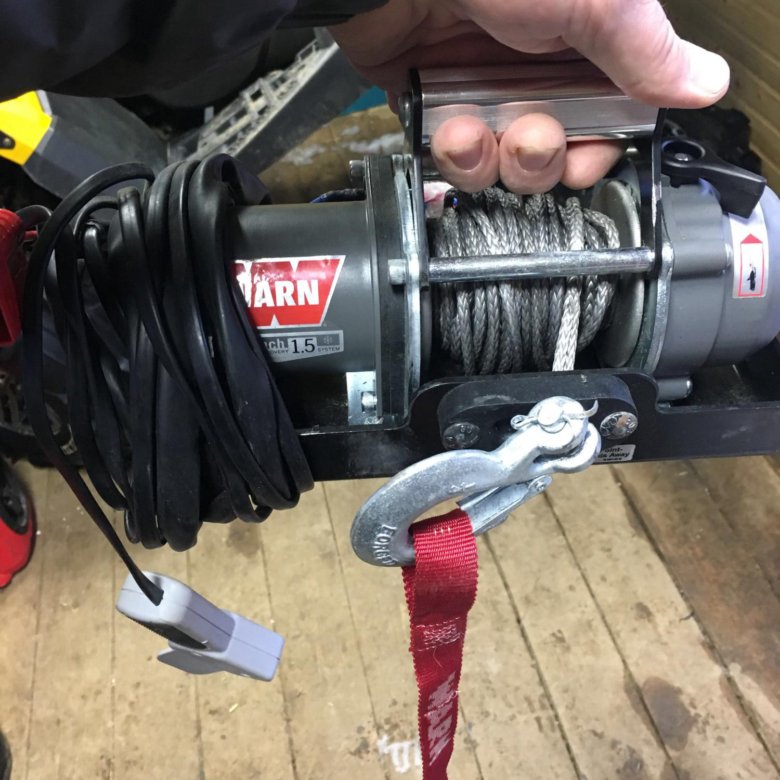
Most experts believe that material choice should be based on personal preference: some riders lean towards steel over time, others towards synthetics.
The winch is installed on a special platform on the ATV frame. If there is no platform, you need to buy it and install it according to the instructions. The site has standard anchor points that fit classic winches up to 3,500 feet of pull.
When choosing a winch, pay attention to the width of the drum:
With certain skills, you can modify the fasteners and install almost any winch - the main thing is not to make the fasteners "break" and not to strengthen weak points. If the ATV is under warranty, it is advisable not to touch the frame and buy a regular winch.
Installing the winch is easy, but the connection will have to be tricky. To lay the wiring, it is advisable to remove the plastic from the ATV. The winch must be connected to the control unit and battery. It is recommended to keep the power cable as short as possible to avoid current loss. All wires must be hidden in the corrugation so that they do not come into contact with the frame and are protected from moisture.