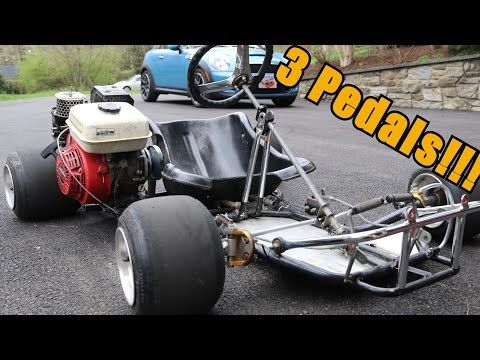
I have heard of multiple way of seating a tire bead. which way do you do it?
I took off tires from 2, 1 piece rims i have and have put new tires on them, but dont know how i can seat the beads. i have used the starter fluid method before, when the bead fell off on just 1 side.
how would you go about filling tubeless tires up, if both beads arent seated?
i use straight dish soap on the rim and the tire and fill it up and press on it and it will pop on the bead most of the time
would that work for when both sides are unseated? right now the tire is on there, but wiggles back and forth
Soap around the rim of the tire, then get somebody to press the tire against the actual rim and blow it up with an air compressor.
Try putting pressure on both sides equally.
Soap, and take the valve out also, air travels easier, and also if you get some rope and go around the middle of tire and tight as you can, usually works
Take an old belt and place it around the tread of the tire. Tighten by pulling on the belt. This will force the bead a little outward towards the rim. Place the rim (valve side up) on something like a coffee can so that the tire doesn't rest on the work surface, only the rim. One side of the tire will now be resting on the rim. It is important that you remove the valve core! You need the most air flow that you can get! Try to air the tire up and if you hear leaking from the top side, lift very slowly on the area that has the leak. If the hissing starts to go away, give it a second for the tire to catch. Once the tire starts to air up, your good. Put a few pounds of air in it to seat the bead then let the air out and remove the belt. The tire should stay seated. Replace the valve core and air the tire up to the desired amount. I don't use any lubricant when I use this method.
This is how we had to mount skinny tires on wide rims for cars!
Good Luck!
I use a ratchet strap around the tire when I have a particularly stubborn tire. Along with the soap, I also sometimes use a locking air chuck. Since it will stay on the valve stem on it's own, it frees up both my hands to manipulate the tire. Please be warned- when doing it this way, you MUST use the regulator on the compressor to limit the available air pressure to maybe 30 psi, because you may not be able to pull the chuck off fast enough when the tire inflates.
I can't believe no one has mentioned this: Remove the valve centre from the stem. This will increase the amount of air flow & improve your chances. You can use any method mentioned above, but do this first
X2000 on removing the valve stem. You can refill with air with the stem installed after the beads seat.
One important item to remember, regardless of what method or combination of methods you employ (ether, straps, soap, whatever) is to 'seat' one of the beads by hand. It will not be fully seated, but it has to be in proximity and 'attached'.
Do this by firmly pulling (or pushing) the tire one way or the other to get that bead to 'seat'. Now attach a clip-on air chuck with the valve stem removed.
Now squeeze-push the other bead on without disturbing the other side that you preliminarily seated.
Listen to where the air is escaping from, and tilt your push towards it.
All of a sudden, you will find the tire taking air and it will seat.
If not, go to plan B, using the other techniques. You will get it.
But you need to have one side pretty well closed up, even with the starter fluid method. BTW if you do that, you want the valve stem out as a safety - you are just 'exploding' things enough to seat the beads and not to potentially rip things apart (small tires are not as strong as a 44 inch mudder!). You do not need much ether to pop the beads on.
i built my own bead "blaster can" similar to the kind they use on truck tires.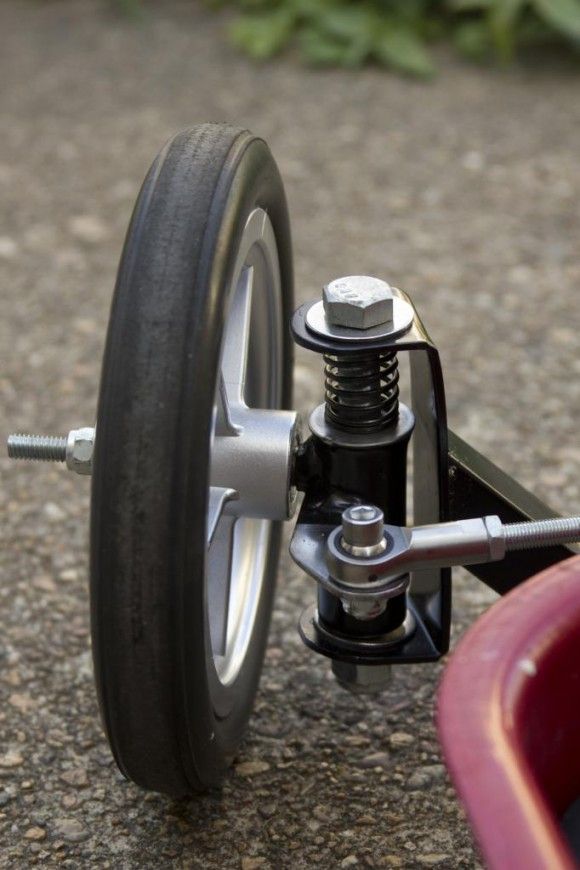 the only difference being a much smaller ball valve and narrower tip. usually works quite easily on the first try. they are fairly simple to build and will save you lots of time if you tend to do tire work frequently.
spyder1968 said:
i built my own bead "blaster can" similar to the kind they use on truck tires. the only difference being a much smaller ball valve and narrower tip. usually works quite easily on the first try. they are fairly simple to build and will save you lots of time if you tend to do tire work frequently.
Click to expand...
That's a great idea. Did you need to use larger than a 3/4" ball valve?
qtband said:
....It is important that you remove the valve core! You need the most air flow that you can get! ....
Click to expand...
I did mention it.....
i did not mension taking the valve core out because only some air chucks will fill it with no core, i have a pistol type one that works with no valve core, but straight soap on both sides clip the air hose to the steam and i use my knee and press down quick and it will add more pressure to pop the tire on the bead, if the bead got messed up when you installed the tire it may not hold air, i had a knobby 145/70-6 tire and i messed up the bead it would hold air for about a day, later on i put a lawnmower 13-5-6 tube, i will add one way is starting fluid and a lighter, you will spray a little in light it and it will pop on the bead and instantly air it up, the fire will air it up and then it will contract and pull it off the bead, i have had a tire blow up on me using starting fluid but the soap works every time
Fabroman said:
I can't believe no one has mentioned this: Remove the valve centre from the stem.

Click to expand...
...Then you ain't paying attention! ...
mikes80kart said:
take the valve out also,
Click to expand...
qtband said:
It is important that you remove the valve core! ... Replace the valve core and air the tire up
Click to expand...
qtband said:
I did mention it.
....
Click to expand...
toystory_4wd said:
...Then you ain't paying attention! ...
Click to expand...
Ok, it was late after a big day, I must've missed them, sorry guys
I use grease on the cleaned bead of the rim to help the slide, soapy water for the rubber itself.
On stubborn tires I will use 4 items, first of which is a tie strap (ratcheting).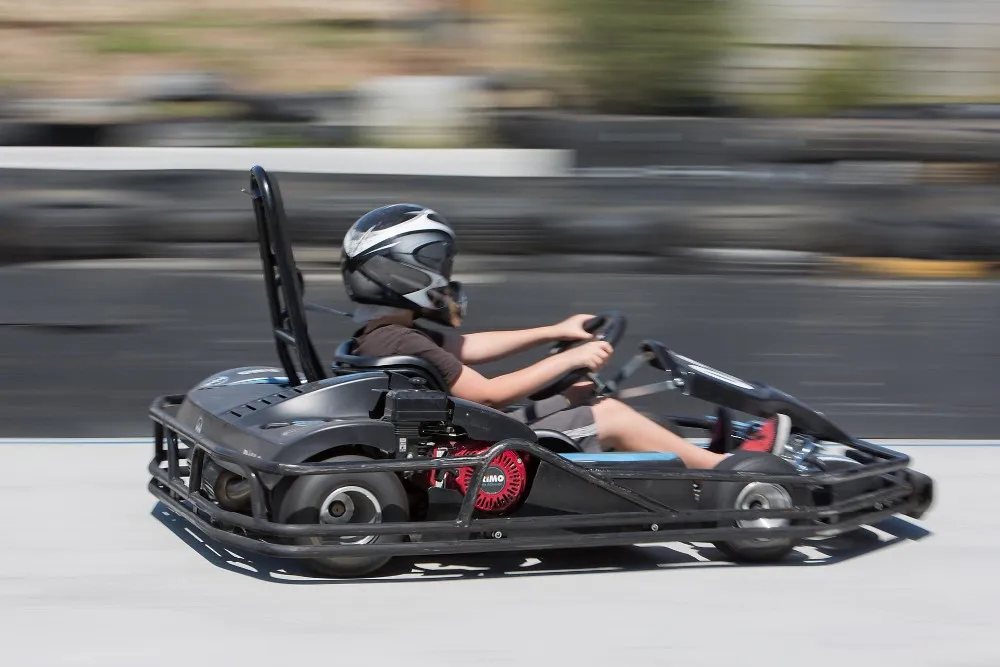 Second is an actual tire strap, third is a cheetah (if you don't know what this is, look it up). Lastly I have gotten rather good at pressing tires against a wall at while inflating them. That is my main weapon.
Also on stubborn tires consider patience is you've got massive pressure and it won't pop over the safety bead, most tires have a max seating pressure and although I've exceeded this on several occasions I don't suggest this for others.
You may consider building a safety box and filling it from a distance with a long trailing chuck.
i will have to double check what size ball valve it is.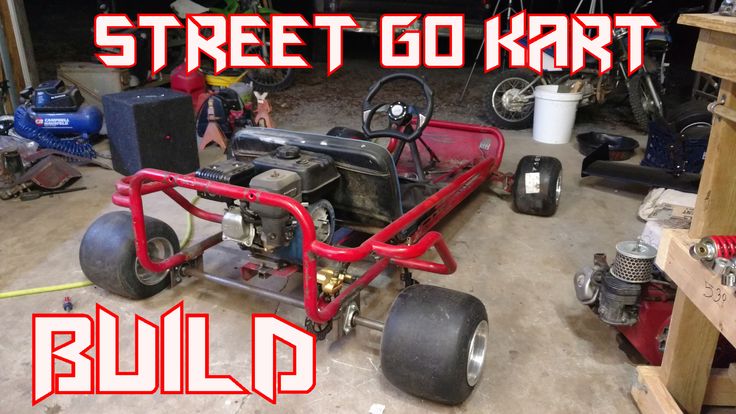 ( tank is at a friends house currently)
i THINK it was either a 1" or a 1 1/4". was easy to build too !
Hi this how mount tires. You need a piece of sheet metal the width of widest tire you are going to mount . The sheet metal will have to be able to rap over it's self . Lube rim and tire bead with dish soap < no water needed . Rap sheet metal around rim, use a winch tie down strap snug strap down on tire and sheet metal. Check tire beads are flat and even on both sides .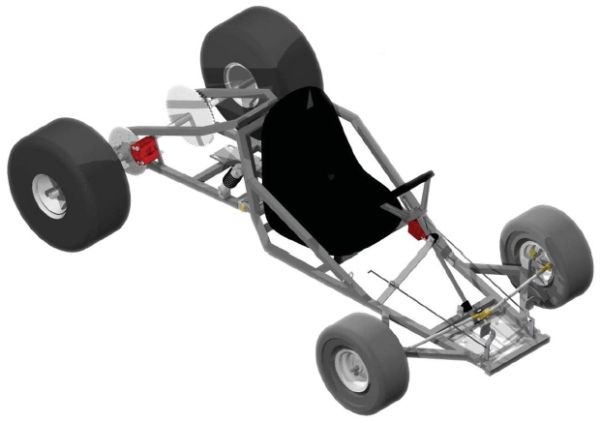 Take valve core out, blow up tire till beads seat. Release air reinstall valve core inflate tire . Check both sides on bead for even mount surface. Wipe soap off tire and rim combo are ready to use. One more thing never stand over tire while inflating. They do sell tire rings for doing all this also . I have been using method for a while . All ways safety first . If you don't feel it's work right STOP AND START OVER.
spyder1968 said:
i will have to double check what size ball valve it is.
( tank is at a friends house currently)
i THINK it was either a 1" or a 1 1/4". was easy to build too !
Click to expand...
Sounds like an easy addition to any portable air tank.
How to seat the bead on your tubeless go kart tires. This works with any tubeless tire, on a lawn tractor, go kart, car, or truck. An old friend of mine used to do this with those pesky tires on giant pimped out rims. Watch your fingers if you use a match!
http://youtu.be/-uyGHBlQlCs
They do this to semi tires too. Who would of thought if u set a tire on fire at a certain spot it will pop the bead back on. Creative!
Maybe the hillbilly rig drivers do. The girlfriend's father is a rig driver and he gave me a helluva lecture about doing that on the trail (we use this trick probably too often while 4x4ing). I would prefer to use a little bead blaster, just use a small air tank with a valve and let 'er rip.
(just skip to 3:30)
https://www.youtube.com/watch?v=aLBRMpyU_Z0
edit: not meant to be a slam on your video, it's perfect for small tires and the like and it's a critical tool in a trail tool kit.
Just a tip. ..
..
If you've never done this before and it doesn't take the first time, use way less ether on the second try. The air and gas inside the tire is hot from the first go and makes the next explosion much more volatile. We do this on truck tires all the time and I watched one brilliant individual fail the first try so he really gave er the juice on the second try. Blew the tire completely off the rim and the whole works about 4 feet off the ground..
Actually this is rather dangerous I would not be recommending this to people at all. There are way to many variables and if somebody uses a 2 price rim and there are lots of them in older go karts the rim can split and send 1/2 of it straight into your head and chest when your standing over it. There have been quite a few of people killed this way. Older rigs had 2 piece rims too and often split when set on beads that is part of the reason the lecture was give too.
I wouldn't rekomend this to someone who hasn't fitted tyres the usual way
Or has a basic understanding of what they're doing and the forces involved
Also note
Like any explosion it can go bad real quick
Saftey gear is a good idea
And don't do it inside
If it goes bad u don't wanna burn your garage down
Not to mention the flames
It works on all tyres
We did it on a tractor tyre that stands 8ft tall
And to contradict what I just said
We did it while still on the machine
You really don't need much at all
To seat the tractor tyre we used 1/2 a coke can of petrol
To do a lawn mower/ go kart u wouldn't need much more than a teaspoon
Edit
If u try to do this on a spit rim
To be brutally honest u deserve what u get
The human race doesn't require that kind of mind
U shouldn't have any trouble with a spit rim that might cause a person to try this though
Split rims for go karts need tubes. .. This is for tubeless tires on rims. Rims that are welded at the center...
Also the valve was removed to quickly vent the excess expanding gasses. If you notice, a small squirt, and a BBQ lighter were used at the side of the tire. With some larger tires that my friend did, he made a little trail (outside of course) and lit the trail to the rim.
Other ways of seating the bead are expensive or even more dangerous (e.g. Tie downs anyone?) This is a simple, cheap alternative, and done correctly, is not dangerous at all.
I'm glad there is a discussion going on about this, what are other simple/cheap alternatives? If you are really that worried, you can always take it to the tire shop and they can slather the goo around the bead, take out the valve, and run their high cfm compressed air into the tire. I don't believe this starter fluid application is dangerous if done correctly.
in gokarts yeah
some cars/ trucks the split rim has an o ring and seals a tubeless tyre
I was so close to trying this today,but a friend discouraged me.
I had one problem wheel I could not get to seat yesterday.
Used his advice and did the old ratchet strap around tire circumference and petroleum jelly around rim and tire and.....DONE.
Now I have a rolling chassis.
Wasn't there a post recently about a ratchet strap breaking and injuring someone trying to do that? The point is educate yourself and minimize the risk... If you seat the bead using any method incorrectly you can hurt yourself. ... Just because there is a little bit of flame, doesn't mean it's unsafe.
I have seated the tires with a rope/tie down/dish soap, taken it to the garage and they push in from 3 points and put air to it w/high cfm.... Plenty of ways to do it. The lighter fluid method works, and I think it is the easiest way to do it. The sky isn't falling I promise.... I'm sure I could have more eloquently pointed out that you should only use a little fluid, not stick your fingers in the way etc etc, but I think it is just common sense.
gran_pann said:
Wasn't there a post recently about a ratchet strap breaking and injuring someone trying to do that? The point is educate yourself and minimize the risk.
.. If you seat the bead using any method incorrectly you can hurt yourself.... Just because there is a little bit of flame, doesn't mean it's unsafe.
I have seated the tires with a rope/tie down/dish soap, taken it to the garage and they push in from 3 points and put air to it w/high cfm.... Plenty of ways to do it. The lighter fluid method works, and I think it is the easiest way to do it. The sky isn't falling I promise.... I'm sure I could have more eloquently pointed out that you should only use a little fluid, not stick your fingers in the way etc etc, but I think it is just common sense.
Click to expand...
In time I will get to try it. I still need to order front wheels
To be fair, nothing wrong with a ratchet strap unless you're using some crummy old thin and frayed one. We also ratchet strap em on the trail and we use the big suckers, some of these 40"+ tires are pretty stiff.
gran_pann said:
Wasn't there a post recently about a ratchet strap breaking and injuring someone trying to do that? The point is educate yourself and minimize the risk... If you seat the bead using any method incorrectly you can hurt yourself.... Just because there is a little bit of flame, doesn't mean it's unsafe.
I have seated the tires with a rope/tie down/dish soap, taken it to the garage but I think it is just common sense.
Click to expand...
Yeah that was me..... (not injure
d. ...but who gave the advice....).
I never expected him to put a whole bunch of pressure on it after the beads contacted...OR....to have the buckle facing him...
But that does bring up a point.....the easier something seems...the more the brain dead dummies are going to jump on it. ......
So yeah. ..it's safe all day long until it's not...
The other side of this story is the REAL problem with this whole deal.....I advised him that he needed to sand down the rims and clean the beads on the tire.......which I highly doubt he did.....but thought this would get it done....see it wasn't that the beads weren't "seating" as he claimed. ...they weren't sealing !!!!!
Anyway....I guess it's okay......let the idiots blow themselves up. .....it'll make my daily commute much easier. ....
Remind me again; what daily commute was that?
Don't ever weld on a rim either if it has a tire on it.
https://www.youtube.com/watch?v=HiLeji8bLOk
I know there are other videos on youtube like this, but this was the first one I found.
Long version
https://www.youtube.com/watch?v=jBUVzgCHHuA
That applies to any pressure vessel
So air tanks, tyres,ect
And to a point any enclosed containers
So stuff like sealed toolboxes or fuel tanks
Common sense stuff
Or if your not sure run though the old take 5 in your head
Poboy kartman said:
Yeah that was me.
.... (not injure
d. ...but who gave the advice....).
I never expected him to put a whole bunch of pressure on it after the beads contacted...OR....to have the buckle facing him...
But that does bring up a point.....the easier something seems...the more the brain dead dummies are going to jump on it. ......
So yeah. ..it's safe all day long until it's not...
The other side of this story is the REAL problem with this whole deal.....I advised him that he needed to sand down the rims and clean the beads on the tire.......which I highly doubt he did.....but thought this would get it done....see it wasn't that the beads weren't "seating" as he claimed. ...they weren't sealing !!!!!
Anyway....I guess it's okay......let the idiots blow themselves up......it'll make my daily commute much easier. ....
Click to expand...
That would be to the liquor store and back........
Actually. ....I am working full time at the moment. ..... (sort of).....I haven't worked the last 3 Mondays. ...because the boss wouldn't let me into the shop....he gave me keys last week.......so now I should be able to get at least 40 hours......I just need to work on upping the hourly pay......
This is the second part of the article about tire parameters (the first part is here). In this part, you will learn about tire pressure and temperature changes in different weather conditions and on different track surfaces, as well as how front and rear kart ruts affect tire pressure.
Pressure and temperature
Determining the operating temperature of a tire and determining the type of track surface can make your job much easier.
You can determine the temperature of the working surface by analyzing the surface of the tire. If the surface is very smooth, then the tire is not warming up, and if tracks appear on the surface in the form of peeling or bubbles, then the surface is too hot.
If you have already found your ideal tire pressure and the weather is getting colder, you will have to increase the pressure to get the correct tire temperature because the air temperature has dropped and the track temperature has dropped accordingly. The same is true in the opposite direction, since by the middle of the race day the temperature becomes higher than during the morning practice. Your best bet is to monitor your data based on track temperature and record it.
The change in pressure will depend on the number of right and left turns on your track, if their number is the same, then the pressures will be almost the same on the sides.
If you are in an area with high humidity, you will most likely experience problems with temperature and tire pressure. The water content in the air will cause the pressure to rise more. Some use nitrogen in these situations. Do not use soapy water to put the rubber on the rims as the water in the tire will boil and the pressure will build up excessively!
Track the condition of the track and the amount of rubber on the pavement. If the asphalt is smooth, then you must increase the pressure so that the wheel warms up. If there is a lot of rubber on the track, then you will have to lower the pressure so that the wheel does not overheat.
According to manufacturer's recommendations, most kart tires are designed to operate in the 74-85 o C (165-185 o F) temperature range. Keep in mind that tires cool down very quickly once they leave the track surface.
Almost any kart tire will fail when its surface temperature exceeds 93-99 o C (200-210 o F) degrees. Therefore, a kart tire whose temperature is close to the upper limit has the best performance.
Pressure and tread
When working with tyres, you have only two things you can adjust, the pressure and the position of the wheels relative to each other (tread).
How is everything going?
If the tire pressure is initially too high, you will have great grip at the beginning of the race, but then you will lose grip by the middle of the race, and even more so towards the end.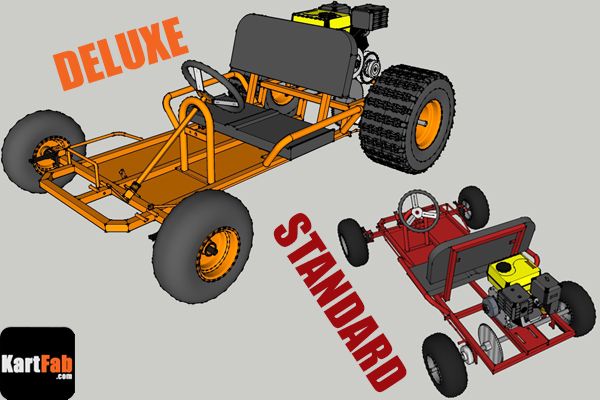 With too little pressure, you will need to drive many laps to reach the working pressure of the wheel. You need your tires to warm up for 1-2 laps and the pressure becomes optimal. But this is not easy to achieve.
The first thing to do is to measure the tire pressure immediately after you have finished your race or practice. If your pressure has increased by more than 2 PSI, then you need more air. But, do not pressurize more than 1 PSI during one ride. Drive out again and see how long it takes for the tires to warm up. Further, it is only a matter of trials and your own mistakes. Most often, 16 PSI in front and 18 PSI in the rear are taken as the starting point of reference, then they work with pressure to increase or decrease.
Another parameter you can change is the distance between the wheels. How does this affect grip level?
At the beginning of your race, it can be difficult to identify front and rear hooks, even though it seems easy.
If the rear of the kart has a very good grip, then the kart will not turn properly because the rear wheels will push the kart in a straight line. Adding grip at the front will improve the balance, but when all wheels have too much contact with the track, the motor will need to put more power into cornering. Moving the rear wheels outward will reduce rear traction, move the wheels at the same time, and no more than 5mm apart. Too strong rear grip is characterized by the fact that the kart starts to jump (break) in the turn.
As far as the front wheels are concerned, the operation is just the opposite of the operation with the rear wheels. Pushing the wheels outwards increases front grip. If your kart has too much grip in the front, then when you turn the handlebars, the rear kart will not be able to grip properly and the rear axle of the kart will slide. In principle, it does not take much experience to find the right balance, since one axis strongly influences the behavior of the other.
The best solution is to make changes little by little, and be aware of what results this leads to, also consult other pilots and see what they are doing.
Translation by Dmitry Tsvirko,
© www.kartingzone.com
It is the glue that professional athletes most often ask and use to ensure that the protrusion of the body over the tire tread remains unchanged from the start to the long-awaited crossing of the finish line, which is strictly controlled by a special commission.
Most of the complexities and problems covered in this article apply equally to gluing studs into any type of tire, regardless of purpose, type of race and dimensions of competitive vehicles: i.e. these nuances are typical for winter karting, as well as for jeep and car races on ice, on lakes and snow-covered tracks.
As a rule, 4.5x11-5 WKT-ICE tires for 140 Tecom type 9 studs are used for competitive karting-13-2 with a case diameter of 6. 5mm, but here's how to put the spikes on the glue - here, athletes, as a rule, have two ways:
Both of the above methods, alas, are not ideal.
On the one hand, glue (for example, the popular studding glue - Loctite 480 / Loctite) certainly makes it possible to more reliably keep the stud from protruding from the tread after extreme use in strenuous races.
On the other hand, the methods of factory studding and "garage" studding may differ not in favor of the latter:
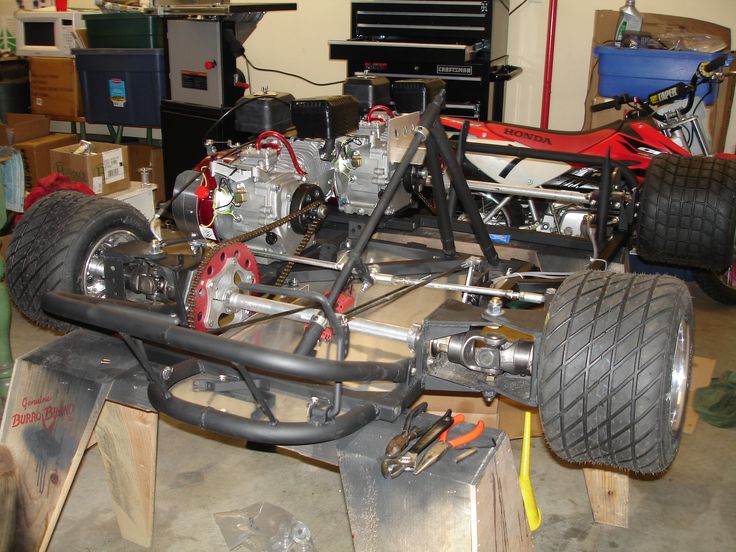
After the stud 13mm high has been removed from the tread with wire cutters or a screwdriver, it is more difficult to install it back with the same quality and here's why: the machine automatically adds a soapy solution to each hole before the stud is inserted, providing lubrication that prevents microdamage to the hole walls.
A freshly installed spike is pulled out by the operator using the same "grease", if, for example, it was installed with a mismatch. A spike without such a “lubrication” (and the shampoo dries out in a few hours) enters and exits with difficulty - and even a hole evenly cut by a machine will not save from the appearance of micro-tears that are invisible to the eye. What can we say about the fact that the “dry” removed spike by itself is insignificant, but it expands the hole - count: initially, to install the spike from 9-13-2 with a 9mm flange, a hole with a diameter of 3.2mm is drilled.
Of course, some athletes even manually and with glue hiss their kart so high quality that one can envy.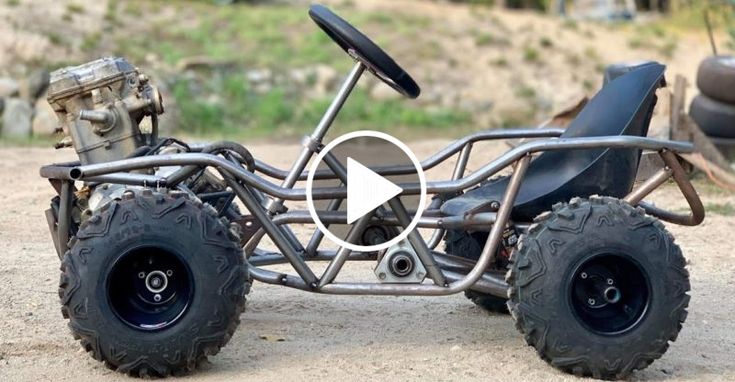 However, you must admit that it is one thing to slowly and thoroughly stud one set for yourself and another one for a friend, and another thing is to repeat the same thing on hundreds and thousands of tires.
Unfortunately, studding quickly and cheaply using glue is hindered by two factors:
Tire stud production, in collaboration with Tecom's R&D facilities, is in a relentless search for a kart stud model that can withstand even the toughest and wildest races without any adhesive, yet is affordable and can mass-produced and studded, available.