By Pam Mandel Published November 30, 2021
Tire chains improve traction on snow- and ice-covered roads.Sundry Photography / Shutterstock
Driving in the snow can be challenging and stressful, but practice, proper gear, and advanced preparation can increase your safety and comfort. With the right traction devices on hand, and knowing both when you need them and how to install them, driving on winter roads will feel a lot less daunting.
Snow or winter tires are specifically designed for better traction and performance in freezing temperatures and on snow and ice than all-season tires. While some all-season tires may have “M+S” stamped on the sidewall to show they have deeper treads for mud and snow, a true winter tire will also have a mountain symbol with a snowflake inside.
In many cases, snow tires are sufficient for driving on snow-covered roads and will not require additional traction devices, such as chains or cables. Winter tires are ideal for drivers who need to navigate freezing temperatures and snow all season long.
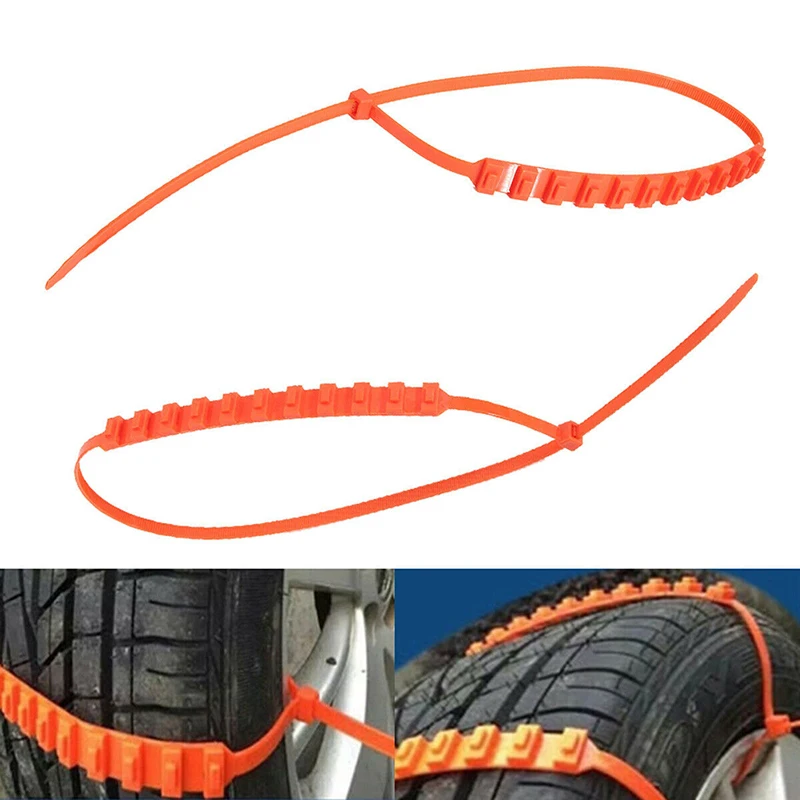
Cables work much like chains in that they wrap around your tires and help your vehicle grip the road when conditions make it difficult for standard tires to maintain traction. Cables are lighter and can be easier to install than chains. They are less likely to damage your vehicle if they break, a rare but not impossible scenario. While they won’t last as long as a set of chains, cables are a good choice if you don’t need them very often.
Chains are a tougher product all around, but they can be harder to install and heavier. However, if you need to frequently drive in the snow or you want a product that will last longer, they can be an excellent choice.
Tire socks are a newer traction solution where a fabric sleeve wraps around the tire and is secured with elastic bands. They’re easy to install and can help if your wheels are spinning, but they’re not universally approved for use where chains are required. If you have socks, check with the department of transportation along your route to make sure they’re acceptable when chains are required.
ADVERTISEMENT
Find a safe place away from traffic to install tire chains.
cherryandbees / Shutterstock
Once you have your chains or cables, read through the instructions and install them at home or another safe place so you know how they work. You’ll be more prepared—and spend less time in the cold—when conditions arise that require chains if you’ve already practiced getting them on and off.
Chains and cables go on your “drive” wheels, so if your vehicle is front-wheel drive, you will put chains on both of your front tires. Check your car’s manual if you are unsure which are your drive wheels.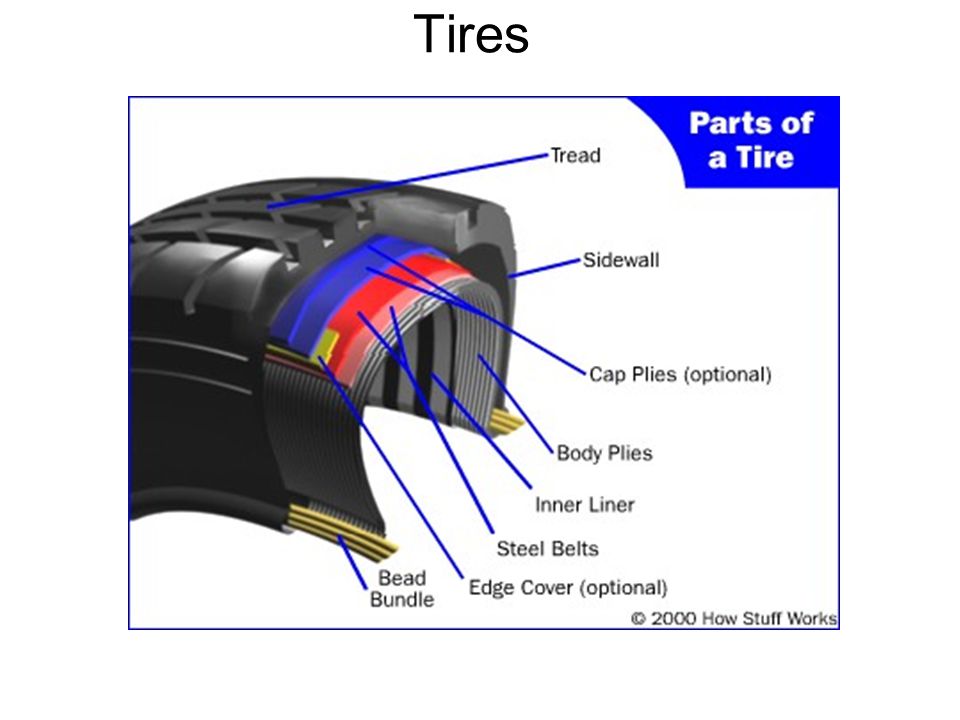 Using four wheel drive? You need chains for all four tires when 4WD is engaged and conditions require chains for 4WD vehicles.
While every chain or cable will be installed similarly—you will wrap the traction device around the wheel and tighten the fasteners to ensure a snug fit—always follow the instructions included with your chosen device to get a safe and secure fit.
Smart Tip: Put the instructions in a waterproof sleeve or bag and store them with your chains so you can easily read them in wet conditions on the side of the road.
Every fall, give yourself a refresher course on how to install your chains or cables, and check your gear over for wear and tear to see if it needs updating. Don’t assume your old chains will work on a new vehicle, either. Double check well before you hit the road that they actually fit.
Read More: How to Pack a Car Emergency KitThe local department of transportation will tell you when chains are required; check websites for current road conditions in mountain passes and other areas before you hit the road.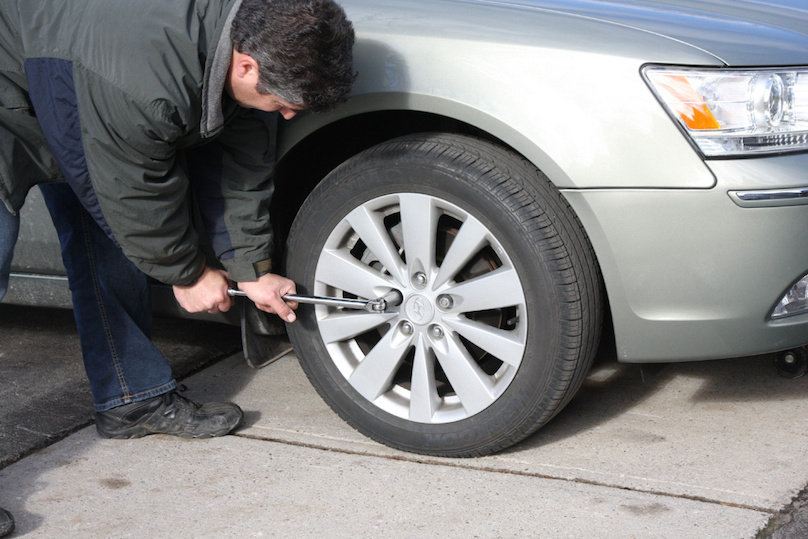 But chains or cables are helpful anywhere there’s compacted snow or ice covering the roads—covering being the key attribute here. A patch of snow here and there isn’t cause to break out the chains; extensive coverage is.
When highway signs indicate tire chains are required, you will usually have about a mile to stop and install your chains or cables. Often there’s a designated area to do so. But control areas can shift rapidly from place to place because of changing weather and road conditions. Your safety is paramount; stop and install your chains as soon as it’s safe to do so.
Don’t rush the process. Install your chains or cables, roll the car forward a length or two and tighten them. Drive a half mile or so and stop once more to make sure the chains or cables are secure, tightening them again if needed. Then you can hit the road.
Read More: 7 Driving Techniques to Reduce Your Risk of a CollisionDrive slowly and mindfully when using tire chains.
Jaroslav Moravcik / Shutterstock
Once your chains or cables are securely installed, drive slowly: 20 to 30 miles an hour is typically the maximum speed, but follow posted signs in chain control areas and be prepared for slower traffic ahead. You may have to drive short distances on bare pavement, but if the road is clear, stop the vehicle as soon as it’s safe to do so and take the chains off. Follow any posted instructions and keep your radio tuned to a local station for up-to-date information—conditions can change rapidly.
If you hear any banging or slapping noises, stop immediately to ensure your chains are sufficiently tight and that nothing is broken. A broken snow chain can cause significant damage to your vehicle. If your chain or cable breaks, treat it as an emergency. Pull off the road as soon as it’s safe and contact roadside assistance.
As in all winter driving conditions, leave additional space between the car in front of you and avoid sudden moves, such as slamming on the brakes, turning hard on the wheel, or accelerating quickly. Slick surfaces combined with abrupt movements can cause you to lose traction and control. Slow, steady, and intentional is your best approach for winter driving, with or without chains.
Don’t drive with chains on bare pavement; as soon as you see signs saying “End Chain Control” and you are on plowed and/or salted roads, pull over when safe to do so and remove them. Find a parking lot or roadside turnout with plenty of space and visibility to remove your chains.
Done for the winter? Make sure your chains are clean and dry before you pack them away for the year. Spray your chains with a water based lubricant like WD-40 before you put them away. If you’ve got the space to do so, hang them up in a dry garage, basement, or workshop. That way, they’ll be easy to inspect in advance of next season’s snow driving.
Up Next: 11 Simple Steps to Prepare Your Car for WinterGet legendary road service—and so much more—for as little as $56 a year.
Join AAA
This article was first published in February 2021 and last updated in November 2021.
If you travel to the mountains or snowy areas regularly, sooner or later you’re going to have to use tire chains. Start by getting the right set for your vehicle at your local Les Schwab.
Quick-fit chains are not your grandpa’s tire chains. They are MUCH simpler to put on and take off. Here are a video, step-by-step instructions, and driving safety tips for installing quick-fit tire chains on your vehicle.
When you need chains, driving conditions are nasty. Snow is coming down, passing traffic is spraying slush, dirty water is dripping off your wheel wells, the road is slick, and it may be dark. Don’t make this the first time you put on your chains.
Practice installing your new chains once BEFORE you travel. Take advantage of a dry garage or driveway to make sure your winter tire chains are the right size and you’re comfortable putting them on. If needed, the professionals at Les Schwab Tire Centers can help.
Put together a simple winter road trip safety kit with warm gloves, waterproof layers, and other items to make your winter driving more safe and comfortable. In the winter, always carry this emergency kit and tire chains in your vehicle.
Once you’re comfortable installing your chains, you’re ready to hit the snow.
Be Safe. If you’re on the road, pull off as far as possible onto a safe shoulder. Flip on your hazard lights. Put on your waterproof layers, hat, headlamp, and gloves from your winter road trip kit.
Identify the Correct Tires. If your vehicle is front-wheel drive, the chains go on the front. If it’s rear-wheel drive, chains go on the back. If it’s all-wheel drive, please check your owner’s manual. If you’re not sure, you can ask the experts at Les Schwab for help.
Pull Out Chains & Instructions. With your vehicle parked, open the bag and pull out your instructions and your first chain. Each bag comes with two chains. The plastic instruction mat that comes with your chains can be used as a barrier between you and the snow to keep you dry.
Untangle Your Chains. Holding them from the plastic-covered cable, make sure everything is straight and the chains are not looped over one another. Hold up your chains so the yellow end is in your left hand and the blue end is in your right.
The chains should hang loosely and the metal hooks seen along the yellow and blue sections should be facing away from you so they don’t damage your tires.
Place Chains onto Your Tire and Connect the Cable. Lay your chains on the ground and push them behind the tire, yellow cable end first, from the right side to the left.
Once the chains are centered behind the wheel, grab both ends and pull them up over the top of the tire. You should feel the chains against your axle.
This will allow you to easily connect the yellow and blue ends of the cable by slipping one end into the other and pulling them into place.
Connect the Red Hook. Now that the cable is connected on top, look for the red hook directly opposite the cable connection. Connect the red hook on the right to the first available gold link on the left.
Check the Diamond Shape. Push the connected chain over the top of the tire. You should see the diamond shape in the chains against your tire. Between each of those diamonds is the center rail, which should be placed down the middle of the tire tread.
Connect the Red Chain Along the Bottom. Now that the cable is connected on top, look for the red hook directly opposite the cable connection. Connect the red hook on the right to the first available gold link on the left. Push the connected chain over the top of the tire.
The bottom of the chains includes a red draw chain with bungee on your right, and a chain guide on the left. Pull these out towards yourself.
Take the long red chain and run it through the chain guide and pull as tight as you can with both hands. Don’t pull using the bungee. As you pull, one of the chain links will find its way into the notch on the red chain guide, locking it into place.
Using the bungee end of the red chain, pull it through one or both of the red loops and secure it to a gold-side chain opposite the red loops. If you can’t get it through both loops, that’s ok, pull tight through one and attach it to a side chain to the left of the loop.
Repeat on Second Tire. Repeat these steps to install chains on the other side of your vehicle.
Drive Forward Slightly. The next step is to drive forward about 15 feet, or a full car length. This gives the chains a chance to relax and settle on your tires.
Re-tighten Chains. To take up any slack, unhook the rubber end of the red draw chain and pull it tight again. Once it’s tight, guide the red chain through the loops and, again, securely latch the bungee end to the gold-side chain.
The chains should be tight on the tire. And, be sure to stop if you hear them making any contact with your vehicle. If your chains are still loose, unhook the bungee and adjust the red hook straight across from the chain guide. Unhook and reattach to the tightest position on one of the three gold chain links. It’s okay if the extra links are hanging loosely. Now, you’re ready to reattach your bungee.
While driving with tire chains, listen for a loud sound of slapping, or metal on metal. If you hear any indication that a chain may be broken or hitting your car, STOP as soon as safely possible. Loose or broken chains that flap can wrap around a strut or shock component, causing big damage to your vehicle. To help prevent damage, here are a few tips for driving when you have winter chains installed on your vehicle.
Pull over in a safe location and remove the chains.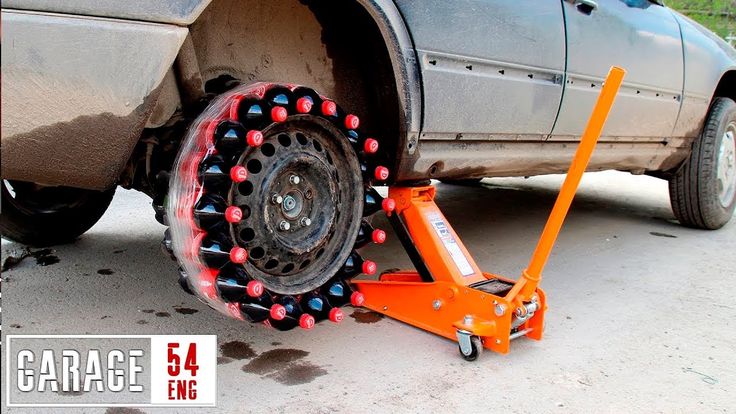 Start by unhooking the bungee and chain from the guide, removing them from the tensioner. Unlatch the red hook, and then undo the blue and yellow cable connection. Once all of your chains are off and lying flat on the ground, pull backward or forward slowly a few feet so you can safely pick them up.
At the end of your trip, lay your chains out in the garage and let them dry. If you pack them wet, they can rust.
Also check them for wear, especially if you’ve driven them on asphalt for any distance. Look for flat spots, and replace the chains if you find some.
Link at left shows flattening from wear. Link in center shows sharp edge from wear that can damage a tire.
Remember, if you don’t use your chains all winter long, you can return them with proof of purchase to any Les Schwab for a full refund in the spring.
Get your next set of Quick-Fit chains, along with a few tips on how to install them, at your local Les Schwab, where doing the right thing matters.
Want more tips on winter road safety? See 19 Winter Driving Resources You Can’t Do Without.
Get More Winter Tips
Introduction
What is the feature of the directional tread pattern?
Advantages and disadvantages of
directional tiresHow to properly install directional tires
Conclusion
When choosing good tires, you often face the problem of not only a huge number of models, but also a variety of tread patterns, which also need to be sorted out. One of the most popular patterns is the traditional directional pattern, which has been used on the tread surface of a wide variety of tires for decades.
What are directional tires and why are they still in demand not only among motorists, but also among professional motorcycle racers? In the article, we will reveal all the secrets and technologies of directional tires, as well as show you how to install them correctly.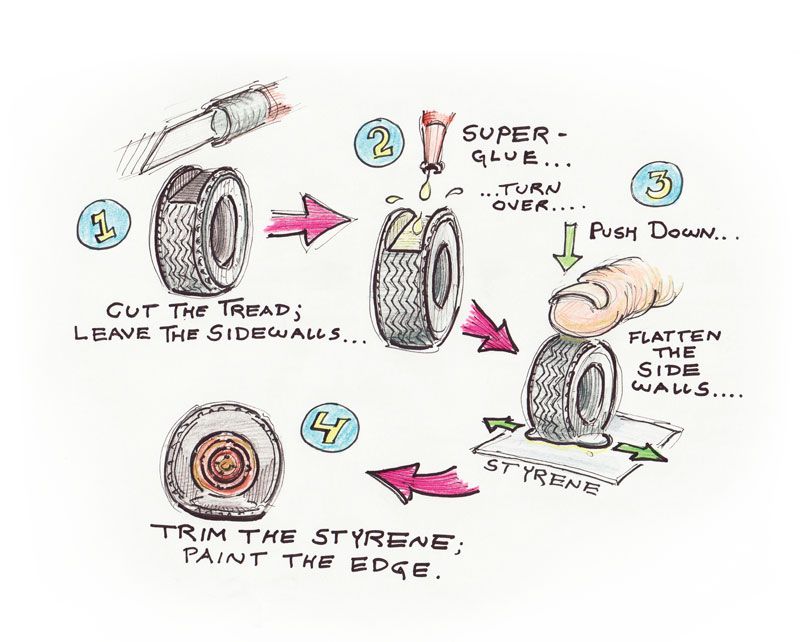 Here, nuances and discoveries await us at every step.
There are four types of car tire tread pattern:
directional symmetrical,
non-directional symmetrical,
non-directional asymmetrical,
directional asymmetric.
Each drawing is designed for its own version of the road and has its own set of advantages. Different tread patterns have different functionality and behavior on the road. When mounting tires on wheels, their own installation principles also work, which will need to be strictly observed so as not to create an emergency. We will talk about them in the corresponding section.
The essence of the directional tread design is clear at a glance: the blocks, ribs and tread grooves of the V-pattern are directional, spinning the wheel in a certain direction. Most often, directional tires are found in winter models, but there are many of them among summer ones. In symmetrical tires, both halves of the directional tread are mirrored, in an asymmetric design, both halves have a different structure and different functionality.
It is necessary to mount the wheels only in the right direction, otherwise all the advantages will come to naught, and at the same time problems with handling and accelerated wear will be added. Excessive strong pressure will accumulate in the center of the working area, due to which the tire will begin to rise above the road and harm traction in how many areas.
The directional tread pattern is best suited for wet tarmac, as the grooves that widen from the center to the sides are much better at shedding water from the contact surface. This not only improves grip on wet surfaces, but also works in favor of protection against the effect of hydroplaning. This works even better for a rear-wheel drive car - the front wheels will quickly clear the water before the rear axle sets foot on the road. Accordingly, contact with the track in such a car will be much more thorough.
The directional pattern of the winter models excels in raking snow and clearing dirt from the contact surface - ideal for snowy trails in the winter.
On a dry summer surface, they also give the car a couple of advantages - first of all, it concerns directional and lateral stability. For high-speed tires, this is one of the most relevant designs, as directional tires have a positive effect on the reactions of the car at high speed.
However, their driving disadvantage is the increased noise level during active work on asphalt, and the higher the speed, the stronger the rumble. Also, directional tires are more expensive than non-directional tires, but cheaper than asymmetric ones. It is better not to install directional tires if you often drive on dirt roads or are completely forced to drive off-road. They will not show effective work on soft and medium hard surfaces. For rural areas, a tread pattern with a non-directional arrangement of large lugs is better suited. Remember that, being put on disks, wheels with directional rubber can only be changed from the front axle to the rear and vice versa, but not rearranged on the sides. To do this, the tires will have to be disassembled and put as needed.
Although we've talked about directional tires, it's the symmetrical design that's most common. Asymmetric directional pattern is very rare. This is due to the fact that such tires are not only much more difficult and expensive to manufacture, but they have one serious drawback for car owners. Due to the very strict installation scheme for the car, constant difficulties arose with spares - I had to constantly carry two spare wheels with me instead of one, because you never know which tire will be damaged, and you can’t change directional asymmetric tires with sides. In addition, the warehouses constantly accumulated tires for only one side, which are completely useless without a paired wheel.
As mentioned above, one of the "secrets" of directional tires is their installation pattern. Simply put, you need to find the inscription Rotation (from the English. "Rotation") with an arrow on the sidewall. It is this marker that is an indicator - in which direction the tire pattern should “look” when installed on a car. If you make a mistake with the direction of rotation and put the rubber against the arrow, then the drainage system will rake in water like a mill, and not discard it, leveling all the advantages of the model, or even exacerbating them. The fact that the tires are installed incorrectly will tell you a sharply increased noise in the cabin.
If for some reason you could not find this marker, then you can do it even easier - pay attention to the tire tread pattern itself. The rubber of the directional design is a kind of "herringbone" that is directed forward. Simply mount the tires so that the tread pattern faces the direction of travel of the vehicle.
Rubber with an asymmetric device should only be mounted according to the marking, since each individual side is designed for its own tasks and should never be confused.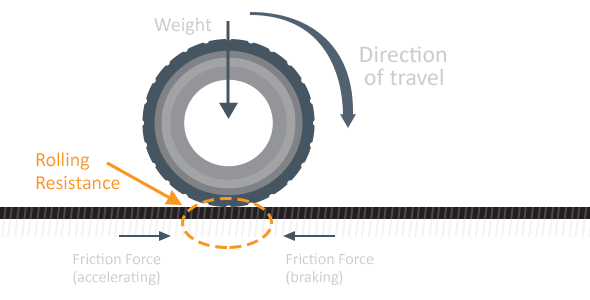 The correct direction of asymmetric tires will help determine the labels:
Outside, or the outer side of the tire, must face outward.
Inside, or the inner side, respectively, looks inside the car.
Right and left asymmetric tires are much less common. Left (or simply L) will be written on one tire - it means that it must be placed to the left of the body, Right (R) - to the right. You can change them only on one side of the body - front with rear and vice versa.
But much more often, directional tires can be mounted on a rim on either side, the main thing is to follow the direction of the pattern.
And don't forget to balance freshly assembled wheels - tires will never show their advantages and characteristics without good balance. Only after that you can proceed to the installation on the hubs. After installation, go around the car in a circle and check the markings. Recall that we need the rotation direction under the Rotation arrow. If you have an asymmetric directional tire, then make sure that only the Outside is visible. Left (Left) and right (Right) asymmetric tires must show the sides of the body in the direction of travel.
For a couple more tips on directional tires, check out this video:
Cars
October 28, 2014
Did you take the tools necessary to solve this problem with you? It remains only to rely on the help of a friend. That is, pull out a stuck car with a tractor or another SUV.
But how can this be done in practice? Let's say we found a tractor or an SUV. What's next? The tractor driver most likely has a thick steel cable in store. With it, of course, he will easily pull out your car, but at the same time he will tear off some important detail from it. No, the car should be released without any danger to it, you and others.
A thick steel cable is not suitable for pulling a car stuck on the road, because it gives a very hard pull. But there are other cables - dynamic. They can stretch and compress like rubber.
Swing.
Before tearing with all your might, perform a few small jerks,
to rock the machine
To use the cable, you need to hook it. Look in advance where your off-road vehicle has towing eyes. Some models may not have them. In this case, be sure to contact the service and ask them to install. Many modern cars have towing eyes screwed into special holes in the bumpers. But a good cable for the towing eye is not so easy to hook. It will not fit into it, because the standard eyes are designed for a regular hook. And at the end of most cables - a loop. How to be? The problem is solved by means of special rigging earrings, popularly referred to as "shackle" (from the English shackle - "collar", "earring"). The shackle is inserted into the eye, and the cable clings to it.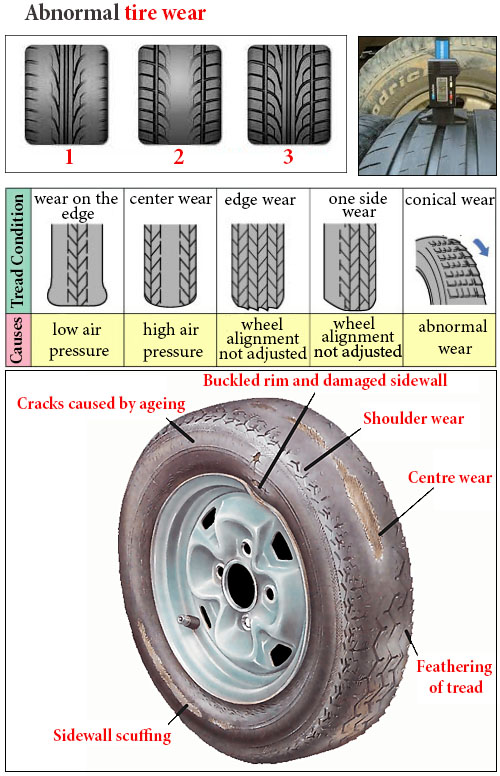 Shackles come in different calibers, selected according to the allowable load and size. The shackle consists of two parts - a bow and a bolt. We unscrew the bolt, insert it into the eye, put the cable on the shackle, then screw the bolt to the end and turn it back half a turn. The latter is necessary so that after a jerk of the cable, when the shackle is slightly deformed, clamping the bolt, it can be unscrewed. Choose the most powerful shackles that can fit in your car's towing eyes.
Now we determine in which direction to pull out the car. If stuck on soft ground, you need to pull in the direction of hard ground. If in a rut, we pull out of the rut.
Let's take a closer look at pulling out of the rut. When the car sat on the "belly", it makes sense to pull it forward and sideways at an angle of about 45 degrees. This allows, with the front wheels turned in the direction of pulling out, to immediately rescue the front of the car by rolling onto the edge of the track and lifting the car.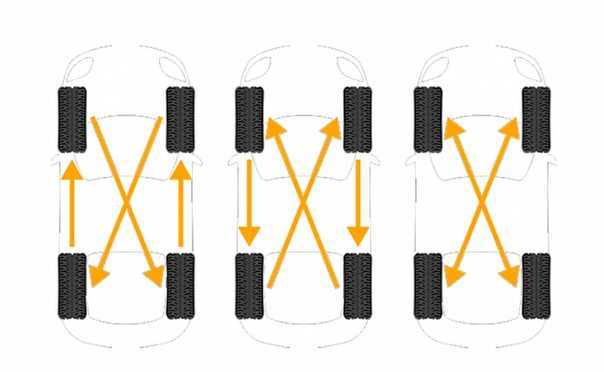 In other cases, it is preferable to pull the car straight ahead - forward or backward, depending on the situation.
Rarely, but it happens when there is only one option - sideways. To move the car sideways, you still need to pull it a little forward or backward, but at a very large angle. This should be done very carefully - perhaps by modifying the soil with a shovel so as not to tear off the wheels along with the suspension. The driver at this moment must press with all his might on the brakes, blocking the wheels. Then the car will move exactly to the side, and not roll out forward or backward.
On the ground, you almost always have to pull out a stuck machine with a jerk. The grip of the wheels with the ground for pulling out the tension is insufficient, the car will stall, digging holes for itself. And as a result, it gets stuck again. Choose the hardest surface for the dash. Before making a dash, study the possibilities of the cable. The less the cable is stretched, the less acceleration and jerk should be. When it comes to steel cable, jerks are generally minimal. Otherwise, it is impossible to avoid tearing off the eyes, and even parts of the machine. The dynamic cable allows decent acceleration. It stretches, increasing its length, and then contracts with force, transferring energy to the stuck machine. The towing driver at this moment fixes the car with brakes. Otherwise, either it will be thrown back, or it will stall.
Reliable. Shackles must be suitable for carrying capacity, and the cable must have a breaking strength
of at least three gross vehicle masses
Captain hook.
To hook the cable, you need to find the towing eye. Maybe
it will have to be screwed into the bumper
You should start with light, not strong jerks. This will shake the stuck car, “unstick” it from the ground. The strength of the jerks is gradually increasing - until complete release.
What should a driver of a stuck car do? First of all, steer in the right direction. And have time to slow down when the car jumps out of the trap. But to help with the power of your motor is harmful. Experience shows that unpowered wheels roll over obstacles more easily. Slipping tire treads will only exacerbate the situation.
The most dangerous thing is a broken cable or a detached towing eye. This is what causes damage to cars and injuries to others. If you load the cable in any way, then in the event of a break it will not hit to the side, but simply fall to the ground. The ideal option is to put on a cable approximately in the middle of a sleeve, like a fireman. An old padded jacket or jacket is fine. This is called a "rope damper". Use it always. And do not let anyone stand within reach of the cable, as well as along the towing line - let spectators and assistants move away.
Angled.
It is better to pull the car out of the track at an angle forward -
this will allow you to free the car faster
MATTER
Great Wall Hover H5 is an SUV that is great for overcoming non-extreme off-road. Frame construction, honest plug-in all-wheel drive, high reduction gearing, a limited slip differential in the rear axle - all this arsenal, together with a ground clearance of 240 mm, allowed us to confidently ride on the sand.
KNOW
