Here's a tire and rim from a wrecked 2000 mercury grand marquis
This tire is junk because of a couple unrepairable gouges in the sidewall. So some destructive cutting tools were used to pull the tire off the rim
Here's the tire after it was cut in half.
On the surface, this may look like a nice 1999 crownvic wheel
But under different lighting, rust is visible around the rim flange where the tire bead normally sits.
Here's the rim with half of the tire sitting next to it
And the rim with the tire cross-section installed on it
Here's a diagram of how a steel belted radial tire is constructed
Here's an actual cooper tire cut in half showing how the tire seats against the rim flange
When the rim flange rusts like this, air can escape through the rust pits.
Closeup pictures of the rust around the rim flange
Crevice corrosion happens in this area because water gets trapped in between the tire and rim with no place to drain out.
Now that we've seen the rusty rim flange, lets try an experiment to remove all the corrosion.
First, use an electric drill with a wire wheel to remove the loose rust scale.
And start dissolving the rust with a phosphoric acid solution
The pink colored stuff on the rim is the naval jelly solution of phosphoric acid. The small bubbles in the gel tell you that the acid is doing it's job etching away the rust.
Here's the rim flange after several applications of naval jelly. The rust is gone for the most part, but there are deep pits in the metal where the rust pores used to be. Rust never sleeps and you want to get rid of it all to make sure it doesn't come back.
The active ingredient in naval jelly is phosphoric acid. Unlike other acids that eat away rust, this stuff for the most part leaves the uncorroded metal behind untouched.
For cleaning up rust, sandblasting also works nicely. It is a lot faster than etching rust with acid. But it does remove more "good metal" than the naval jelly method.
The big problem now is going to be figuring out what substance to use to fill in craters where the rust used to be. A coat of paint with some tire bead sealant on top might work.
On rare classic cars with rim flange rust this bad, you'll sometimes see restoration shops weld metal back to the rim flange and then turn the rim on a lathe. But this rim is from a high volume production car and replacement rims are plentiful at the junkyards. New replacement steel wheels are also still avaliable for the 1998-2002 crownvics from ford motor company too.
There was quite a bit of rust around the rim flange, but the steel is still reasonably thick in this area. So the wheel still has a good amount of mechanical strength left to it in the rim flange area. Sometimes, you'll encounter rims that are so severly corroded that the flange area has the strength of tin foil.
Getting all the rust off this rim took a few days, the process I used was:
-Apply naval jelly to rusty metal
-Let rim sit overnight with acid solution on rusty metal
-In the morning after the naval jelly had dried, use a wire wheel on an electric drill to remove the rust that the naval jelly had loosened up
-Then reapply the naval jelly to start the process all over again
Here's the back of naval jelly bottle
Despite what naval jelly's material safety data sheet (MSDS) may imply, the substance is relatively safe to handle. But it would still be a good idea to use the substance outdoors or in a well ventilated area to prevent the buildup of irritating fumes.
Wheel Balance Weights
Here is a wheel balance weight on the rim
The clips on these do not get deep enough into the flange area to cause any leaks
Valve Stem
Sometimes, you'll encounter leaks around the tire valve stem.
Here's a 2000 grand marquis wheel with the valve stem installed
A closeup of the rim from back showing the rear of the valve stem
The rim with the valve stem removed. Notice the new circular hole that didn't used to be there?
Here's the rim from the back showing where the valve stem would normally insert
There are some abrasion marks on the valve stem from where the hubcap was rubbing against it. The hubcap weighs a lot less than a steel wheel, so the two items don't always want to rotate at the same speed.
Tire Shop Air Leak Sealing Methods
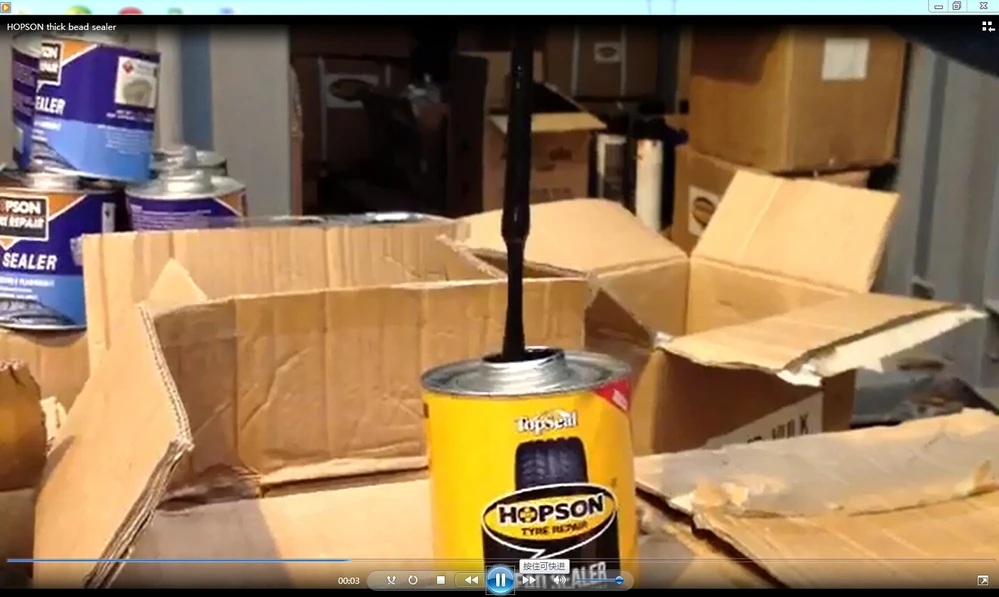
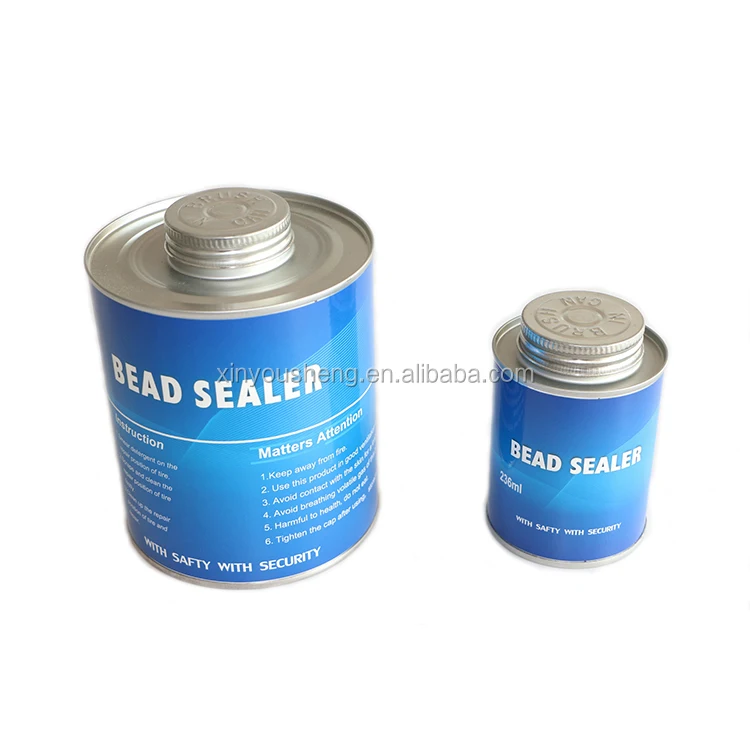
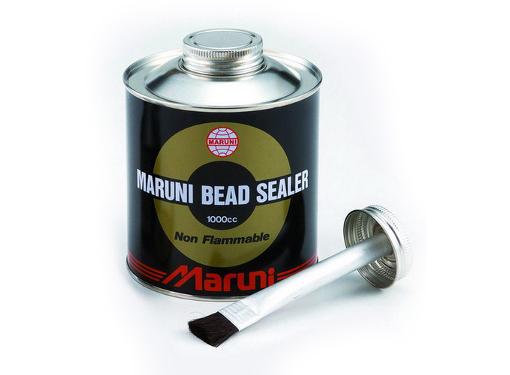
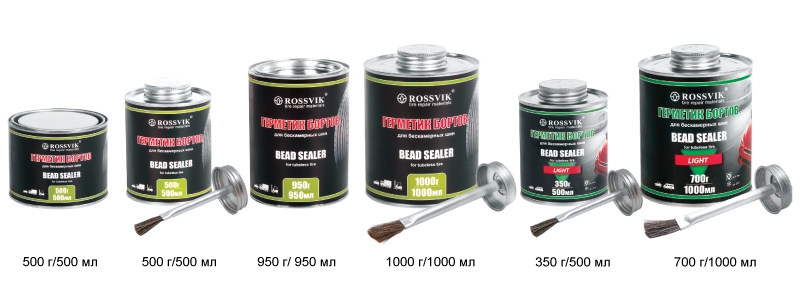
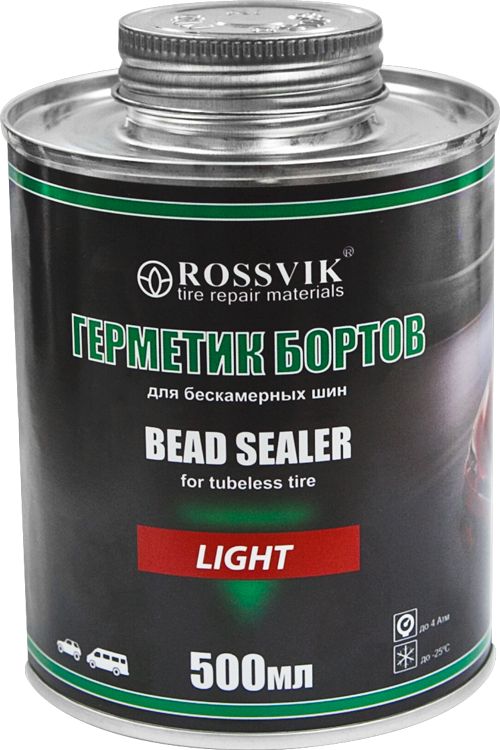
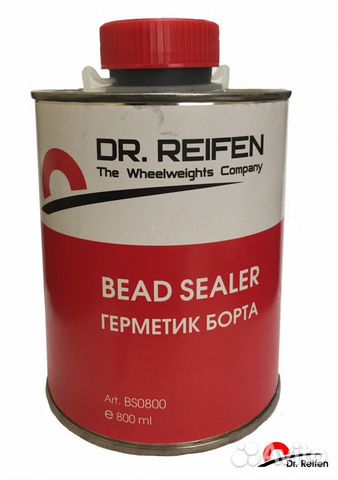
Bead Sealer
Bead sealer is a black rubbery glue substance that is used to help the rubber tire seal to the metal rim. It will also fill in minor imperfections in the rim. And will help keep small debris like stones from getting in between the tire bead and the rim flange. It does however make the tire a little more difficult to get off the rim during service.
Air drill
An air drill with a variety of attachments are used to clean up the tire bead and the rim flange area
Wire Wheel
On steel wheels, a wire wheel is usually used to clean up corrosion.
Scotch Brite Pads
On aluminum wheels, scotch brite pads are usually used to clean up corrosion. Aluminum is softer than steel and scratches relatively easy. These scotchbrite discs are also sometimes used to clean up the rubber surface of the tire bead too.
Wire Brush
Without power tools, you could use a wirebrush on the steel wheels instead. Rust cleanup will take a little longer with this tool.
Bead sealer + Rusty Rim
A common practice to seal up tire air leaks on steel wheels around the bead area is to remove the loose rust scale with a wire wheel. Then coat the polished rust with bead sealer and install the tire. This method did get the really rusted rim pictured above to hold air reliably for over a year. Unfortunetly, rust never sleeps and that wheel developed air leaks again requiring the tire to be removed from the rim to "clean up" the bead area yet again. There's no perfect solution besides replacing a rim with a new one once the flange is rusted this badly.
Do It Yourself Tire Leak Repairs
You'll sometimes see the do-it-yourself crowd install large quantities of tire sealer via the valve stem in an attempt to stop bead leaks. This stuff has a poor success rate at repairing air leaks around the tire bead. It does however make a real mess in between the tire and rim. And it will also throw off your wheel balance.
Other Notes:
 But when you've got a mysterious tire air leak, it's still useful to have background information about how a tire seals onto the rim so that you can have a more productive discussion with the technicans at your local tire shop.
When you purchase through links on our site, we may earn a commission at no additional cost to you. Learn More
Leaks along the tire bead are relatively common in ATV tires regularly run in mud, sand, and rough and rocky surfaces. This type of leak is typically relatively small, allowing the air to seep out overnight or over a few days.
To fix a leak at the tire bead on an ATV tire, you have several alternatives where these are the most common:

Each of these methods has its pros and cons to consider. Depending on your specific situation and what is causing the leak, one approach may be better suited over the other. We’ll cover each of them in detail in this post.
Bead leaks happen when the tire does not seal properly against the rim’s bead in a tubeless wheel. The bead area of the rim needs to be completely clean and undamaged for the rubber to make a tight seal against the rim.
Typical causes of bead leaks on an ATV tire:
Disassembling the tire from the wheel and addressing the issue causing the leak should be your primary alternative if you have the required time and tools. If performed correctly, it will provide a permanent repair without any of the cons that come with the other alternatives.
Pros:
Cons:
You may or may not already know where the tire is leaking. Even if you suspect that the leak is near the bead, it’s a good idea to verify exactly where the leak is located and make sure there are no additional leaks before moving on.
Use a valve stem removal tool to remove the valve stem. This will completely deflate the tire in just a few seconds. Alternatively, you can use an air-down tool to remove all the air. However, this method is more time-consuming than removing the valve stem core from the tire valve.
Depending on what is causing the leak, you may or may not have to break the bead to address the issue adequately.
If the leak is caused by dirt caked in between the rim and tire, but the rim is otherwise undamaged, you may get away with pulling back the tire slightly for cleaning. You can do this by finding a way to apply weight to the tire’s sidewall until there is a small gap between the rim and tire.
Cleaning without breaking the bead is easier on larger tires such as car tires or tractor tires. On smaller ATV tires, it’s less fiddly if you manage to break the bead completely. The result should be better as well.
If the rim is corroded or damaged, you are better off removing the tire from the rim entirely for proper access to the affected area.
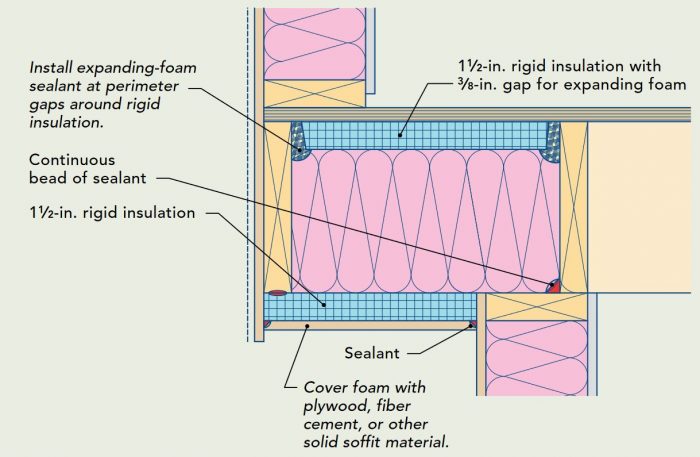
There are several ways to break the bead of a tire at home. My personal favorite is using a portable tire changer tool. These are readily available, relatively cheap, and work well on most ATV tires.
I recommend bolting the tool to the floor if possible. I installed threaded concrete bolt anchors to remove the device when not in use. A bolted-down tool ensures more control of the process and better leverage.
Tip: To boost the success rate and reduce the risk of tire sidewall damage when using this type of tool, leaves a tiny amount of air still in the tire before you break the bead. This will prevent the tire sidewall from giving in, causing the tool to slide out of position as you apply pressure.
As a cheap alternative to a store-bought tool, you could consider making a DIY bead breaker like the one I used before buying a dedicated tool.
Two pieces of wood and a couple of strong hinges give you a decent bead breaker in no time. Remember to cut the short piece of wood at about a 15 degree angle for better grip by the rim.Check this post for a few other ways of breaking the bead on an ATV tire.
This is how you break the bead:
A bead-breaking tool can be worth the investment, particularly for ATV owners who struggle with tire issues regularly. Ensure the tool stays in place throughout the process and does not slide down the tire sidewall.
After breaking the bead, you need to find out what issue is causing the leak. Use a flashlight for a good view. Look for dirt, corrosion, or rim damage; Sometimes, you may even find more than one issue that needs to be addressed.
Continue as described below according to your observations.
When you ride in dirt, mud, or sand, small particles and debris may begin to work their way in between the rim and tire. As more dirt builds up, it creates space for even more dirt until it eventually breaks the seal and causes a leak.

Both steel and aluminum rims may rust or corrode, but steel rims are particularly prone to leaks caused by rust.
Dirt and sand trapped between the rim and tire may wear down the paint over time, eventually causing the exposed metal to rust. Metals expand when they rust, creating gaps and an uneven surface that lets out air.
To fix a corroded rim, you need to remove the corrosion and apply a coating to prevent further corrosion issues.
 Consider using some fine sandpaper to finish off for a smooth surface.
Consider sandblasting and powder coating the rim for an even better and more professional result. I won’t detail how to do this in this post as it requires tools that typically only enthusiasts or professionals have access to.
The same method applies if the paint on your rim is flaky and starts to come off. Sand down all of the affected areas and apply fresh paint.
If you hit a rock a bit too hard or scrape the side of your rim against a hard surface, the rim may become damaged, preventing a tight seal.
You can repair minor nicks and dents by removing the tire from the rim and smoothing out the damaged part with a Dremel tool or fine-grit sandpaper.
Larger dents or cracks that may affect the rim’s structural integrity should only be addressed by a professional. Visible cracks left unattended may expand gradually until complete failure down the line. While tire sealant or installing an inner tube may keep a cracked rim airtight, it should only be considered a temporary fix.
Before you seat the tire back onto the rim, please take note of the maximum air pressure the tire can safely handle. Never, under any circumstances, exceed the specified max air pressure.

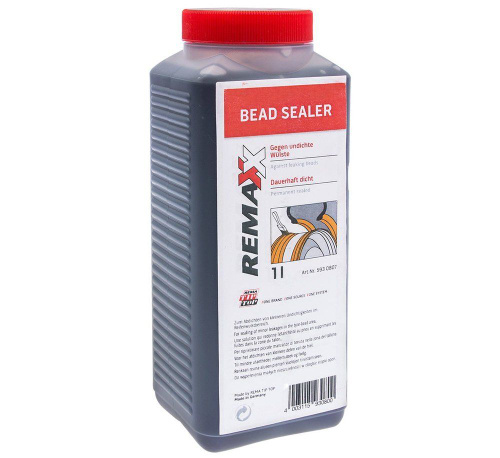
Bead sealer is specially designed to seal troublesome bead leaks that otherwise are hard to repair. It also helps prevent leaks, making it a good option for those that regularly find themselves with bead leaks.
Pros:
Cons:
Bead sealer is applied as a thin coat to the inside of the rim where it touches the tire. Follow the supplied instructions carefully for a good result.
Another option to try if you don’t have access to bead-sealer is a quality silicone sealant, applied the same way as the bead sealer.
Ensure not to inflate the tire before the bead sealer or silicone has completely set, as it will force out the sealant.
When you’re out on the trail and don’t have the tools or time to fix the leak properly, or if you’re simply looking for a quick fix, consider using a tire sealant such as Green slime.
Pros
Cons
Another option to fix a stubborn leak is installing inner tubes in a tubeless tire. However, tubes in low-pressure off-road tires are not always the best option.
Pros
Cons
Check out this post if you want to learn more about the pros and cons of installing tubes in ATV tires.
Sadly, there is no way to prevent bead leaks altogether. But, by applying one or more of the actions below, you will significantly reduce the risk of it happening.
If you know that you ride in a way that dirt will build up and eventually get a leak, it is better to clean when you have tools and time. Implement cleaning the bead into your maintenance.
How often you should do this procedure depends on how much and under what conditions you ride, but once a year could be a good starting point.
Bead sealer does not only help seal current leaks, but it also helps prevent new leaks down the line. The sealer keeps the gap between the rim and tire shut, so that dirt cannot begin to build up.
Inner tubes not only fix current leaks but will also help prevent upcoming leaks from causing any issues.
 Previously, in order to seal a suddenly leaking radiator or a burst pipe, motorists used mustard or even an ordinary chicken egg.
 Which led to unpleasant consequences. Today, more effective and safer means are used for these purposes. Let's try to figure out which sealant for a car radiator is better and what these products are in principle.
Contents
Currently, the classification of sealants to eliminate leaks is formed according to two indicators: the consistency of the preparation and its chemical composition.
So, there are two types of sealants:
Both types of preparations are available in the range of well-known auto chemical manufacturers such as HI-GEAR, StepUp, LIQUI MOLY.
According to the chemical composition, sealants are:
 The composition of sealants includes additives in the form of suspended solid particles. The activation of the composition occurs during interaction with the coolant, while a sufficiently flexible sealing seam is formed;
 K-Seal Permanent CoolantRepair
Let's see how to clean the sealant from the car radiator after using it. We have already talked about the need to perform this procedure - plaque on the internal surfaces of the radiator and other components of the cooling system will prevent it from normal operation.
Often, simply draining the antifreeze does not give the desired result, so special solvents are used to perform this work as efficiently as possible. But it must be taken into account that in this case the damage that was temporarily sealed will open again, so cleaning should be carried out in a place where the final repair of the damaged elements will take place (by tightening, soldering or replacing).
Such solvents can be both factory preparations and folk remedies. In particular, acetic / citric / lactic acid, Coca-Cola, ordinary caustic soda or whey have sufficient effectiveness. From industrial preparations, we note LAVR Radiator Flush, LIQUI MOLY KuhlerReiniger, Hi-Gear RadiatorFlush. But, again, in order not to harm the car even more, these funds should be used according to the attached instructions.
Even before there were special tools and automotive chemicals, our grandfathers and great-grandfathers actively used one very spicy product called mustard.
No, they didn't pluck the plant and put it in the heater core. They were interested in the powder version of mustard. According to some rumors, the practice of using mustard began in Afghanistan during military conflicts. In case of leaks in the radiators, this powder was poured into the system, the engine was turned on and warmed up. Literally a few minutes later, the leak disappeared, and the car could move on. How long and far, history is silent here.
When dissolved, mustard powder clogged literally all the holes that it met on its way. After all, it is difficult to explain to an ordinary powder that this particular hole needs to be closed, and the other one should not be touched.
As a result, everything was clogged, from channels and bypass lines, ending with tubes, compensation holes, etc. The leak really stopped, but after that flushing and often replacement were required.
Nowadays, motorists have switched to modern and more efficient means. But the meaning and essence of their application remained the same. No one falls asleep with mustard powder anymore. Although the technique largely has echoes of the past. Such new generation products are called sealants. Only here it is important to consider that we are talking about special sealing agents designed to work with radiators on cars and other equipment. It is strongly not recommended to take and pour building sealant into the system.
Reading the reviews and based on the opinion of motorists, we can say that the sealant is a controversial and ambiguous thing. Some see only positive qualities in him. Others believe that it is better not to use them under any circumstances. And there is a third party that rationally approaches the assessment of strengths and weaknesses.
Your engine cooling system sealant simply has to be of high quality and tested in order to avoid serious enough problems. And the following problems may arise:0003
It should be fairly obvious that untested products can harm your car.
The principle of operation is quite simple.![]() Hi-Gear Radiator Sealant with liquid enters the leak and hardens. At the same time, it does not wash out and does not dissolve, thereby preventing leakage in the future.
Hi-Gear Radiator Sealant with liquid enters the leak and hardens. At the same time, it does not wash out and does not dissolve, thereby preventing leakage in the future.
Cured sealant is not affected by high temperatures, vibrations. Many of them are comparable in strength to welding, and cermets are able to eliminate the strongest leaks by forming a strong plug. They expand when exposed to air.
Radiator Sealant is a kind of express help for leaky car cooling system on the road. A lot of negative opinions and skeptics arose precisely on the basis of a misunderstanding of the concept of these compositions.
Some car owners for some reason decided that the sealant for the radiator must tightly and permanently seal a hole in a honeycomb or a burst pipe. This, of course, does not happen. Which causes a flurry of negative statements about these generally useful (and sometimes even irreplaceable) means.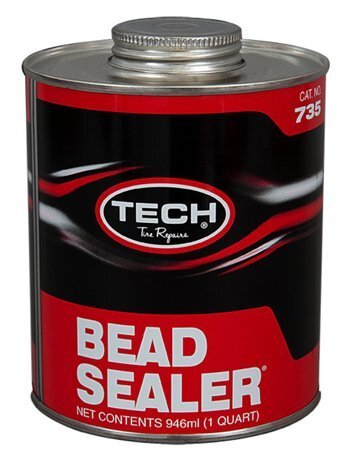
The exact composition of modern radiator sealants is not disclosed. However, it is known that all these products, regardless of the manufacturer, have the following properties:
Most modern sealants are modified polymers with the addition of various active ingredients designed to enhance the effect of the product. However, there are also traditional, organic compounds. Instructions for use from different manufacturers often differ, as well as the effect expected from use.
In general, the sealant operation algorithm is as follows:
As a general rule, sealant manufacturers recommend flushing the cooling system after repairs to remove any remaining product.
Industrial sealants for cooling system leaks have been on the market relatively recently, but the problem of antifreeze leakage has been around since time immemorial… So how did you deal with it before? Yes, as needed! Some looked for a source of water and added it to the radiator, which allowed them to drive for some time. Others hoped for the help of other drivers - in Soviet times, this was easier. Still others used mustard powder, adding it to the cooling system along with water. This method was quite effective, because it allowed to temporarily eliminate the leak and get to the place of repair on their own.
There are many examples where mustard has saved lives, as it happened many times, for example, in Afghanistan, helping out drivers in emergency situations. After this method of sealing, it is possible to drive about 300 kilometers, and if you are lucky, then all 500.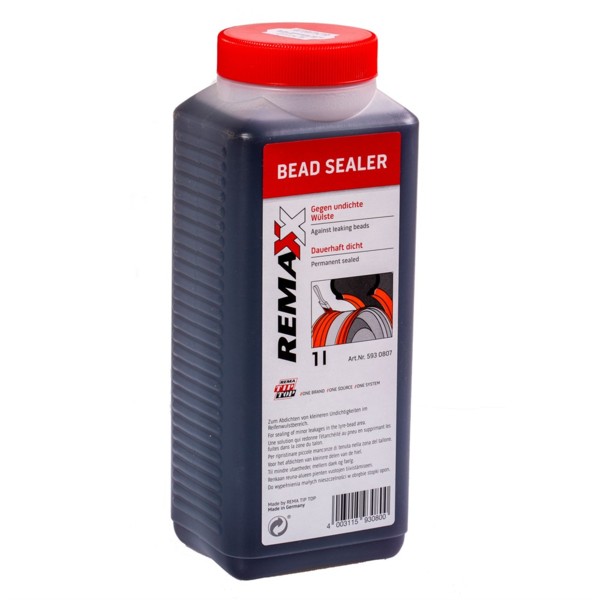 But after that, the radiator will have to be changed, since the powder clogged not only the place of the leak, but also the honeycombs.
However, few car owners would guess to carry brown powder with them all the time. Another thing is the sealant of the cooling system of the power unit - it also allows you to temporarily eliminate the leak and drive home or to the proposed place of repair work on your own.
The effect of such a sealant on the state of CO is not so catastrophic, but it should be understood that deterioration of its performance in this case is inevitable. Therefore, if it is possible to evacuate the car with a critical decrease in the level of the coolant, it is better to use it. Sealant is an extreme option when there are no other ways to get to civilization and are not expected.
The principle of action of such drugs is extremely simple: at the site of a coolant leak, it forms a blood clot, which reduces the throughput in this place to almost zero.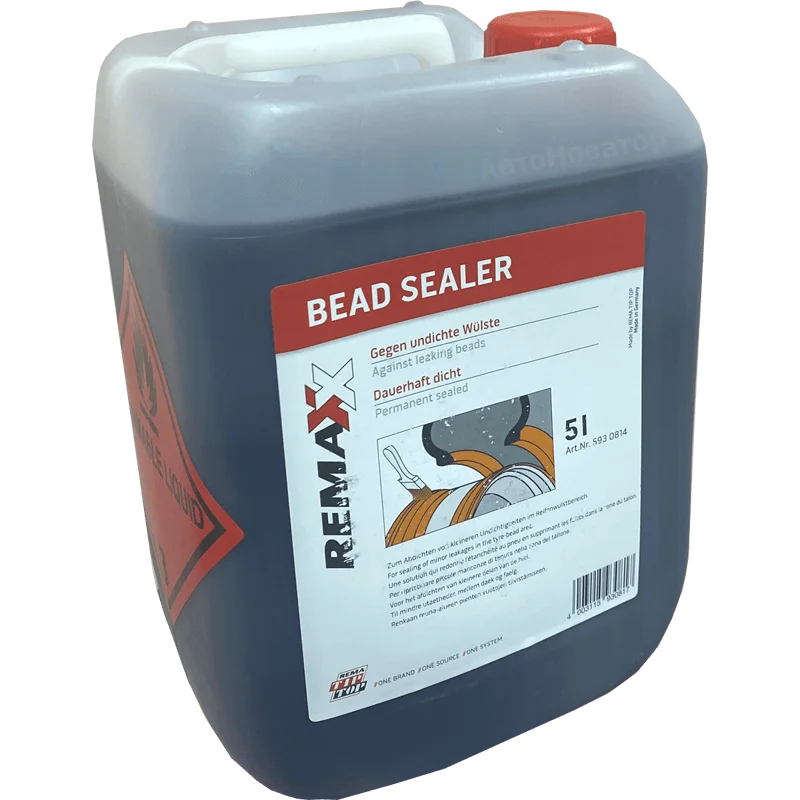 But excess sealant one way or another settles in the lower part of the pipes, tubes or radiator channels in the form of a gel-like coating, which also reduces their permeability.
It is the radiator tubes that suffer the most - their design includes special swirler spirals designed to improve the heat transfer of the coolant - without this, the antifreeze would cool much worse. But this place is a kind of bottleneck - it is on the swirlers that the most sealant accumulates, reducing the throughput of the radiator and the cooling system as a whole. So if you had to resort to using this tool, then at home you will have to do a thorough flushing of the cooling system with the replacement of antifreeze.
Finally, before using sealant for the engine cooling system, you need to know that such a repair additive cannot eliminate through damage to the radiator - it only temporarily restores coolant circulation, sooner or later the clot will come off or resolve, and the leak will resume.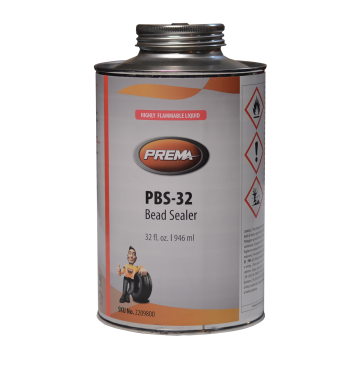 So flushing the system and replacing the antifreeze is not enough - you will have to look for a place where the tightness is lost and eliminate the defect.
All this information will help those car owners who generally doubt the benefits of sealants as a means of temporarily fixing leaks to acquire objective information. Of course, in the event of a serious rupture of the pipe, the formation of a large hole in the radiator, this tool is unlikely to help, but it will most likely cope with minor problems “perfectly well”. Much depends on the correct use of the product, the instruction manual is usually attached to the package. True, although the range of sealants presented on the domestic car market is quite extensive, most drugs are characterized by almost identical algorithms for use, despite differences in composition.
Gunk Radiator SealerSuper
Most antifreeze leaks go unnoticed, but one of the obvious symptoms of a problem is an increase in engine temperature, which can be tracked on the dashboard.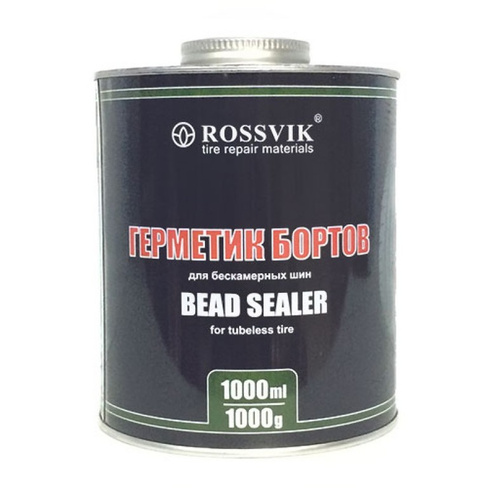 Better yet, every time you check the oil level, also look at the expansion tank - this will help you identify the problem in time and take steps to fix it. By the way, the easiest way to determine the location of the leak is to examine the parking lot of the car for wet spots, they can also form on the nodes of the cooling system, so it will not be out of place to look into the engine compartment.
And now let's look at the best way to pour sealant into a car radiator:

If the leak is not eliminated with the help of the sealant, the following reasons for failure are possible:
In the latter case, you can try to purchase another product, preferably from a well-known manufacturer. We will definitely acquaint you with the information which sealant is the best for the car cooling system by offering a rating of the products presented on the Russian auto chemical goods market.
Among the wide variety of products for this purpose, it is difficult to say which is better and which is worse.
Depending on the aggregate state, radiator sealants are divided into 2 large categories. This is a liquid and powder version of the manufacture.
Powder are considered the simplest. They are objectively inferior in all respects to liquid analogues. In fact, the powder for sealing holes in the radiator acts by analogy with the dry mustard described above. The substance gradually absorbs moisture and liquid, after which it swells and closes the areas with leaks. But the drug is able to cope only with small cracks and breakdowns. In parallel, it heavily pollutes the cooling system. The only advantage is the low price.
Much more loyal consumer attitude towards liquid sealants. Between liquid and dry (powder) you can definitely determine the favorite. Only in the most extreme cases, when it is not possible to visit a service station and buy a sealing liquid, take the powder.
The liquids themselves have a different composition. This allows us to divide them into 3 subspecies.
The following types of liquid-type sealants are distinguished:
 In terms of cost, these are the most expensive formulations;
 At the same time, one should not think that such funds cost a lot of money. In addition, sealants are purchased literally once. Then he lies somewhere in the glove compartment for a long time, until the very moment comes when you have to use the tool.
Quite often, motorists choose sealants purely by the name and popularity of the manufacturer.
There is nothing wrong with that, because it is the well-established firms and trusted brands that offer the highest quality products. These include:
Moreover, among the manufacturers there are not only Japanese, German and American developments. Domestic companies also produce good sealants.
Another important process is flushing the radiator of sealant residue. It is done as follows:
 If necessary, the procedure can be repeated.
 If there are other instructions for your product, you should use them to avoid problems and malfunctions.
Hello everyone! Every motorist knows that a leak in the heating system is a real disaster. Especially in situations where it is not possible to quickly and efficiently replace a faulty stove radiator. But do not forget about the sealant for the radiator.
That is what we will discuss with you today. I will try to talk about what it is, how it is used, its pros and cons.
In fact, the sealant provides an express repair to your heating system. It is really needed when there is a loss of coolant. After all, the consequences of such phenomena are overheating, and then the complete jamming of the power unit.
When there is no possibility of replacement, sealant saves in extreme conditions. But there is a lot of controversy and talk about him. Not everyone perceives such means positively. We'll figure out.
Even before there were special products and automotive chemicals, our grandfathers and great-grandfathers actively used one very spicy product called mustard.
No, they didn't pluck the plant and put it in the heater core. They were interested in the powder version of mustard. According to some rumors, the practice of using mustard began in Afghanistan during military conflicts. In case of leaks in the radiators, this powder was poured into the system, the engine was turned on and warmed up. Literally a few minutes later, the leak disappeared, and the car could move on. How long and far, history is silent here.
When dissolved, mustard powder clogged literally all the holes that it met on its way. After all, it is difficult to explain to an ordinary powder that this particular hole needs to be closed, and the other one should not be touched.
As a result, everything was clogged, from channels and bypass lines, ending with tubes, compensation holes, etc. The leak really stopped, but after that flushing and often replacement were required.
Nowadays, motorists have switched to modern and more efficient means. But the meaning and essence of their application remained the same. No one falls asleep with mustard powder anymore. Although the technique largely has echoes of the past. Such new generation products are called sealants. Only here it is important to consider that we are talking about special sealing agents designed to work with radiators on cars and other equipment. It is strongly not recommended to take and pour building sealant into the system.
Reading the reviews and based on the opinion of motorists, we can say that the sealant is a controversial and ambiguous thing. Some see only positive qualities in him. Others believe that it is better not to use them under any circumstances. And there is a third party that rationally approaches the assessment of strengths and weaknesses.
Among the wide variety of products for this purpose, it is difficult to say which is better and which is worse.
Depending on the aggregate state, radiator sealants are divided into 2 large categories. This is a liquid and powder version of the manufacture.
Powder are considered the simplest. They are objectively inferior in all respects to liquid analogues. In fact, the powder for sealing holes in the radiator acts by analogy with the dry mustard described above. The substance gradually absorbs moisture and liquid, after which it swells and closes the areas with leaks. But the drug is able to cope only with small cracks and breakdowns. In parallel, it heavily pollutes the cooling system. The only advantage is the low price.
Much more loyal consumer attitude towards liquid sealants. Between liquid and dry (powder) you can definitely determine the favorite. Only in the most extreme cases, when it is not possible to visit a service station and buy a sealing liquid, take the powder.
The liquids themselves have a different composition. This allows us to divide them into 3 subspecies.
The following types of liquid-type sealants are distinguished:
At the same time, you should not think that such funds cost a lot of money. In addition, sealants are purchased literally once. Then he lies somewhere in the glove compartment for a long time, until the very moment comes when you have to use the tool.
Quite often, motorists choose sealants purely by the name and popularity of the manufacturer.
There is nothing wrong with that, because it is the well-established firms and trusted brands that offer the highest quality products. These include:
Moreover, among the manufacturers there are not only Japanese, German and American developments. Domestic companies also produce good sealants.
To begin with, remember that each manufacturer has their own instructions for applying the sealant.
But there are a few general principles and rules that are found on almost all sealants.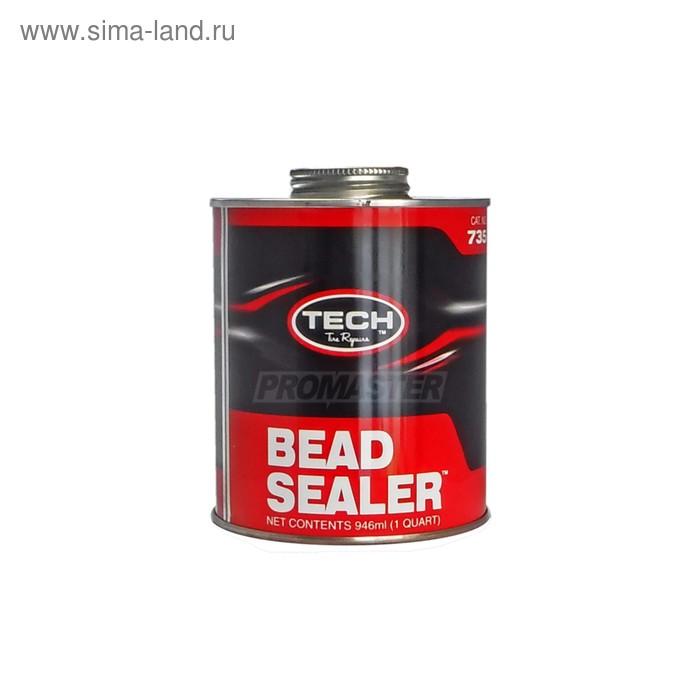
But it happens that the sealant does not work. This happens due to too large a hole, or in violation of the technology for using the product.
Now about why some motorists do not like radiator sealants so much, and consider them real pests for the cooling system.