How to Install a Tire Inner Tube Properly
Because you don’t want your tire inner tube to split and fail before its time, it is important to complete your inner tube installation in the proper manner, without any wrinkling, twisting or pinching. Whether you’re installing tractor inner tubes, ATV tire inner tubes, industrial tubes, trailer tire tubes or inner tubes for farm implements, light trucks, trucks and buses, OTR or low tractor trailers, the process is essentially the same.
First, Consider These Quick Hits about Inner Tubes
*Inner Tube Sizing: To find the size inner tube you want, check the size information on the sidewall of the tire. Tubes, because they’re made of rubber with a range of stretch, will generally fit several tire sizes that have the same, or near the same, space for an inner tube.
*Radial Tubes vs. Bias Tubes: Because bias tires and radial tires are manufactured differently, you cannot use a bias inner tube in a radial tire without risking heat build-up and blow-out. Radial tubes, which are made from a rubber compound that has more flex, can be safely installed in both radial tires and bias tires.
*The New Tube Is Smaller than the Old Tube because the old tube has been stretched and relaxed and has taken on the tire’s shape. New tubes start out smaller than the tire.
*Tools You Will Need to Remove and Install an Inner Tube: It’s always helpful to have all the tools you’ll be using at hand before you start your inner tube removal and installation. You’ll need pliers, a tire iron or other pry tool, a rubber mallet, a valve core removal tool and an air pump.
Step by Step Inner Tube Removal and Installation
Getting the Old Inner Tube Out of the Tire
Before Installing the New Inner Tube
Installing the New Inner Tube
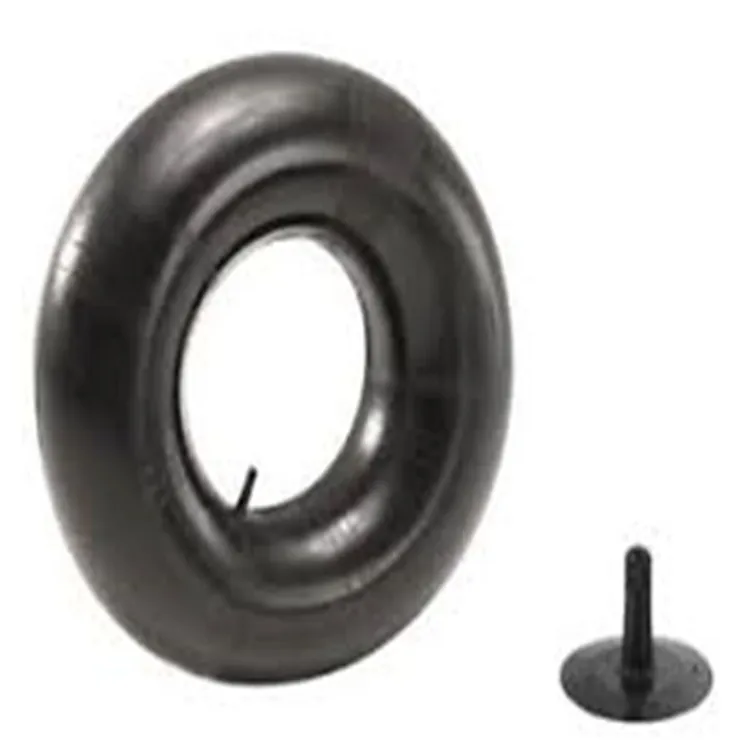
Unlike cheap tire tubes that can blow out and fail quickly, RubberMaster Inner Tubes and Flaps are made from premium rubber and are factory-tested for top air tightness, aging resistance and high temperature resistance for longer service life.
There may be a couple of reasons you want to install tubes in your tubeless ATV tires, one of them is that your tires keep going flat because they are slowly losing air.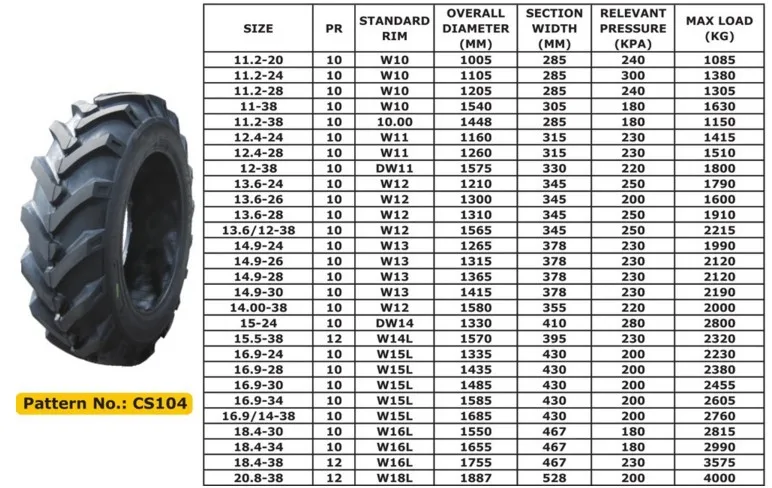 Inserting tubes would be the most cost-effective way of solving that problem instead of spending a lot of money to replace the tires. So, how do you install tubes in tubeless ATV tires?
To successfully put tubes in tubeless ATV tires, you need to ensure that you have the correct inner tube, lift and remove the tire, remove the valve stem and break the bead, install the new tube, reassemble the tire, place the tire back on the ATV, and repeat the process for the other tires.
Although installing tubes into ATV tires isn’t an easy process, it is possible. It can be daunting if this is your first attempt, but fear not, a step-by-step guide makes the whole process seamless and easy.
Here is how to successfully put tubes in all your ATV tires.
The last thing you want is to purchase the wrong inner tube for your ATV tires. Although they aren’t overly expensive, it can still be a waste of time and money having to go back to get the right one.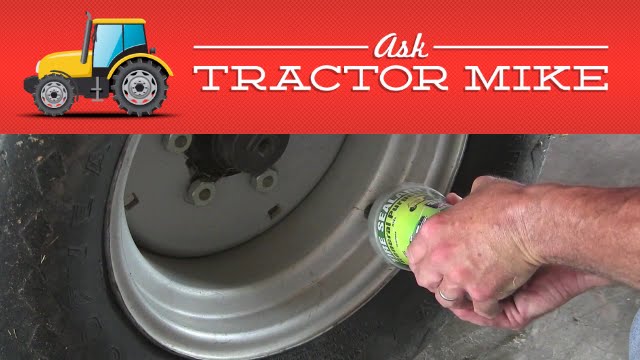
ATV tire tubes are available in many different tire sizes. Each tube size can fit up to four or more tires sizes, although not every tire has a tire tube its size. Having a quick breakdown of what to do when looking for the correct inner tube for your ATV tires is essential.
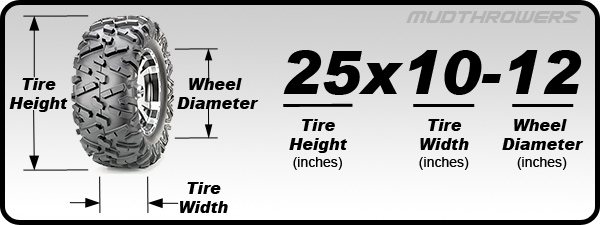
To know what inner size tube to ask for at an automobile shop, it is important to know how ATV tire sizes work to know the size of your tire. There are three distinct numbers printed on the front side and the backside of the tire.
The first number you’ll see is the tire height in inches. This measurement is obtained when the tire is inflated to the BSI specified by the manufacturer. The second number lets you know what the width of the tire is. Sometimes there is lettering behind that number or an R. The R simply means a radial tire.
The last number in the ATV tire size is the rim diameter in inches, the outside edge of the rim. If you install oversized tubes, they will crease and fail, and undersized tubes may lead to the valve stem ripping from the tube.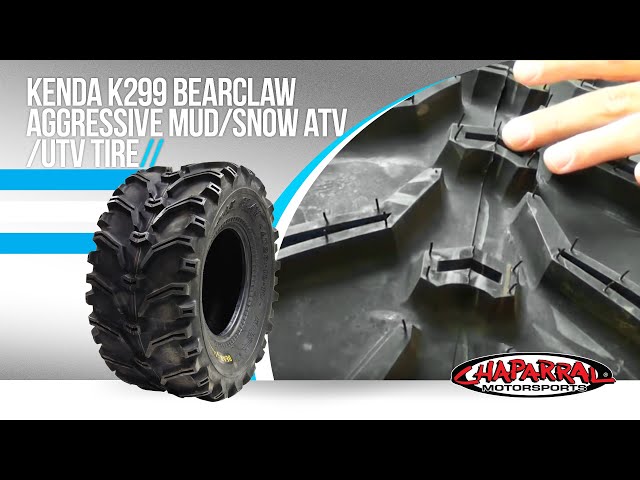
You don’t need any fancy tools to lift the four-wheeler off the ground and remove the tires. All you will need is a jack, a wrench, and yourself. The first thing that you will need to do is to jack up your ATV. You’ll want it to be a couple of inches off the ground to give yourself some room to work with.
The best place to place the jack is near the tire area you plan on installing a tube in. Crank the tire up as far as you’d like, usually 4 to 6 inches. Always be careful not to put any part of your body underneath the ATV, as malfunctions can happen.
You can then use a wrench to take the lug nuts off. You don’t have to use a wrench. The preference is yours, depending on which removal tool or method works best for you. Once done, the tire should be easy to remove from the ATV. Some tires can be stubborn and require a little more force to get off. A good swift kick works wonders.

This is where you have to break the seal around the rim of the tire. Breaking the bead isn’t an easy process, but it is possible. The easiest way to do this is to use a tool called a valve stem remover.
This tool is not expensive and is fairly easy to acquire. You insert the valve stem remover into the end of the valve stem and turn the tool anti-clockwise, much like you would a screwdriver. This will take the valve stem out and get the air in the tire out quickly.
Once the airflow stops and is quiet, the ATV tire should be nice and flat. You can now work on breaking the bead. One of the tools that do an excellent job of doing this is a tire changer. You slide the tire onto the device, with the top part sitting slightly on the edge of the tire towards the rim but not on the rim.
Use the top horizontal lever to push down on the tire. Pushing down the lever handle will require a bit of muscle. Keep rotation your tire so that you push the lever down around the edges of the tire.
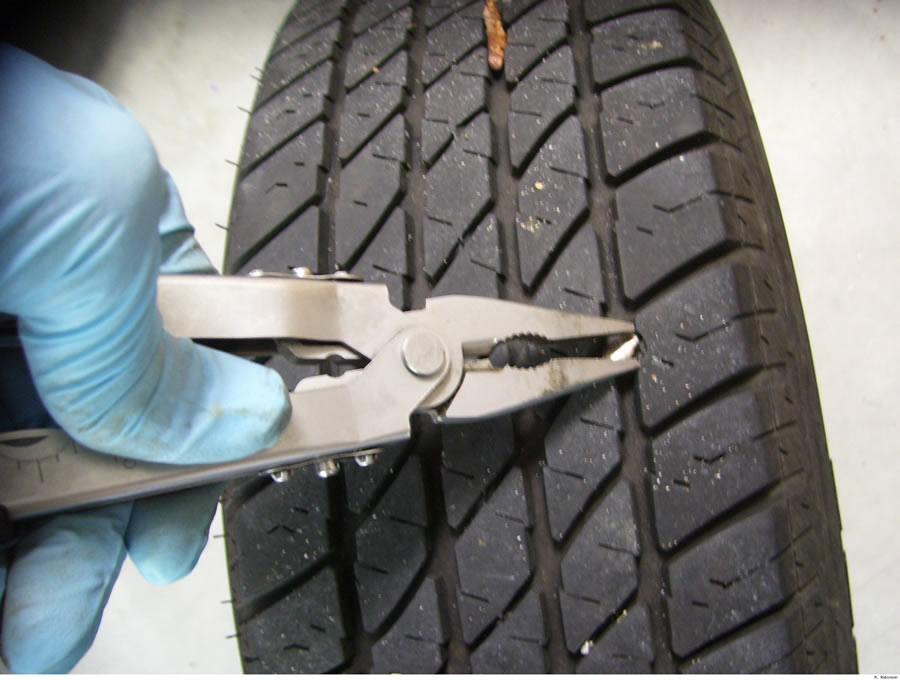
The tire should be off the bead but still intact. Remove the valve stem as you will no longer need it because there is a new one in the tube purchased. Removing the valve stem can be done by using side cutters to cut it off. Make sure to get the inside part out as well.
You can then use a cloth to clean any dirt and rust on the inside where the tire was sitting on the back of the rim so that the rim can reseat properly after installing the tube. Now that you have sufficiently cleaned the area, you will need a long tire iron because you get the most leverage out of them.
Make sure that the tire is flat on the floor with the rim facing up. Insert the tire iron inside and go crossways around the edge, working your way around the rim. Often using two to three tire irons works best to insert the other two where you have already lifted the rim to make space to insert the new tube.
One thing to note is that the new tube is flat, and it bunches up when you try to fit it into the tire. A trick to prevent it from pinching itself and poking a hole in it right away when you try pumping it up and putting the bead back up is removing the cap on the valve stem and using an air compressor to put a little bit of air into the tube.
Not too much air, just a couple of pounds so that it is not difficult putting the tube into the rim as it is a tight fit. Because the tube is made of a rubbery material, it can be a hassle trying to insert it and having it stick together. An excellent way to prevent this from happening is to use baby powder. Sprinkle some all around the tube so that the rubber on rubber is not sticky anymore.
It won’t damage anything inside your tire and just makes the whole installation process easier for you. When you start installing the tube, start with where the hole is from the previous valve stem. There are two nuts on the new valve stem, and one of them has to be removed before you start putting the tube in.
Slide the new tube into the space created between the tire and the rim. Ensure that you line up the new valve stem with the old one and insert it through the hole. Use the second nut to screw the new valve stem onto the rim. Make sure that the nut is screwed on tightly. Insert a hand to feel around the tube to make sure that it has not curled around itself.
Once you have determined that the new tube is not curled or pinched up, you want to use one hand to hold the tube against the side of the rim. This has to be done carefully to avoid popping the newly installed tube.
Make sure that the tire is flat on the floor with the rim facing up. Place your knees on the tire to hold it steady. Starting from the valve stem, stick in a tire iron and gently lift the rim back up. Complete this process going all around the tire to get the rim back in place.
Once done, make sure that the rim is in line again with the tire firmly at the back of it. Check that the new valve stem is securely in the old hole, and once everything is in order, you can use the air pump.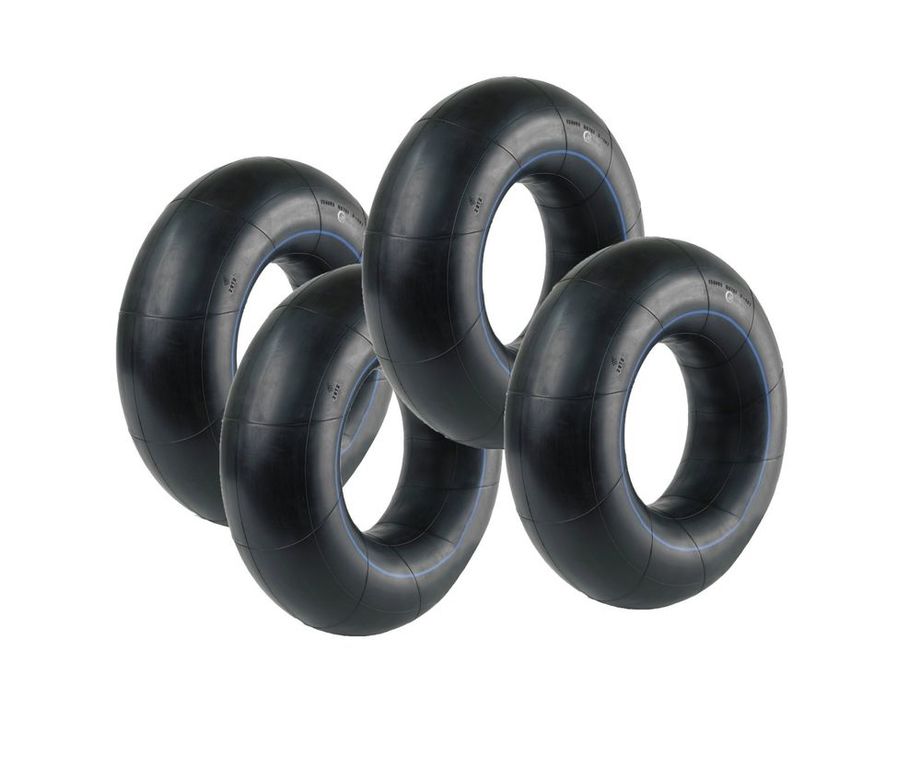
Place the air pump on the uncapped valve stem and pump up the new tube. Do not be alarmed when you see some space between the tire and the rim, as the rim has to reseat itself. Ensure that you don’t stick your fingers where the space is because there is a lot of air pressure when you are filling the tire up, and you can easily get hurt.
You want to continue pumping air in, most likely overinflating your tire to an extent until you see the tire pop up and settle nicely on the rim. Make sure that the tire also pops out at the back. Keep in mind the warning on the tire that lets you know what the limit is. The writing on the front of the tire will usually let you know not to inflate beyond a certain PSI number.
Once the inner tube has been successfully put into the tire, you can move on to screwing the nuts back on. To do this, you need to check that the tire is properly inflated again and put the tire back onto the ATV. This is probably the easiest part of the whole process.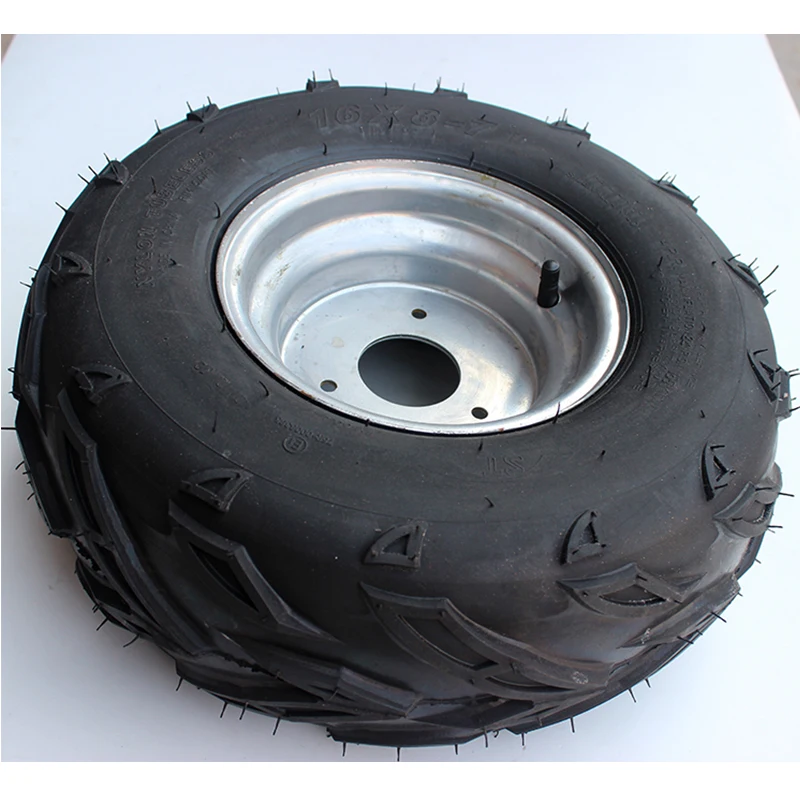
You will then hand screw the nuts back on or use a tire iron or any other power tool, whichever works best for you. Ensure that the nuts are screwed back on tightly. Once this step is done, you can let the car back down by cranking the jack down to the floor.
After you have checked the first wheel to make sure that the tube was installed correctly, you can move on to the other wheels. One way to check that the inner tube is put in properly and that there are no air pocket spaces around the bead is to use soapy water.
Soapy water is easy and simple if you are at home as all you need is water that has soap in it, and all you do is put the water all around the bead to determine if there are any air leaks around it. The reason the water has to be soapy is that the soap in the water will make bubbles when poured around the bead if there are any air leaks.
Once you have determined that you don’t have to repeat the whole process with the first tire, you can move on to the other tires, where you will repeat step 2 to step 7 until you repeat the process on all of the tires.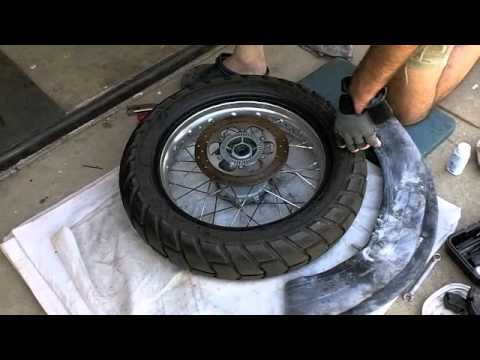 At the end of this, you will have four tires that now have tubes in them.
Ensure that you go for a ride in an area nearby to verify that everything is working well before going on extended rides. Keep in mind that although having tubes in the ATV tires has many pros, there are also some cons, like the inner tube may spin with the tire in cases where there is hard acceleration or braking, which would cause valve stem breakage and therefore deflation of the tire.
Tubed tires are also not as easy to patch up as tubeless tires are, and this is important if you run into a tire problem on the trail as you have to first remove the tire to reach and patch the tube that is damaged.
Now that you have a step-by-step guide to help you along, you can decide if having tubed ATV tires is the best alternative for you. All in all, tubed tires are considered a good idea instead of having to spend money on new tires.
 com/stry/how-to-install-inner-tubes-on-your-atv-tires
The service of removing and installing the camera on the tires of a motorcycle, ATV or scooter is provided in the KOLOBOX moto-tire fitting at a low cost!
The safety of the driver of a motorcycle, scooter or ATV depends directly on the quality of the wheels of his vehicle. A worn out, faulty inner tube on a motorcycle tire will cause the tire to flatten almost instantly and make it impossible to continue driving. Therefore, an important point in the operation of a motorcycle or ATV is the timely appeal to a motorcycle tire fitting for checking and replacing the chamber on the tire.
What principles should be followed to select the right tires for a motorcycle, ATV or scooter?
The question of the need to replace a motorcycle tire arises due to its wear and the expiration of its service life. The driver of various vehicles faces the task of selecting suitable tires for him. To do this, pay attention to the following points:
 Most motorcycle riders with spoked wheels choose tube tires with rim tape that protects the tube from mechanical damage that the spokes can cause. It is theoretically possible to equip a tubeless tire with a tube, but it is not designed for operation with this part, as a result of which there are no guarantees that the tube will be on it for a long time and reliably. Thus, if the wheels of your motorcycle are spoked and tubeless, then you do not need to install a camera on them, it will not have the desired effect.
 To remove and install the tube on the tires of a motorcycle, scooter or ATV, contact the KOLOBOX motorcycle tire fitting company! Qualified specialists of the center will quickly and profitably perform this and other services.
Book an appointment for tire fitting (services)
Addresses of retail outlets
Photo tubeless tires, which are now used on most cars. Indeed, why do this if the tire is by definition "tubeless", and all its advantages ultimately come down to the fact that it is empty inside. But we traditionally have a "need for inventions is cunning", so our brother has his own understanding of this topic ...
Ivan Flyagin
Harsh climatic conditions and cosmic distances make us think differently, so a Russian driver will always find iron-clad arguments why to shove a camera into a "tubeless" car.
For example, on the roads of Western Europe, a situation is unlikely to happen when a car at speed catches pits on a broken road so that as a result two or even three wheels become unusable at once.
It also happens that a local gopnik in a provincial provincial town decides to show off and pierces several tires at once with a knife.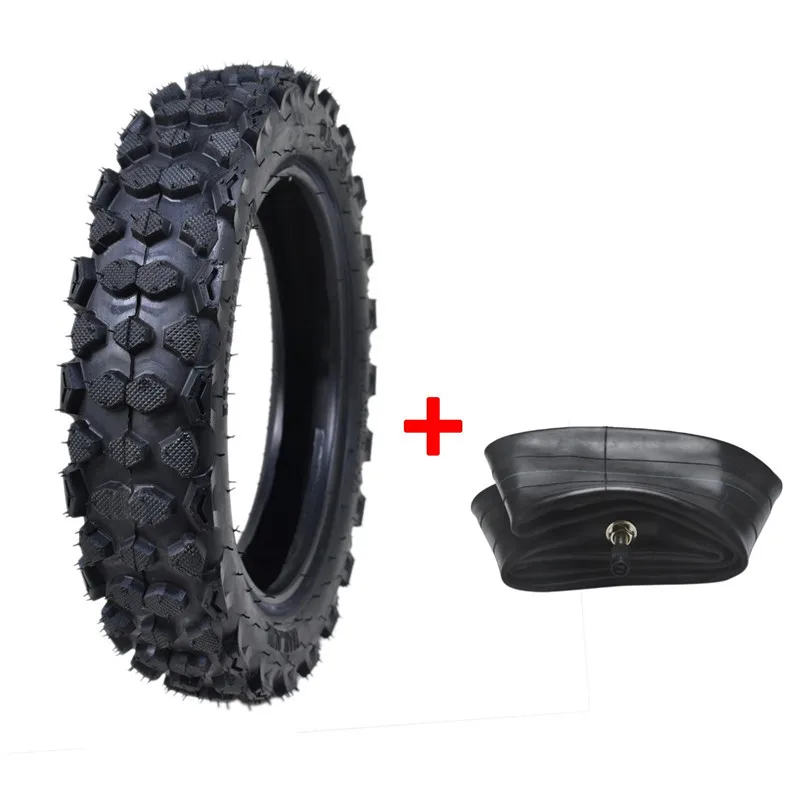 And the case takes place far from home, where qualified tire fitting is not available, it is impossible to buy a new tire, and there is only one spare wheel. Agree, in the vastness of our vast Motherland, this can happen to every driver.
Driving further with a hernia is extremely dangerous, with a severe puncture is simply impossible, so you have to look for a temporary solution to the problem - install a chamber in the patched tubeless tire, which will provide internal pressure in the wheel. True, the resulting design can only be used on the rear axle of the car and only in the most gentle speed modes - up to 60 km / h - without sudden accelerations and braking. But even under such conditions, driving should not be abused: it is only about the opportunity to get to the nearest qualified tire fitting, or to a new tire store.
Riding with a "hybrid" wheel is not safe because the design of a tubeless tire is designed to work with even pressure. And the inflated chamber, as a rule, is loose and only in some places adjoins the inner surface of the tire.