| |||||||||||||||||||||||||||||||||
Jetting is critical in carbureted dirt bikes and ATVs and it's important to understand how carburetor tuning works to make sure your machine is running optimally. Check out our guide to carburetor jetting adjustments here.
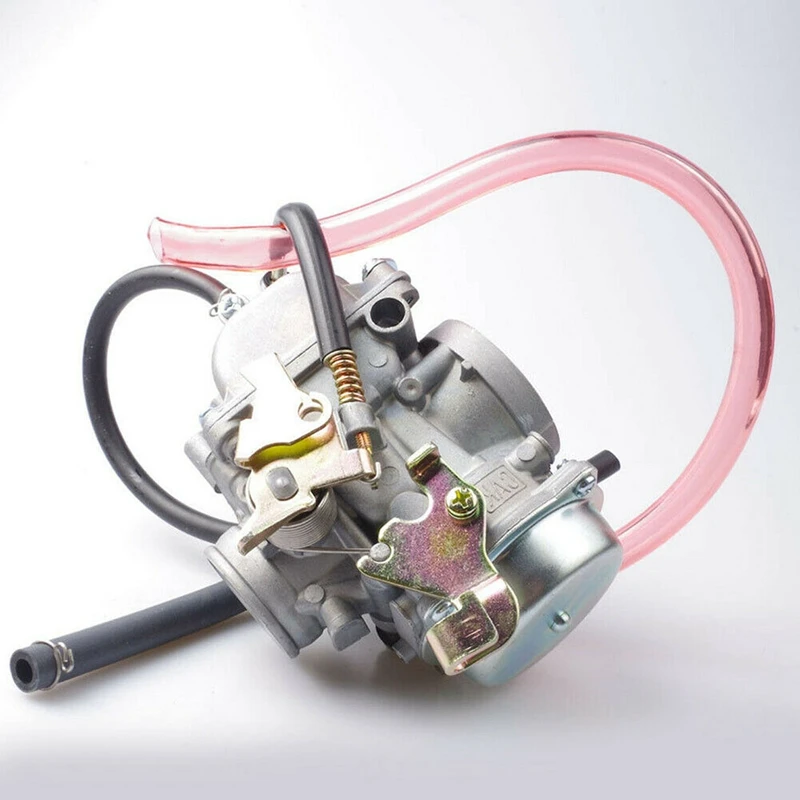
Over the years, two and four-stroke carburetors designed for powersports machines have evolved into technological marvels with numerous features that allow engines to deliver state of the art performance. However, most carburetor designs still require proper tuning to deliver that performance. The difference between a properly jetted carburetor and one that is out of tune can result in consistent race wins or consistently bad performance, or worse yet, engine failures. So, we wanted to cover the basics of jetting, including an overview of why jetting is important, where to find the necessary info to make good jetting decisions, tools required to re-jet, where to buy jets, and tips and tricks to make carburetor adjustments easy.
To understand the criticality of jetting, we only have to go so far as to understand the function of the carburetor. The carburetor’s job is to precisely and repeatedly deliver the appropriate amount of fuel to the engine throughout its entire speed and load range. To do this, carburetors utilize several different circuits that control different parts of the speed/load range of the engine. These circuits are metered by small brass inserts called jets and by a needle situated in the slide of the carburetor. Jets come in different orifice sizes so that the amount of fuel being delivered to each circuit can either be increased or decreased. Needles are offered with various profiles but are predominately adjusted by altering their height within the carburetor. This is done by changing the needle’s clip position.
The amount of fuel that must be delivered to the engine is dependent on the atmospheric conditions in which it operates. Specifically, engine performance is dependent on ensuring the air to fuel ratio is optimal.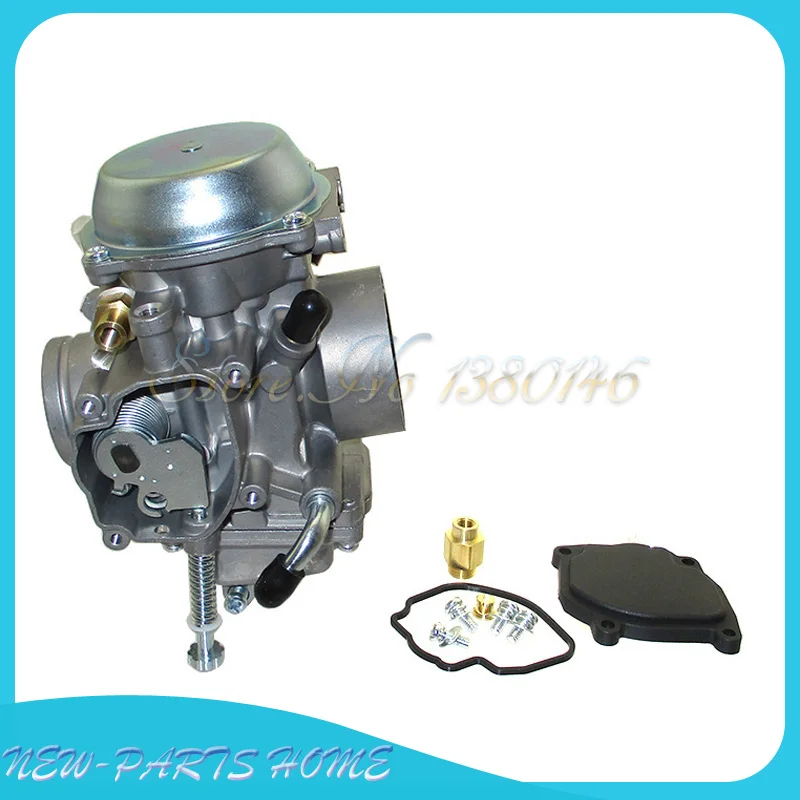 While carburetors are very good at metering precise amounts of fuel, most of them cannot account for changes in air conditions. There are two variables that affect the ambient air conditions: temperature and pressure. Temperature and pressure ultimately affect the density of the incoming air, which has a significant effect on the engine’s air to fuel ratio.
A couple of practical examples that highlight how air density changes include when temperatures or elevation changes from the baseline conditions the carburetor and engine were tuned for. As temperatures increase, air density decreases and when temperatures decrease, air density increases. Similarly, as the operating altitude of the engine increases, air density decreases due to decreasing air pressure. The opposite is true when altitude decreases.
Jetting changes are usually influenced by air density. Elevation, temperature, and humidity are the main factors that should be taken into account when tuning jetting for specific riding locations.
Since the world is a diverse landscape and atmospheric conditions are always changing, it is not possible to set up a carburetor correctly for all conditions. Instead, manufacturers utilize jetting charts which provide the operator guidance on how to configure the carburetor for specific temperatures and elevations. Jetting charts can be found in the operator’s manual that comes with the machine or in the service manual which is usually sold separately. A standard jetting chart for two and four-stroke carburetors provides guidance on the attributes of the pilot screw, slow jet, needle clip position, needle type, and main jet.
Many OEM owner's or service manuals will include jetting charts suggesting what changes to make based on altitude and temperature. This is an example ONLY, do not use this chart to tune your carburetor.Jetting requirements can also change when engine modifications are carried out. When engine modifications, such as the addition of a performance exhaust system, are incorporated the air flow through the engine changes necessitating carburetor adjustments. Depending on the modifications being made to the engine, fueling adjustments may need to be richened in certain throttle ranges and/or leaned out in others. When adjusting carburetor settings to account for engine modifications, it is always best to start with the setting recommended by the supplier of the aftermarket components, and then test to confirm optimal performance.
Technically, none of the metering circuits found within a carburetor are completely independent of one another, which means that any changes made to one circuit will have a small impact on another circuit. However, from an adjustment standpoint, the circuits and what parts of the speed/load range they primarily effect are shown below:
The tools required to re-jet a carburetor are basic in nature and predominantly consist of the usual tools needed to service your machine such as sockets, wrenches, allen wrenches, and screwdrivers. A set of small medium-length flat head screwdrivers is necessary to remove the small jets found within the carburetor. On machines with limited space between the carburetor and engine cases, a low-profile float bowl wrench may be necessary to remove the float bowl plug.
ProX offers jets for Keihin and Mikuni carburetors in a wide range of sizes so that no matter where you ride or what modifications you make you can precisely adjust your carburetor to ensure your engine runs optimally. ProX provides jets for all types of two and four-stroke carburetors which include FCR, PWM, CR roundslide, PJ, PWK, and PWM to name but a few. ProX jets are manufactured in Japan to exact OEM specifications and are available at cost effective prices.
Click here to find available jets and jet kits for your machine.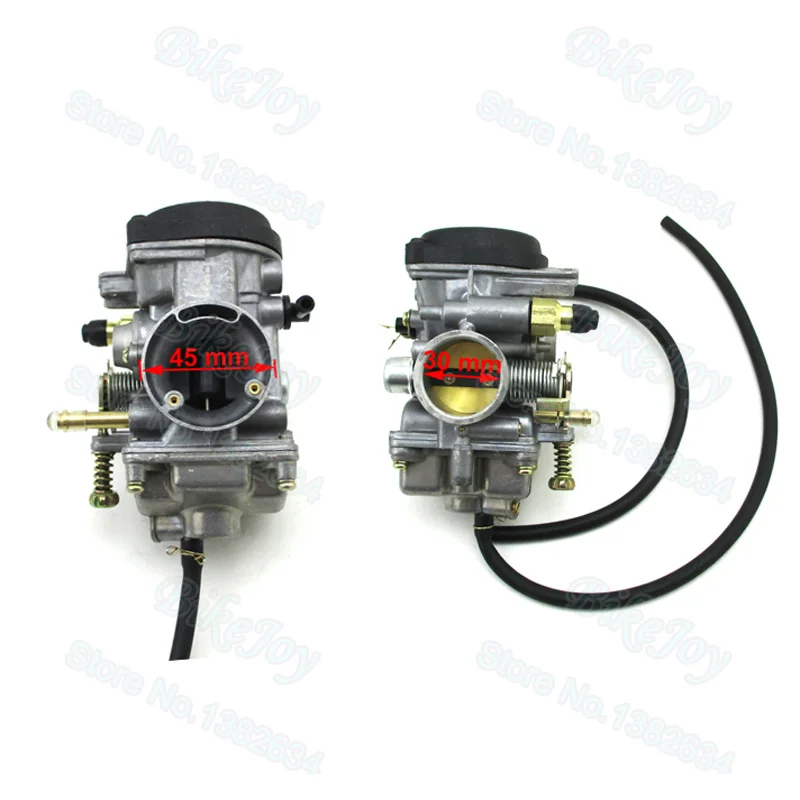
Before making jetting changes, it is best to ride and warm up the machine. Whether you’re putting in laps or tearing up trail, be overly cognizant of how the engine is running at various throttle positions. Take note of idle quality, transitions, mid-range, and wide-open throttle. Note any areas of concern then compare your notes to the conditions for the day and determine how they compare.
The layout of your machine will greatly influence how much work is required to make jetting changes, however, most machines are designed so that the carburetor jets can be changed without completely removing the carburetor. For specific information on how to service your carburetor to make jetting adjustments, refer to your machine’s factory service manual. The following information is provided as an overview. To gain access to the slow and main jets, the intake clamps are loosened and the carburetor can be rotated to expose the bottom of the float bowl.
To service the needle, the carburetor may be able to be rotated so the slide cover is oriented outside of the frame, otherwise, the seat and fuel tank can be removed to gain access from above. When adjusting the position of the carburetor on models equipped with a throttle position sensor, make certain that the wires are not pinched or strained in any way. Prior to making any adjustments, ensure the fuel supply is turned off. If the carburetor is equipped with a float bowl, it should also be drained.
In some cases, it may be easier to remove the seat and tank to gain access to the slide cover when the carburetor is on the bike. Be sure to turn off the fuel supply before performing any of this work!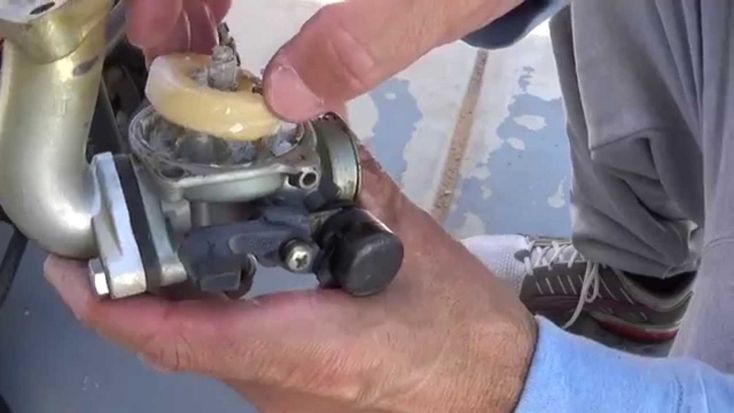
Slow (Pilot) Jet

Needle
 Position refers to which slot the clip is inserted on, it's counted from the top down. The needle sits down in the middle of the slide and rests on the clip.
Main Jet
Once jetting changes have been completed, carefully reinstall all components and hardware. Repeat the warm-up and test riding process, then carefully note differences in engine performance from the previous session. If the jetting charts or instructions provided were adhered to, engine performance should notably improve.
Suspension. Shock absorbers must be free of oil, and CV boots must be free of holes through which moisture can enter. To check the condition of the wheel bearings and hub bushings, you need to raise the ATV with a jack and shake the wheels vertically and horizontally - if there is play, one of these parts is worn out. Most often these are bearings. You also need to check all the suspension arms for play - perhaps ball bearings or silent blocks need to be replaced.
ATV with working shock absorbers lowers and rises evenly - when pressing on the rear or front, one of the sides should not sag.
Transmission. Gearboxes must be free of oil leaks and cracks. The oil in them can be checked by lowering a plastic clamp into the filler neck or unscrewing the drain bolts: it’s bad if the liquid is opaque, it contains chips or other foreign particles. To check the modes of operation of the transmission, you need to jack up the front of the ATV. When all-wheel drive is on, when turning the left wheel, the right wheel should rotate in the opposite direction, and vice versa. When the differential lock is engaged, both wheels rotate in the same direction. Transfers should be included without effort and crunch.
Engine. It must be free of oil. A serviceable motor starts in 2-3 seconds and works without a metallic rattle, an arbitrary increase and decrease in idle speed.
Bad sign - black oil or with foreign particles. Normally it is transparent.
A malfunction is also indicated by black, white or blue smoke from the exhaust pipe, as well as a burning smell. At idle, the exhaust gases of a serviceable ATV are almost transparent.
It is advisable to measure the compression in the cylinders - this will require a compression meter with adapters for different threads of the candles and knowledge of the normal compression value in the cylinders of a particular ATV model, taking into account the decompression meter.
Coolant . You need to check with a cold engine. The antifreeze level must be between the minimum mark "LOW" and the maximum "FULL". The liquid should not be cloudy. If there is sediment or dirty “flakes” under the radiator cap, the motor was poorly maintained and may have overheated.
Air filter . If there are oil stains on it, most likely the ATV turned over.
Electrical . It is necessary to check the operation of the parking lights, high and low beams, turn signals, alarms, horns, heating, winches. Error indicators - for example, an electric booster - should go out when the engine is started.
Electric power steering . With the ATV running and jacked up, turn the steering wheel left, right, then center. With a working electric power steering, the steering wheel does not turn on its own.
Frame. Cracks, extensive corrosion, welding spots, stripped or fresh paint in the places where the suspension arms are attached, on the arms themselves and on the bottom of the frame - a reason to refuse to buy. Cracks or welding in the cargo platform area are not critical.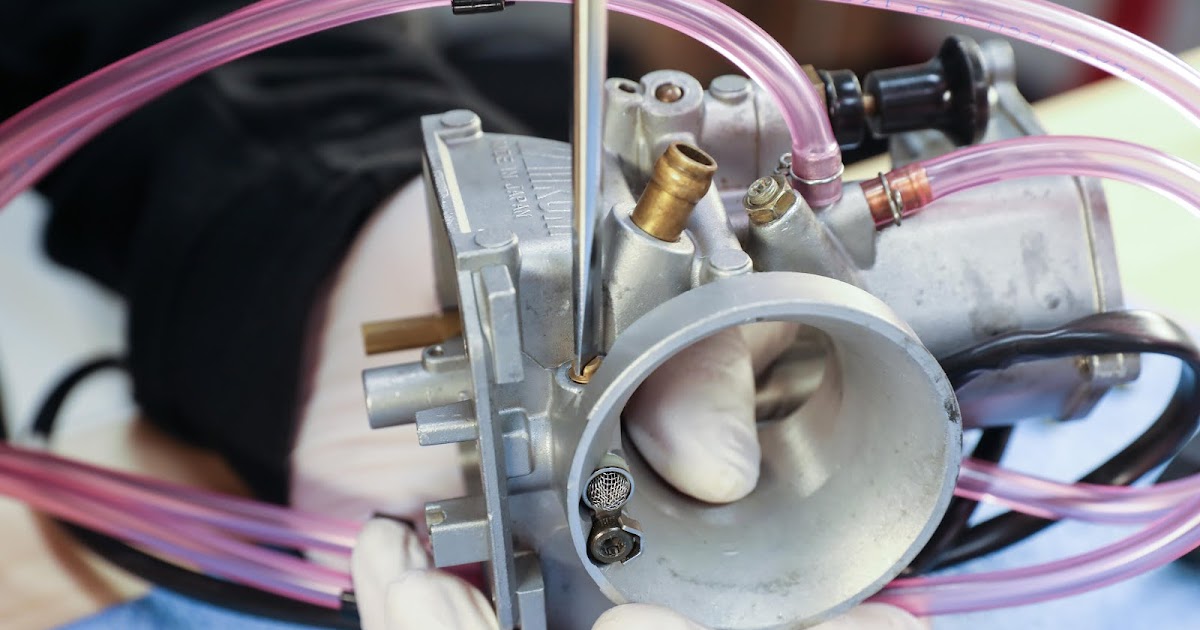
The difference in one or more bolts of the engine, variator or bridge, as well as traces of sealant on the crankcase connectors, indicates that the assembly was disassembled to fix the breakdown.
ATV in good working order does not pull to one side. When moving back and forth with the wheels fully inverted, there is no cod. The start of movement and acceleration without jerks and bumps. When you turn on the four-wheel drive and differential lock, it becomes more difficult to turn the steering wheel.
Moscow:
1st Varshavsky proezd, 2s8
+7 499 500-97-34 Call me back
Page not found at given address.
