Biketoworkday is supported by its audience. When you buy through our links, we may earn an affiliate commission. Learn more
Written by Gary Johnson / Fact checked by Henry Speciale
All seasoned cyclists know that bike tires can do wonders in their riding experience. Bike tires not only enhance the entire aesthetics of the bike but also provide a more efficient ride. It can enhance comfort, increase traction, and reduce rolling resistance for a quality ride.
However, eventually, your tires will not be as reliable as before. You will notice that your tires are worn out, which compromises your safety when biking.
Thus, here is our easy-to-follow guide on how to change a road bike tire without needing to go to a bike shop. It includes taking off the old wheels, inflating the tire tube, fitting and installing the bike tire into the rim.
Table of Contents
As mentioned earlier, road bike tires directly impact how efficient your bike riding will be. It allows a smoother ride and ensures safety when you are on the road. Road bike tires can also give you full control when riding.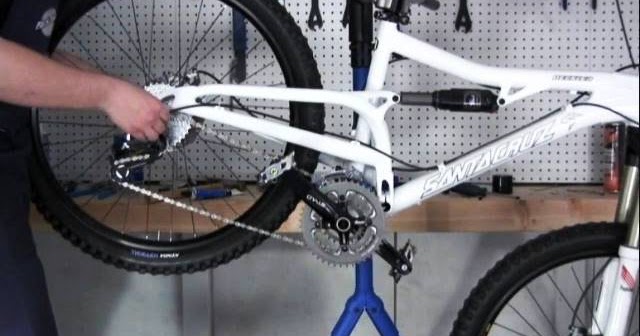
Here’s how you can tell when a tire needs to be changed or replaced:
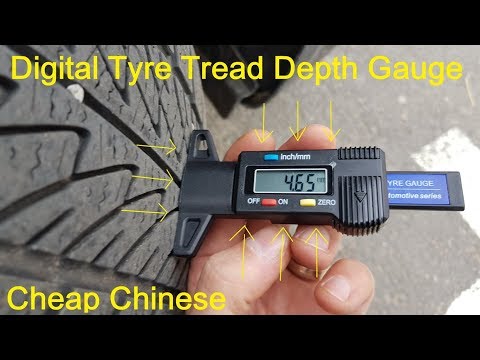
Worn out treadWhen you look at a bike tire closely, you will notice a unique pattern of groove cutouts on the rubber. These cutouts are the bike tread. It is useful when you are navigating on any type of road.
If the tread became shallow, your bike tires would start wearing out until it gets smooth or bald. This will result in loss of traction and most likely compromise the quality of your ride. It also indicates that you need road bike tire replacement
Punctures when cyclingWhen your tires wear out, you will start having punctures frequently. It not only poses a danger when riding but will also become a major disturbance for you. A regular puncture will discourage you from taking the road or join group cycling because of the distraction it causes.
If this happens, check on your tires and see if they need to be changed.
Dry-rotWhen your tires are frequently exposed to corrosive chemicals like gasoline or cleaner, they will exhibit dry rot. Having dry rot invites a potentially harmful situation. You might experience a tire failure, especially when riding at increased speed downhill. It is vital to check your tires for dry rot so that you can change a road bike tube and tire immediately.
Materials needed:
After discovering that your road bike tires need a replacement, you can head straight to a local bike shop for new tires. It is important to get the size of your wheels and measure your old tires. You should also consider the tread patterns and type of tire you want to use for replacing bicycle tires.
Step 2: Take off the wheelsThe first step to take in this process is removing the bike wheels. You can flip the bike upside down or use a bike stand for this step. You must loosen the brakes first for the front wheel, then locate the quick-release levers for easy removal.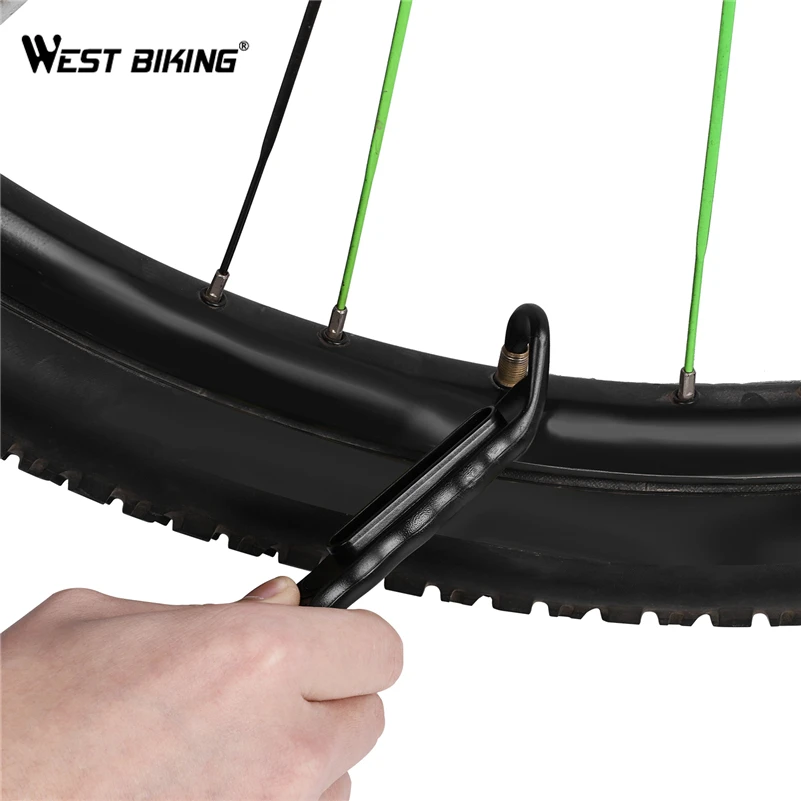
For the rear wheel, you must adjust the gears first up to the smallest ring. Loosen the brakes and locate the quick-release lever. Then, focus on the derailleur on the cassette and pull out the wheel slowly.
Step 3: Deflate the old tires before removingFor the tire and inner tube to be removed quickly, you must completely deflate the tires first. Once deflated, you can push the part of the tire closest to the rim and move away up to the midsection of the wheel. Do this step around the bike until the tire is already loosened.
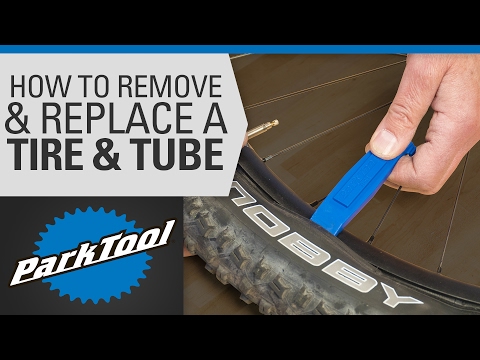
Step 4: Take the tire away from the rimOnce the tire has loosened its grip from the rim, you can use tire levers to separate the tire and the rim. You can use the hooked end of the tire lever and attach it to the outer edge of the tire. When you secure the attachment, you can now pull the level over the edge of the rim. Do this in a clockwise direction until you finally take the tire off the rim.
(Pro tip: You must apply consistent pressure when you remove road bike tires from the rim. In this way, the tire will not fall back into its old position)
Step 5: Pull out the tube from the inside of the tireLocate the tire tube and slide the tube out. When you touch the air valve, you can push it through the hole of the wheel frame and completely remove it.
Step 6: Fit the new road tireAt this point, you are now ready well-versed in changing a road bike tire.
First, you must lay the new tube flat and inflate the tube moderately with a pump. The tube must start getting in shape but should not be entirely inflated. Then, let the tube slide slowly into the tire and line up the tire tube valve to the rim’s valve hole. Check whether the tire fits perfectly into one side of the rim. You must get the proper fitting of the tire before inflating the tube.
Step 7: Install road bike tire into the rimBy this time, you have installed the half side of the tire and tube into the rim; using the tire lever, you can push the other side of the tire over the edge of the rim. Adjust the position of the tube inside when needed. When you replace road bike tube, ensure that the tube is properly installed between the tire and the wheel. Then, roll the rest of the tire to the rim edge slowly. Make sure that you put the tire in place for this step.
After putting the tires onto the rim, you can re-install the bike wheels to your bike. Next, inflate the tire tube using a bike pump. Then, you are done.
Changing your road bike tire is one of the skills you must learn as a biker. You will constantly encounter worn-out tires, especially when you regularly commute using a road bike. Thus, we have developed a simple guide on how to change a road bike tire so you can follow the entire process. We kept the steps uncomplicated; even a beginner biker can understand.
Gary Johnson
“I ride my bike to work for years, but is that enough? Our carelessness towards our surroundings has taken a toll on the environment. And now, everyone is responsible for changes; even the most minor contribution is counted. With this hope and spirit, I started with my partner to establish Biketoworkday to help more individuals commute to their work sites on their bikes.”
Biketoworkday is supported by its audience. When you buy through our links, we may earn an affiliate commission. Learn more
Written by Gary Johnson / Fact checked by Henry Speciale
Cycling is indeed a great pastime activity. However, such a good experience can become an inconvenience if you encounter a flat tire during your ride and have no clue about fixing the issues.
But worry not; you will be able to get back on track in no time if you know how to remove a bicycle tire. In this article, you will learn further about the proper steps to help you with the process.
Table of Contents
There are essential tools that are a must to carry at all times to deal with unexpected incidents while biking. In fact, we should have the following pieces for removing bike tires:
Tire Removal and ReinstallationStep 1: Release the brakes
There are two types of brakes: the V-brake and those with disc brakes.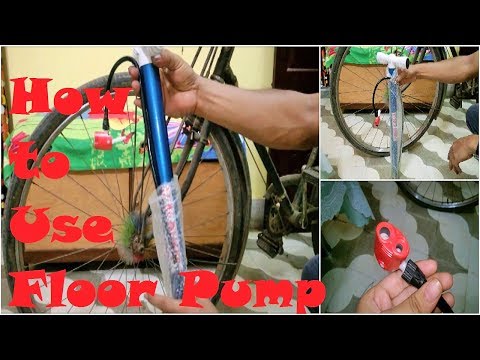
When the brake lever is pulled, the cable is also pulled along with the housing causing the brake pads to touch against the bike rim.
To release a V-brake, just squeeze the brake arms together to loosen the grip. You will be able to release the cable afterward.
When you pull the lever, hydraulic is applied to the pistons causing the brake pads to squeeze.
To release it, bend the pin that attaches the pads together using the multi-tool or a bicycle tire removal tool. After pulling the pinout, just push the pads outside.
Step 2: Remove the wheelAfter you have successfully released the brakes, it is pretty simple to remove a bicycle tire. The wheel is connected to dropouts fastened by an adjusting nut that holds down the quick-release lever.
The quick-release lever is straightforward to operate, but it requires strength to release its grip on a wheel, especially for a mountain bike tire. Loosening such levers does not require tools but just your bare hands.
 Pull back and then gently lift the lever to push the bead out of the rim.
After removing the bike tube, you may either patch the hole on the tube or go for a bike tire replacement. Patching a tire is way cheaper and less time-consuming, but replacing the tire is recommended if the damage or flat is beyond repair.
Before patching, use the clean rags to clean the area, and you can use the lubrication supplies or even just plain water.
Spread the glue evenly, then firmly hold down the patch in place. Leave it overnight before continuing to fix a bike tire.
Step 5: Reinstall the wheel Place the valve stem back into the rim properly to prevent the valve from misaligning.
Removing and reinstalling a bike tire can be taxing but with the right tools and proper understanding of the process, it is actually just a straightforward task to do.
You have now learned how to remove a bicycle tire and you will always be prepared for what to do in case your bike gets flat again. At this point, your bike is ready to carry on with your thrilling ride experience on the roads.
Gary Johnson
“I ride my bike to work for years, but is that enough? Our carelessness towards our surroundings has taken a toll on the environment. And now, everyone is responsible for changes; even the most minor contribution is counted. With this hope and spirit, I started with my partner to establish Biketoworkday to help more individuals commute to their work sites on their bikes.”
How to remove the rear wheel of a bicycle, in theory, all cyclists and cyclists know. And here's what to do in conditions close to combat, when there are 35 minutes left before the train's departure, and the rear wheel has flattened 10 kilometers from the station ... I advise you, dear colleagues and readers, to always carry with you, except for a gentleman's set of hexagons, montazhek, "teflon", a pump and a spare chamber, a rag and a package of wet wipes. Believe me, holding the handlebars of a bicycle with clean hands is much more pleasant than dirty ones.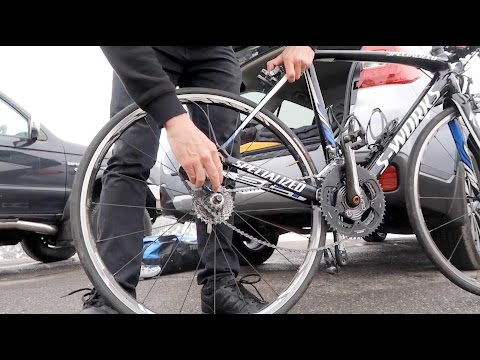
So, you feel an urgent need to remove the rear wheel of the bike. To start, throw the chain on the smallest rear wheel sprocket. Remove anything from the handlebars that might break when you put the bike upside down. Remove the backpack from the trunk, if it is, of course, there. Disengage the rear brake if you have rim brakes (V-brake). If you are big and strong, just put the bike upside down. If you are of a more delicate build, do this in two steps: first put the bike "on the left side", then take the frame and front fork and turn it "upside down". Open and loosen the eccentric or unscrew the fixing nuts, make sure that the wheel “goes” (perhaps the disengaged brakes will not be enough, you will have to release the pressure in the chamber). Using a cloth, grab the rear derailleur by the frame, pull back the chain to free the sprockets; With the other hand, pull the wheel out of the dropouts - the “lugs” of the rear stays.
After you have done all the necessary manipulations with the removed wheel, it must be returned to its native rear triangle. We insert the wheel between the feathers, while the sprockets should be inside the chain ring. Gently (again, through a rag) we tilt the switch frame to the steering wheel so that the chain loosens and the wheel “falls” into the dropouts; at the same time, we make sure that the chain wraps around the small sprocket of the gear block, and then goes into the switch frame (you can just press on the wheel, but it’s not always possible to find the right angle the first time). If you have disc brakes, check the disc's entry into the caliper slot (a device that, when you press the brake lever, clamps the disc with brake pads).
Make sure the wheel axle is fully seated in the dropouts on both sides. Make sure the chain is in the correct position. Spin the pedals; if you notice that the wheel is rubbing against the frame, correct the misalignment. Tighten the nuts, close the eccentric. Turn the bike over, apply the brakes, make sure that the pads are properly aligned with the rim and that the rim is firmly clamped. If necessary, pump up the wheel, set the position of the brake pads. You can collect the tool, hang a backpack, fix the removed bells and whistles on the steering wheel and hit the road.
If you are not interested in how to remove the front wheel of a bicycle, you can read no further. But believe me, removing the front wheel of a bicycle yourself is no less exciting than the rear. The principle is similar - remove, unfasten, turn over, open, loosen, blow off; reverse actions don't involve fiddling with the chain. The front wheel can be removed and put in the position of the bike "lying on its side". Be sure to check the entry of the axle into the dropouts and the operation of the brakes! The main thing is not to forget to wipe your hands afterwards! And then why do you carry with you this unimaginable burden - a package of wet wipes ...
Removing the front/rear wheel is easy.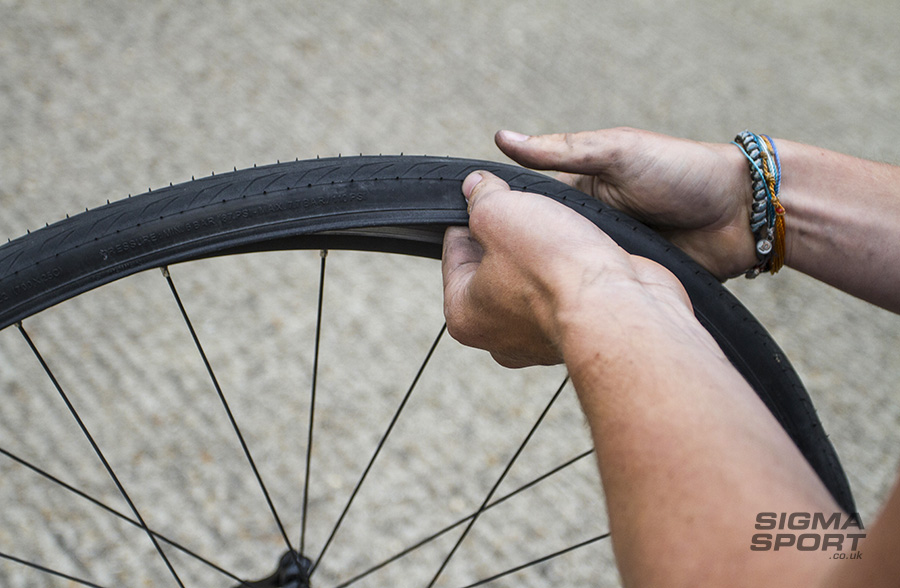 Even if you are doing it for the first time. The wheel is removed to replace the tube, tire or spoke. Transportation in public transport or seasonal storage - for these reasons, dismantling is also resorted to.
You can always remove or install a wheel, carry out maintenance on your bike or solve any technical problem in our professional workshop.
The front wheel is easy to remove, but the rear wheel is a little trickier. After all, there is a chain, and a lot of sprockets, and a switch. But you definitely don't have to worry! In a new article, we will talk about this procedure in detail. There is nothing supernatural in this.
1. Depress the rim brakes.
2. Move the brake levers (one by one).
3. Slightly lift the cable holder up.
There are two ways to fix the wheel: with two nuts or with an eccentric (more often). In the case of nuts, you will need two wrenches. Use the first key on one side, holding it in one position.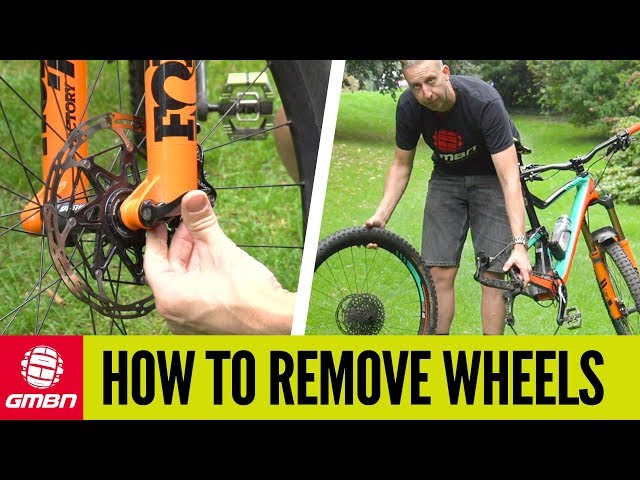 Turn the second one to the left (counterclockwise). It is not necessary to completely unscrew the nuts - you just need to loosen them enough. If the wheels are mounted on an eccentric, then the task is simplified: there is no need even for tools. Just pull the eccentric lever towards you, then, supporting the axle on the other side, make a couple of turns with it to the left - until the wheel is released.
When removing two wheels, it is advisable to remove both brakes. Otherwise, you will have to turn the bike over twice. If the tires have a large tread pattern or they are just very large, then deflate the air first.
It is also a good idea to loosen the chain as much as possible. To do this, put the chain on the smallest sprockets front and rear. Then you need to turn the bike upside down. Then simply open the eccentric / unscrew the wheel nuts.
Please note that in this position (wheels up) the bike will be very stable and accessible for maintenance.