If you think that the tire’s valve stem is leaking or not maintaining the proper air pressure, it’s time to remove it from the tire. But how do you remove a valve stem from a tire in the simplest and quickest of ways?
Removing a worn-out valve stem requires a few tools, including vice grips and some other items to break the tire bead. You will also need a new valve stem to install into the tire.
With that being said, let’s head towards the initiation of the whole process as below:
To remove the tire valve stem, you will need the following tools and supplies:
Vice Grips: You will need them to hold and remove the tire’s stem.
2×4 wood piece: It will help break the tire bead.
Valve Core Tool: This 4-way tool is a game-changer. It will help you remove the old valve core and replace it with a new one simultaneously.
New Valve Stem: If the valve still leaks after replacing the core, you’ll need a new valve stem to replace it with the older stem.
Cutter: A cutter is also required to cut the upper part of the valve while replacing it.
The valve stem size depends upon the size of the wheel rim, especially when we talk about bikes. That said, the simple rule of thumb is to add 15mm extra with the height of the rim while deciding on the valve stem for the tire.
For instance, if the maximum rim height is 25mm, you’ll need a 40mm valve stem for that purpose. Similarly, one can take an idea about the right valve stem size for the tires in the table mentioned below:
| Valve stem length | Maximum rim height |
| 40mm | 25mm |
| 50mm | 35mm |
| 60mm | 45mm |
| 80mm | 65mm |
Source: Cycling Tips
Right after you know the size of the valve stem, you can get it from a local bike repairing shop or any marketplace according to your requirements.
Now, we’ll first replace the valve core in a tire with the help of tools and supplies, and if it does not work out, we’ll remove the whole valve stem.
Follow us for the step by step operation:
Check whether the valve core is leaking or not by removing the cap from the valve stem. Drop soapy water on it, and if it makes bubbles, that means the valve core is leaking.
After removing the valve cap, insert the valve core removal tool inside the stem and twist it until the tire is completely deflated.
Warning: The tire could burst with air suddenly getting out of the stem, and it might blow contaminants in your eyes. Hence, we recommend wearing protective goggles and a mask before inserting the tool inside the stem.
The very next step involves removing the valve core from the stem.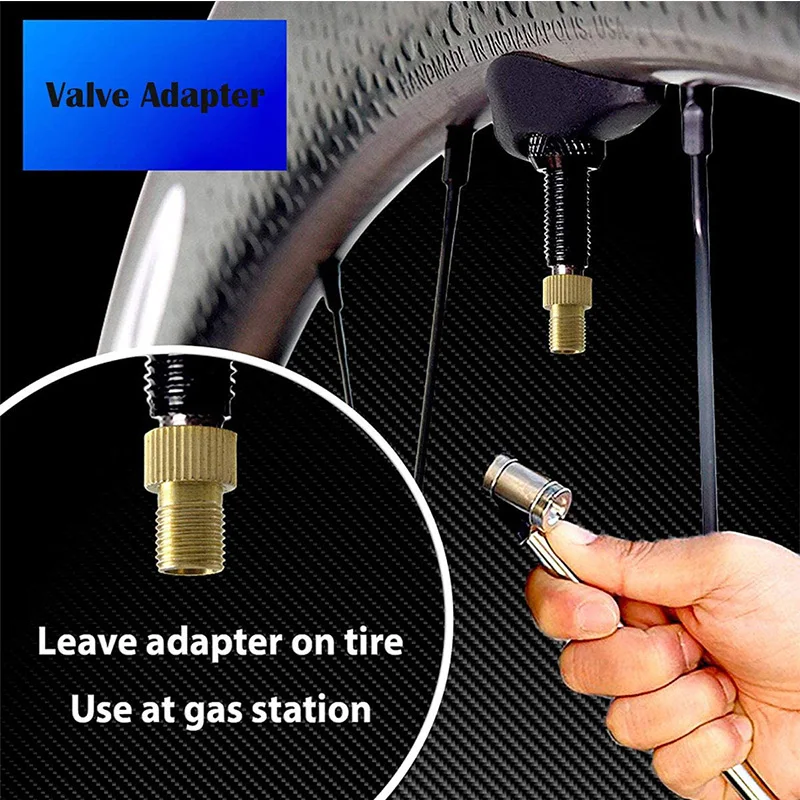 For that purpose, insert the tool inside and rotate it to the left to release the valve core.
Install the new valve core using the same removal tool, and that would be it.
Keep the tool aside and follow the next step:
Inflate the tire again and after you are done with inflation, spray soapy water on the valve stem again.
If there are no bubbles, there’s no need to remove the valve stem. However, if the bubble remains, you’ll be required to remove and replace the old and worn-out valve stem.
To remove the valve stem and replace it with a newer model, you’ll be required to follow the steps mentioned below:
Press the core valve inside the stem until the air gets out of the tire.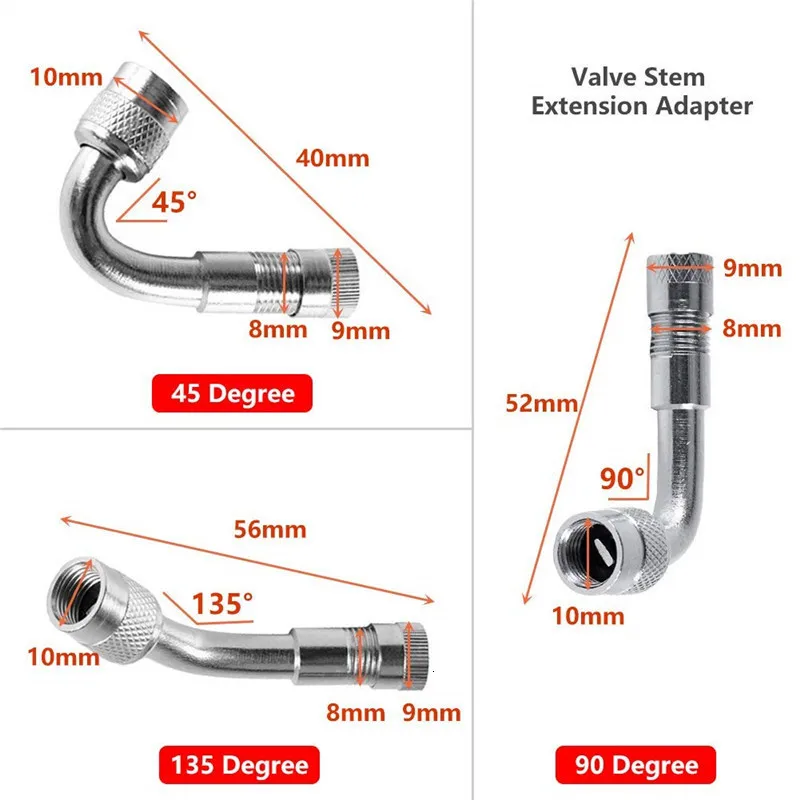
The tire may burst out and cause damage if you do not deflate it properly, so pay good attention to it.
Breaking the bead from the tire is somewhat tricky, but in the case of a bike’s tire, you can easily break it using vice grips.
If the bead is way too rigid, use the 2×4 wood as a tire lever and put force on it. It will break the bead of the tire and remove it conveniently.
After removing the tire from the bead, find the old valve stem and remove it using pliers or vice grips.
Cut the upper part of the stem with a cutter if it’s stuck. Perform this action with care, or else you may damage the tire.
Gluing or lubricating the new valve stem would help it to slide into the rim. We endorse using a dishwashing detergent to lube the stem properly, but you can lube it with soapy water as well.
After lubricating correctly, insert the new valve stem through the hole of the rim and pull it through using the vice grips.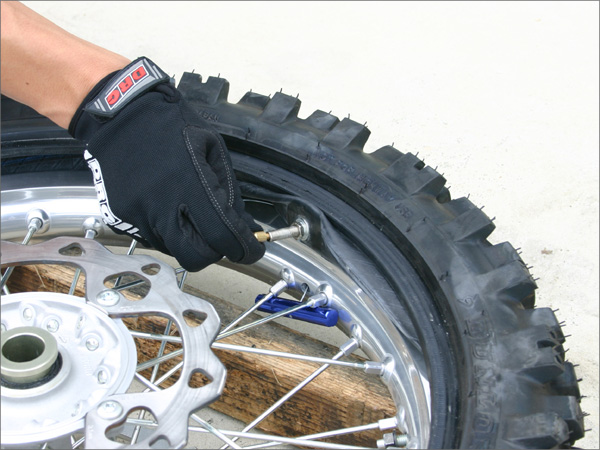
You can also use pliers or any other valve tool, but we recommend the vice grips as they can hold the stem valve easily.
Last but not least, start inflating the tire via the newly installed valve stem.
While you inflate it, the tire will automatically adjust itself around the bead.
To check for leaks again, spray some soapy water on the stem, and this time, we are sure that there will be no leaks on the stem.
Install the cap on the valve stem to keep the core away from attracting dust and other foreign debris.
Fixing valve stem leak is possible in two ways, i.e., to remove and replace the valve core via valve core removal tool and to replace the entire stem. We’d suggest that you replace the valve core first. If it still leaks, you’ll have to replace the old valve stem with a new one by removing the tire from the bead and inserting the new stem into the rim.
Although we recommend that you get the valve core removal tool, if that’s not possible, you can pull out the core by simply using the needle-nose pliers. Remove the cap from the valve, insert and hold the valve core using the needle nose pliers and pull it out manually.
After removing the old stem from the tire, start with gluing and lubricating the new stem so that it can easily slide and pull through the rim’s hole. Insert the new core stem inside and pull it through the hole of the rim using vice grips.
Removing the valve stem and valve core from the tire requires no special skills as you can easily perform this experiment at your home.
Follow the step-by-step process mentioned above and start with checking the leaks first. The whole process won’t take more than 2 to 5 minutes if you can diagnose the leaking problem in the tire.
There’s no need to replace the valve stem if installing the core valve has resolved the leakage problem. But, if it persists even after replacing the core valve, you’ll need to install the new valve stem into the tire.
However, if you still think that you won’t be able to pull it off, take your bike to a local tire shop, and the mechanic there will do that for you.
Good Luck!!
Tire valve stems are valves located on the wheel of a vehicle, from which the tires are inflated. They contain a spring-loaded valve core, which is sealed by the air pressure inside the tire. Over time, valve stems can age, break, become brittle, or start to leak, causing severe tire problems and impairing the driving/ riding experience.
When the valve stems start to leak, the tire will no longer retain air. Depending on how severe the leak is, the tire may be slowly losing air, or completely deflated.
In most cases, the quickest way to replace a valve stem is to take it to a bike store, remove the tire, and replace the valve type.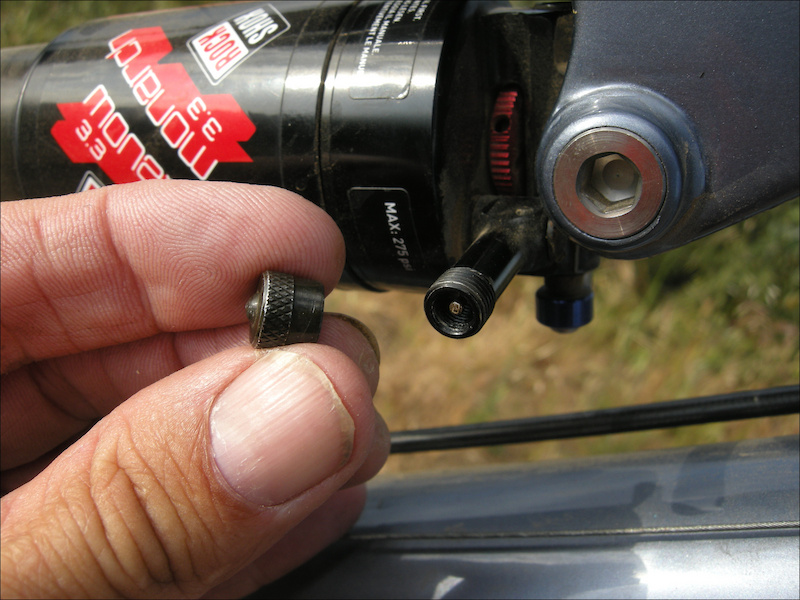 However, in cases where this is not an option, it is possible to remove a tire and replace the valve stem manually.
Today’s article will show you how to manually remove the valve stem core in both mountain bikes and larger motor vehicles such as automobiles.
Your first step is to remove the valve cover. Because the cover is small and easily removable, put it in your pocket or another safe place so as not to misplace it.
Using the valve stem removal tool or a grooved metal valve cover, turn the valve stem counterclockwise, turning it several times until it comes out of the valve. You will feel a gust of air if the tire is under pressure. As with the valve cover, place the valve stem in a safe place as it is small and easy to lose.
After depressurizing the tire, remove the valve stem. Start with your fingers, rotating the stem clockwise, and end with the valve stem removal tool or the grooved metal valve cover. If you are replacing a damaged tire and your valve stem is not at issue, hold on to this stem. You will need it when re-pressurizing the tire, and again, it might be easily lost.
Materials needed: Tube air pump, bike repair stand and valve stem removal tool. If replacing the valve stem on an automobile, you would also need a nut wrench, fine point pliers, tire iron, and jack stand.
 Insert the tire sheet between the rim and the edges and pry upwards to remove the lip from the side of the rim. When the lip is above the rim, work the rim plate around the rim until the rim is removed from the wheel.
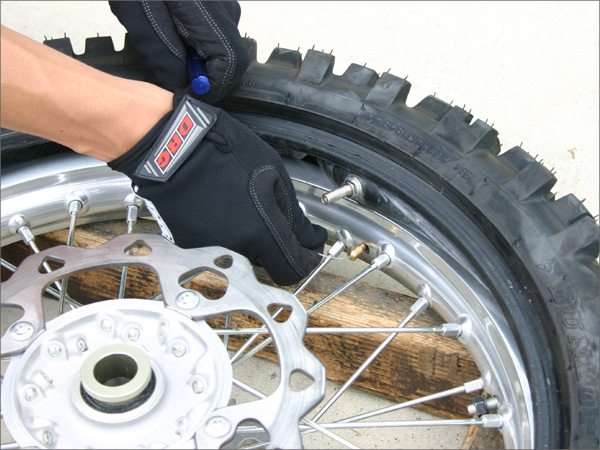
In most cases, the easiest way to replace a valve stem is to take it to a bike repair shop, remove the tire, and replace the valve.
However, in cases where this is not an option, or you’re looking for a task in the garage, it is indeed possible to manually remove and replace a valve stem and tire with the appropriate tools and procedures. If you think there is a leak or damage to the tire and not just the valve stem, you should replace it altogether.
CONTENT OF THE ARTICLE:
No special effort is required to properly inflate bicycle tires.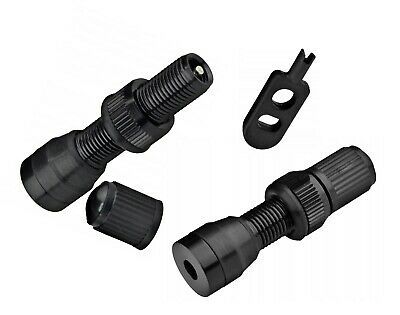 The only thing you need is the right tools. Using these techniques, you can easily find your valve type and choose the pump that is exactly right for your bike model, respectively, and learn how to properly inflate your tires.
Related: How to choose a bicycle pump?
1. Schrader valve, sometimes you can see the name American valve or automobile valve. The stem in this type of valve is surrounded by threads, you just need to press down on the stem with your thumbnail or other object, such as a pen cap. If we compare Schrader valves with other types, then it is short and wide in diameter. Most often they can be found on cars, inexpensive or mountain bikes. To open this type of valve, you just need to unscrew the rubber plug.
2. Determine the recommended tire pressure for your bike. Often this indicator is located on the sidewall of the tire. Be vigilant and watch the pressure when you inflate your tires. It is recommended not to bring the readings to the lower line, as well as to the highest.
3. Position the pump. If you don't have your own yet, use the pump at the gas station, or borrow one from a friend.
4. Pump up the chamber. To do this, unscrew the rubber cap on the top of the valve and hide somewhere so as not to lose it.
5. To deflate a tire with a Schrader valve, simply press the springy valve stem with your fingernail or other small object until all air is expelled.
1.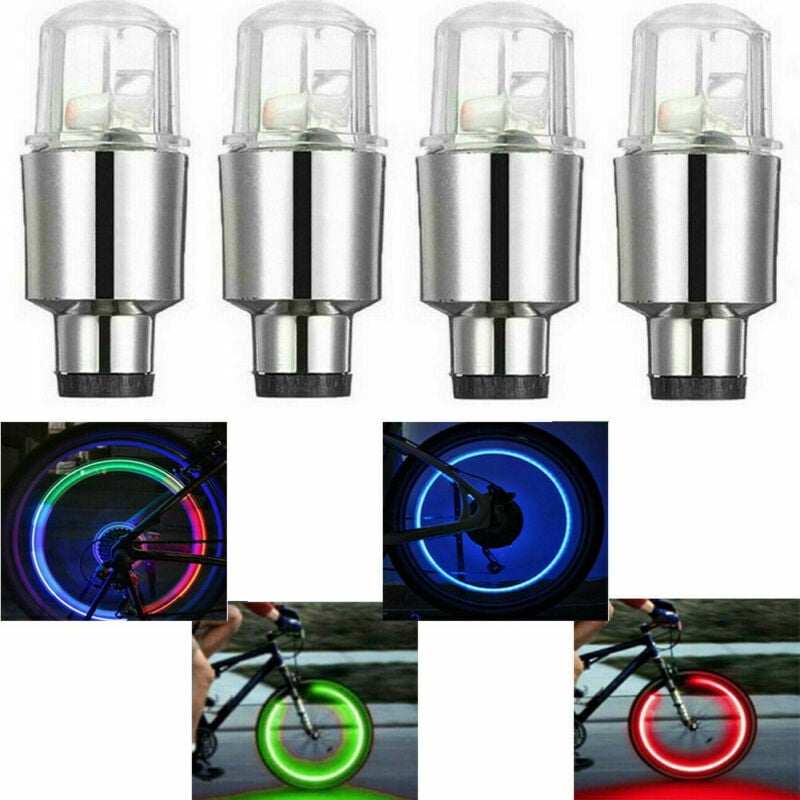 French valve (Presta) or else you may see the name Sclaverand is commonly found on high performance road bikes. Compared to a Schrader valve, this one is longer and narrower in diameter, and has an outer stem that is capped instead of being surrounded by a core.
2. Valve opening. Unscrew the dust cap to open the Presta valve. Then you need to loosen the brass cap on the valve stem a little, it will not be able to come out completely, and you will have to lift it up a little. If you want to check if the cap is loose, you just need to press on the valve stem, and if you hear that the air comes out in sharp gusts, then this is a sign that you can stop.
3. Calculate the recommended tire pressure for the bike. This is usually a relief mark that is located on the sidewall of the tire. Most often, these readings are written in bars or PSI. Do not let the pressure go to the bottom line, and also to the highest, which exceeds the maximum.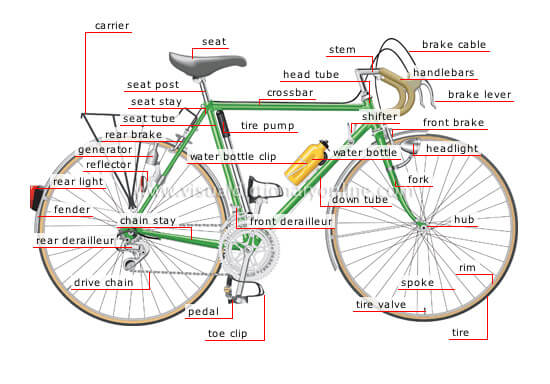
4. Pump installation. You can use the pumps of any gas station stations or take them from friends. And as an option - buy in the store "everything for bicycles".
5. Inflate tires. Open the Presta valve by unscrewing the dust cap and loosening the smaller brass cap.
6. To deflate a tire with a Presta valve, open the brass cap and press the springy valve stem until all air is expelled.
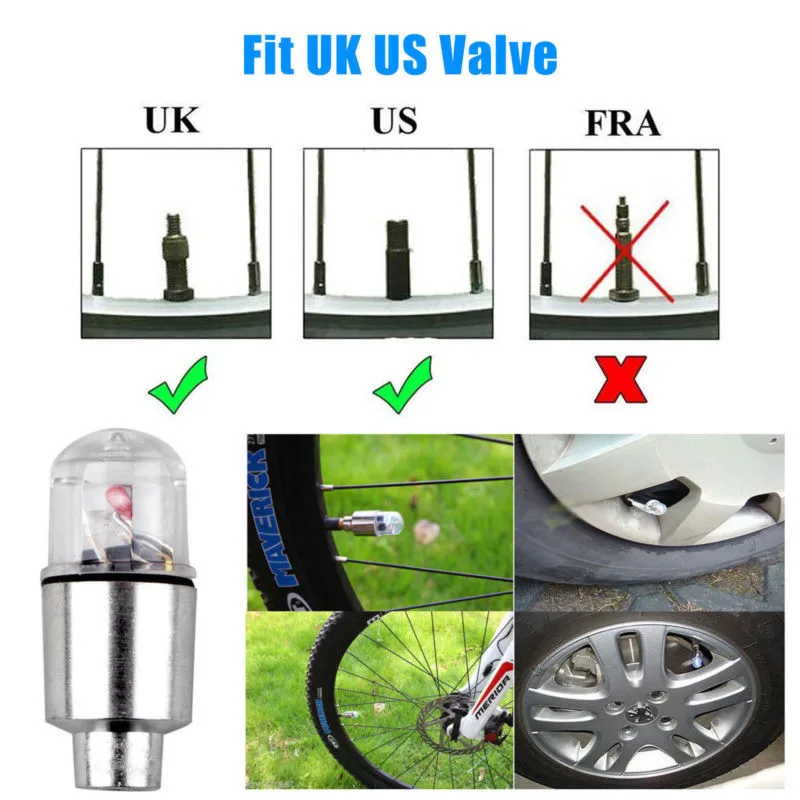
The third type of valve is the English Woods valve, or the name Dunlo is also found.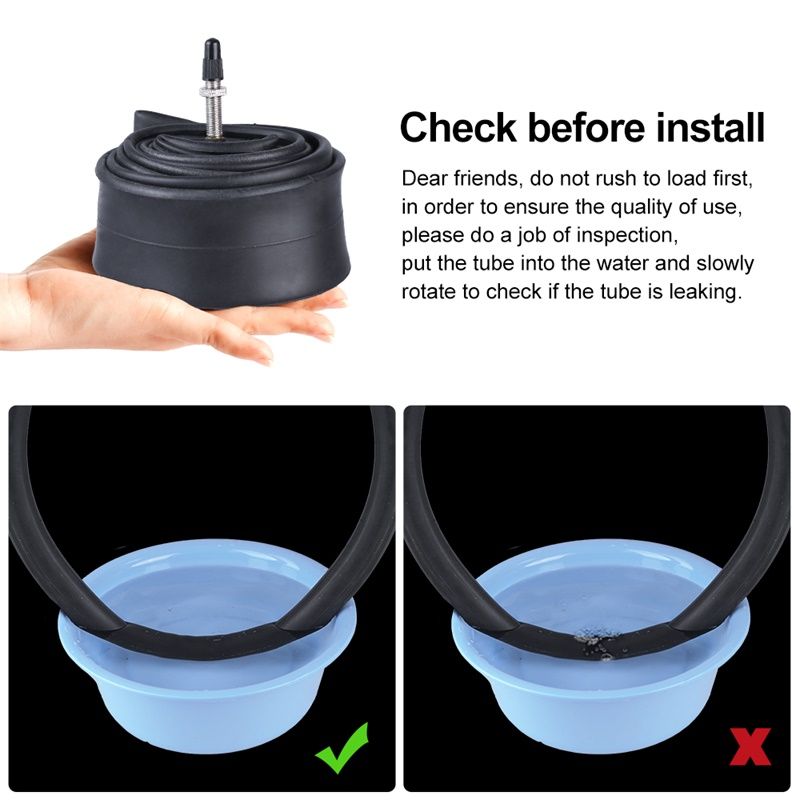 These valves are most commonly used in Asia and Europe. Woods valves are larger than Schrader valves, but the mechanism and operation are the same as those of Presta valves.
Here is a short video from MERIDA dedicated to a seemingly simple process - replacing a pierced camera.
For those who have just joined the world of cycling or plan to do so in the near future, MERIDA releases interesting training videos, this time on changing the tube in a bicycle wheel.
00:00 Input
00:11 The necessary tools
00:31 Removing the wheel
00:35 Removing tire
01:23 Removing the camera
01:34 Checking the rim and tires
02:35 Installation installation installation installation tires on one side of the rim
03:07 Installing a new tube
03:40 Finishing the installation of the tire
04:30 Checking the correct installation of the tire
04:50 Inflating and final checking the fit of the tire
05:36 Reinstalling the wheel
For those who don't know English, our instruction is:
You will need: mounts, a new tube, a tool with which you can remove the wheel if it is removed with a tool, and a pump .

Position the tire with the damaged tube inside so that it does not change its position and that the tube nipple is at the top point. Take the pump, remove the old chamber and, without changing its position relative to the tire, slightly pump it up. You will immediately find the puncture site. Focusing on the place where the tube was punctured, inspect the tire and remove from it the object that caused the puncture. Be very careful, it could be a shard of glass, a rusty nail, a plant thorn or a piece of wire: what pierced your tire and tube could easily puncture your finger. Please note that there may be several punctures! Cover the puncture site on the camera with your finger and check if the air is escaping: if there is another puncture, you will find it.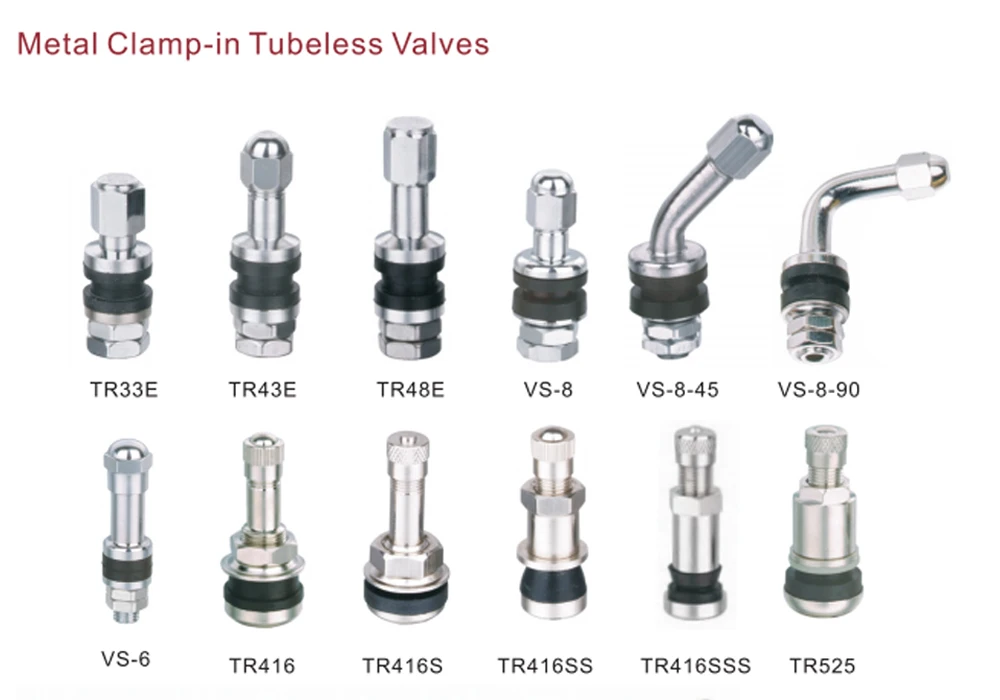
Also, pay attention to the surface of the rim, the condition of the beads and the rim tape - they should not be damaged, cracked, or broken.
After all the items that caused the puncture have been removed, it's time to assemble the wheel.
 Carefully install the new tube inside the tire, being careful not to twist or kink. If necessary, bleed some air from it.
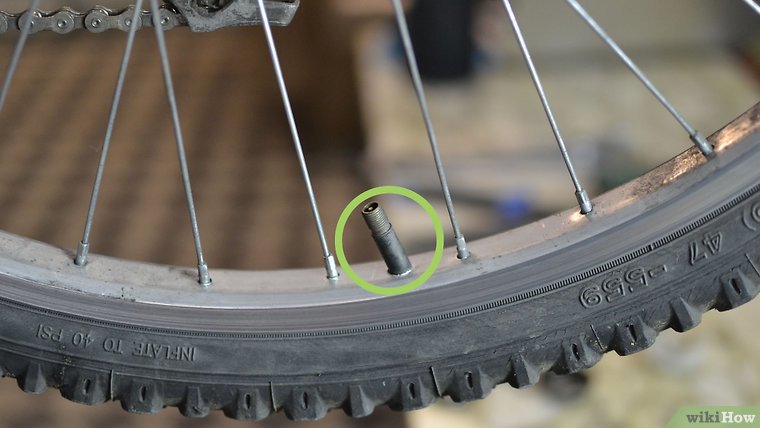
Using too low a pressure can lead to a bite (snake bite): situations where the two walls of the rim pierce through the surface of the tube when hitting an obstacle. For two adjacent holes, this situation is called “snake bite”. Excess tire pressure can cause the chamber to explode.
If the tire is crooked, do not try to fix it by increasing the pressure above the maximum - this can lead to an explosion of the chamber. It is possible that the tire has received carcass damage - in any case, an inspection in a professional workshop is necessary.
Put the wheel on the bike, if you haven't already, fix it properly and keep riding!
And as always in the end: in our assortment at SLOPESTYLE.