Skip to Main Content
A properly maintained hydraulic log splitter means faster yard waste clean-up and a well-kept lawn. Use the following log splitter maintenance tips to ensure your machine continues to run smoothly and efficiently all season long.
Step 1: Check for leaking hydraulic fluid
If you suspect there are hydraulic fluids leaking from your log splitter you can check by passing a piece of cardboard or wood underneath the damaged area. Be sure to wear work gloves and safety glasses to protect yourself from dangerous fluids.
Step 2: Fill hydraulic fluid
When hydraulic fluid is low in your log splitter, your machine will have noticeably less power. To add the appropriate amount of hydraulic fluid, you must first remove the oil filling plug. Then fill the hydraulic fluid unit until it is three-fourths full.
Step 3: Remove air from the hydraulic cylinder
After you have added the right amount of hydraulic fluid, you'll need to remove, or bleed, the trapped air from the cylinder. First extend the piston rod to its maximum length and remove the oil filling plug. Then twist the release screw in a counterclockwise motion as fast as you can. The piston rod will draw back into the cylinder which will cause the air to be released.
Step 4: Consider buying a self-lubricating log splitter
A self-lubricating log splitter automatticaly cleans the log splitter parts after every use. There is minimal effort required by you to keep your machine maintained. One of the biggest advantages the self-lubricating log splitter provides is routinely cleaning the blades so they stay sharp for a longer period of time.
Step 5: Sharpen the blades
When it's time to sharpen the blades on your hydraulic log splitter, use a coarse metal file to sharpen any dull areas, and repair chips and nicks in the blade. To sharpen the point of the blade, smooth down the sides of the blade to reform the sharp point. Then run a fine metal file along the edge of the blade to finish the process.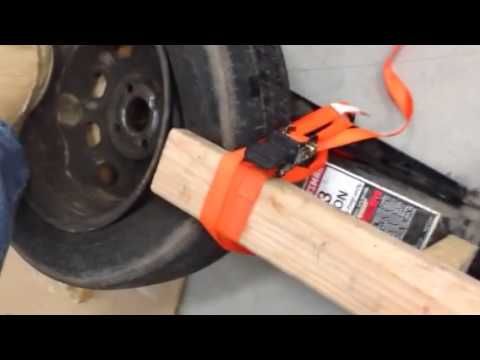
Step 6 Clean the log splitter regularly
If your hydraulic log splitter is not self-cleaning, be sure to clean your machine regularly to remove oil, grease and debris. Make sure the machine is always turned off before you perform any cleaning. And also remove debris around the machine so nothing can get lodged in the log splitter during operation.
Step 7: Store the log splitter in a dry place
Avoid damage from water and mold by storing your hydraulic log splitter in a dry storage area. A shed or garage is the perfect option if the building unit stays dry throughout the year. Cover your machine with a water-proof tarp for extra protection.
Step 8: Replace worn log splitter parts
If any log splitter parts are worn or broke, be sure to replace them before operating your machine. Compare the part and model number to the new part when you're ready to make the purchase. This will ensure you buy the right part for your specific hydraulic log splitter.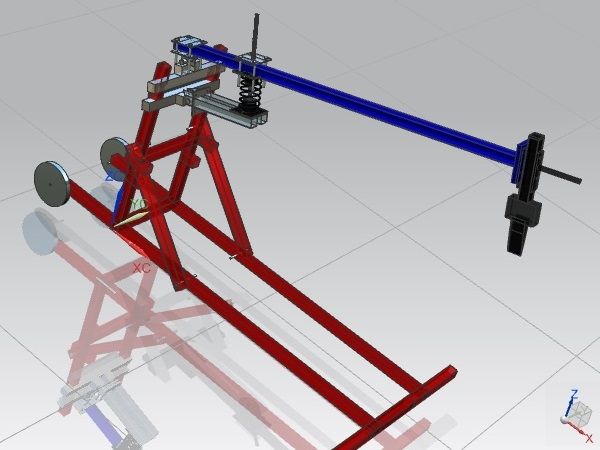
Step 9: Now that you've learned some basic log splitter maintenance tips, you're ready to operate your hydraulic logsplitter all season.
To ensure proper maintenance of your log splitter, be sure to refer to your operator's manual for repair and maintenance instructions specific to your model. Your log splitter parts will run correctly and efficiently so you can split more wood at a faster pace.
By following these tips you'll know your rider is ready for that first spring day.
Be sure to always choose MTD genuine parts. MTD genuine parts are specifically designed
and manufactured to fit your MTD made equipment.
When you need parts for your riding lawn mower, you can use the MTD Genuine Parts Part Finder to find the correct one. Common parts include:
Resolving outdoor power equipment problems as soon as they arise will prolong the life of your machine.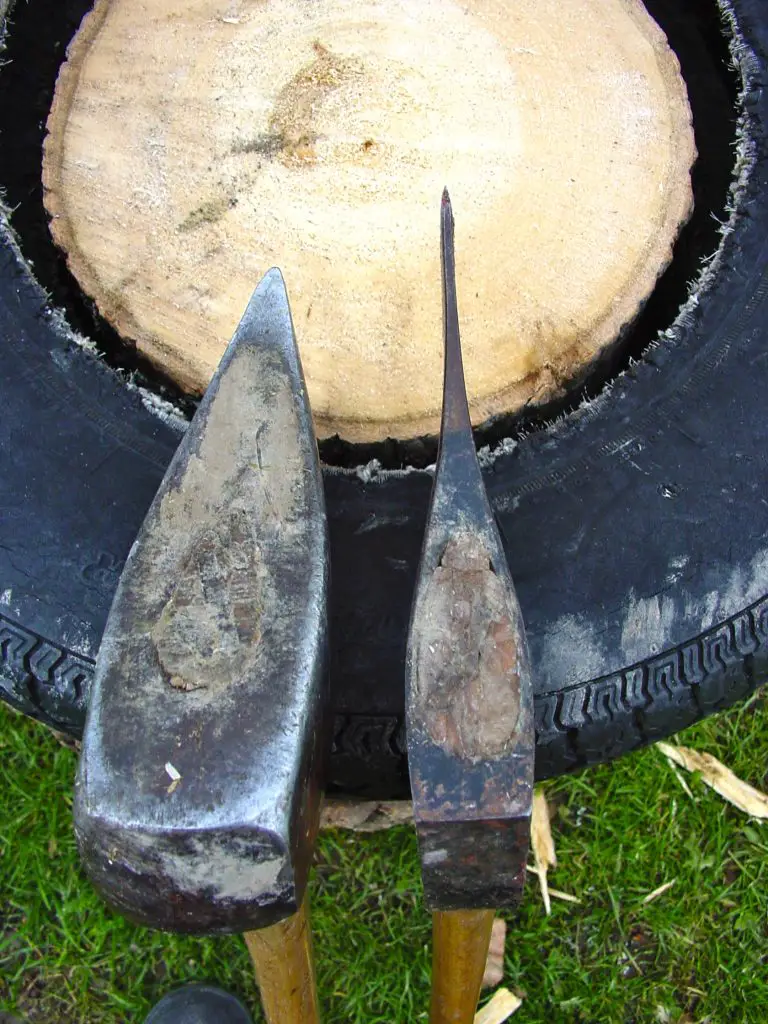 Troubleshoot riding lawn mower problems using our symptom guide .
The MTD Genuine Parts Knowledge Center provides do-it-yourself instructions for performing many basic maintenance items, including replacing cutting blades, drive and deck belts, and engine oil. If you find your machine has a bigger problem, use our service locator to find a qualified MTD service provider in your area.
JavaScript is disabled. For a better experience, please enable JavaScript in your browser before proceeding.
Recently had a blowout on my log splitter about 5 miles from home.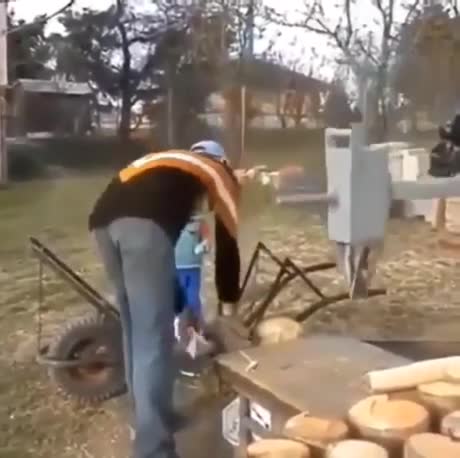 No choice but to drag it all the way back on the rim. Before I replace the rim and tire, I've always wished the splitter sat a little higher off the ground. My thought was putting some taller rims/tires on it while it was down. Right now it has the common 4.80/4.00x8. Does anyone know of a tire with rim that will work that's taller? I realize it might throw off the splitter when used in vertical position but big trees around here are few and far between so I'm not worried about that. 98% of all I splitting gets done in the horizontal position. My splitter is a swisher 28ton. It has the type of rims without lugs,.... a threaded "axle" comes through the rim, riding on a bearing with castle nut that draws it in. Looking for a straight bolt on replacement with No major mods needed. Anything out there? Can get a picture of the rim of that would help.
Sent from my iPhone using Tapatalk
I would contact your local tire dealer as they can help you.
Try the junk yard maybe.
I have a troy bilt 27t similar to yours in my garage. I went n looked at it n realized it is a couple of inches low for me also. I'm 5'11" and imagine a 2 " rise in the H beam would make it easier to split horizontally. But, the center of gravity is already high, with lots of weight just waiting for the right circumstance to tip over. Just maybe some1 borrows it n uses it vertically......that's when the raised center of gravity will catch some1 off guard. there's lots of weight that can really affect some serious bodily injury. For that reason, I won't modify the one in my garage. Another reason is it's a loaner from my partner...I don't think he'd appreciate me modifying it. I owned one from about 1990 til about 2 years ago. Wish I hadn't given it away after second engine needed replacement. Wife said I didn't need it any more.
MAN RULE: "don't give up the garage". Next time wife sez to get rid of a tool, I'll suggest we get rid of some jewelry!!
Stewing on speeding up box store splitter
2
Jeekinz
MTD 20 ton log splitter wedge adjustment
memory
Log Splitter Build
91011
Billhook
New log splitter
2
sb47
Sawmill butt logs
docmagnum357
Share:
Facebook Twitter Reddit Pinterest Tumblr WhatsApp Email Share Link
The Descriptive Process
Forestry and Logging Forum
Screwed by ebay
Chainsaw
Eggs
Farming and Gardening Forum
Where do you buy your plants?
Farming and Gardening Forum
Scrounging Firewood (and other stuff)
Firewood, Heating and Wood Burning Equipment
$2,000. 00 for a jonsered
Chainsaw
Normal for Stihl chain tensioner to have lots of play?
Chainsaw
Stihl 044 10 mm
Arborist 101
Top
By popularity (ascending) By rating (ascending) By rating (descending)25405075100
great physical effort. You can solve this problem with the help of a wood splitter. Its operation will allow you to grind logs and prepare them for kindling fireplaces, stoves and solid fuel boilers.
A wide variety of log splitters can be found on the market today, differing in design, operating principle, advantages and disadvantages. According to the principle of operation, the equipment is usually divided into several main types:
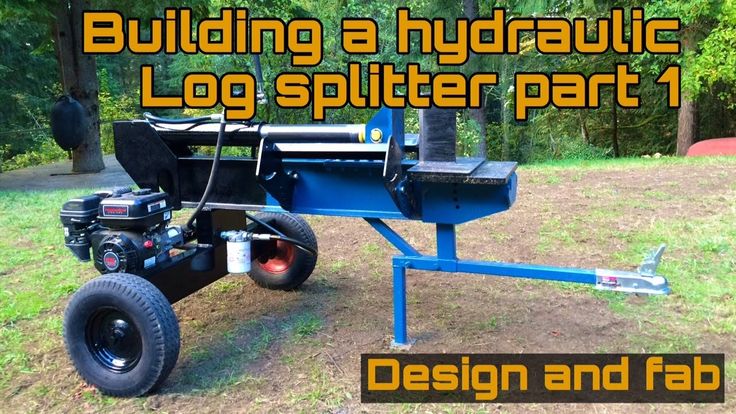
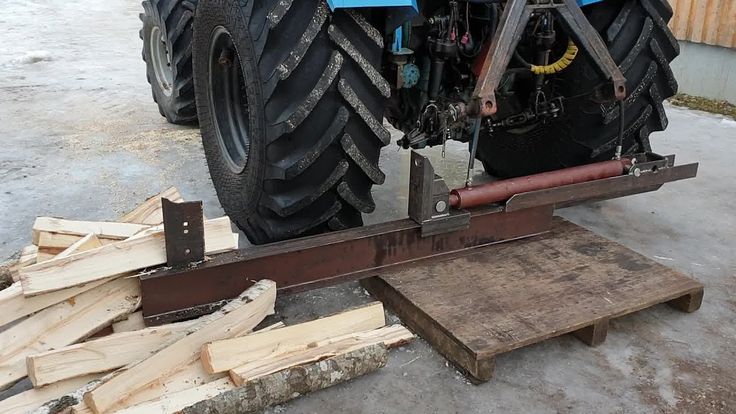 The hydraulic wood splitter can be horizontal or vertical. The first is intended for domestic use. Its cost is more affordable. A vertical hydraulic splitter is more expensive and much more powerful. The hydraulic wood splitter can use different power sources. It runs on both gasoline and electricity. The first option is more difficult to operate. However, such models are widely used in the forest and other places where there is no network access. The electric wood splitter is easier to operate. A household electric splitter operates on a 220 V mains supply, an industrial one requires 380 V;
  Among the advantages of this type of equipment, it is worth highlighting high productivity, ease of operation and relatively small size. In addition, the screw wood splitter is equipped with a reverse function, which allows you to effortlessly return the knife to its original position in case of jamming;
 According to the type of movement, the wood splitter can be mobile or stationary. The first option is equipped with wheels that simplify its transportation around the site. The stationary unit is much larger and more massive. Such a firewood machine is best used at an industrial facility.
Modern log splitters are able to work with the hardest wood: oak, beech, ash, acacia, birch. At the same time, they have a lot of advantages that make the purchase of this equipment as profitable as possible. Their advantages include:
Almost every wood splitter is a safe machine with several levels of protection for the operator and bystanders.
The modern market is able to offer a large selection of wood splitters, but not every seller can find truly high-quality equipment. Budmir online store offers you to save your time and buy units of the best world brands with a long warranty. We provide:
We value our reputation and do everything to ensure that you are confident in the reliability of our online store. You can always buy a wood splitter from us at the lowest price and see for yourself.
The chainsaw chain is one of the main elements of the entire device. Many parameters and the result of all equipment depend on how it is stretched and installed. If improperly installed, the "cutting" element of the chainsaw can quickly become unusable (tear), show poor cutting performance and lead to premature wear of the saw motor and main gear. To prevent this from happening, we will describe the main reasons why the chain flies off the chainsaw tire, as well as how to properly dress and tension the chainsaw chain.
In practice, the chain can fly off for one of 2 reasons: either the chainsaw tire has loosened, or the chain itself was not tightened enough. In rare cases, the chain flies off due to drive gear play, however, this factor is very predictable, and it is eliminated long before the chain flies off.
Due to constant vibrations and heavy loads, the fixing bolts on the bar may become loose. As a result, a backlash (space) is formed between the tire itself and the chain. This problem is first expressed in a slight “walking” of the tire during cutting the material. To eliminate it, it is enough to tighten the fixing bolts again.
Chainsaw chain links stretch over time. The chain begins to fly out when it is stretched by more than 1 cm. In this case, you must either replace the entire chain, or remove 1-2 links until there is no sagging. It is not recommended to use a grinder for this purpose, because there is a high probability of damage to neighboring links. For repair, it is recommended to drink rivets from the holes, after which they also connect the holes of the desired links.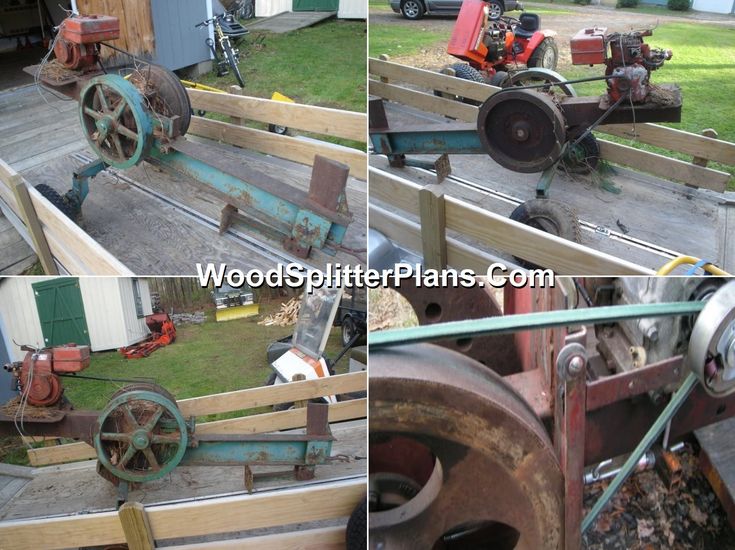
The shaky position of the drive sprocket can also affect the behavior of the chain during operation. This phenomenon occurs due to poor fixation of the sprocket after repair, or “bolt pattern” during prolonged operation. To eliminate chain play, you need to remove the engine cover and spark plugs (you will need a special spark plug wrench), and then turn the clutch plate with a special wrench until the piston position gives access to the drive sprocket. Only after obtaining such access can the sprocket be fixed in the correct position.
A slow installation of the chain takes no more than 30 minutes, provided that the parts are correctly and fixed installed. The chainsaw chain installation algorithm consists of 8 steps:
 First you need to lay out the bar and chain parallel to each other.
After the completion of this algorithm, it remains to tension the chain itself. But before proceeding to this procedure, you should make sure that the chain is in the correct position. Otherwise, either you will have to repeat the algorithm again (up to the disconnection of the bus and circuit).
After installing the chain and bar, you need to tighten the chain. It is not enough to remove the chain slack under the bar by simply tightening the bolt to the right of the bar (depending on the model). After the initial tightening, the chain must be turned along the tire forward at least 2 skeins. During operation, the chain will "straighten out" in the direction of the bar. During which the sag ("belly") will be formed again and it will need to be removed again.
The chain tension does not end there. As the practice of many experts shows, the position of the tire itself plays an important role in chain tension. While working with a chainsaw, when the tire is pressed against the surface of the object being sawn, the tire, together with the saw, begin to “play” up and down. As a result, the "belly" appears again.
To remove the sag for the 3rd time, you need to lift the tire itself, together with the maximum tenacity, by gently pulling the tire itself, and re-tightening the chain tension bolt to eliminate the sag. At the same time, it is worth remembering that the chain itself should not resemble string tension - it is enough to remove the sagging of the chain under the tire. It is often written in the operating instructions that in order to determine the correct tension of the chainsaw chain, it is necessary to pull the upper part of the chain as much as possible with your finger, and in the resulting gap (in the upper “belly”) 3 driven teeth will be visible. But, in practice, this advice does not justify itself, because there is a chance to get on stretched links.
To definitely check the chain tension, you need:
