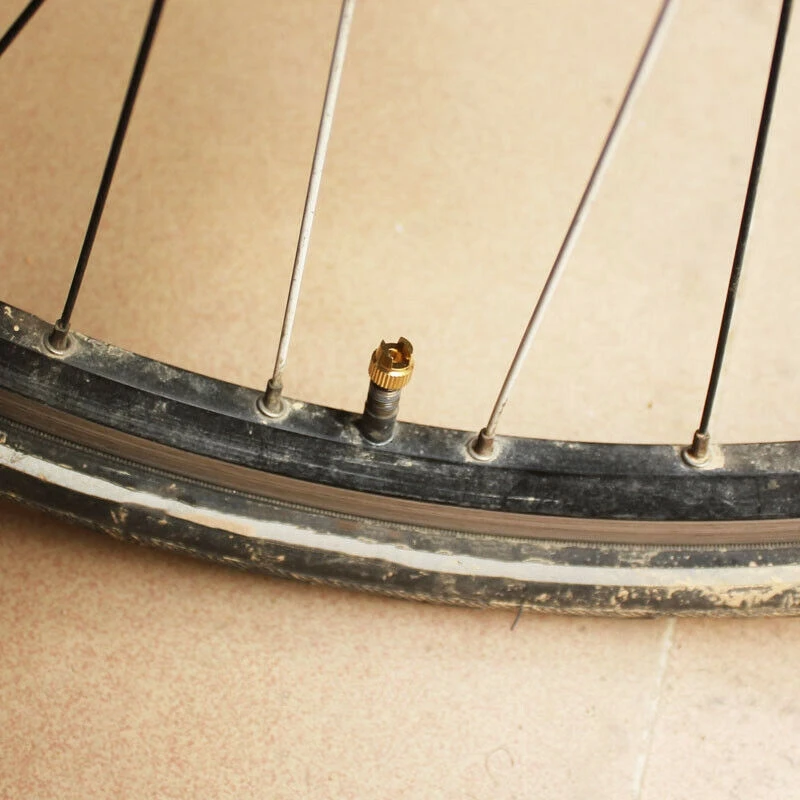
Learning how to remove a Presta valve core without a tool can be very useful especially when you need to replace the tubeless sealant, or seat an old tyre onto an old rim.
Riding bikes can require quite a few specialized tools, however, and it is quite easy to get caught out. There are a number of shortcuts and tricks of the trade that can be used in order to get around these situations.
So how do you remove a Presta valve core without the correct tool and how easy is it to do?
Table Of Contents
Most people have a pair of pliers kicking around their home somewhere. This solution is not ideal as it can damage the head of the valve, but if you have nothing else it will do the job. Simply hold the head of the valve with the pliers and twist anti-clockwise to loosen and clockwise to tighten.
Most people that ride bikes should own a chain tool, and if you don’t it might be worth considering one. Simply slot the head of the Presta valve core into the end of the chain tool, and twist anti-clockwise to loosen and clockwise to tighten.
What Is A Presta Valve?The Presta valve is a commonly used valve found on bike inner tubes. The valve is the system by which air is pumped into the tire.
The valve is made up of an inner body and an outer stem.
The Presta valve was invented by the Frenchman Etienne Sclaverand and is also known as the Sclaverand valve or the French valve. The name Presta comes from the Latin word for fast or hurry.
The outer valve of the Presta is narrower in diameter than the other most common valve used on tires – the Schrader valve.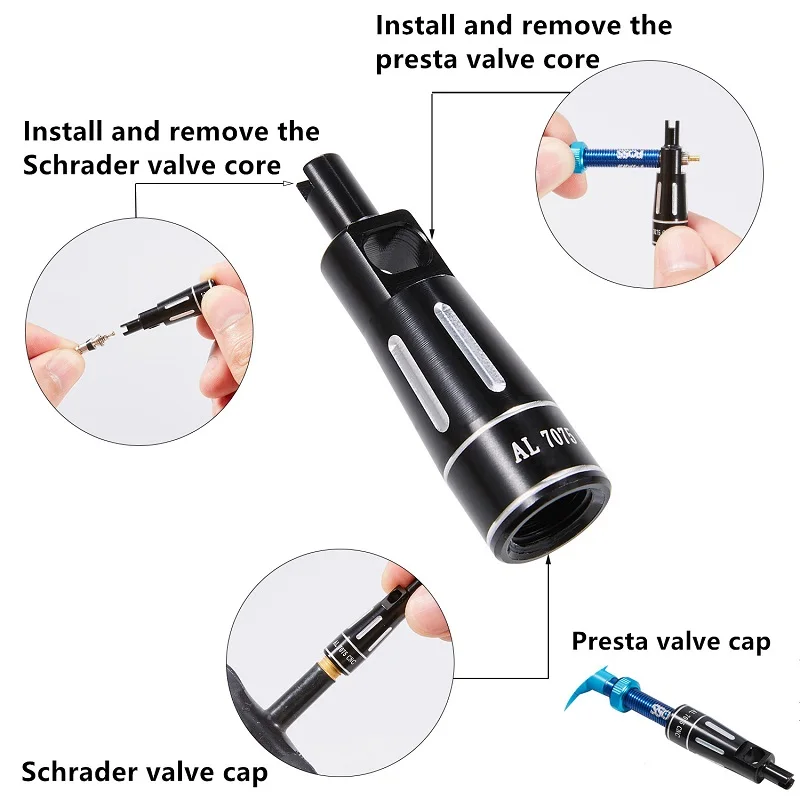 It is 6mm compared with the Schrader valve’s 8mm. The length is variable depending on what they are being used for.
The narrower diameter means that they need smaller holes on the bike rim. This means that they work better with narrow wheels without sacrificing strength. However, the narrower size also means that inner tubes equipped with Presta and Schrader valves are not interchangeable.
Are All Presta Valve Cores Removable?All Schrader valves are removable, but not all Presta valve cores are removable. However most Presta valve cores are removable.
How To Tell If Your Presta Valve Core Is RemovableHave a look at the valve stem. If you see that the valve is made up of two parts then that means it is removable. If the core is removable, that means that it can be used for a tubeless setup. Sealant can be added through the valve.
What Is A Presta Valve Tool?A number of different companies make cheap valve tools that work with both Presta and Schrader valves. They attach to the valve and allow you to remove the core.
These tools cost about £10. They are easily available and small enough to take with you anywhere.
What Is A Presta Valve Tool? Is Presta Better Than Schrader?There really is no answer about which one of them is better or worse. Both of them have their own advantages and disadvantages. Some people have particular preferences, while other people are more prone to simply use whatever is available.
Schrader valves are more common, and sturdier and their core is much easier to remove.
Presta valves do not have a valve spring, which makes them easier to pump. They are also much better on thinner rims due to their smaller size, which makes them well suited for road bikes.
Presta valves are also lighter, although the benefit of the lower weight is fairly negligible, and they can handle pressure better. They are also better at staying unclogged, which makes them well suited for mountain biking.
Presta valves are fairly robust. As with all things, they can break, but they are not known for being excessively brittle. In fact, if anything, they have a reputation for sturdiness. Just ensure you don’t bend the valve when removing the Presta valve core or it will break!
Can You Put Air Into A Tire That Has A Broken Valve Stem?No, however, It is fairly easy and inexpensive to replace the valve core. Simply remove the broken valve core and screw in a new core, being careful not to strip the thread or damage the rim tape.
Can Presta Valves Be Lengthened?Presta valves can be lengthened if needed using extenders. This might be necessary with deeper rims, such as those on aerodynamic race bikes.
If you are looking to get extenders for your valve, it is worth noting that there are different extenders for valves with removable cores and those without, so make sure that you check which one you need and buy the correct one.
If you find that you need to remove a Presta valve core and you do not have the correct tool to hand then there is no need to worry.
A number of tools that you are likely to have lying around can be used to remove the core.
Pliers, such as needle-nosed pliers, can be used to perform the job. Vice grips will also work. However, the best solution to remove a Presta valve core without the tool is a chain tool or a number 11 spoke key.
If you do not have these to hand, then a little bit of ingenuity with whatever you have to hand can work wonders.
How to Remove a Presta Valve Core and Replace Tubeless Sealant?To start you will need to remove the Presta valve core and then remove the tire. You can see our full tutorial here: How To Fit Tubeless Mountain Bike Tyres | 9 Simple Steps
See our other tutorials here:
What are the different bike tire valve types, you ask? Well, as you can see in the image above, there are several different options when it comes to tire valves.
The three main bike tire valves available are Schrader valves, Presta valves and Dunlop valves (Woods valves).
These three bike tire valves are easily identified by their unique appearance and are all operated differently.
Throughout this short article, I’ll talk you through every valve type, covering the pros & cons of each valve, which valve type you need for your bike and the history behind each valve.
Ready to become a bike tire valve expert?…. Not a hugely desirable title. I get it! But you never know when you’ll have an issue with these fiddly little systems.
Add a header to begin generating the table of contents
If you’re a keen cyclist, you’ll likely know what a Schrader valve is, and if you own a road bike, you’ll probably have used a Presta valve before. But what is a Dunlop valve?
If none of the above meant anything to you, don’t worry! These are simply three different bike tire valve types.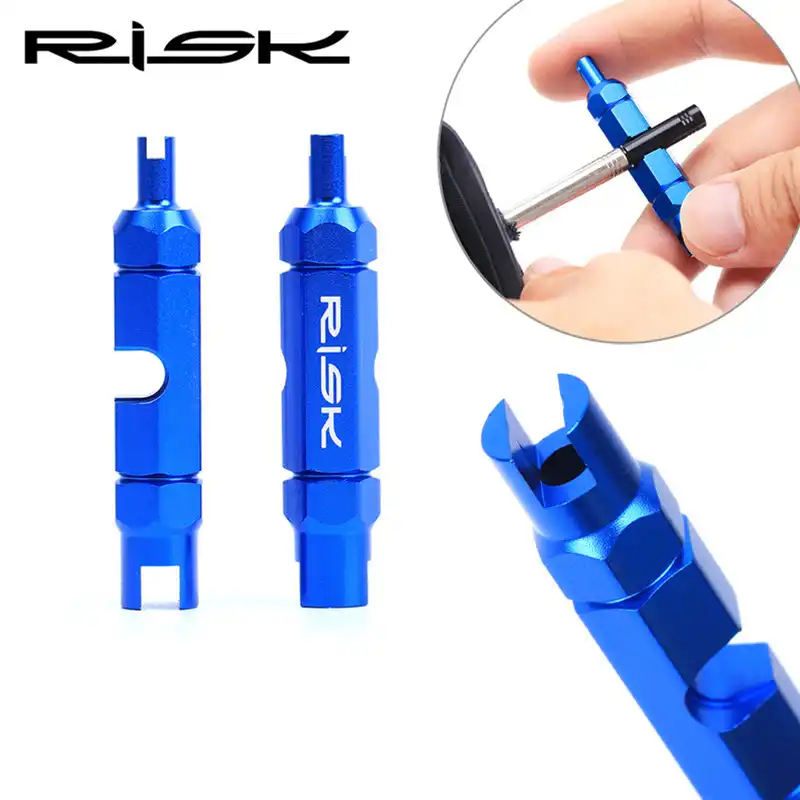
Just below, you’ll find a detailed breakdown of each valve type, and then towards the end of the article, I’ve put together a few simple guides on how to change valve types and answers to popular bike valve FAQs.
If you know what bike tire valve type you want to learn about already, use the buttons below to navigate to each section.
Schrader Valves
Presta Valves
Dunlop Valves
Tubeless Valves
The Schrader valve is the most universally used and known valve variety. They’ve been used most motor vehicles and bicycles since their invention in 1891, courtesy of August Schrader.
A Schrader valve has a wide valve stem, into which a small valve core is inserted.
Schrader valve cores use a small spring that keeps the valve in the closed position.
When the valve’s spring is depressed, the valve opens, and air can pass through the Schrader valve.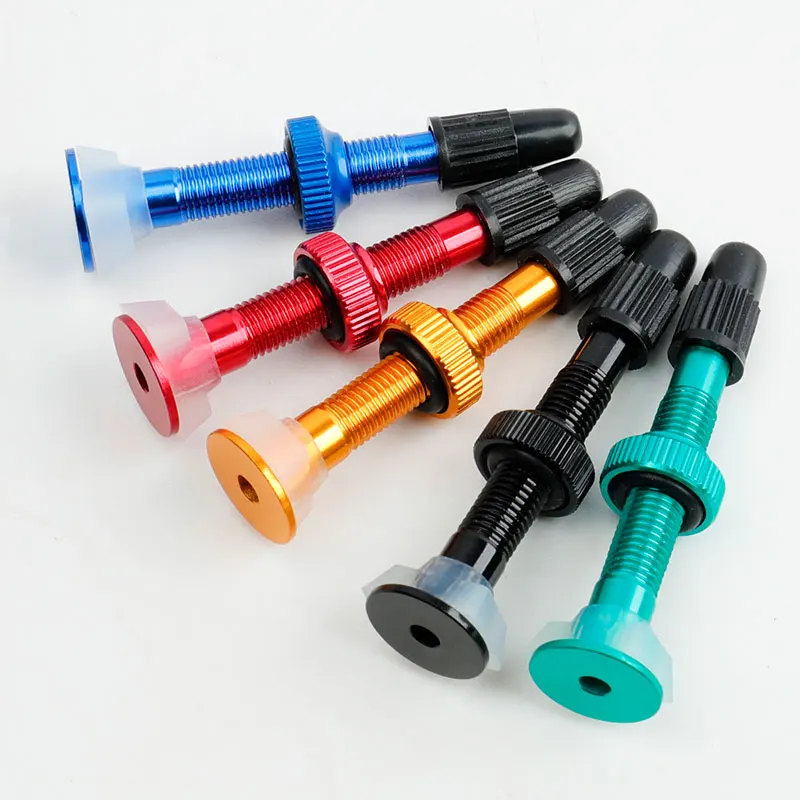
Schrader valves are also referred to as American valves, as they were patented in the United States in 1893, just two years after their invention.
Schrader valves are shorter, wider, less fragile, and typically cheaper than Presta valves.
Using a Schrader valve is very simple once you know what to do!
The steps below will teach you how to inflate or deflate a tire or system that uses a Schrader valve.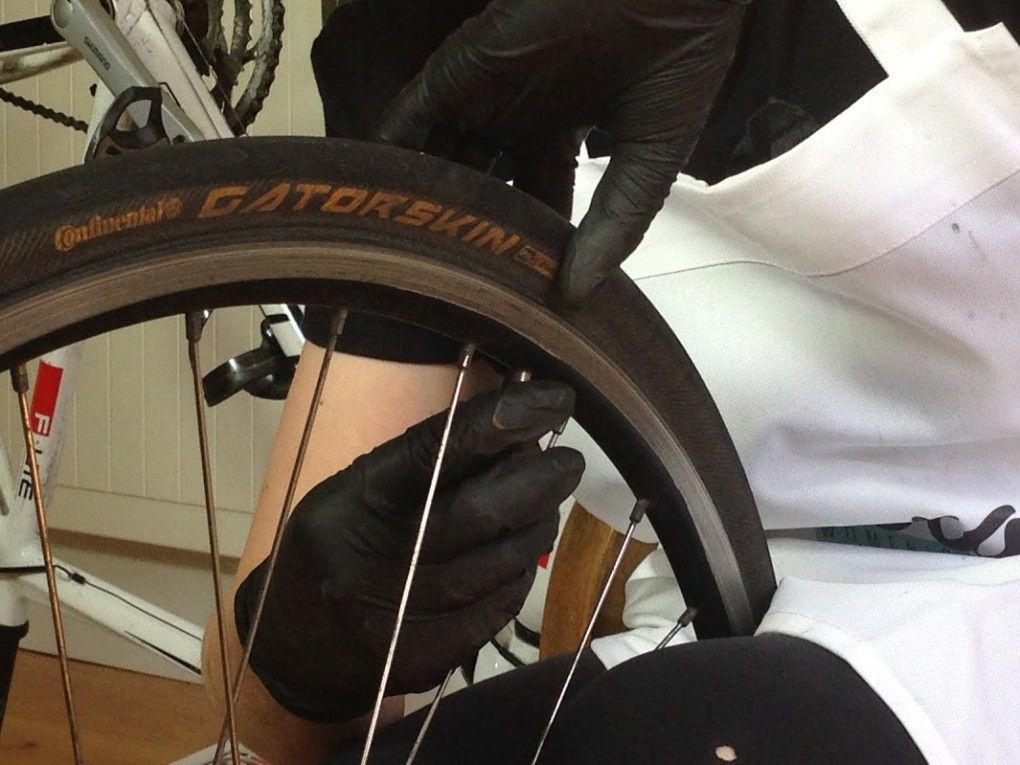
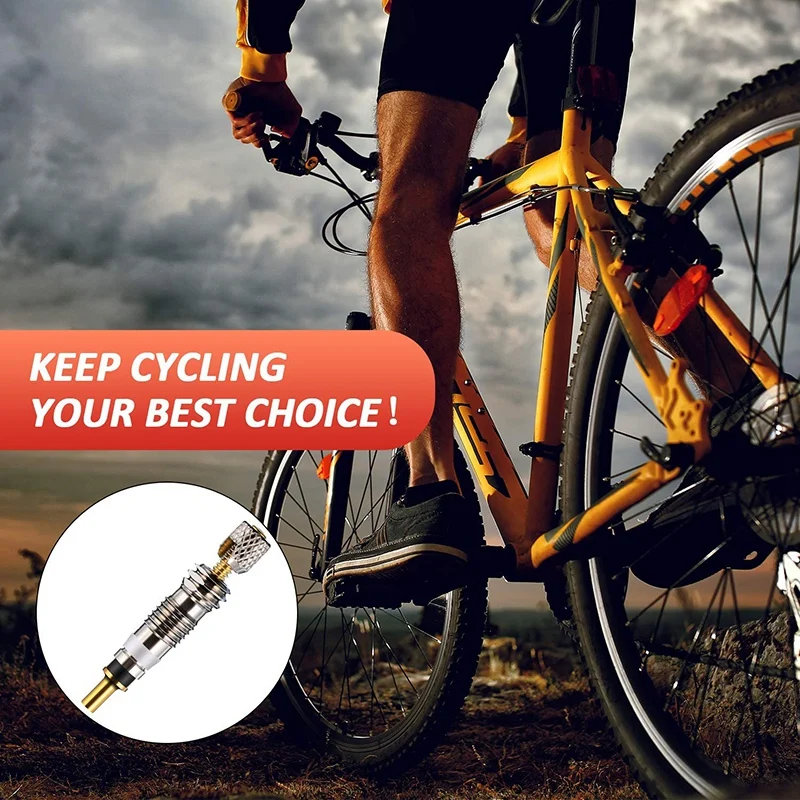
Presta valves are a type of valve used to control the airflow into and out of the inner tube of a bicycle. They’re long and narrow and are found on the majority of modern bikes.
Invented by Frenchman Etienne Sclaverand Presta valves are often fittingly referred to as the French valve.
The exact date of invention for the Presta valve isn’t known, but it’s thought to be just after 1880.
Presta bike valves are lightweight and are made in varying lengths to accommodate wheels with deep-section rims, typically found on road bikes.
Presta valves contribute to a stronger wheel, as their thin valve stem only requires a small hole in the rim. Nowadays, Presta valves are found on most modern bicycles.
Due to their thin stem and partially external valve mechanism, Presta valves are more fragile and slightly more expensive than other types of bike valves.
Using a Presta valve involves one more step than other bicycle valve types. That being said, it’s still straightforward to inflate or deflate an inner tube that uses a Presta valve.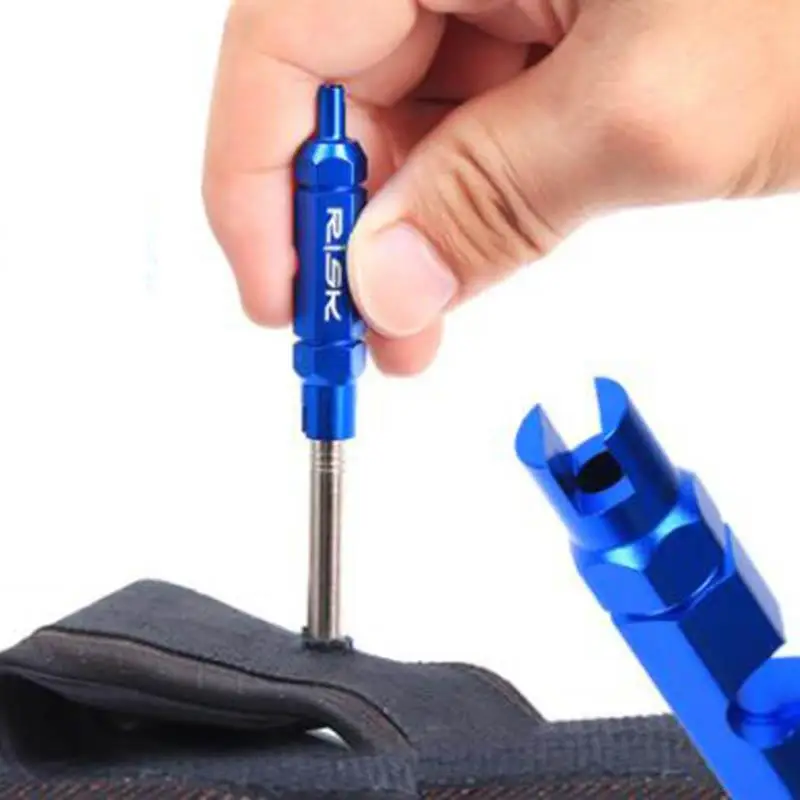
Follow the steps below, and you won’t have any trouble:
 External threading on the stem allows the use of rim nuts.
Dunlop valves, also known as Woods or English valves, aren’t common in the USA or the UK. Several European countries use them, but they’re primarily used across Asia and in multiple developing countries.
Invented by C. H. Woods, the Woods valve (modern Dunlop valve) quickly replaced the original valve created by John Dunlop.
The modern Dunlop valve is much easier to inflate and maintain than the original, which used a tight rubber sleeve to regulate airflow.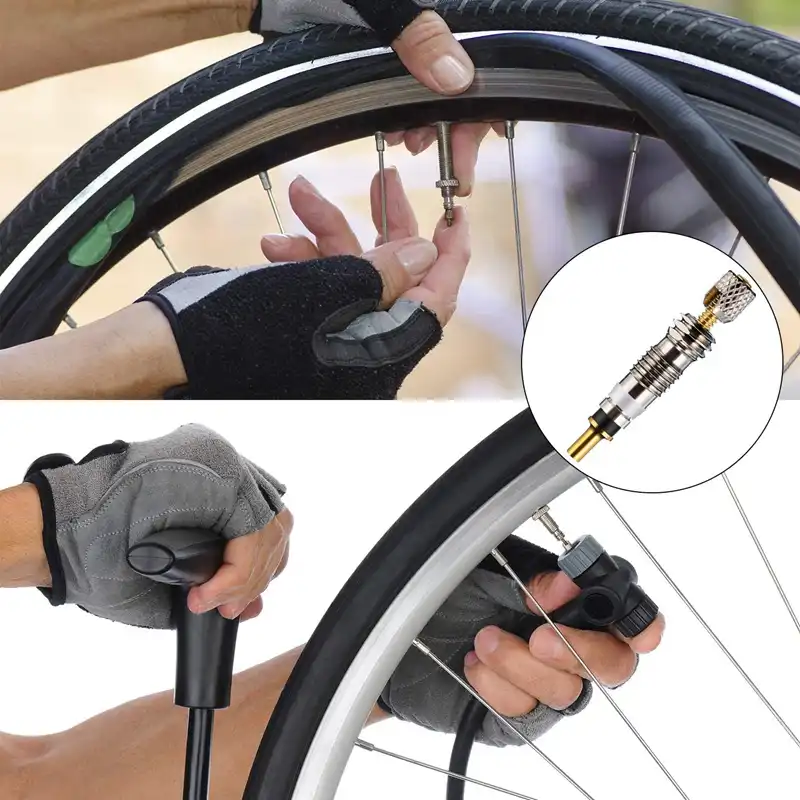
This rubber sleeve often deteriorated over time, meaning more maintenance was required to keep them functioning correctly.
Unlike Schrader and Presta valves, the Dunlop valve doesn’t require a special tool to remove its core. Their straightforward maintenance and robust stem are perhaps why Dunlop valves are so popular in the developing world.
The Woods valve has a similar-sized stem to a Schrader valve. However, it requires a Presta pump to inflate unless used with a bike tire valve adapter
The stem size of a Schrader and a Dunlop are the same. Therefore, these two valves can be used interchangeably on wheel rims.
Inflating a Woods valve tire is very easy. All you’ll require is a Presta compatible pump.
Unlike Schrader and Presta valves, Woods valves can’t be deflated by depressing a valve core pin.
Instead, to deflate a Woods valve, you’ll need to remove the valve core to allow pressure to be released from inside the tire.
Remove valve stem capRemove valve top nutGrip tight and slowly remove valve core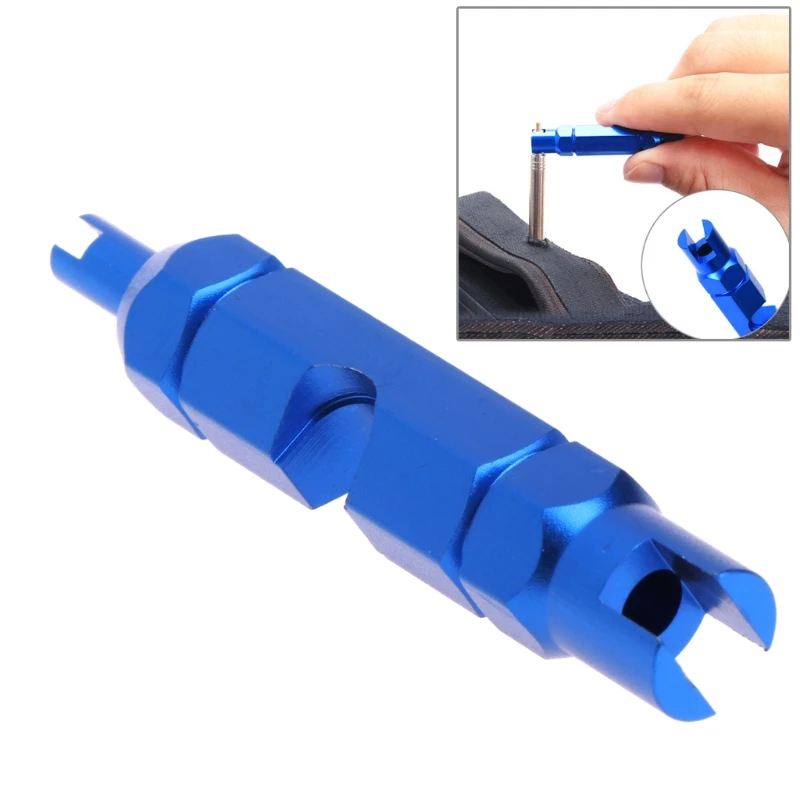
Tubeless valves work with tubeless wheel setups. Presta and Schrader tubeless valves are available and are simply a valve on its own without the inner tube.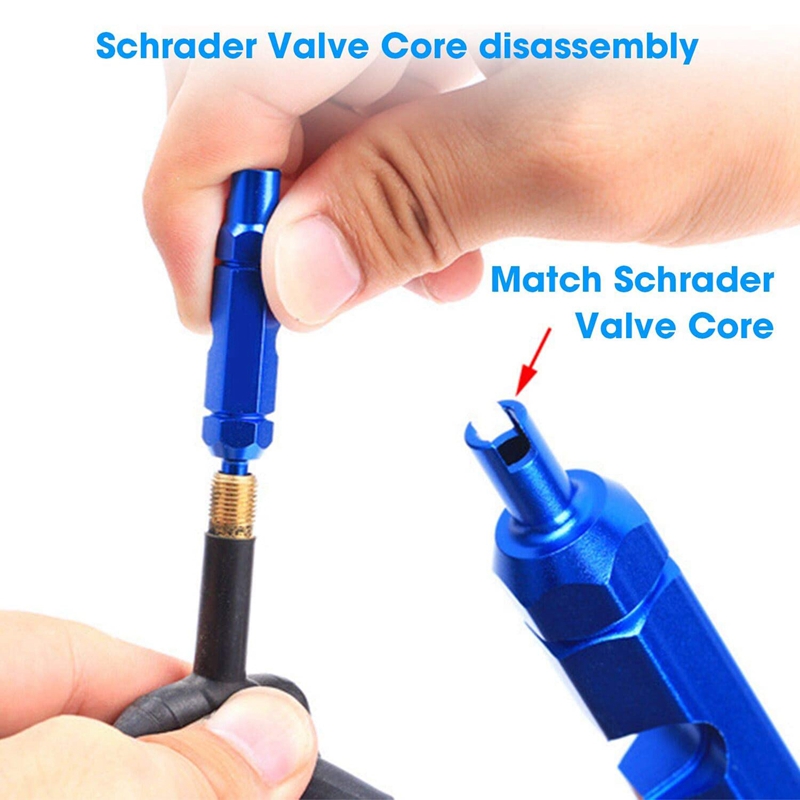
Instead, the tubeless valve has a rubber base that seals against the inside of a wheel’s rim to maintain air pressure inside.
Cyclists that ride tubeless tires normally add a sealant liquid inside the tire.
When inflated, the sealant plugs any leaks and should a rider have a puncture, the sealant will be forced out of any puncture holes, quickly resealing the tire so that it can be reinflated.
As this tubeless bike valve is a Presta valve, scroll up to read about the anatomy of a Presta valve.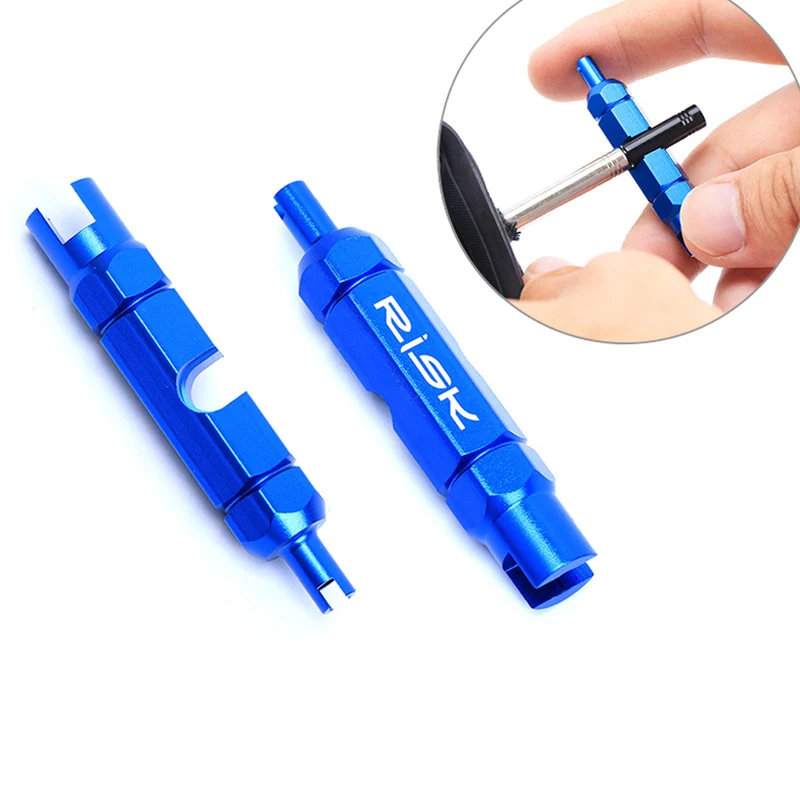
Otherwise, the only unique feature of tubeless valves is their rubber bung.
Bike tire dust caps act as an added layer of protection for your valves.
They prevent any excess dirt, buildup, or debris from entering the valve and potentially damaging it over time.
Dust caps are inexpensive and, therefore, very accessible to every bike owner.
Custom valve stem caps are also a great way to customize your ride for a low price.
If your bike valve stem caps are missing or you’ve been cycling without them, this short article explains why you NEED to replace them.
Stem valve nuts are fitted on threaded valves and prevent your tire valves from sinking into your rim when inflating your tires.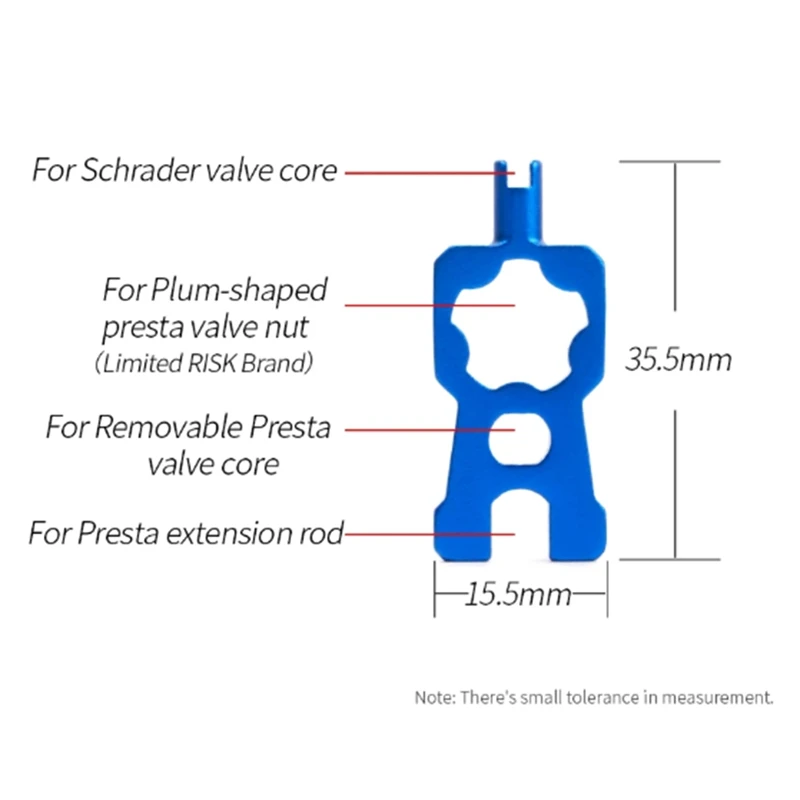
There’s an ongoing debate on whether stem valve nuts should be left on after tires are inflated.
To be completely honest, once you’ve inflated your tires, whether you leave the valve nut in place or remove it, won’t make much difference.
Some cyclists complain their stem valve nuts rattle whilst cycling. If this is the case, remove them and keep them somewhere safe for the next time your tire pressure is low.
Whilst Presta and Dunlop stems have a similar diameter, the nuts they use aren’t interchangeable.
Where there are multiple valve types avalible, cyclists often find themselves with the wrong pump for their bike tire valve type.
If you’re in this position, don’t worry. You won’t have to replace your inner tubes. All that’s needed is a valve adapter to convert your existing valve into a valve type compatible with your pump!
If your bike uses Presta valves, but your pump only works with a Schrader valve, a simple Presta to Schrader valve adapter will do the trick.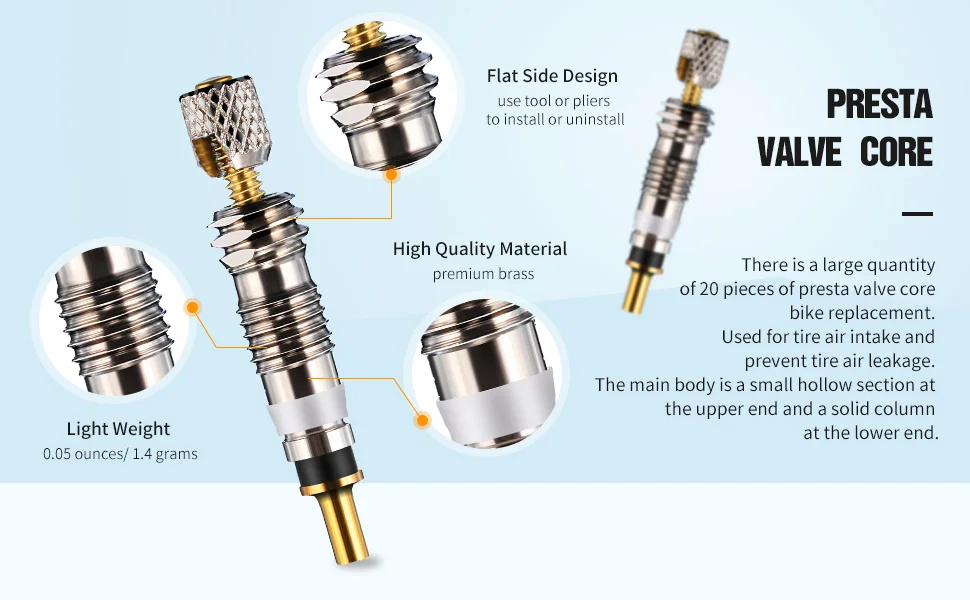
Similarly, if you have Schrader valves on your bike but your pump is for Presta valves, you can easily pick up a Schrader to Presta valve adapter for a very reasonable price.
Presta valve extenders are used to extend the length of your Presta valves.
Presta valve extenders are used by cyclists who use deep-section rims, whereby the standard length valves aren’t long enough to pass through the rim or for the pump to connect to.
While helpful, one disadvantage of Presta valve extenders is their ability to rattle while a bike is in motion. However, there are a few steps you can take to reduce rattling that I explain below.
Another issue you should be aware of before attaching a Presta valve extender is that they increase leverage on the valve, so if care isn’t taken when installing, they can damage the valve or the inner tube.
If you need to use a bicycle valve extender but haven’t done so before, follow this brief guide for the best fit:
Before we begin, you’ll need:

Valve stem cores are the part of a valve that regulates airflow in and out of the tire or system.
Schrader, Presta and Dunlop valve cores all work in different ways.
Schrader valves are spring operated and allow air to flow freely into or out of the tire/system when the central core pin is depressed.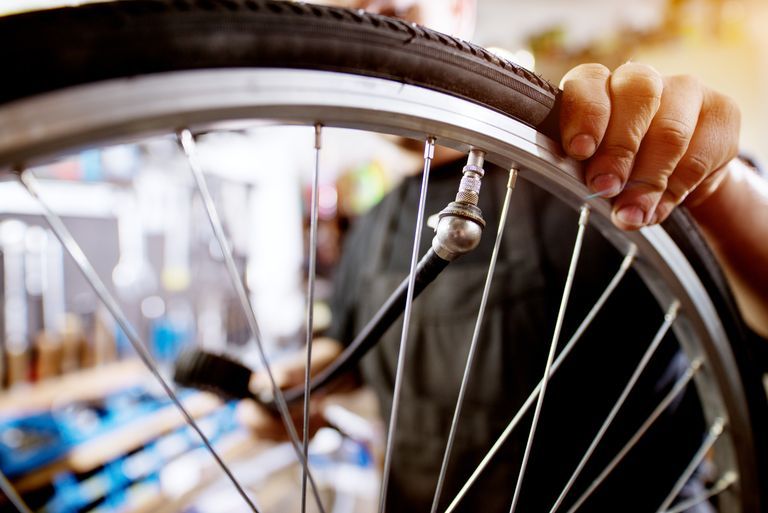
Presta valve cores use a similar central core pin, although it’s not spring-loaded. Instead, it uses a valve core nut.
When a Presta core nut is loosened, the central valve pin can be depressed, but when tightened, the valve core pin is held in a closed position.
Dunlop valve cores only allow air to pass into the tire. Therefore, to deflate a Dunlop tire, the valve core needs to be fully or partially removed.
Not all tire valve cores are removable, so it’s worth paying attention to this when buying a new inner tube or replacement valve.
The correct valve type for your bike is equally as important as using the right inner tube.
The questions below will provide additional knowledge to ensure you know what you’re doing regarding any valve-related issues!
If you’re unsure which valve type you need for your bike, inspect the valves you have on your bike and compare them with the pictures shown above in the article.
If your wheels don’t have inner tubes in them at the moment, a Presta valve is probably your best bet, especially if your bike is modern.
Almost all new bikes use Presta valves, and they’re compatible with Schrader and Dunlop rims, so if you’re unsure, Presta valves will be a fail-safe option.
The length of the tire valve you use depends on the rim depth of your wheels.
The larger your rim depth, the longer your valve length should be. A correct size valve will allow you to attach a pump and inflate without a struggle.
The best way to decide what valve length you require for your bike is to measure the depth of your wheel rim from either side of the valve hole.
Once you’ve measured your wheel rim depth, add 15mm to your measurement, this will ensure you’ll be able to attach a pump to the valve once assembled!
While it is possible to put Schrader valves or a Presta rim, you must widen the valve’s hole to achieve this.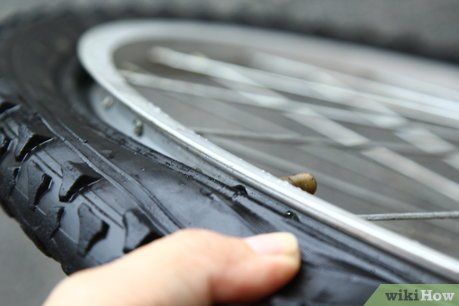
I don’t recommend drilling the hole yourself, as this can damage the structural integrity of your bike’s rim if not done correctly.
In most cases, you won’t have the specialist tools required for the job, and instead of paying someone to drill your rims for you, it may be worth getting some new rims instead.
You can use Presta valves on Schrader wheel rims, but considering they are much thinner than a Schrader valve, they’ll likely be loose, and this can damage the inner tube.
You can get a rim valve hole grommet, which will hold the Presta valve in place and help prevent your inner tube from catching the valve hole.
However, using a grommet still won’t guarantee that the rim won’t wear down your inner tube. So I’d only recommend using a Presta inner tube on a Schrader rim if no alternative is available.

To inflate a Presta Valve with a Schrader compatible pump, you’ll want to get hold of a Presta to Schrader adapter.
Once you’ve got hold of the correct valve adapter, screw it onto the Presta valve, and you’ll then be able to use the Schrader pump to inflate it.
If you only have access to a Schrader bike tire pump, don’t panic.
In this guide, I give a short yet detailed explanation of how you can inflate your Presta tire without an adapter.
All you’ll need is a Schrader pump (with locking capability) and a Presta valve stem cap (dust cap).
Learn this nifty bike hack here.
The valves on your bike are very easy to find! Bicycle valves are short metal tube-like structures that protrude from the front and rear wheel rims.
Don’t get your valves confused with your spokes, though!
If you’re struggling to find your valves, my complete guide on bicycle anatomy will point you in the right direction!
If your Schrader valve isn’t working correctly or you suspect it has a slow puncture or leak, it’s best to run your inner tube through a bowl of water whilst inflated.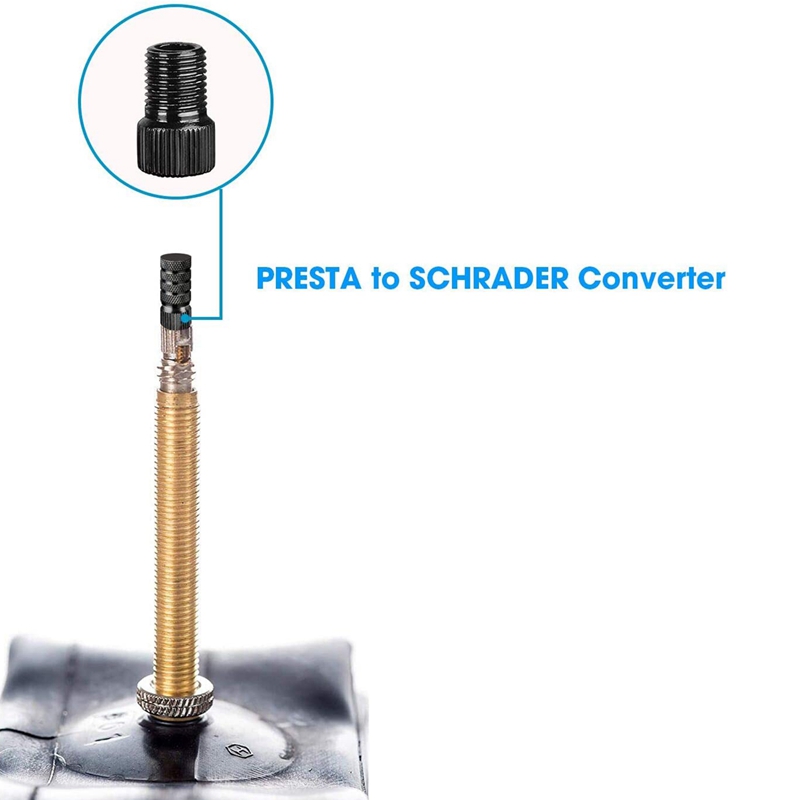
If air is escaping from your inner tube, the leak will release bubbles into the water.
If the inner tube itself is damaged, you can get a repair kit to mend it, or if it’s damaged beyond repair, get yourself a new replacement.
If the leak is coming from the valve core and your Schrader valve has a removable core, you can replace the core by using a core removal tool and getting hold of a replacement core.
Hopefully, your bike valve-related questions have all been answered!
It took me a while to put together this detailed guide, so it’d be great if you could leave some feedback below.
If you think something is missing from this guide or if there’s any way I can make the information clearer, let me know, and I’ll make changes so that the content continually improves for the next readers!
If you aren’t already, make sure to use a good quality bike lock to secure your bike.
Whilst a decent lock will cost more money, it’ll be cheaper than replacing a stolen bike!
As always, lock it or lose it.
Ciao for now.
You can't go far on flat tires - this is an indisputable fact. And if a tire puncture can somehow be fixed in the shortest possible time, then a valve malfunction - such a small but important element can significantly change plans. How to unscrew the nipple on a bicycle? What is the goldsmith for? Why is this detail important to pay attention to? We will try to answer these and many other questions today.
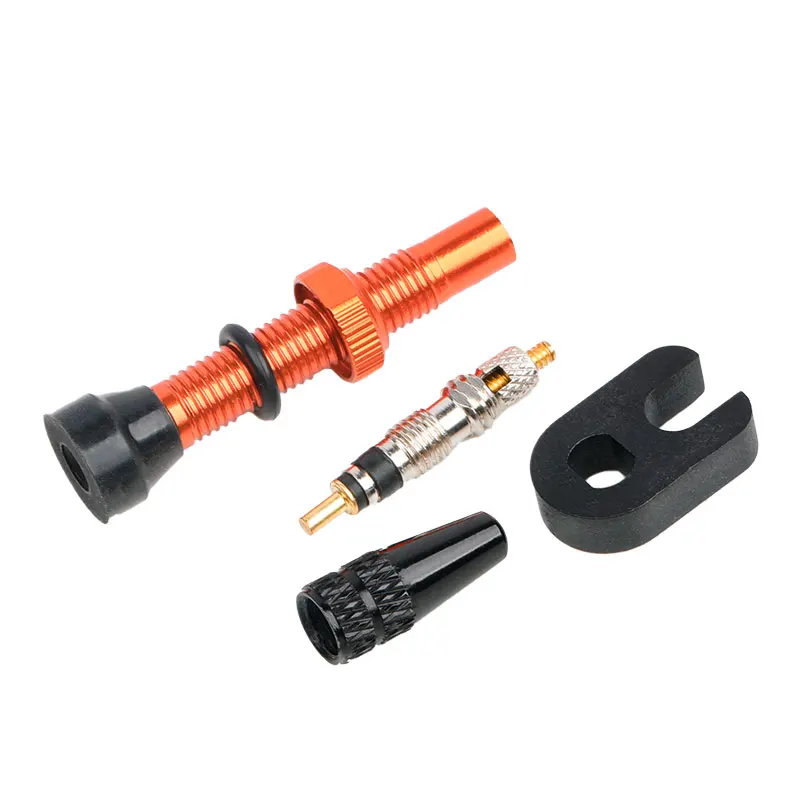 But this method is not effective if the chambers are filled with sealants that prevent punctures.
 I must say that the above methods do not always allow you to identify a malfunction. In some cases, you will have to remove the camera and examine it in detail. And most likely it would be advisable to replace the nipple on the bicycle wheel.
It may seem to some that this issue does not deserve so much attention. And indeed, if you need to remove Dunlop or Presta, for example, then everything is simple here. Even if the nipple is a little stuck, you can pull it out with ordinary pliers. As for Schrader, here, as life practice shows, not everything is as simple as we would like.
These spools require a special tool, which is a rod with a diameter of 3-4 mm with a small (2-3 mm) cut in the center.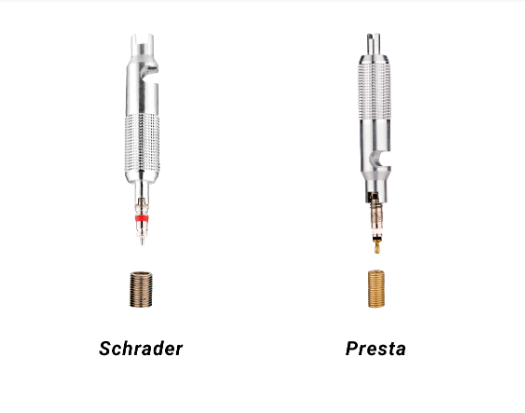 It would seem a trifle, but it is this nuance that becomes a significant problem for those who do not know how to unscrew the nipple from the bicycle chamber. Help:
Still, for avid cyclists, it is better to purchase a special key or build it yourself. It does not take up much space, and its importance in some situations is difficult to overestimate.
The nipple valves are a consumable item, so repairing them is impractical. They don't cost that much, and you can buy them at any store that has at least a minimal range of bicycle parts.
In some situations, minor repairs can be made that can extend the life of the spool:
So, in simple ways, you can cope with the task. But it is worth once again reminding cyclists going on a trip that the necessary set of tools and spare parts should always be at hand.
Anything can happen on the road, and a flat tire can be an annoying nuisance that can ruin all plans.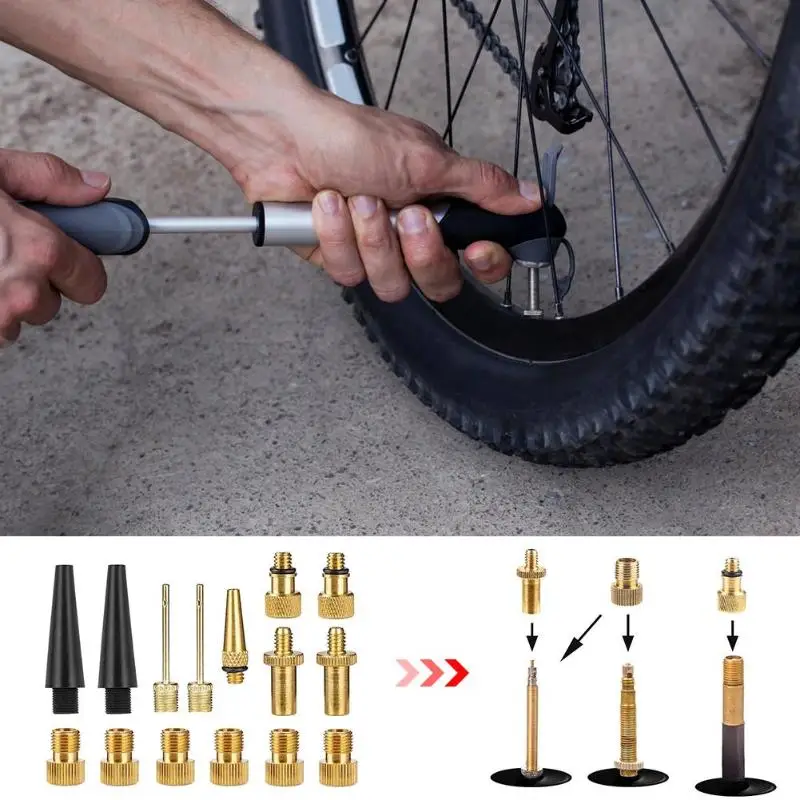 If on the way you notice that the tire began to deflate and the puncture had nothing to do with it, then you can take the following actions:
This will help you get to your house or the nearest bike shop. However, remember that high speed and dynamic driving in this case will nullify all efforts.
A broken nipple is not common but not uncommon. A spool failure does not mean that the chamber should be sent to the trash can. You can always buy a new consumable and carefully change the nipple on the wheel. The video will help you visualize the sequence of actions.
Julia Saltrukovich
Author of articles. Seriously fond of bicycles and motorcycles. I am interested in everything related to an active lifestyle.
Contents
You can't go far on flat tires. There are cases when, after the next trip the next day, the wheel is significantly or completely flat.
Do not immediately blame the puncture and start beading the wheel to repair the tube. It is most likely that the reason is in the nipple or, as it is also called, in the spool.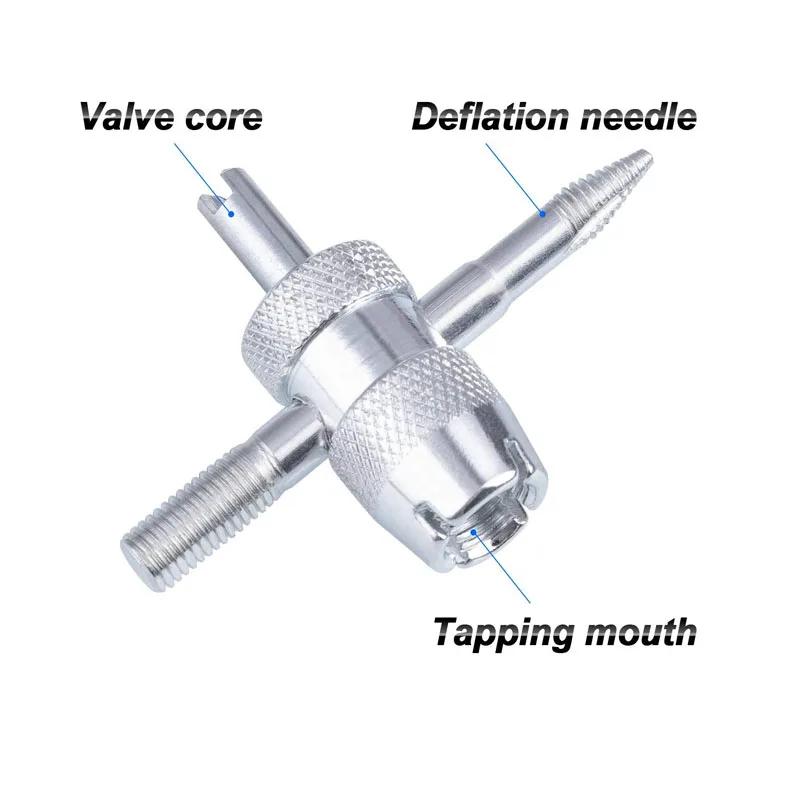
A nipple or spool is a device that manipulates the bicycle tire pressure adjustment. Its design is elementary - a special spool (valve), which is placed in a cylindrical tube with or without an internal thread (depending on the type of spool), which is soldered or mechanically attached to the bicycle chamber.
There are three types of nipples:
The serviceability of the nipple is determined by its functional suitability, i.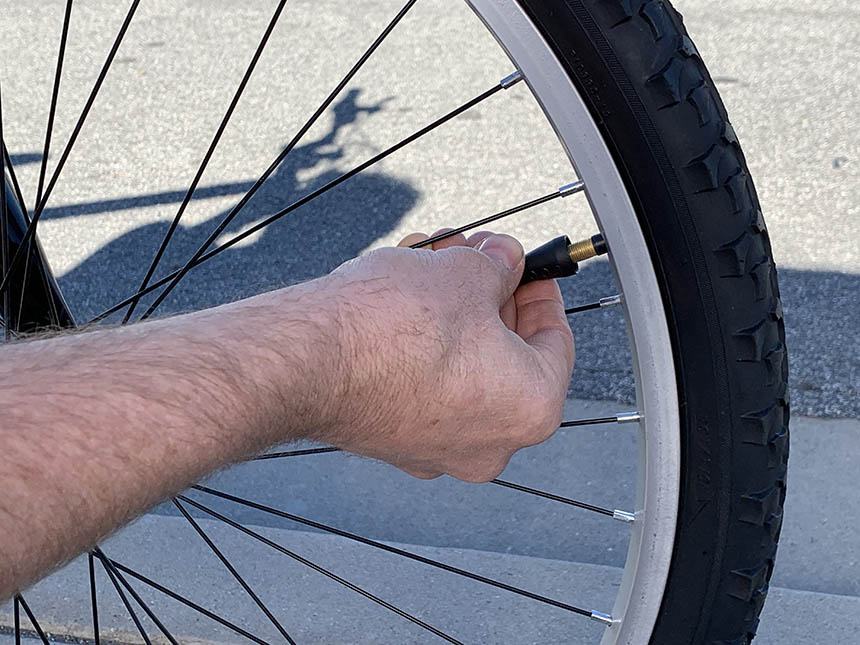 e. the ability to maintain internal pressure in the wheels - if the pressure in the chambers goes down, then repair or replacement of the spool is required.
Causes of a nipple failure can be different, ranging from a breakdown of the valve itself (mechanical damage, natural wear), and ending with elementary contamination.
Tire pressure loss is the main symptom of valve failure.
The following methods will help to identify the problem:

In the absence of the above signs of nipple breakage, you will have to dismantle the camera and further examine it - it is not uncommon for a defect to be found at the base of the nipple attachment to the bicycle camera. In this case, many cyclists advise to replace the camera, but this solution is not for professionals, but everything is in order.
As it may seem at first, this question is not worth considering. This is true if it is Dunlop or Presta. Unscrewing these nipples is not difficult. Even if they are a little stuck, ordinary pliers will help to unscrew them. But in relation to Schrader, as practice shows, not everything is so simple.
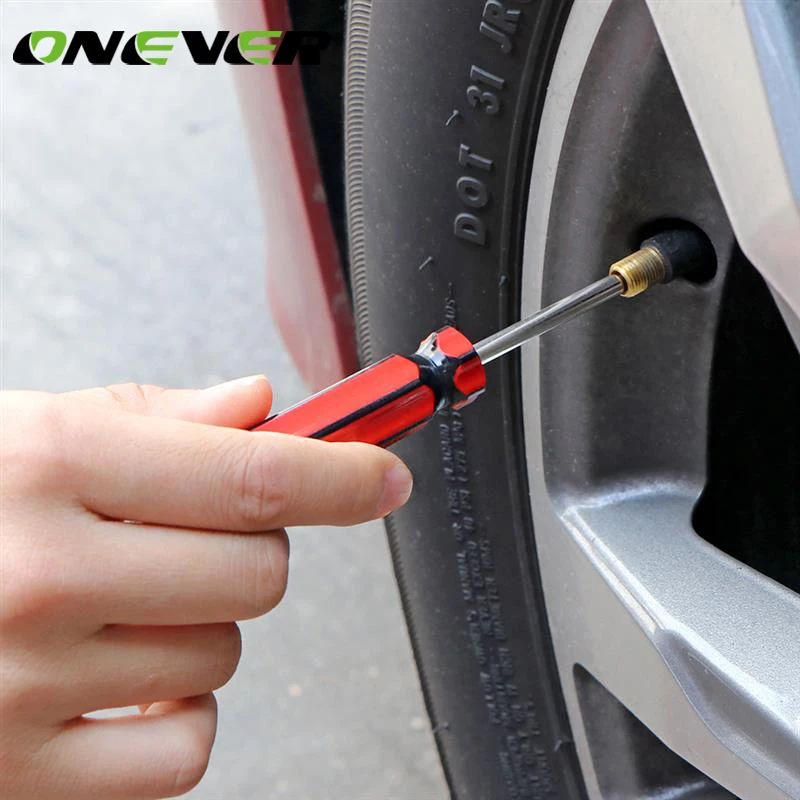
The fact is that in order to unscrew the Schrader spool, you need a special key, which is a rod with a diameter of 3-4 mm with a small (2-3 mm) cut in the center along the rod.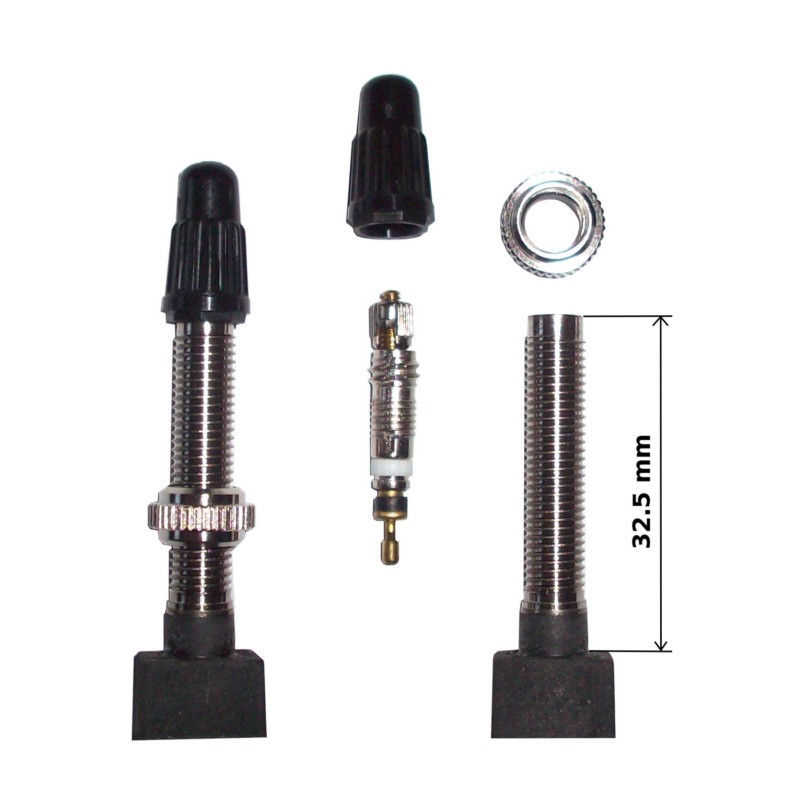
Such wrenches were widespread in the recent past, because they were integrated into the protective cap of the nipple, and were supplied with the cameras. Today, the chambers are equipped with plastic covers, with which the spool cannot be unscrewed.
Such a trifle becomes a real problem for some cyclists - after running around several bike shops, they find that there are no such keys, and in order to unscrew the nipple, they begin to make the tool themselves.
In this case, we can advise the following:
Since nipple spools are consumables, it is impractical to repair the latter. Their cost is low, and you can buy them at any bike or car shop.
But in some cases: in case of contamination or wear of the sealing gum, you can perform simple work to extend the life of the spool.
These simple actions can cope with the task in the long term. But still, you should stock up on the road with the necessary (repair kit, patches, glue, etc.) so as not to get into an unpleasant situation along the way.
If the tire began to noticeably flat on the way, and the puncture was not to blame, you can do the following:
