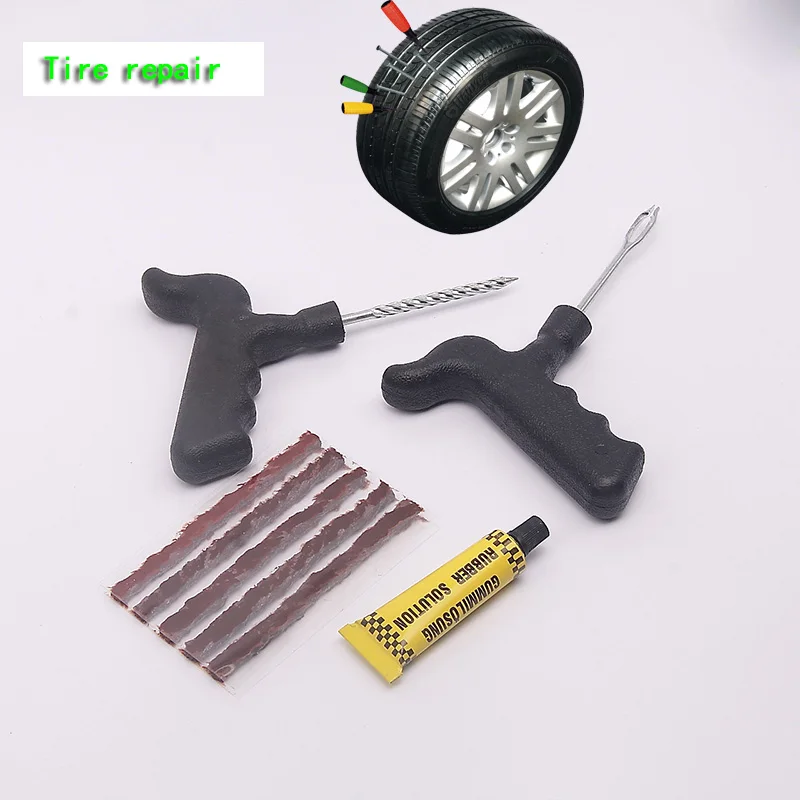
I always carry 18- and 21-inch spare tubes, along with the tools necessary to change them on the trail. Luckily, I have never needed a third tube to get myself or a riding buddy out of a trail flat situation. When I started riding the Ultimate Motorcycling Yamaha Ténéré 700 Project Bike, I found myself going deeper into the woods and with more than one or two other riders. The odds of multiple flats have gone up significantly.Stop & Go International has produced high-quality tire repair kits for over 40 years. Stop & Go has kits for tube and tubeless tires. I chose the Deluxe Tube-Type Motorcycle Tire Repair Kit, the company’s top-of-the-line offering.
The Stop & Go Deluxe tube repair kit contains three 9.5-inch steel tire irons, eight patches, a thumb buffer, a tube of glue, four threaded-end 16-gram CO2 cartridges with a cartridge discharge adapter, a plastic valve cap with core remover, and laminated instructions. This all fits in a durable zippered vinyl bag that weighs 2.5 pounds and measures 9.5-by-4-by-1.5 inches. Nothing can fix the hole created by a ripped-out valve stem, so rim locks are needed to keep your tire from rotating when the tube goes flat.When I rode the Ultimate Motorcycling Yamaha Ténéré 700 Project Bike home, I went through my storage boxes aptly marked “old stuff” and found my last set of spare tubes. They had been in that box for eight years, so the stems showed rust. They became my test tubes to attempt a practice repair in the comfort of my garage. I inflated the 21-inch tube with a hand pump and then punctured it with the tip of my pocketknife. I made sure to make the hole 1/8-inch, just like the hole I remember seeing in my tube from a buried nail in a Mojave ghost town.Following the instructions, I deflated the tube, roughed up the patch area, cleaned the area, applied the glue, waited for it to become tacky, and applied the patch. I rubbed the patch flat to make sure any air bubbles were out.
 I waited 10 minutes for the patch to fully attach and then got the CO2 cartridge ready.The instructions warn that you should not be holding anything with your bare hands when the cartridge empties, as it drops to minus 65 degrees and will frostbite your skin. To prevent that, the kit provides a hand wrap for the cartridge, and I used a channel lock to hold the end of the adapter tube. This was my first CO2 cartridge experience—trust me, everything freezes. Even if you have to take your shirt and a sock off to hold the cartridge and adapter, do it! The tube filled up. However, I couldn’t accurately check the pressure because it wasn’t inside a tire. Stop & Go claims each cartridge is good for about nine psi, depending on the size of the tube.Of course, a non-emergency garage repair is easy to accomplish. I didn’t test the tire irons, though they’re a proven basic design—look into Motion Pro offerings if you want to upgrade. However, this tube repair kit provides everything needed to patch a tube wherever it happens.
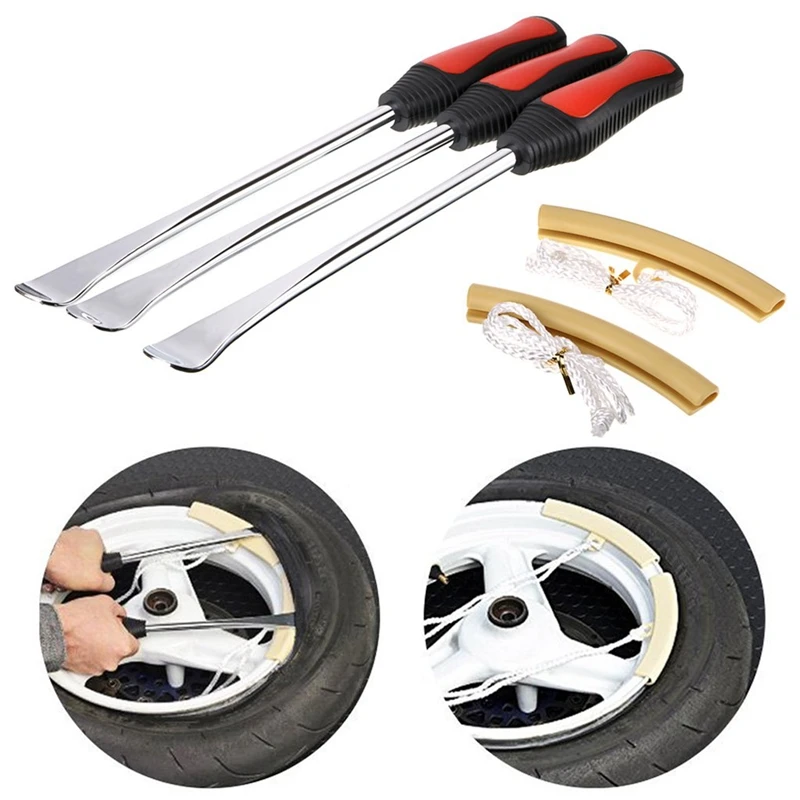 Conditions are rarely ideal when we have a mechanical issue, so I always strive to have the right tools for trail repairs.At $40, the kit pays for itself in one use, even if it’s a product you hope you never use. The Stop & Go Deluxe Tube-Type Motorcycle Tire Repair Kit is now a permanent fixture in the panniers of Ultimate Motorcycling Yamaha Ténéré 700 Project Bike.
Universal Fit Universal Fit parts can be installed on various vehicles and may require modification.
Stockton Axle Adjustment Tool Metric
$16.99
$21.99
Sale 23% Off!
46
Universal Fit Universal Fit parts can be installed on various vehicles and may require modification.
Motion Pro RimShield II
$17.99
68
Universal Fit Universal Fit parts can be installed on various vehicles and may require modification.
Motion Pro Valve Core Tool
40
Universal Fit Universal Fit parts can be installed on various vehicles and may require modification.
Stockton Aluminum Off Road Tire Combo Lever Set
$39.99
$59.99
Sale 33% Off!
19
Stockton Tire Air Pressure Gauge With Hose
$22.99 $24.99
$24.99
139
Out of Stock
BikeMaster Tire And Tube Flat Repair Kit
$42.26
$46.95
10% savings
34
Universal Fit Universal Fit parts can be installed on various vehicles and may require modification.
Motion Pro Rim Protectors
$12.95
57
Stockton Tire Air Pressure Gauge 5-50 Pounds Pen Stylus
11
Stop & Go T-Handle Tubeless Tire Repair Kit
$21. 95
95
22
Out of Stock
Universal Fit Universal Fit parts can be installed on various vehicles and may require modification.
Stop & Go Tubeless Tire Plugger With CO2
$55.95
56
Universal Fit Universal Fit parts can be installed on various vehicles and may require modification.
Motion Pro T6 Tire Levers
$35.95
34
Universal Fit Universal Fit parts can be installed on various vehicles and may require modification.
BikeMaster Wheel Balancer And Truing Stand
$143.96
$159.95
10% savings
26
Universal Fit Universal Fit parts can be installed on various vehicles and may require modification.
Motion Pro Long Steel Tire Irons
$13.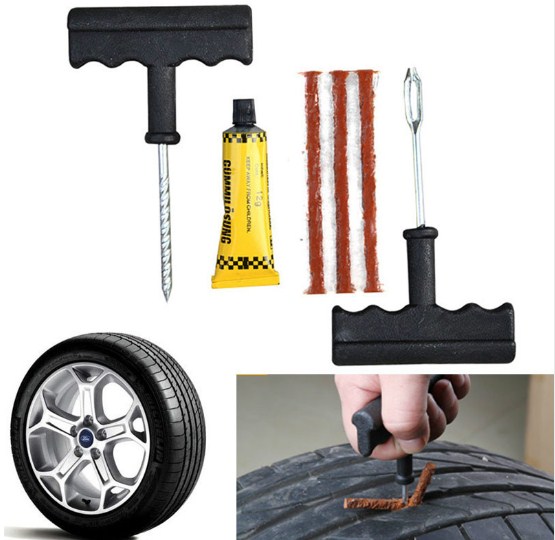 95
95
37
Universal Fit Universal Fit parts can be installed on various vehicles and may require modification.
Antigravity Batteries Tire Inflator
$24.99
27
Universal Fit Universal Fit parts can be installed on various vehicles and may require modification.
Motion Pro Hex Axle Tool
$25.99
31
Universal Fit Universal Fit parts can be installed on various vehicles and may require modification.
Motion Pro Wheel Axis Truing / Balancing Stand
$136.99
24
Universal Fit Universal Fit parts can be installed on various vehicles and may require modification.
Motion Pro Bead Buddy II
$16.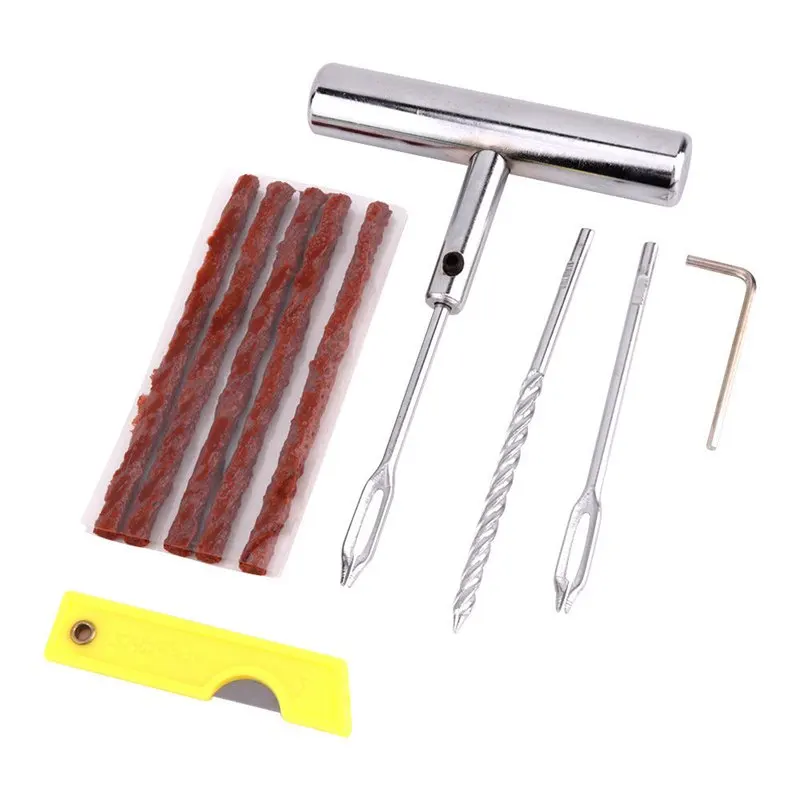 99
99
10
Universal Fit Universal Fit parts can be installed on various vehicles and may require modification.
BikeMaster 2-in-1 Tire Gauge
$39.57
$43.95
10% savings
28
Universal Fit Universal Fit parts can be installed on various vehicles and may require modification.
Double Tough Mini Tire Inflator
$19.99
$24.99
Sale 20% Off!
25
Universal Fit Universal Fit parts can be installed on various vehicles and may require modification.
Motion Pro Fill Air Chuck
$44.99
16
Universal Fit Universal Fit parts can be installed on various vehicles and may require modification.
Motion Pro Spoon Type Tire Iron
$23. 99 $44.99
19
Universal Fit Universal Fit parts can be installed on various vehicles and may require modification.
CruzTools Tirepro Dial Gauge
$19.95
37
Universal Fit Universal Fit parts can be installed on various vehicles and may require modification.
Motion Pro Assorted Tire Irons
$30.99
20
Universal Fit Universal Fit parts can be installed on various vehicles and may require modification.
Motion Pro Extra Long Steel Tire Iron
$21.95
24
Out of Stock
Universal Fit Universal Fit parts can be installed on various vehicles and may require modification.
Stop & Go Tubeless Puncture Pilot
$65. 95
95
57
Out of Stock
Universal Fit Universal Fit parts can be installed on various vehicles and may require modification.
BikeMaster Tire Change Stand With Bead Breaker
$87.44
$97.15
10% savings
10
Stockton Digital Tire Air Pressure Gauge
$16.99
$19.99
Sale 15% Off!
9
Motion Pro Professional Tire Pressure Gauge
$110.95
9
Universal Fit Universal Fit parts can be installed on various vehicles and may require modification.
Motion Pro T-6 Trail Bead Buddy
1
Motion Pro Digital Tire Pressure Gauge
$109.99
9
Universal Fit Universal Fit parts can be installed on various vehicles and may require modification.
No-Mar Tire Mounting Lube Paste
$19.95
7
Universal Fit Universal Fit parts can be installed on various vehicles and may require modification.
Motion Pro Enduro Tire Irons
$25.95
11
Universal Fit Universal Fit parts can be installed on various vehicles and may require modification.
Stockton Tire Iron 3-Piece Set
$29.99
12
Universal Fit Universal Fit parts can be installed on various vehicles and may require modification.
Stockton Tire Valve Tool
4
Universal Fit Universal Fit parts can be installed on various vehicles and may require modification.
CruzTools Digital Tire Gauge Tool
$19. 95
95
11
Universal Fit Universal Fit parts can be installed on various vehicles and may require modification.
Oxford CO2 Top-Ups
$13.99 $83.98
3
Universal Fit Universal Fit parts can be installed on various vehicles and may require modification.
Motion Pro T-6 Hex Axle Tool
$28.95
5
Universal Fit Universal Fit parts can be installed on various vehicles and may require modification.
Motion Pro T6 Combo Lever Set
$63.95 $64.99
2
Universal Fit Universal Fit parts can be installed on various vehicles and may require modification.
Motorsport Products Tire Changing Stand / Bead Breaker
$162. 95
95
5
Universal Fit Universal Fit parts can be installed on various vehicles and may require modification.
Motion Pro Wheel Alignment Tool For Harley
$18.95
8
Universal Fit Universal Fit parts can be installed on various vehicles and may require modification.
Moose Racing 3-Way Valve Core Tool
$16.95
5
Universal Fit Universal Fit parts can be installed on various vehicles and may require modification.
Stockton Tire Irons
$14.99 $17.99
20
Stockton Spoke Wrench Kit
$19.99
3
Universal Fit Universal Fit parts can be installed on various vehicles and may require modification.
Moose Racing Portable Tire Changer
$156.95
3
Universal Fit Universal Fit parts can be installed on various vehicles and may require modification.
Stockton Valve Stem Puller
8
Universal Fit Universal Fit parts can be installed on various vehicles and may require modification.
No-Mar YellowThing Tire Bead Tool
$39.95
3
Universal Fit Universal Fit parts can be installed on various vehicles and may require modification.
Oxford Valve Access Tool
$15.39
5
Universal Fit Universal Fit parts can be installed on various vehicles and may require modification.
Stockton Tire Iron
$14. 99
99
7
Universal Fit Universal Fit parts can be installed on various vehicles and may require modification.
Motion Pro Ergo Spoke Wrenches
$15.95 $87.95
1
Universal Fit Universal Fit parts can be installed on various vehicles and may require modification.
Moose Racing BIB Portable Tire Changer
$309.95
Universal Fit Universal Fit parts can be installed on various vehicles and may require modification.
Oxford Tire Gauge Pro
$32.19
3
Universal Fit Universal Fit parts can be installed on various vehicles and may require modification.
CruzTools Tirepro Tire Levers
$19. 95
95
4
Universal Fit Universal Fit parts can be installed on various vehicles and may require modification.
BikeMaster 8" Tire Irons
$13.46
$14.95
10% savings
5
Universal Fit Universal Fit parts can be installed on various vehicles and may require modification.
BikeMaster Tire Valve Puller
$7.21 $11.69
$7.99$12.95
10% savings
4
Universal Fit Universal Fit parts can be installed on various vehicles and may require modification.
BikeMaster Bead Breaker
$32.36
$35.95
10% savings
6
Universal Fit Universal Fit parts can be installed on various vehicles and may require modification.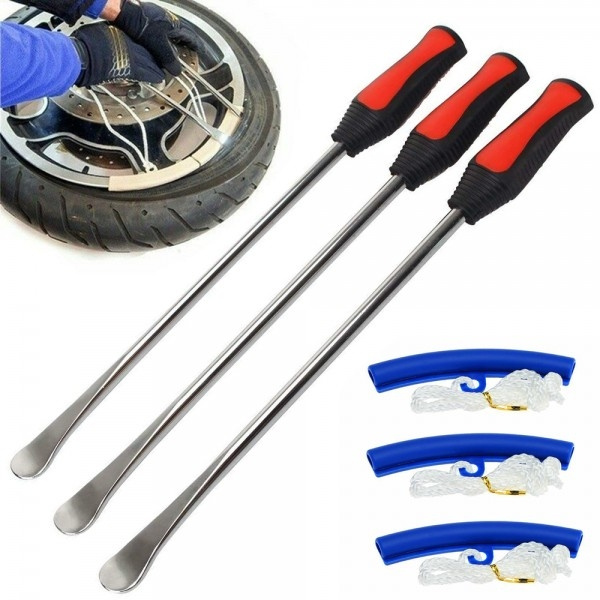
Stockton Tire Bead Holder
$20.99
5
Universal Fit Universal Fit parts can be installed on various vehicles and may require modification.
Stockton 6 In 1 Spoke Wrench
6
Universal Fit Universal Fit parts can be installed on various vehicles and may require modification.
Motion Pro T-6 Combo Lever Hex Adapter 32mm To 27mm / 22mm
$22.95
BikeMaster Dial Tire Pressure Gauge
$12.63
$14.02
10% savings
2
Universal Fit Universal Fit parts can be installed on various vehicles and may require modification.
The "Original" Gold Ice Screws
$30.95 $33.95
1
Universal Fit Universal Fit parts can be installed on various vehicles and may require modification.
Stockton Rim Protector
14
Universal Fit Universal Fit parts can be installed on various vehicles and may require modification.
Slime Valve Stem Cores
1
Universal Fit Universal Fit parts can be installed on various vehicles and may require modification.
BikeMaster Tire Iron Spoon
$15.27
$16.95
10% savings
2
Motion Pro Tire Pressure Gauge Holder
$28.99
3
Oxford Digi Tire Air Pressure Gauge
$37.79
2
Universal Fit Universal Fit parts can be installed on various vehicles and may require modification.
Motion Pro T-6 Combo Lever Hex Adapter 32mm To 27mm / 17mm
$23.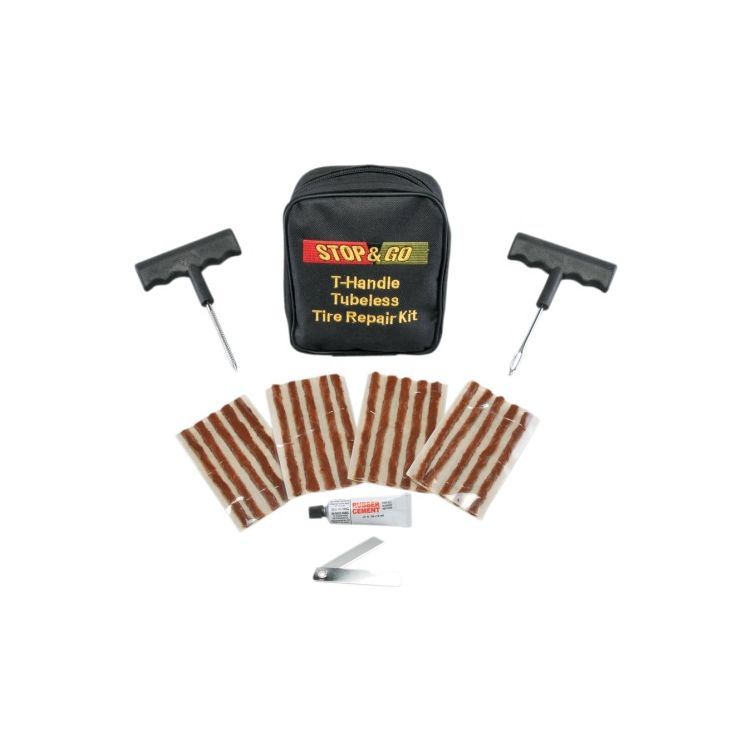 95
95
2
Universal Fit Universal Fit parts can be installed on various vehicles and may require modification.
CruzTools BMW Rear Axle Star Wrench Tool
$18.95
Universal Fit Universal Fit parts can be installed on various vehicles and may require modification.
BikeMaster Tire Gauge With Hose
$18.95
$21.05
10% savings
2
Universal Fit Universal Fit parts can be installed on various vehicles and may require modification.
BikeMaster Heavy-Duty Tire Iron
$26.96
$29.95
10% savings
1
Universal Fit Universal Fit parts can be installed on various vehicles and may require modification.
Motion Pro Wheel Bearing Remover Set For HD
$41.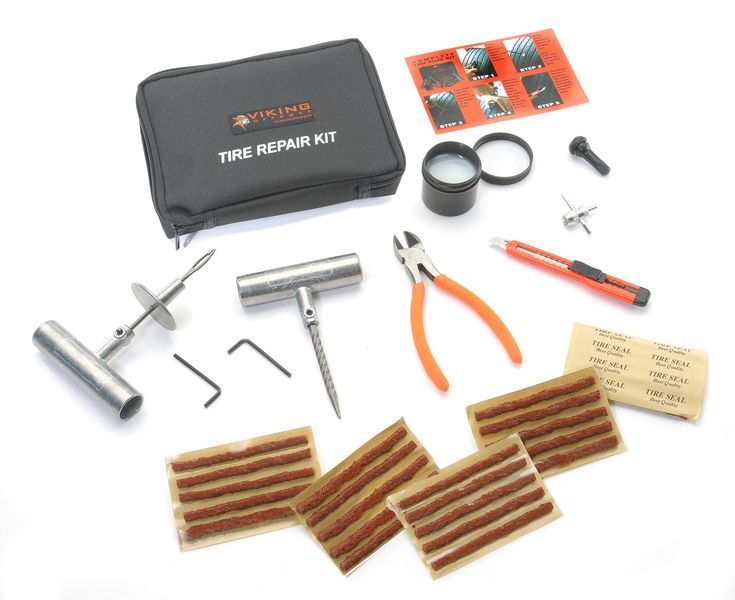 99 $48.95
2
Universal Fit Universal Fit parts can be installed on various vehicles and may require modification.
BikeMaster Digital Tire Gauge
$19.77
$21.95
10% savings
4
Hardline Tread Doctor Sniper Kit
$90.95
Universal Fit Universal Fit parts can be installed on various vehicles and may require modification.
Stockton Tire Spoon
$34.99
4
Universal Fit Universal Fit parts can be installed on various vehicles and may require modification.
Slime Power Sports G2 Tire Inflator
$57.95
2
Universal Fit Universal Fit parts can be installed on various vehicles and may require modification.
Hardline Tread Doctor Tire Tool
$68.95
Universal Fit Universal Fit parts can be installed on various vehicles and may require modification.
BikeMaster Valve Core Tool
$2.26
$2.51
10% savings
BikeMaster Tire Repair Kit
$39.57
$43.95
10% savings
1
Universal Fit Universal Fit parts can be installed on various vehicles and may require modification.
Motion Pro Spoke Wrench
$17.95
1
Slime 9 Piece Tire Plug Kit
$11.95
Universal Fit Universal Fit parts can be installed on various vehicles and may require modification.
Motion Pro Ergo Spoke Wrench Spline Drive
$17.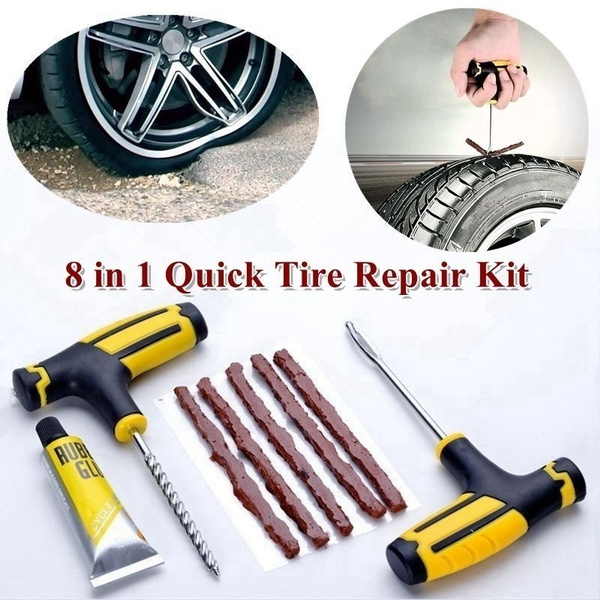 95
95
2
Moose Racing Tire Repair Kit
$39.95
2
Universal Fit Universal Fit parts can be installed on various vehicles and may require modification.
Slime Pro Power Tire Inflator
$94.99
Universal Fit Universal Fit parts can be installed on various vehicles and may require modification.
BikeMaster Valve Stem Mounting Tool
$19.77
$21.95
10% savings
2
Universal Fit Universal Fit parts can be installed on various vehicles and may require modification.
Slime 2X Pro Power Heavy Duty Tire Inflator
$158.95
Slime 22 Piece Tire Repair Kit
$20.95
1
Universal Fit Universal Fit parts can be installed on various vehicles and may require modification.
Motion Pro 35mm Blind Bearing Collet
$37.99
Universal Fit Universal Fit parts can be installed on various vehicles and may require modification.
Moose Racing Tire Changer Tool Tray
$19.95 $23.95
Universal Fit Universal Fit parts can be installed on various vehicles and may require modification.
BikeMaster Steel Tire Irons
$15.27 $17.97
$16.95$19.95
10% savings
Universal Fit Universal Fit parts can be installed on various vehicles and may require modification.
Slime 10-50 PSI Pencil Tire Gauge
Universal Fit Universal Fit parts can be installed on various vehicles and may require modification.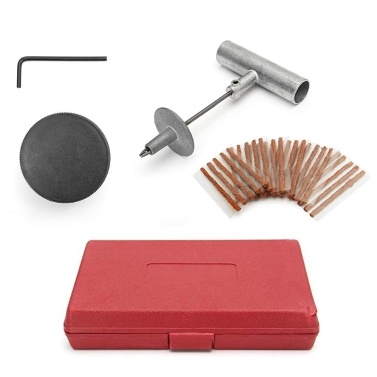
Oxford Spindle Key
$23.80
Universal Fit Universal Fit parts can be installed on various vehicles and may require modification.
Motion Pro BeadPro Forged Steel Tire Bead Breaker
$63.95
137
Universal Fit Universal Fit parts can be installed on various vehicles and may require modification.
Motion Pro BeadPro Tire Bead Breaker
$82.99
137
Stop & Go Tubeless Tire Shop Repair Kit
$52.94
23
Universal Fit Universal Fit parts can be installed on various vehicles and may require modification.
Motion Pro T6 Combo Lever Set 32/27/22/12/10mm
$85.95
2
Closeout
Universal Fit Universal Fit parts can be installed on various vehicles and may require modification.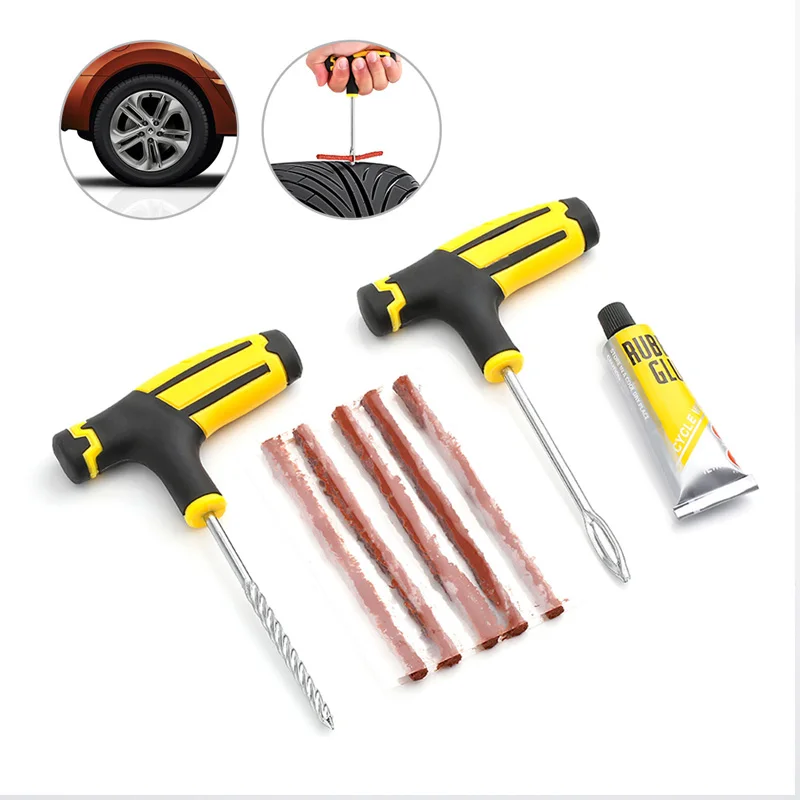
BikeMaster 3-Piece Tire Iron Set
$27.87
$30.95
10% savings
4
Universal Fit Universal Fit parts can be installed on various vehicles and may require modification.
Genuine Innovations CO2 Cartridges
$8.99 $21.99
1
Well, for starters, we ignore the advertising descriptions of a wonderful “hold” on any surface (“universality” of rubber is a myth, and a highway declared as such holds much worse than a special one in difficult conditions). The principle of “taking the most expensive and popular one” is also not suitable for choosing motorcycle tires: if you choose the wrong type or profile, the same advantages can turn into a serious problem, therefore, we carefully study the characteristics.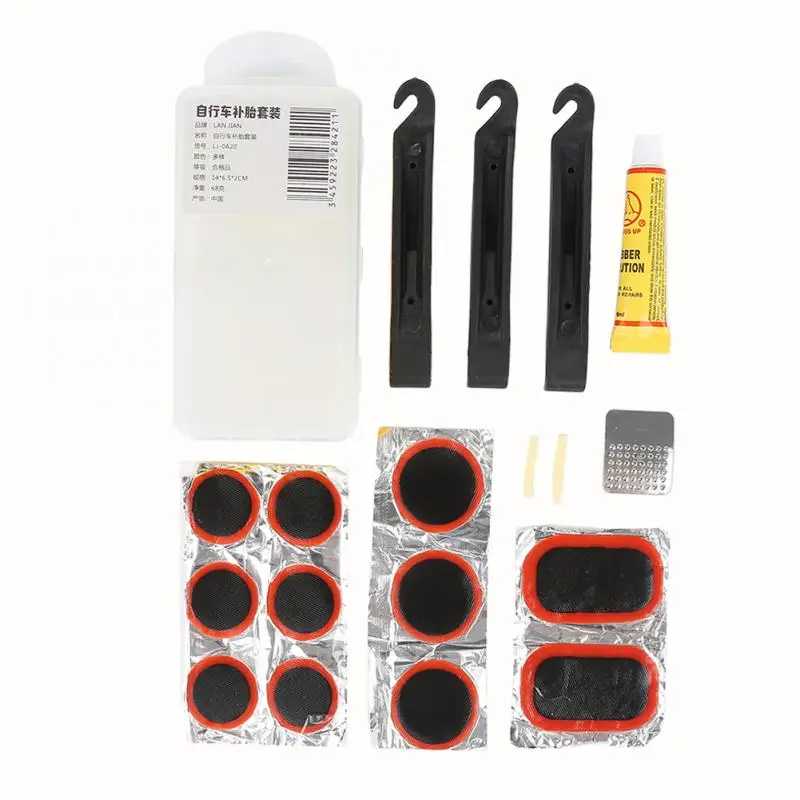 And here it is important that you know about the types, tire design, features of the choice of operation (oddly enough) and the timing of changing tires. Let's fill in the thematic gaps together.
Each class of motorcycle has its own type of “shoe”, designed for efficient transmission of torque, better grip, stability when maneuvering in the conditions in which a particular bike is most of its life. Conventionally, motorcycle tires can be divided into road, off-road and racing. Within the class, tires are divided according to tasks: road, slick, rain, cross (endur), mud, studded, and dual-use. Diameter and width - depend on the class and dimensions of the equipment. By class, we will consider it.
In this category, most of the products are designed for limited use and have an extremely small resource - just one race or training session. Provides the best grip on asphalt. Their profile allows you to lay the bike almost parallel to the ground in the turn, however, only after warming up.
 They start to “work” at lower temperatures than slick or cut, but do not “catch up” with them in tenacity, cope with water quite effectively, and are less susceptible to wear. Used for everyday riding with infrequent trips to the track "on their own".
 These motorcycles mostly "live" on the track, observing the primer only from a distance, from the height of the main road, so their "shoes" are designed for asphalt: the most durable, designed for the heavy weight of the motorcycle (passenger + luggage), and "all-weather".
 The resource, depending on the pace, is 10-20 thousand km.
 The scatter of equipment in this category is very large - from "evil" tuned fifty dollars for mini-cross to light enduro for travel, so there are a lot of models here. You can combine them into classes according to their purpose: purely sports, amateur and rally:
For medium-sized classics, small-capacity, retro and custom motorcycles, various road tires are produced with a low semicircular profile, moderately developed tread, revealing working properties at temperatures below 80 about C. There are a lot of options, as well as specifics (all-season, rain, universal).
Motor tires are designed for high side loads. Its profile - even for the widest models - is more rounded than that of an automobile, consists of a working part responsible for traction, and a side part that “works” only when tilted in a turn. Parts not in contact with asphalt are also very important. It depends on them how much the tire will weigh, how much it will be washed under the weight of the bike, how long it will last.
Hidden part between the inner and outer layers of rubber, which gives rigidity and takes on the load. The structure of the cord is multi-layered. Steel wire, or threads made of polyamide, aramid fibers (Kevlar), or polyamide are arranged in dense rows either across the tire, or - intersect at an angle of 30–40 degrees in the direction of its rotation.
The edge of the tire, going inward, into the grooves of the edges of the rim, having an annular metal (internal) reinforcement. The reliability of its fixation in the rim determines the life of a motorcycle tire, and sometimes a motorcycle with a driver.
The working part, covered with an intricate pattern, the size, shape and depth of the grooves of which depend on the purpose of the product. A larger high tread is typical for off-road and cross-country motor tires, a lower, smooth one - for road and racing.
A zone connecting the tread and the bead that is not inferior to them in strength, but does not work with either the road surface or the rim. It is on it that “letters” are applied that reveal the properties and characteristics of the tire.
The three main indicators of motor rubber - width, profile (height), seat diameter (internal) - are measured in millimeters and inches. There are about a dozen markings adopted in different countries, but only four systems are widely used: Metric, Alpha, Standard (inch), Low profile (inch). For each of them, corresponding tables are available. For our market, more characteristically - Metric.
The name of the manufacturer (brand) and the name of the model are written in the largest letters on the product. The next in size is a "sausage" of numbers and Latin letters, indicating the width, height of the profile, the diameter of the rim for which the tire is intended, the weight limit per axle (rear / front), and the speed to which you can accelerate on this rubber. A little smaller - the country of origin, certificate, information about the material, design. Further, “small print” indicates no less important properties, which we will also consider separately.
I’ll immediately note the most common mistake in reading the rubber size index: the letter R is not a “radius”, as some motorcycle and car owners believe. This letter means "radial" model and indicates the radial direction of the inner carcass reinforcing layers of this tire. There are two main designs - radial - when the cord layers run across the tire, and diagonal - when they cross.
You don’t see the letter “R” in the index, but you see a gap, or “B” - it means the rubber is diagonal, and if “reinforced” or “reinf” is written nearby, it is also reinforced with an additional layer of cord.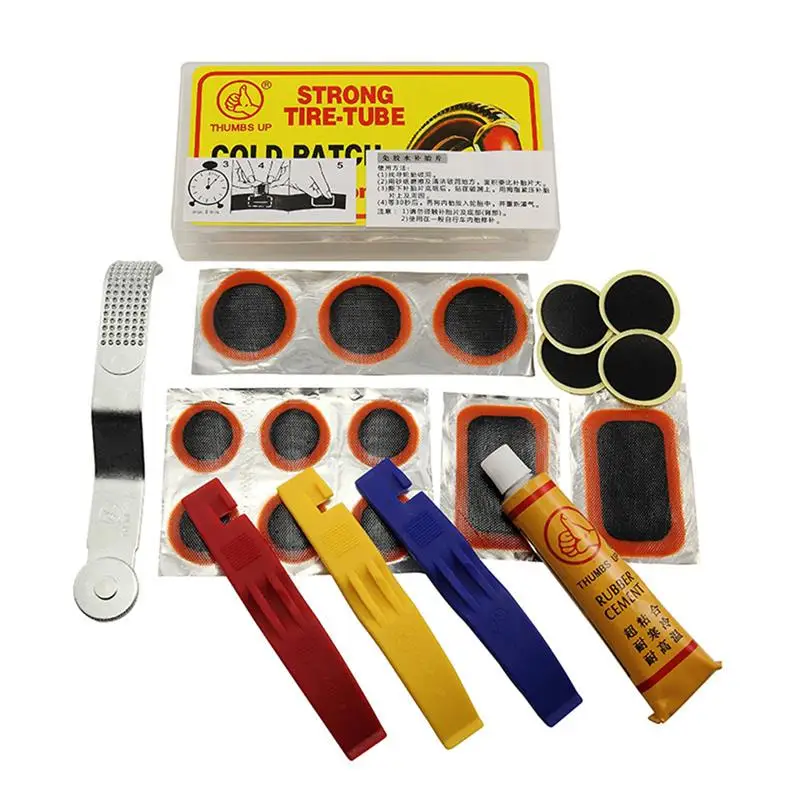
"Sausage of letters and numbers", for example, 120/70 ZR17 (73W) TL, stands for:
The arrow with the words "wheel rotation" strictly regulates where the tire should rotate during operation. If there are letters ND (non directional) on board, it can be placed in any direction.
If the manufacturer clearly limits the installation location of the tire, he writes “Front” on it for the front or “Rear” for the rear. Without this marking, rubber can be placed on either side.
TL or tube less - as we have already deciphered earlier - tubeless. TT stands for tube type, or "suitable for camera use."
All manufacturers unanimously recommend “not wearing” rubber for more than five years, and if the equipment has been “shod” in it for ten years, even mothballed, urgently change the “bagels” without hesitation. A couple of decades ago, the resource of tires was regulated only by their external condition and the courage of the driver, but this was even before the mass “epidemic of planned obsolescence of goods”. Now, two years are taken into account in the calculation of the service life, and five years is the allowable storage period for rubber in a warehouse, as a result of which it should not be sold, but disposed of. The release date is marked with two two-digit numbers enclosed in a circle or oval. The first is the week number from the beginning of the year, the second is the year of production itself.
It is a common practice to buy lightly worn race slicks or cuts - only makes sense for training on the "ring" or karting track, but not on the DOP. In addition to poor handling, longer stopping distances on slippery surfaces, and increased risk of blown tires at high speeds, riding old tires carries legal risks. When passing a technical inspection, a cracked or worn protector (hypothetically) can cause a refusal to issue a diagnostic card. In fact, this is the same malfunction as badly worn brake pads. Also, in the event of an accident, due to the unsatisfactory condition of the rubber, the insurance company may refuse to pay you, referring to your favorite excuse - speeding (based on the increased stopping distance).
"From the factory" modern motorcycle tires are covered with a preservative silicone impregnation that prevents drying out during storage. It is slippery and penetrates deep into the pores of the rubber. Until you wipe it on the asphalt - do not count on a good "hold" and "sharp" brakes. It is not necessary to wash off the grease with gasoline or other solvent (it is useless), just ride measuredly for the first couple of hundred kilometers. By the way, after long-term storage of used road motor rubber, it is also recommended to “run in” it in order to remove a layer of coarsened material from the surface.
Even if you provide ideal storage conditions, motor rubber still ages over time, becoming covered with microcracks. If the "age" of tires has exceeded 10 years or more - do not buy them, despite their attractive appearance.
Signs of critical wear:
The principle of evaluating the residual depth of the tread grooves is now outdated - most manufacturers add an integrated tire wear indicator to the options, which is worth focusing on.
Let's start with what happens if you put a wider tire back without changing the "native" rim. This question worries many inexperienced motorcyclists who want to look more "sporty".
Firstly, you will not wait for the expected increase in traction due to the increased area of \u200b\u200b"support". Wider rubber, squeezed by the edges of the rim not in size, will tend to “up”, so the calculated wheel profile will be violated. It will be higher, respectively, the contact patch will not increase. Secondly, the controllability in corners will worsen, the speedometer will “lie”, the weight distribution will change due to the rear of the motorcycle raised.
This is highly discouraged for most modern sportbikes that hit the track, but many classic models, nakeds and cruisers are often fitted from the factory with a combination of radial front and diagonal rear tires. Unlike the radial, the diagonal one is a little “softer”, allows for moderate overload, is sold a little cheaper, so why not?
The choice of how much to inflate the wheels to is a constant compromise between the loads on the rubber and its capabilities. On most motorcycles, the recommended pressure for each axle is indicated on a sticker (on the fork and swingarm), but this value is only relevant for the rubber model that was supplied from the factory. On a new model, look for a designation on the tire (next to the max load load) indicating the maximum allowable cold pressure. Do not take a tire if this value is lower than recommended for your motorcycle.
Let's say your bike has a sticker with the recommended 2.25 bar for the front and 2.5 bar for the rear wheel. If you ride mainly with a passenger, with luggage, making long “flights” along the track, your motorcycle weighs 200 or more kilograms, and its volume is close to a liter, keep the pressure in the rear wheel at least 2.8–3.0 bar, and in the front 2.5 bar. If you ride around the city, alone, with almost no luggage, and are not fond of “flights”, it would be optimal to set equal pressure in both wheels at 2.2 bar.
For lightly loaded medium-sized engines, the interval varies from 2.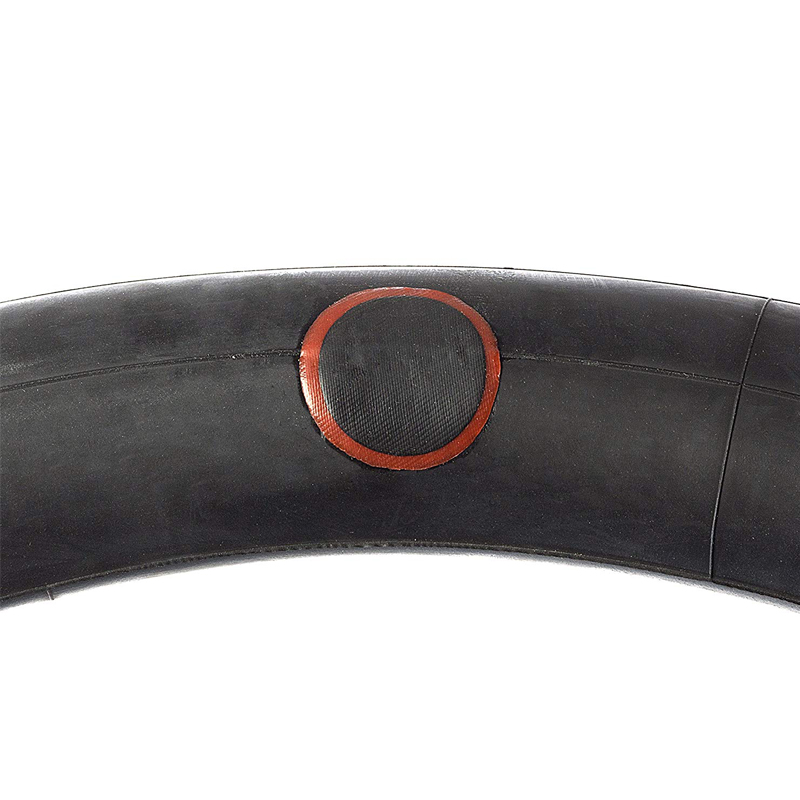 0 to 2.3 bar, and for slender "Chinese" 2.1 bar - in the front, 1.9 bar - in the rear cylinder (especially if the tires are also Chinese). The pressure in road tires must not be lowered below 1.9 so that the motorcycle does not start to “float” in corners or on bumps - this is dangerous.
The more we inflate the closed volume of the wheel, the more “round” it becomes and the smaller the area in contact with the asphalt. A larger contact patch means greater rolling resistance and accelerated tire wear, a smaller one means worse stability, lower braking and acceleration efficiency. Up to a certain point, these nuances are compensated by the tread, so on motocross and enduro bikes, the wheels can be lowered to 1.2 bar - front and 0.8 bar - rear. However, air is an unreliable business, therefore, in hard enduro and trials, a gel filler is now more often used, which allows maintaining a pressure of 0.4 and 0.9bar. Such a set will not live long, but this is a sport in which, as we remember, rubber consumption is not considered.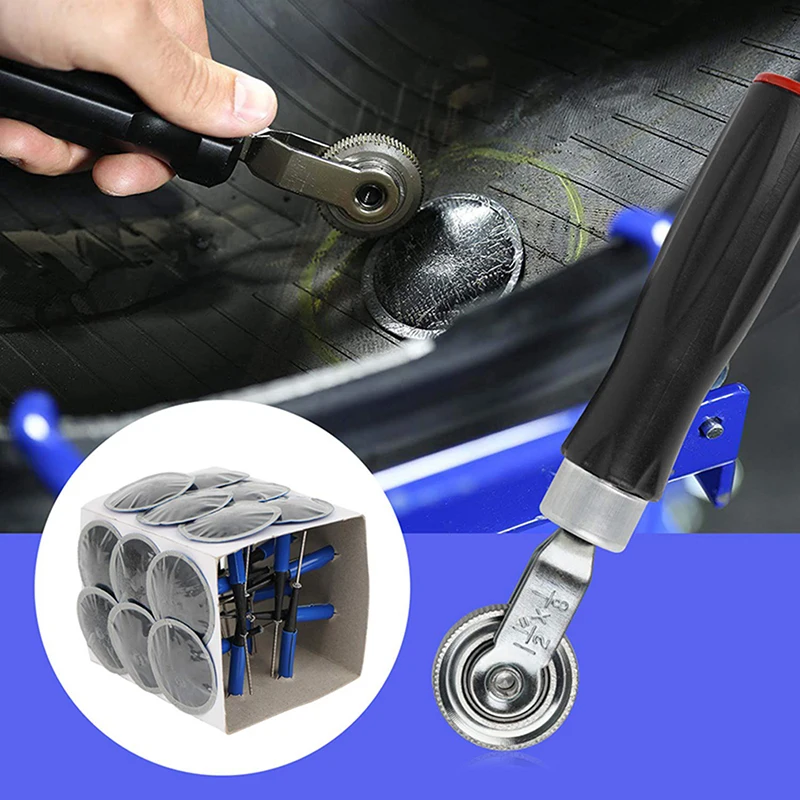
Definitely yes. The older the cylinder, the harder its surface and the lower the residual tread height, the worse the bike “holds” the road. Bald or improperly matched tires increase the braking distance, and can cause an unexpected “leaving” the track into a ditch. On an over-inflated tire, the fork or pendulum will “beat” hard, and on a flat tire, the motorcycle will become less predictable in corners and “gobble up” more gasoline than in a normal ride.
No, because their rims are not sealed and you simply cannot inflate the tire. Not all alloy wheels are suitable for tubeless, so always check what type of rubber was on the bike before. In addition, the hole in the rim designed for the camera nipple may not match the size of the new nipple.
Only if the damage to the wheel does not allow you to inflate the tire, and you still need to get to the “repair”.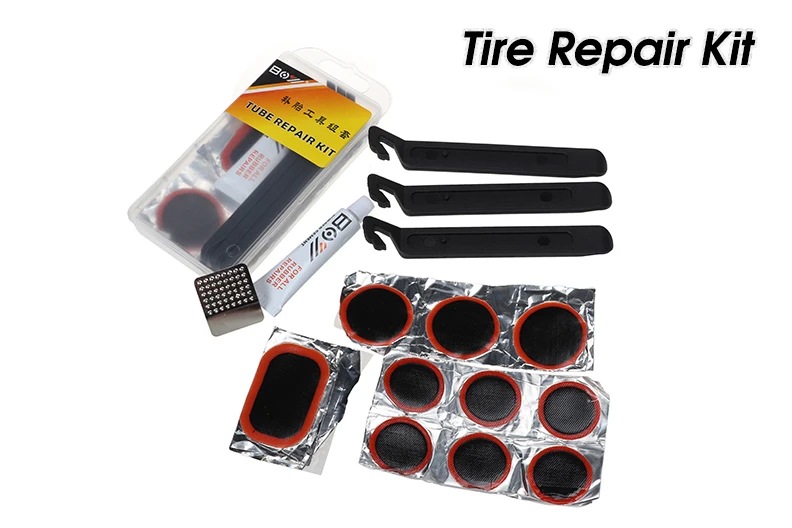 In all other cases, the idea is controversial. The inner surface of a tubeless rim is not designed for other rubber to constantly rub against it, creating additional heating, and the inner part of a tubeless rim may have protrusions that injure the chamber. It is possible to get a “beautiful” wheel by putting a tubeless tube on a spoked rim, but objectively, this will increase its weight (remember the unsprung masses), and reduce the life of the camera. About when it frays to break - you will know already on a flat tire. You can repair a puncture of a tubeless tire without removing the wheel, but you will have to remove and patch the tube with its disassembly.
Undesirable. Even if it does not look worn yet, its resource is already less, from frequent “heating-cooling” cycles, it becomes rougher than new, frays or cracks faster. The old tube may not fully expand and fold if the new rubber has a lower profile (and internal volume) than the previous one.
If it belongs to the Racing Street or Street Legal class, this is a completely justified choice for the owner of a sport, street, naked or classic with claims to “aggressiveness”. In other cases, it is not recommended. Firstly, the use of racing slicks or cross-country tires is not allowed on the DOP. Secondly, sports tires are designed for intensive work with a certain warm-up. At competitions, before the race, they are warmed up in special covers, and then they are “given” one warm-up lap so that from the first seconds of the test race they can provide the bike with good contact with the asphalt (sticking).
In the city, even if you ride aggressively, the slick simply does not have time to warm up to operating temperature (more than 80 about C). Or even before it does not heat up for the whole trip, given the ragged rhythm of traffic lights and possible "toffees". Accordingly, it will not give adequate grip when trying to “give a corner”, the wheels will be demolished during braking, and instead of an energetic start, the bike will “grind” on the spot.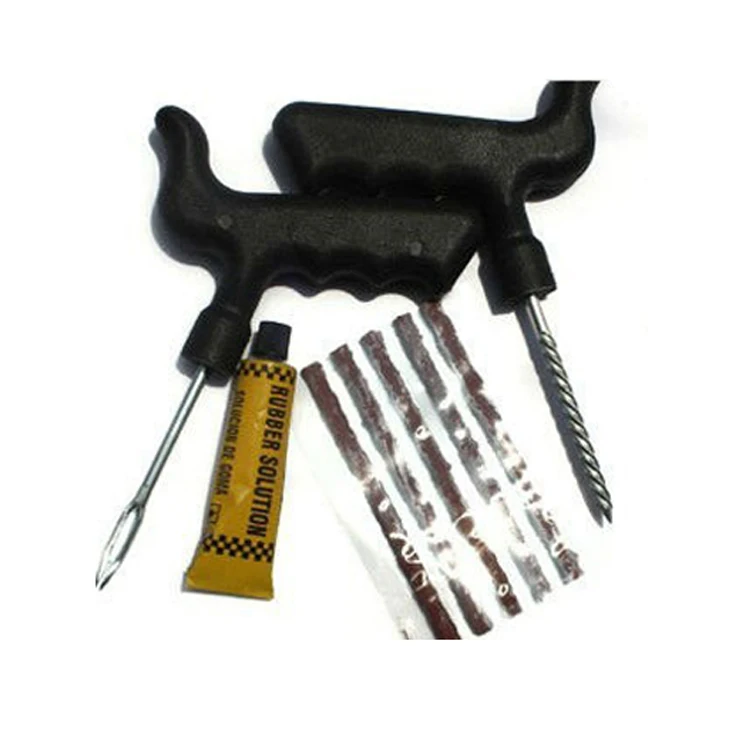
Ideally, pre-washed, treated with a silicone spray, complete with a disk and in special cases. Naturally - in a dry, dark place with a constant temperature, away from fire, children and animals.
Change your shoes for the winter, or find and set aside good rubber in reserve - make sure that during storage it:
Few people can provide all these conditions, so remember at least the main thing: protect the motor rubber from drying out and deformation - do not hang it, but lay it horizontally, wrapped in waterproof fabric.
This is only the main part of the answers to popular questions about motorcycle tires, collected in one material. Without "deepening" in the topic - a little about everything.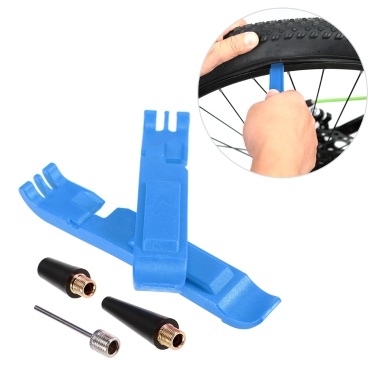 If any of your questions still remain unanswered - ask it in the comments, we will definitely analyze it.
Hello.
I got a small piece of material on gluing a motorcycle wheel chamber with my own hands. In principle, sealing a motorcycle chamber and sealing a bicycle chamber are absolutely identical processes, so many of you probably remember how this is done from childhood. But, suddenly, someone didn’t have a bike 🙂 I’ll post it, maybe it will come in handy for someone.
Today's article closely echoes the article on replacing motorcycle tires with your own hands. Read about disassembling and beading motorcycle wheels there. Here we will only glue.
To seal the camera of a motorcycle, we need a kit that you see in the first photo. This is a Soviet repair kit for repairing tires for cars and agricultural machinery, which is sold in almost any spare parts store for Zhiguli.
In a good way, it is enough to have only one instruction for this repair kit to do everything right.
Do you think my motorcycle can be classified as a tractor or agricultural equipment? 🙂
First we need to determine where the hole is. To do this, we take the camera, inflate it and lower it into a basin of water. Where the bubbles come from - there is a hole.
We look at the hole in the chamber and evaluate whether it is worth gluing at all. In my case, this is not a hole at all, but a crack that has formed from old age. I still sealed it, but it only lasted three hundred kilometers.
Then, as indicated in the instructions, we clean the puncture site with a special grater, which is attached to the first aid kit, or with a piece of medium-sized sandpaper.
It is necessary to sand a little with a margin, otherwise the patch may fall off.
Of course, I never had any liquids with the abbreviation BHZ in my household, so I just applied a layer of glue, waited for it to dry, peeled it off, then applied two more layers.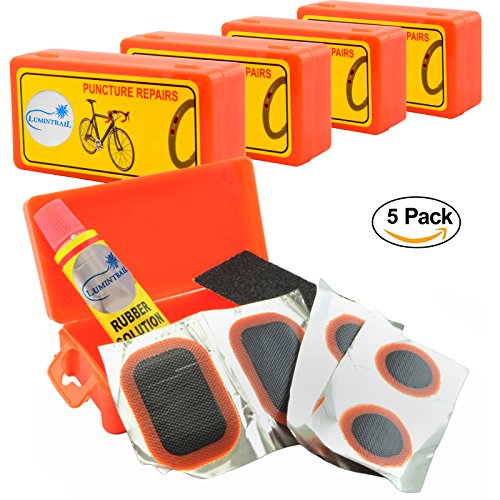
Next, we need to stick a patch and iron it properly. If there is an option to clamp in a vise - this is only a plus.
Then we wait until everything dries, peel off the top inelastic layer from the patch, inflate the chamber and check in a basin of water whether our patch is siphoning anywhere.
Well, that's all, now I'll tell you a couple of important things that are not listed in the instructions for the camera repair kit.
1) It is important to understand that when using tube rubber, when replacing or repairing the tube, we first need to find the cause of the puncture. If you ran into a nail, and then he flew away somewhere - half the trouble. Now, if a piece of glass is pierced, and the shard remains inside the tire, this is a big problem, because after the repair the hole will appear again. Therefore, we carefully check with our hand whether there are any solid particles left inside the tire.
If you have a compressor on hand, or even a conventional pump, it will not be superfluous to blow out the tire from the inside. Then I highly recommend wiping the tire from the inside with a damp cloth.
2) A hole in the chamber can be formed not only as a result of a puncture with something sharp. If there is a crack in the tire, the camera can chew and grind while driving (inquisitive - my torment on this topic). Such a crack can be seen as follows. It is necessary to press on the tire from above so that the lower part “spreads” a little and perform such an operation along the entire radius. The crack will be clearly visible.
If you find a crack, don't despair. It, if it is not on the floor of the wheel, can be patched up with a patch from the same first-aid kit for cameras, but you just don’t need to rip off the upper, inelastic layer from the patch. In my case, the tires were enough for about 4,000 kilometers, so if you're lucky, you can get home this way.
3) Be sure to assess the general condition of the camera. The camera that we glued in this article was so old that three hundred kilometers after gluing it completely cracked in another place.