By Mary Lougee
Checking your lawn before you start mowing may turn up hard objects that could propel from the blades at speeds up to 170 miles per hour, and punch holes in your tires or cause other damage. If you notice you have a tire that is leaking air, it most probably has a hole in it from a sharp object that was in the lawn. You can perform repairs at home so you can finish mowing your lawn and then take the tire to a shop later for a professional repair or replacement. The best method to repair holes in tires depends on the size of the hole.
When you run over a sharp object, you may or may not see a hole. To find a smaller hole in the tractor's tire, mix water and dish soap and swish it with your hand to form bubbles. Dip a cloth in the mixture and squeeze it over the tire. Move the lawn tractor forward to roll the tire until you've covered all parts of the tire with the soapy water.
When you see many bubbles coming from one area, it means you have a leak or a hole. Draw a circle around the area with a paint pen and continue the process so you find all the holes in the tire.
Repair holes less than 1/16 inch in diameter with a tire sealant. First, remove any objects protruding from the holes with pliers. Turn the valve stem cap counterclockwise and remove it from the affected tire. Screw the applicator tip on the tire sealant clockwise onto the valve stem. There is usually a tab to break off the top of the can to allow the sealant to flow. Shake the can, holding it upright and press the button on top to add sealant to the tire. Stop adding sealant when the tire appears to be inflated. Remove the sealant applicator tip and reinstall the valve stem cap.
Use a tire plug to repair holes more than 1/16 inch in diameter. Remove any foreign object from the tire with pliers. Insert the black rubber plug through the eyelet of the tire tool provided with the kit. Pull the plug through the eyelet so it is centered in it. Insert the plug into the hole in the tire with the tool until at least two-thirds of the plug is inside the tire. Pull the needle straight out and cut off the excess plug with scissors so it is flush with the tire.
Add air to your repaired tires with an air compressor after you've finished the repairs. Check for the pounds per square inch rating written on the tire's sidewall, near the rim. Check the tire pressure through the valve stem with a tire gauge and add air gradually to inflate it to the correct psi. If you overfill the tire, press your fingernail on the metal pin, in the center of the valve stem to release some air, then use the meter to check again.
References
Writer Bio
Mary Lougee has been writing for over 10 years. She holds a Bachelor's Degree with a major in Management and a double minor in accounting and computer science. She loves writing about careers for busy families as well as family oriented planning, meals and activities for all ages.
As an Amazon Associate we earn from qualifying purchases made on our website. If you make a purchase through links from this website, we may get a small share of the sale from Amazon and other similar affiliate programs.
Getting a flat on your lawnmower tire can be such a pain. And repairing the tire can be even more of a pain! There are plenty of options to find out how to fix a tire online, but the sheer amount of options from YouTube to forum sites may cause a headache.
To help ease your brain from ensuing headaches, I have compiled a list of three ways to repair a tire and the types of equipment you will need to repair your tire. This will put you on the right track.
For every tire, including lawnmower tires, there is a point of no return when a tire cannot be repaired. It is essential to know the difference between what can be fixed and what cannot be fixed. That’s why this article has a section dedicated to what tire damages and mishaps cannot usually be fixed using these three repairing strategies.
If there’s a small hole caused by an impaled object on your tire, one of the best ways to repair it is by using tire sealant.
Using sealant to repair a lawn mower tire is ideally a straightforward process. But there are a few different types of sealant to choose from, so knowing the right one to choose is vital.
Pressurized sealants cost around the $6-12 range, so you won’t have an empty wallet trying to look for one. Pressurized sealants are cheap and only made for one-time use.
Liquid sealants, which pour into the valve stem of a tire wheel, cost a little bit more, around $9-12. You will need a compressor or portable tire inflator for the liquid sealant to work correctly.
Tire sealant kits come with a compressor, and they can cost in the $30-80 range. I would recommend getting a sealant kit over the other options. The kit provides the compressor that liquid sealants need and inflates the tire unlike what most pressurized sealants claim they do.
If you need recommendations on what type of tire sealant is the best, check out Consumer Reports’ tire sealant review page. Consumer Reports gives excellent micro-reviews on which sealants are capable of filling 2.4 mm and 5.8 mm tire holes. They also list the price of each sealant, so you don’t have to look it up.
Before you do any work, DO NOT pull out the object that is causing the hole in the tire at first. This will cause the sealant to be unable to seal the hole. You can pull the object out of the tire after applying sealant, as shown in the directions later.
Some sealant bottles may come with a chart to tell you how much sealant you should use for the size of the tire you’re fixing. Make sure you look at the chart to see how much sealant you should use or else your tire will not have enough sealant, and the leakage will happen again.
Tools Needed:
Directions
 This position is the most easily accessible position to work on your tire.
This video here from TireJect explains the process step by step.
A tire plug kit is another way to fix a hole in your tire. Usually, tire plug kits come with a reamer/plug tool, some plug wires which block the hole, and some contact cement.
To plug a tire, the tire needs to be removed from the car, so a floor jack is necessary. Here are some of the tools you will need to patch up the tire.
Tools:
If you don’t have a tire repair kit, make sure to have these individual items on hand:
Removing a Tire from a Lawn Mower
To plug the tire, you’ll first need to take it off the lawn mower. Follow the directions below to ensure you properly remove the tire, which will also help make sure it goes back on properly.
Directions:
Now that the tire has been removed from the mower, it is time to patch the tire using a tire plug kit.
Directions:
 The air from the leak will make bubbles from the soapy water, showing you where the leak is.
Helpful hint… I have seen videos on YouTube where people have poured the contact cement on the plug after inserting the plug in the plug tool. This also works.
This video here expains the process quite well:
Reinstalling the Tire

Patching a tire is considered the most efficient way to truly repair your damaged tire and can usually fix larger holes than plugs and sealant. The reason why patching a tire is considered the most efficient is because patching doesn’t just check the outside of the tire, but the inside as well.
When a tire has a hole in it and begins to lose air, the sidewall starts to deteriorate, leaving black dust from the sidewall on the inside of the tire. This can be prevented by patching a tire.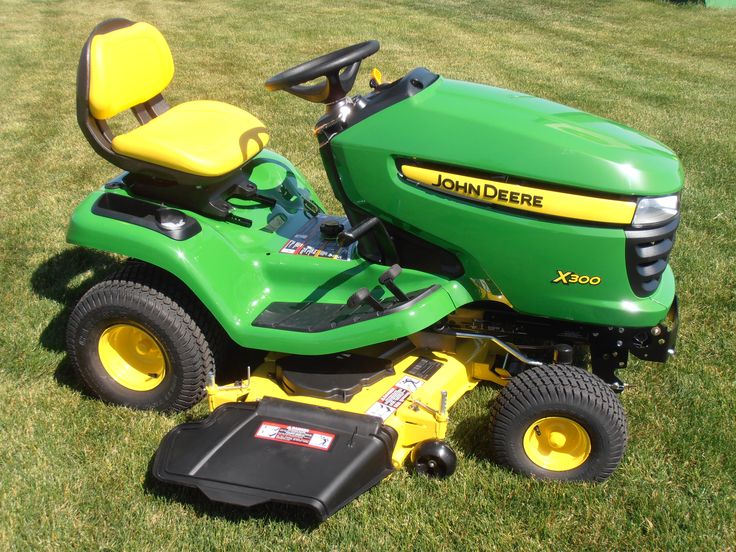
If you plan on patching a tire, prepare yourself. Patching a tire is easily the most challenging tire job out of the three ways to repair your tire in this article. You know the saying: hard work produces the best results.
But, the sidewall itself can’t be patched. Any damage to the sidewall itself, whether it’s from an outside source of weakening from within, will require a new tire.
Much like using the tire plug kit, patching a tire requires a floor jack to remove the tire from the lawnmower. Patch kits take things one step further, though. Removing the rim of the tire is a crucial step. You will find out how to do so here!
Tools Needed:

To save you some more time, we’ll start these directions after removing the tire from the lawnmower. Look back at the directions for “Removing a Tire from a Lawnmower” to learn how to do that properly.
Directions:
 Put your foot on the rim of the tire to hold it still.
Helpful hint: Not all bead breakers are the same. Some may require a hammer to break the bead while some do not.
Directions:
 This may take a few tries to get the hole to a size large enough for the plug to fit in, so do not stop at just one push inside the hole.
Lawn mower tires tend to last five years. Sealants, Plugs, and Patches are all perfectly fine ways to repair and expand your tire’s life expectancy (though I believe patching to be the most efficient).
But, there are points where tires have reached the point of no return. Car owners need to know when that point has been reached. Look below for more details!
To check for dead tread, insert a penny into the groove with Lincoln’s head right side up. If you can see all of Lincoln’s head, you should probably replace your tire.
You can fix a flat lawn mower tire on your own, as long as it’s not too far gone. Using sealant, plugging, or patching a lawn mower tire are each effective in their own right. It’s essential to fix the flat tire before any permanent damage is done.
The sidewall can become damaged if there’s a leak in the tire, and that is not a DIY fix. Keep an eye on your lawn mower tires and be ready to replace them about every five years.
Are you a landscaping enthusiast and want to help me grow Landscapingplanet.com? I am looking for writers! Just send me an email at [email protected]
Lawn mower repair
Combustion engine lawn mowers are the most convenient and popular in everyday life. Unlike electric units, they are self-contained and do not limit the working area by the length of the power cord.
However, like any complex mechanical device, petrol lawnmowers periodically break down or simply malfunction. Below we will look at the most common breakdowns of lawn mowers powered by four-stroke internal combustion engines.

As far as engine failure or seizure problems are concerned, they are practically non-existent in the cart-type lawn mowers we are discussing in this article. These malfunctions are more likely to be inherent in hand-held gasoline scythes and account for almost half of the reasons their users contact service centers.
If the lawn mower stubbornly refuses to start, and for some reason you do not want or cannot contact the service shop, then try to follow a simple troubleshooting algorithm. As always, use an effective search method, moving from simple causes to more complex ones.
1. Check engine pressure (compression) . To do this, you will have to acquire a special device in advance - a compression meter for measuring the parameters of lawn mowers. Normal engine compression should be in the range of five to eight atmospheres (all depending on the individual characteristics of your engine). The compression parameters of your unit should be specified in the accompanying technical documentation. If the compression level is much less than the specified one, then your piston system is out of order, it requires a deeper study, repair or replacement of its elements.
2. lawnmower engine stuck. Although this type of fault is much less common in cart-type devices, it cannot be completely ruled out. Basically, engine jamming occurs due to gross violations of the operation mode of lawn mowers. But if this did happen, then repairing the lawn mower in a service center will cost you a lot. Therefore, always carefully read and follow the manufacturer's recommendations for the operation, storage and maintenance of the device.
3. Faulty lawnmower starter . Checking the functioning of the starter is quite simple: you just need to try to pull the starting cord out of the lawn mower. If it does not pull out, try unscrewing the top cover of the mower along with the trigger and try to pull the cord out again. If this time the cord does not lend itself, we diagnose a breakdown of the starter.
If the cord begins to stretch after removing the cover from the engine, put the mower on its side and try to turn the working knife several times by hand. If the knife does not rotate, then the engine is still stuck and you will have to send it to a service center, carry out in-depth diagnostics and, depending on the result, repair or change.
4. Carburetor failed. This is the most common cause (more than half) of cart-type lawn mower breakdowns. The carburetor will have to be removed from the lawn mower, disassembled and carefully examined. Pay attention also to the serviceability of the gaskets and the air damper responsible for mixing air with fuel.
Most owners of suburban dachas and gardens dream of having lawns. Lawns are very different in style, but any lawn is, first of all, a grass cover. A section of such a cover can simply be left on the area of your site between garden and garden plantings or various structures, or it can also serve as an independent element of landscape design. In any case, all our lawns can be divided into several types. Thus, meadow lawns are most common - in the form of artificial lawns, which have a natural appearance, due to their formation from broad-leaved and narrow-leaved grasses. Mowing such a lawn is carried out once a month or even a little less often. Moorish lawn is already a whole piece of land with herbs and flowers, which is cut even more rarely: before and after flowering. Parterre lawn as a type must be recognized as the most demanding type of grass cover for its care. It is unstable to trampling, and the height of the grass on the parterre lawn should be from 2 to 5 cm, so such a lawn is mowed 1-2 times a week. The ground under his grass should be perfectly flat.
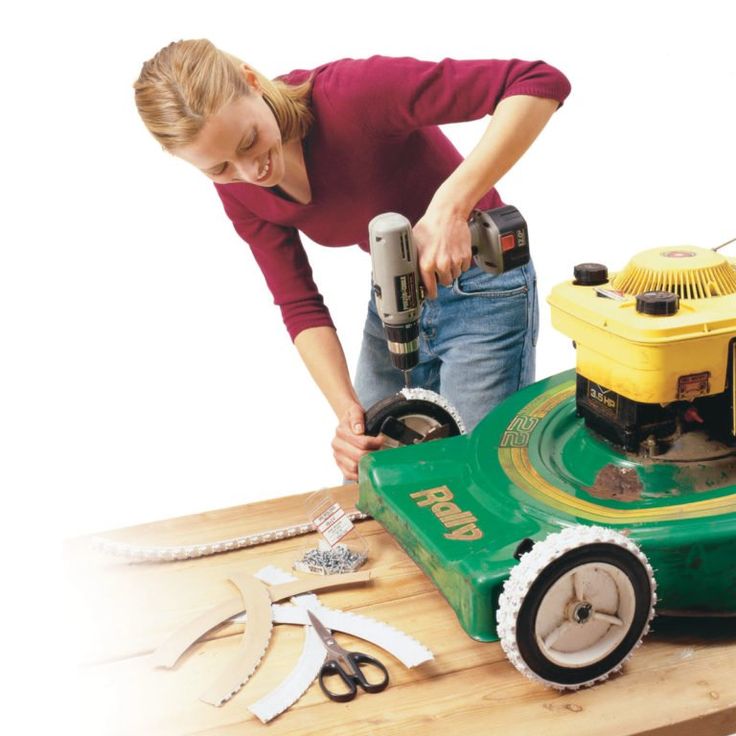
The formation and maintenance of meadow and parterre lawns will definitely require you to use a lawn mower on a regular basis, so you need to be ready not only to purchase it, but also be able to maintain its performance during the working season. How not to run the condition of your lawn if you have any problems with your lawn mower? Of course, with a faulty mower, you need to contact a service center servicing its brand as soon as possible. However, there are typical situations that you can resolve on your own without wasting time on a trip to service specialists. As a rule, lawn mower breakdowns turn out to be typical because they occur through the fault of the owner of the mowing unit, who does not follow the rules for its operation. To learn how to distinguish between the need for a trip to a service center and cases when you can help your mower yourself, let's look at all the most typical and frequently occurring malfunctions that occur when operating lawn mowers; think of ways to eliminate them.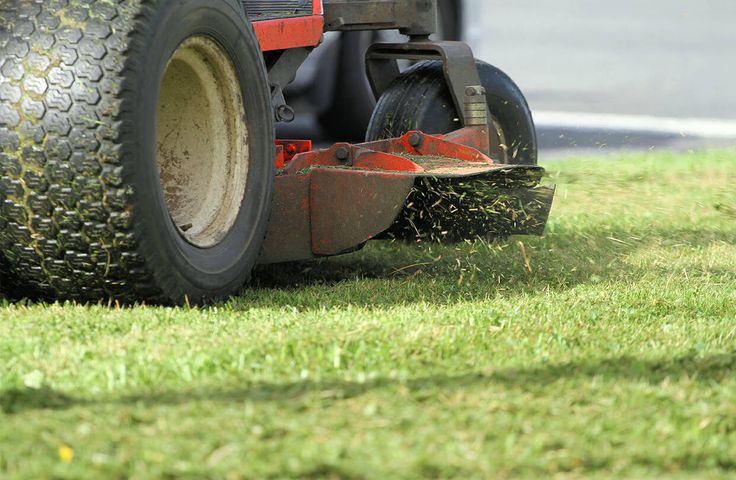 ..
..
1) The presence of extraneous rumbles or rattles in the sounds of a running lawn mower. Most often, these overtones indicate loose engine bolts. Another reason for their appearance in the rhythm of the engine may be a poorly fixed body of the instrument. All this is corrected by the usual check of each bolted connection of your mowing unit: if you find an unacceptable backlash somewhere, tighten the loose bolts tightly again. Don't be alarmed, due to the vibration of the body and the engine, gasoline lawnmowers encounter similar problems quite often during their work.
2) The lawn mower vibrates violently during operation , making unexpectedly sudden, uncontrollable movements. The most common cause for such problems is damage to the mowing blade of your machine. Another circumstance is the weakening of the cutting mechanism located on the motor shaft. Eliminating such problems is possible in the same way that we mentioned in the first case - tightening loose bolts is required. If there is damage to the knives, you should replace these broken parts.
3) A specific whistling sound occurs during operation of the lawn mower. This sound comes from the fact that a foreign object gets into the mower and, in connection with this, the roller in the aerator is blocked. Therefore, to eliminate such a specific malfunction, it will be necessary to disable the locked roller in order to remove the foreign object.
4) The lawnmower starts to leave a very uneven cutting level behind it. The reason for this shortcoming in operation is very simple - blades that are too blunt are working on the mower. If you sharpen these mowing knives or replace them with new ones, the disadvantage will disappear.
5) Unauthorized stops of the front wheel drive are observed during operation of the mower. The reason for this may be the extreme degree of wear of the drive belt - in this case, it should simply be replaced. It may also turn out that the clutch cable is already too stretched: then you just need to adjust it.
6) When the mower is running, the engine stops immediately after starting it. This can happen when the windrower has a stuck piston or crankshaft. In some cases, the cause may be the lack of oil in the crankcase. Here you can recommend checking the presence of oil or manually setting the stuck parts in motion, but the best solution in these cases would be just to turn to the service center for help.
7) Lawnmower engine simply refuses to start . This malfunction can have many different reasons, and the vast majority of them will require qualified intervention by repairmen from the service center. However, among the most common causes of failures, one can point to a faulty spark plug or running out of fuel. In such simple cases, a simple replacement of a candle or refueling can "revive" the engine.
It goes without saying that your lawnmower needs regular maintenance in order to keep running smoothly. All these maintenance steps must be carried out at the end of the working season before winter storage, and some maintenance activities must be done more frequently. Exact recommendations on the timing and methods of maintenance can always be found in the original instruction manual for your mower. Of course, you can't just leave your lawnmower in the tool shed at the end of the season and hope that it will also start up briskly next year in the spring! To avoid problems when starting the mowing unit after a long winter storage, there are a few simple measures. They must be accepted after the end of the next working season in order to facilitate its start-up when you need it again.
Keeping your lawn mower clean is the most important condition for the reliable operation of your lawn mower. The juices from the cut grass that get on it all the time have a strong corrosive effect on the metal parts of the lawn mower. For example, the gradual accumulation of cuttings under the mower deck can lead to rapid corrosion, so both the bottom and top of the mower deck should be carefully kept clean. We especially note that if you do not mow wet grass, the efforts to clean the deck will require the most minimal. If the cut grass does not contain a lot of moisture, it sticks weakly to the deck, which can be quickly cleaned with a blower to remove fallen leaves or a compressor. If the grass clippings are still wet or stuck, a water hose may be advised. Luckily, some lawn mowers have a flush fitting built into the deck, making it much easier to clean the deck regularly.
It is also important to keep the engine clean. Lawnmower engines are air-cooled, so it can be said that the cleanliness of the cooling fins becomes the key to their efficient operation and prevention of overheating. The best option for cleaning the cooling fins of a lawnmower engine is to use compressed air, although cleaning with a simple soft brush can also be effective here.
To keep your lawnmower running smoothly, you must always change the oil at the intervals indicated in the owner's manual. On some engines, lawn mowers have a bottom drain option; for others, it will be necessary to turn the mower on its side to do this. Recall that it is advisable to drain the oil while the mower engine is still warm. This will make it easier for the oil to flow out and capture suspended dirt particles so that they are removed with it. When adding the recommended amount of oil, check the level regularly. Care must also be taken to ensure that dirt does not get into the crankcase of the lawn mower during filling. Some lawnmower manuals also give instructions for lubricating axles and other similar parts. Some lawn mowers are equipped with grease fittings that must be injected with grease using a grease gun as recommended in their owner's manual.
| Mower Air Filter Replacement |
The air filter on your lawnmower also needs to be cleaned regularly or even replaced. The more dusty suspensions are created during operation, the more often the air filter will have to be serviced. Be sure to remember to do this during maintenance at the end of the season. The end of the season is also the best time to check the spark plugs on your lawnmower and they need to be serviced or replaced during this period. So, if you observe that the end of the spark plug or the electrode is worn out, maybe even burnt out, or if the threads on the candle have rusted, then be sure to replace such a candle. If the candle is simply covered with soot, oil or white coating, it needs to be cleaned, its gap adjusted again, or still replaced with a new one. See your lawnmower owner's manual for the correct spark plug gap. To re-adjust old or adjust new spark plugs, be sure to use a special tool: after finding the correct tightening torque for the spark plugs in the manual, use a torque wrench when reinstalling the spark plugs.
It is common knowledge that the volatile components of gasoline evaporate over time, and as a result of this process, it is sometimes because of the old gasoline that you find it so difficult or even impossible to start your lawnmower engine in the spring. The best way to avoid this problem is to allow the engine on the mower at the end of the season to run out all the fuel in the tank "dry" before putting the mower unit into winter storage. Calculate how to achieve this in advance, do not pour more fuel in the last days of the garden season than is necessary for the final work of your unit; Be sure to let the engine run until you run out of gas. Then there will be no old gasoline left in the fuel tank, and there will be no plaque in the carburetor due to gasoline fumes. If you then fill this tank with fresh gasoline in the spring, the lawnmower engine will start without any difficulty. In general, if you still have gasoline left at the end of the gardening season, then it would be better to quickly use it in some other gasoline equipment than store it during the winter. Just remember that a 2-stroke gasoline-oil mixture cannot be used to run 4-stroke engines.
Hopefully, following these simple maintenance tips for your lawnmower will make it much easier for you to start your lawnmower and keep it running well for many years of service.