The CV joint, the half-axle, the half-shaft, the axle, or even the drive shaft are some of the many names of this mechanical part. It is a very important part in a motor vehicle, but it is also, in fact, a very simple mechanism. Let’s demystify this mechanical assembly.
First thing first, let’s agree on a name. In reality, we are talking about a half-wheel axle. A few joint variants are used in the assembly of a half-axle. Two mechanical principles are the most often used: the universal joints and the constant velocity joints.
The universal joint (U-joint)
The universal joint is extremely simple and is an excellent economical choice. The Italian inventor M. Cardano perfected this technique to couple two rotating shafts that are not aligned or when the angular positions relative to each other vary. In the ATV industry, it is mainly used on drive shafts and more rarely on half-axles.
Composed of a cross-section and yokes that are very economical to replace, this mechanism also has a downside. Its operation results from a non-linearity of rotation. To counter this phenomenon, a second U-joint must be installed on the same shaft, at the same angle, and synchronized by a quarter turn. Another dark facet is its vulnerability to water which will disintegrate it.
Example of non-linearity of the universal joint
The constant velocity joint (CV joint)
The constant velocity joint is a much more advanced mechanism. Its linearity is almost perfect, which results in smoother operation. As it is more complex, it is also much more expensive. Its design requires grease to lubricate it as well as to dissipate heat. A simple intrusion of water or sand into the assembly will contaminate the grease and inflict fatal punishment on the joint. As it is protected by a flexible bellow or boot, you can easily guess the importance of it being kept in good condition.
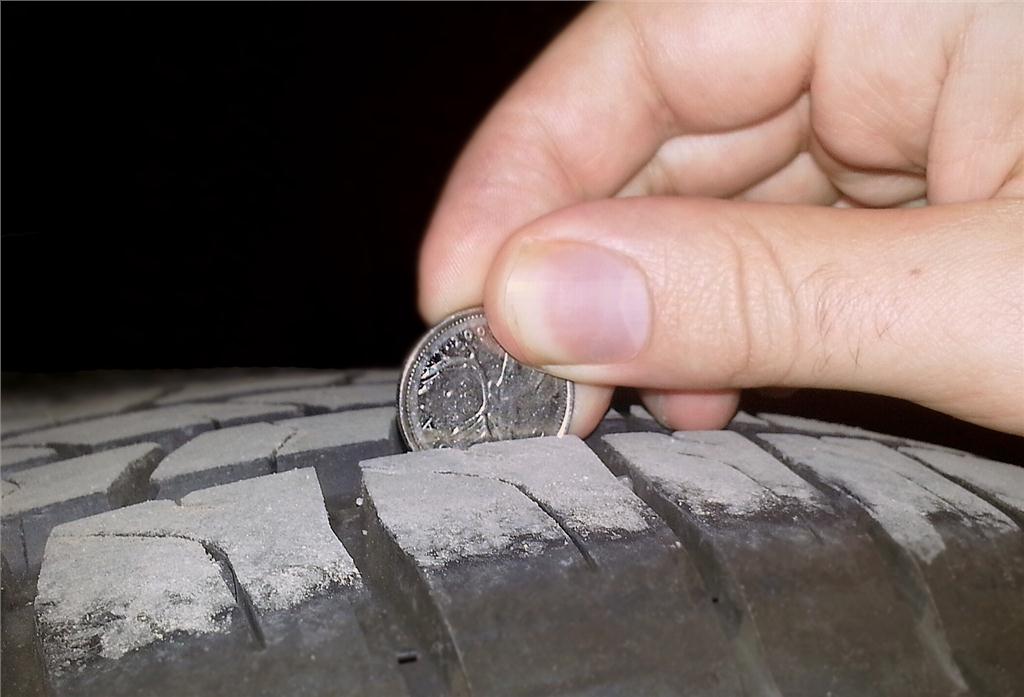
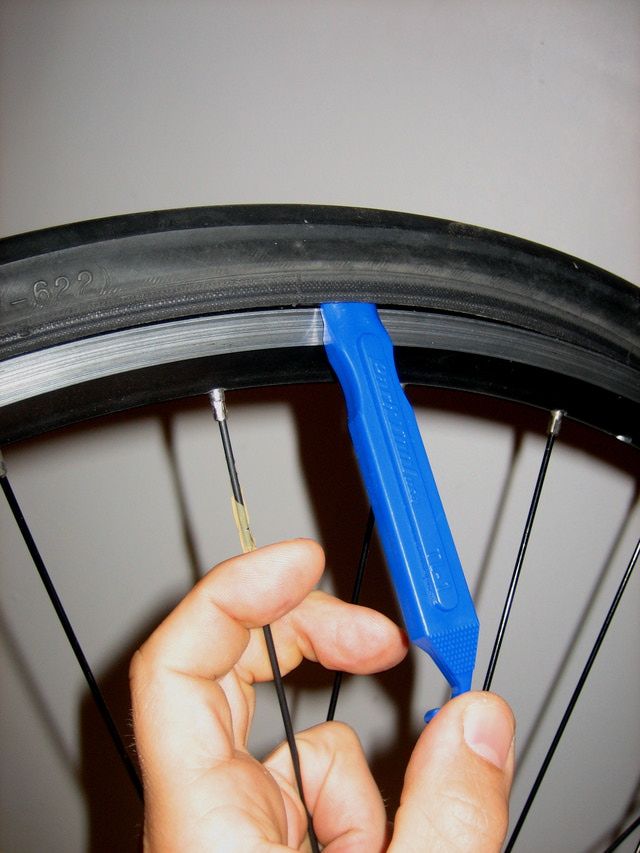
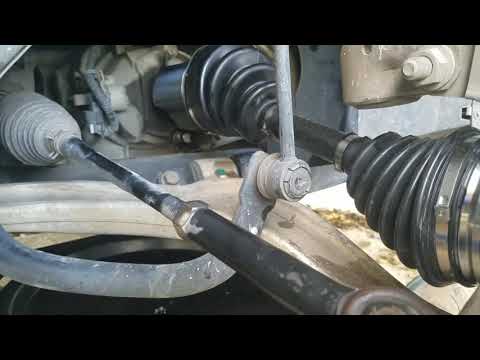
Periodic check of your half-axle boots
A simple visual inspection of the CV joint boots can tell you if you need to take action. The presence of grease outside the boot indicates that immediate repair is needed. Traces of wear or cracks on the bellows are signs of repair intervention in a near future.
Choice of replacement boots
There are four choices of replacement CV boots on the market. That of the manufacturer of your ATV (OEM), the replacement “jobber” boot (aftermarket), the universal boot, and the replacement kit sold in two parts to be bonded together.
The latter is a real joke and I don’t recommend it. This replacement boot is split into two parts which must be assembled around the constant velocity joint and then bonded with glue. Cleanliness and very good dexterity are a must in this case. Repairing a CV boot with this kit is, indeed, really not as easy as it seems.
The third solution, the universal boot, can be interesting. This bellow does not require disassembly of the constant velocity joints. You have to stretch the boot and pass it over the joint. The boot composition is usually very flexible, but is also more fragile to the impact of branches and other objects encountered on the trails
The OEM and aftermarket replacement boots are, in my opinion, the best choices. Those are the ones I recommend.
Replacement boot assembly
Replacing a half-axle boot
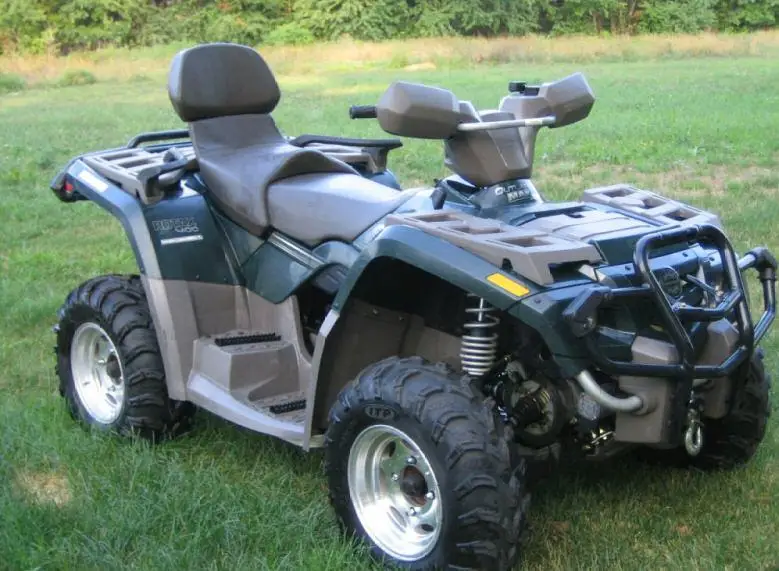
ATV used: CFMoto CForce 1000
Required tools
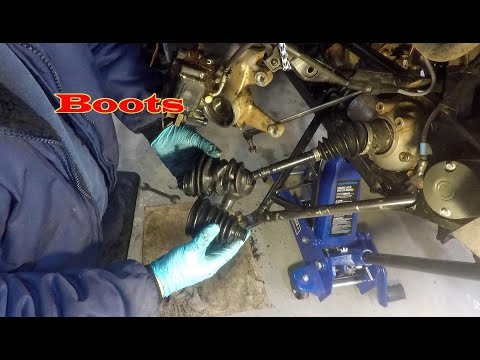
Removal of the wheel and disassembly of the brake caliper will be necessary. Unscrew the nut from the end of the half axle. Remove the retaining bolts from the ball joint suspension links on the steering knuckle. Release the assembly and set aside the knuckle.
Remove the half axle from the differential by pulling it firmly. It may be necessary to use a lever between the differential and the half-axle. Take care not to damage the differential seal.
Remove the clamps from the boot to be replaced using sharp wire cutters. Cut the old boot and set it aside. Inspect the grease in the CV joint. If the grease is not contaminated with water, sand, or dust, that is good news: the CV joint may still be in good condition.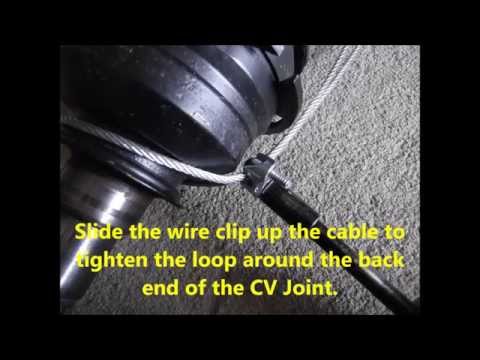 If, on the other hand, the grease is discolored or contaminated, the joint is likely damaged. In other words, even if the boot is replaced, a premature CV joint failure is to be expected.
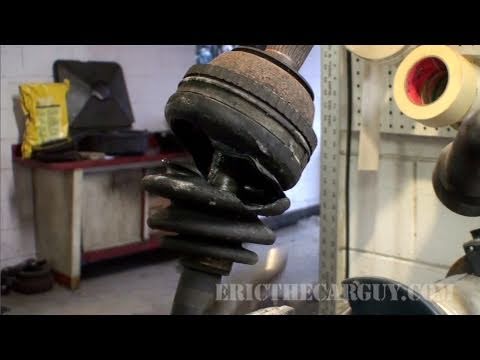
To separate the CV joint from the half-axle, it will be necessary to use a hammer to hit it with a few light strokes. Use a brass punch and strike only in the central part near the half-axle. Note its installation position, it should not be reversed. Once the parts are separated, remove as much of the old grease as possible. Inspect the condition of the CV joint. If there are scratches or traces of abrasion, unfortunately, the joint will have to be replaced.
Damaged CV joint
Reassembly of the CV joint
First, put the small clamp on the half-axle. Then slip the CV boot. Pour some of the grease supplied with the replacement boot onto the constant velocity joint. Now reinstall the joint on the half axle. Make sure that it is properly locked in place.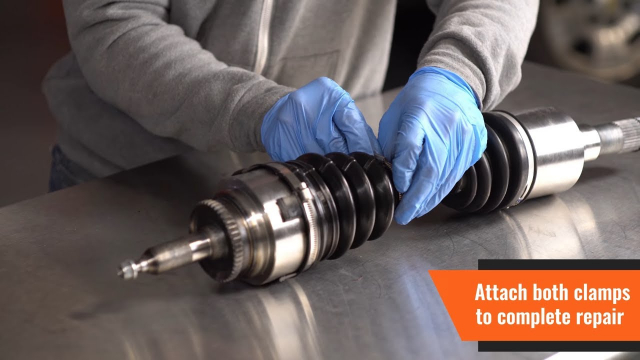 Pour the rest of the grease into the boot and put it in place over the CV joint. Install both clamps and tighten them using the boot clamp pliers.
CV Boot clamp pliers
Now you just have to reinstall the half-axle by reversing the procedure. Position the C-lock in the center of the half-axle, this will facilitate its insertion into the differential. If some oil has leaked out of the differential during repair, simply fill up the oil level. Make sure to respect the tightening torque of the wheel bearing nut.
In conclusion, a CV boot repair is a relatively simple operation. If there is any doubt as to the condition of your CV joint, it is possible to get a replacement unit without replacing the whole half-axle. However, in most cases, the cost of both parts (boot and CV joint), will exceed that of a full replacement half-axle assembly. Check the two options.
CV axles are used to drive every model UTV and independently suspended ATV on the market. Whether replacing a torn CV boot, a broken axle, or even upgrading to stronger or longer axles for an aftermarket suspension, as an ATV enthusiast, you are bound to be tearing into one at one time or another. While it looks a bit scary, there really is little mystery to axle repair, and the same basic process can be used on almost any model CV axle.
We will show you how to rebuild a broken RZR XP axle with OEM Polaris parts, but you can use these same steps for CV boot replacement with a boot kit from Moose Racing or All Balls. MTA also has a new, reasonably priced line of Slasher CV axles and boots.
Tools needed:
• Bench vise
• Dead blow or brass hammer
• Needle-nose pliers
• Side dikes
• Small flat screwdriver
• Band clamp tension tool
• Moly CV-joint grease
 STEP TWO
 Be sure
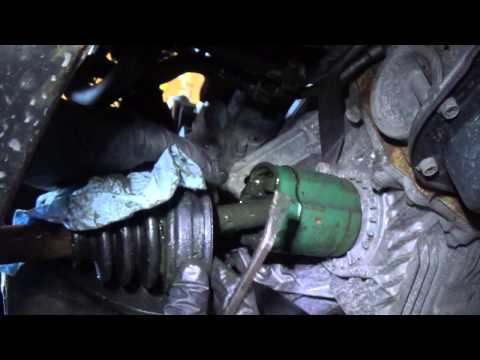 Be
BeContinue Reading
AxlesCV Joints
Prev Post
Polaris RZR Factory Racer Ryan Piplic Takes SxS Pro at WORCS Round 6
Next Post
2017 POLARIS RZR XP TURBO TEST
| Repair and maintenance > Replacing drive boots.
|
Breaks or holes in the component occur regularly due to high loads. Therefore, gasoline-powered ATVs should be checked regularly for damage to the anthers. If this is not done, dirt, moisture or dust may enter the CV joint. This, in turn, will lead to its breakdown and increase the cost of servicing the four-wheeler. Therefore, let's figure out how the ATV boot is replaced and when it should be done.
Since ATVs are used to drive on difficult tracks (mud, sand, snow, puddles, etc.), its components must have increased protection. And it is especially important to secure the constant velocity joint (CV joint), which transmits torque at angles of rotation.
ATV boots should be replaced if:
It is this component that protects the CV joint from dirt, moisture, dust and other foreign objects. Damage to the anther can lead to the complete destruction of the assembly.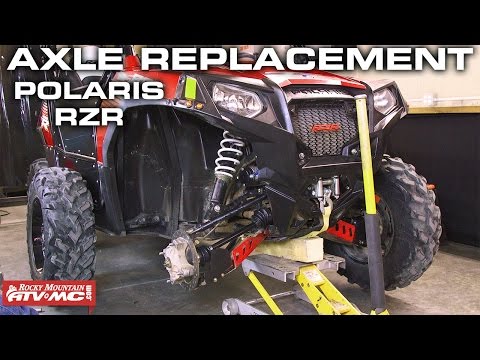 So you need to inspect it at least once a month (with the active operation of the equipment).
If you notice that the rubber element of the CV joint is damaged, you should purchase a new consumable. But before that, make sure that the node itself is in working condition. That is, when driving, there should be no knocks in the swivel area.
ATV boot must:
The brand also plays a key role in choosing a consumable. The products of SKF, Maruichi, GKN, Spidan, RBI have proven themselves well. To select the right component, you only need to know the part number.
Important : Only buy boots from reputable brands. Non-original consumables often come off, tear or leak moisture.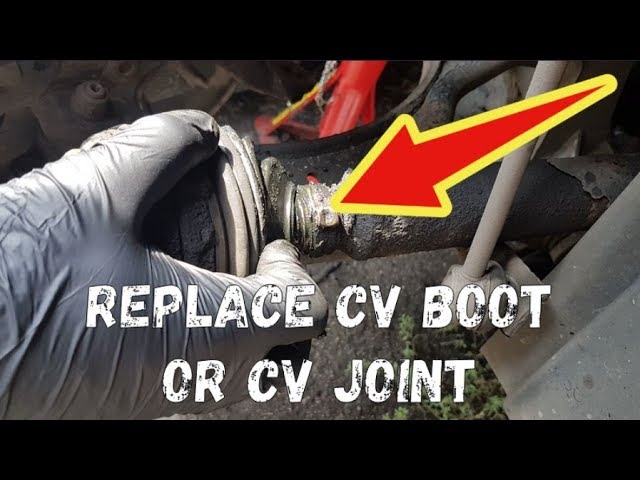
Before starting the procedure, the ATV must be washed well. This is necessary so that dirt or debris does not get into the CV joint. After that, the rider needs:
In fact, replacing the CV joint boot of an ATV is a rather complicated and time-consuming task that requires a lot of experience.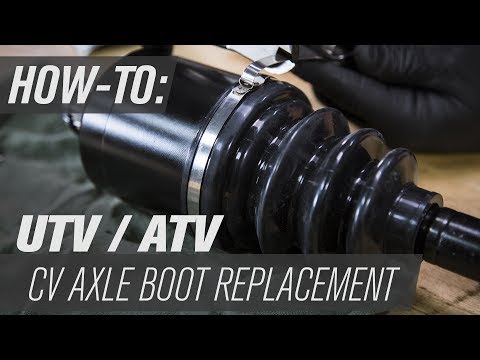

 I washed everything, put on a duster and put everything back together. (To see the retaining ring holding the CV joint, you need to remove the grease from the edge, and the ring will be visible in the recesses for the balls. It remains only to find its slot.)