Before you begin changing a flat on your bike, you will need to remove the wheel from the frame. Click here for instructions on removing a wheel on a typical hybrid bike.
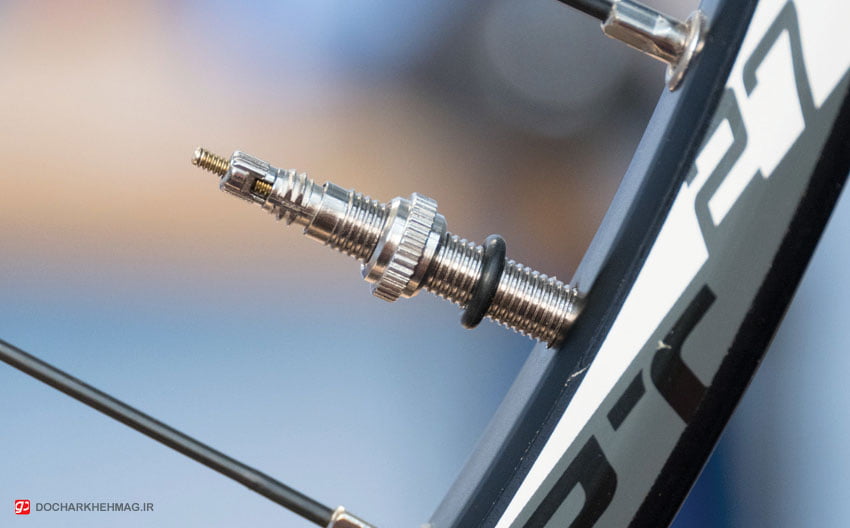
Chances are your tire has gone flat all the way. If not, unscrew the valve cap, and release any remaining air by pressing down on the valve core. If you have Schrader valves, press the valve core with a pointed object, as shown above. If you have Presta valves, loosen the tip of the valve, and press down on it with your finger. Then unscrew and remove the retaining ring from around the valve, as shown in the photos below. (For more on types of valves, click here.)
You will now remove the tire from the rim (parts of the wheel are discussed in this post). Begin by sliding one tire lever between the rim and the tire bead, with the curved end of the tire lever pointing down into the rim.
Repeat with a second tire lever, keeping the two levers 2-3 inches apart. Using the thumbs of both hands, flip the levers up and over, so that they are lying flat against the spokes, and the bead of the tire has been pried off the rim.
Secure one of the tire levers in place by hooking it around the nearest spoke, as shown.
Slide the other tire lever against the rim all the way around, until one bead is completely off the rim. If this is initially difficult, place the wheel vertically on the floor, and lean on the tire lever using the force of your entire arm. As more of the bead comes off the rim, this becomes easier.
Pull the damaged tube completely out of the tire.
Some people advocate leaving the other bead on the tire on the rim. While this does make reinstalling the tire easier, I believe it does not allow you to thoroughly inspect the tire to identify the cause of the flat. Therefore, I recommend that you yank the tire completely off the rim, which should be fairly easy to do at this point.
Now take your pump or compressor, and begin filling the damaged tube to observe where the air is escaping. Inspect the tube, the inside and outside of the tire, and the inside of the rim to try to determine the cause of the puncture (click here for details). Once you have identified and -- if applicable -- removed the cause of the puncture, you are ready to install the new tube.
Put a little air inside the tube, just enough to give it shape, and insert it into the tire. A little air helps the tube stay put inside the tire. (Note: a partially inflated tube may appear larger than the tire. This is normal. Just squish it inside the tire.)
Position the rim with the valve hole toward you.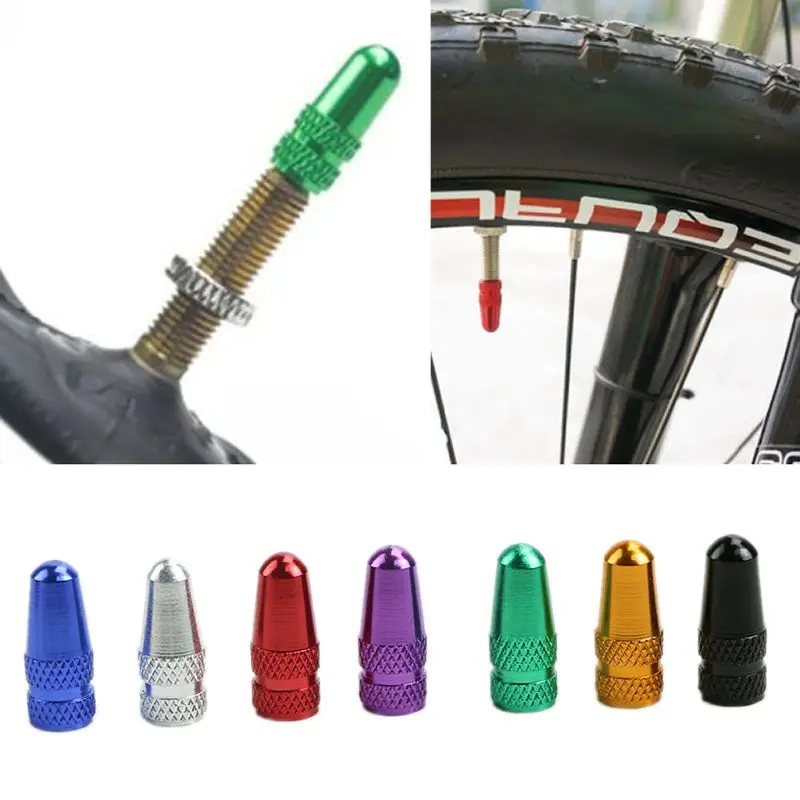 Lay the tire with the tube inside it on top of the rim, and insert the valve into the valve hole.
Go all the way around the rim, and insert only the bottom section of the tire bead into the rim. (What is a bead, again?) Do not start on the top section of the bead until the bottom part is mounted all the way around.
When you get to the end of the bottom section of the bead, you may find it easier to pry it into the rim using your tire lever. You may also wish to release some air from the tube at this point by pressing down on the valve core. This will reduce the tension on the tire.
Make sure one side of the tire bead is completely seated around the rim before proceeding to the other bead.
Begin pushing the top portion of the tire bead into the rim, starting at the valve.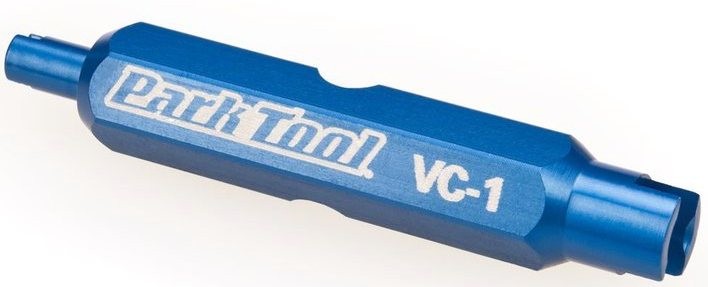
Work the top bead in all the way around the rim using your thumbs or the heels of your hands. Some tires will go in fairly easily.
If yours does not, use the tire levers to get the last 3-4 inches of the bead seated, as shown.
(NOTE: Some tire and rim combinations make an extremely tight fit, and even a skilled mechanic has to struggle to get the tire properly mounted. If you find that to be the case with your bike, either look into getting a different set of tires that will allow you to change a flat with less difficulty, or get enough practice to be sure you can do this in the field.)
Before inflating the tire, make sure the tube is securely encased inside the tire, and not being pinched between the tire bead and rim at any point.
Inflate the tire to the recommended pressure (embossed on the tire sidewall), reinstall the wheel, and you are ready to roll!
Bike BasicsJustyna FrankHowComment
0 LikesTire valve stems are valves located on the wheel of a vehicle, from which the tires are inflated. They contain a spring-loaded valve core, which is sealed by the air pressure inside the tire. Over time, valve stems can age, break, become brittle, or start to leak, causing severe tire problems and impairing the driving/ riding experience.
When the valve stems start to leak, the tire will no longer retain air. Depending on how severe the leak is, the tire may be slowly losing air, or completely deflated.
In most cases, the quickest way to replace a valve stem is to take it to a bike store, remove the tire, and replace the valve type. However, in cases where this is not an option, it is possible to remove a tire and replace the valve stem manually.
Today’s article will show you how to manually remove the valve stem core in both mountain bikes and larger motor vehicles such as automobiles.
Your first step is to remove the valve cover. Because the cover is small and easily removable, put it in your pocket or another safe place so as not to misplace it.
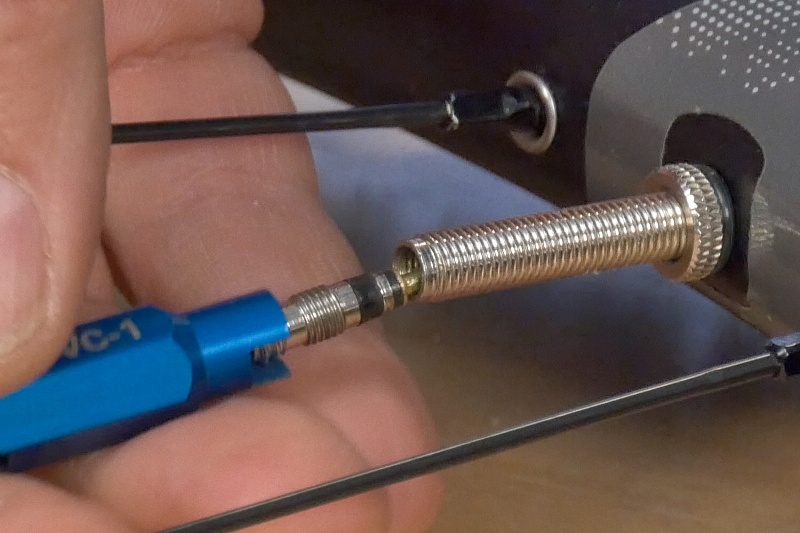
Using the valve stem removal tool or a grooved metal valve cover, turn the valve stem counterclockwise, turning it several times until it comes out of the valve. You will feel a gust of air if the tire is under pressure. As with the valve cover, place the valve stem in a safe place as it is small and easy to lose.
After depressurizing the tire, remove the valve stem. Start with your fingers, rotating the stem clockwise, and end with the valve stem removal tool or the grooved metal valve cover. If you are replacing a damaged tire and your valve stem is not at issue, hold on to this stem. You will need it when re-pressurizing the tire, and again, it might be easily lost.
Materials needed: Tube air pump, bike repair stand and valve stem removal tool. If replacing the valve stem on an automobile, you would also need a nut wrench, fine point pliers, tire iron, and jack stand.
 Immediately once the beads clear the lip of the wheel, run through the wheel until the tire is completely installed.
In most cases, the easiest way to replace a valve stem is to take it to a bike repair shop, remove the tire, and replace the valve.
However, in cases where this is not an option, or you’re looking for a task in the garage, it is indeed possible to manually remove and replace a valve stem and tire with the appropriate tools and procedures. If you think there is a leak or damage to the tire and not just the valve stem, you should replace it altogether.
Contents
her. Tightness is ensured by a movable valve and a spool on a spring. The mechanism is placed inside the rubber case, coupled with the walls of the chamber, or mounted on washers.
The serviceability of the nipple is difficult to assess - any damage entails the release of air from the chamber and the impossibility of movement. The simplest solution to this problem is to buy and install a new tube, or even easier to put a new part on the old tube. In this article, we will look at how to change the nipple on a bicycle wheel.
Weak wheel pressure - the first bells of problems with the camera trigger. Moreover, it decreases gradually, and on the road it can not be detected immediately. Breakdowns of the tire walls, as a rule, make themselves felt immediately.
A rubberized nipple valve is responsible for keeping the air inside the tire. Over time, it wears out, which worsens its tightness to the metal tube. At first, the problem can be solved by itself due to high pressure from the inside. Also, the protective cap partially prevents the air from escaping.
Auto-nipple device (cut)
A heavily worn valve and spool can no longer hold air and release it even when the cap is closed.
There are three ways to determine the fault:
 The escaping air will create small bubbles. On chambers with anti-puncture, it is not necessary to apply water - when the valve is worn, the sealant will come out with air.
 Faults include more than just valve and spool wear. So, for example, a stem failure on Presta nipples makes them completely unusable. There is also the problem of tearing off the rubberized shell of the sleeve from the chamber - this is for a classic auto-nipple. In the case of Presta, the sealing washer is deformed.
The causes of these faults are incorrect tire pressures. So, due to the pumping of the wheels on the Presta nipple, the stem is disrupted by a powerful air flow. With insufficient pressure, the fastening of the rubber casing of the sleeve to the chamber is deformed. So it is necessary to adhere to the optimal pressure in the bicycle tires in order to avoid trouble with both punctures and nipples.
Repair of a worn part is not possible, and it is not necessary - nipples are freely sold and inexpensive. The advantage of the Schrader car air intake (common on bicycles) is that it can be purchased at any auto shop.
Both Schrader and Presta change according to a similar algorithm - carefully remove the old part and install a new one in its place. The difference is that the "Schroeder" nipple fits into the rubber band, which in turn is firmly glued to the walls of the chamber. Therefore, it is very important not to damage the rubber lining of the bushing. The sports one is pushed by the platform into the hole of the chamber and is fixed from above with a lock nut.
Nipple replacement diagram (example Presta):
1. Unscrew the lock nut. Throw the threaded head 8 mm onto the Schrader thread and pull the part out of the rubber lining with force.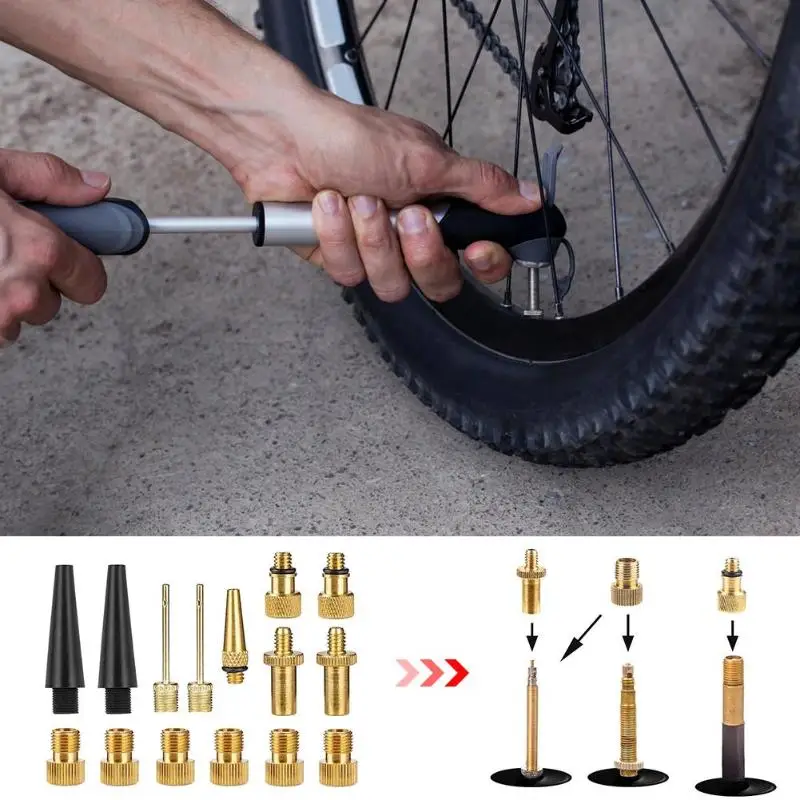
2. Cut off the top of the rubber braid with a small knife.
3. Carefully push the washer into the chamber opening. Push the "Schroeder" with force into the rubber lining.
4. Put the washer over the top and secure with the locknut with maximum force.
5. Now the tube can be installed in the rim and used further.
Now for the fun part - repairing the chamber inlet away from home. High pressure (especially Presta) can simply knock out the stem to the hole, and through it the air will leave the tire instantly. Plugs and "chopiks" will not help here - air pressure, combined with the load on the wheel, will quickly knock them out, as well as the stock. There are no such problems with an automobile nipple, but the internal valve may suddenly fail. And the result is the same as the hole on the Presta - descent.
So, you have to ride a bike for about 20 km, but the wheel is non-functional. I don’t have a spare camera with me, with it the problem would be quickly and painlessly eliminated, and the nipple can be easily replaced later at home.
Advanced cyclists, in addition to the camera, carry patches and spare nipples with them, and rightly so - God saves the safe. It is recommended to have all of these with you on long trips, or at least one of these. And of course, a set of tools.
Let's consider a situation where there are patches in stock for sealing holes in the chambers. They will be very useful to us. What can be done when the nipple cover is torn off or the valve on the Schrader is out of order:
 You can not hesitate, otherwise the air will quickly bleed to low pressure.
 Such a simple repair will allow you to reach your destination. However, it is better to keep the speed in the middle range so that the pressure inside the chamber does not increase and the air does not push the cap up.
The failure of the nipple is not a reason to change the chamber. Buying a new part will cost less, and removing it from a pierced camera is completely free.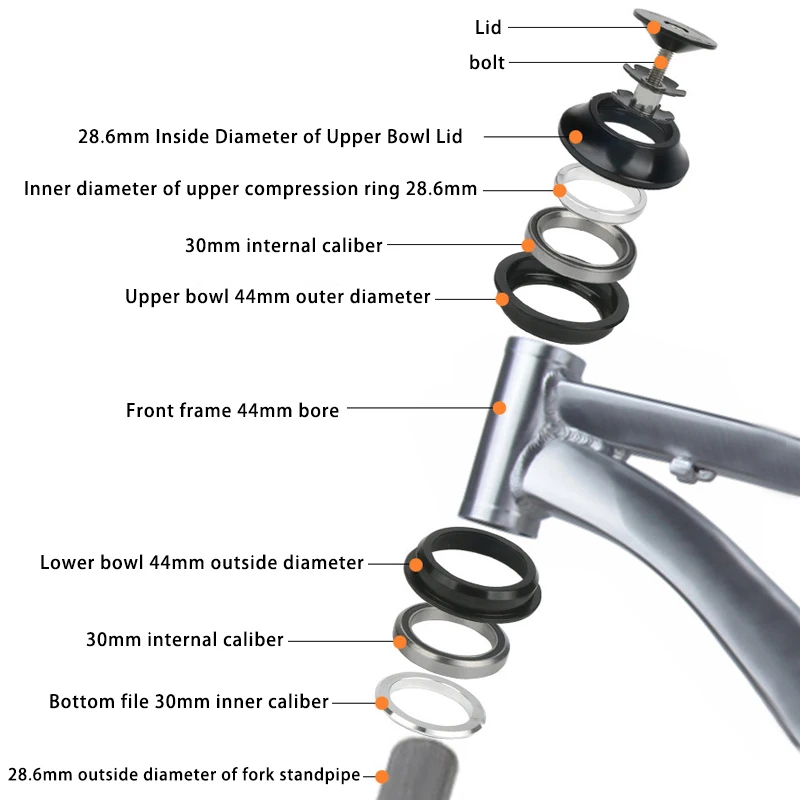 After replacement, however, it is worth paying attention to how the nipple holds air. With periodic descents, it is still better to put a new camera.
Here is a short video from MERIDA dedicated to a seemingly simple process - replacing a pierced camera.
For those who have just joined the world of cycling or are planning to do so in the near future, MERIDA releases interesting training videos, this time on changing the tube in a bicycle wheel.
00:00 SUMPLE
00:11 The necessary tools
00:31 Removing the wheel
00:35 Removing tire
01:23 Domestation of the camera
01:34 PM BBTRACK
02:35:35:35 PM Installing a tire on one side of the rim
03:07 Installation of a new tube
03:40 Finishing the installation of the tire
04:30 Checking the correct installation of the tire
04:50 Inflating and final checking the fit of the tire
05:36 doesn't speak English, our instruction:
You will need: fittings, a new tube, a tool with which you can remove the wheel if it is removed with a tool, and a pump.

Position the tire with the damaged tube inside so that it does not change its position and that the tube nipple is at the top point. Take the pump, remove the old chamber and, without changing its position relative to the tire, slightly pump it up. You will immediately find the puncture site. Focusing on the place where the tube was punctured, inspect the tire and remove from it the object that caused the puncture. Be very careful, it could be a shard of glass, a rusty nail, a plant thorn or a piece of wire: what pierced your tire and tube could easily puncture your finger. Please note that there may be several punctures! Cover the puncture site on the camera with your finger and check if the air is escaping: if there is another puncture, you will find it.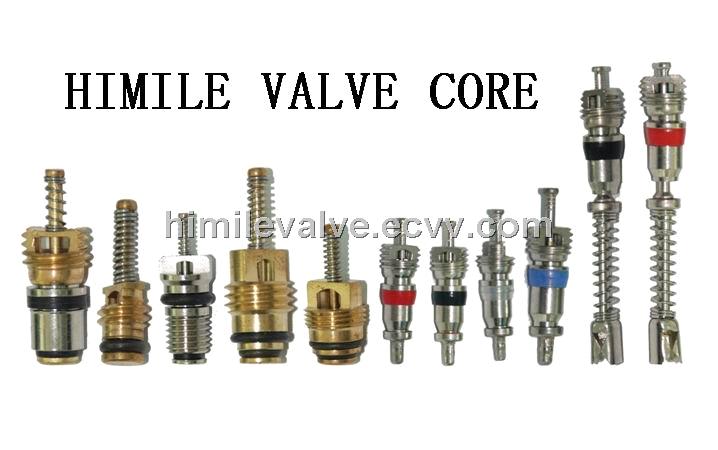
Also, pay attention to the surface of the rim, the condition of the beads and the rim tape - they should not be damaged, cracked, or broken.
After all the items that caused the puncture have been removed, it's time to assemble the wheel.
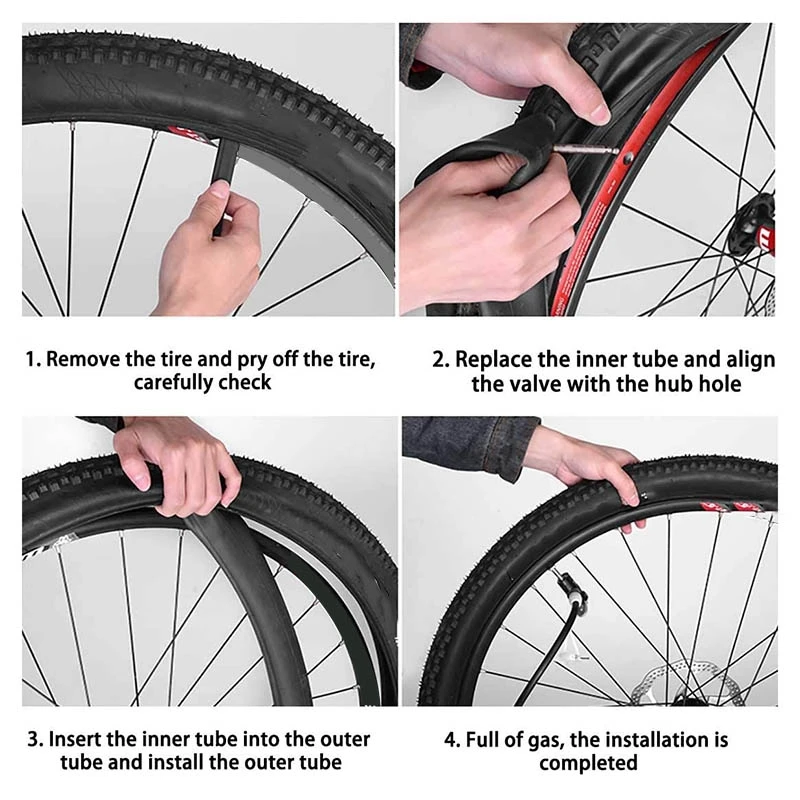 Carefully install the new tube inside the tire, being careful not to twist or kink. If necessary, bleed some air from it.
Using too low a pressure can lead to a bite (snake bite): situations where the two walls of the rim pierce through the surface of the tube when hitting an obstacle. For two adjacent holes, this situation is called “snake bite”. Excess tire pressure can cause the chamber to explode.
If the tire is crooked, do not try to fix it by increasing the pressure above the maximum - this can lead to an explosion of the chamber. It is possible that the tire has received carcass damage - in any case, an inspection in a professional workshop is necessary.
Put the wheel on the bike, if you haven't already, fix it properly and keep riding!
And as always in the end: in our assortment at SLOPESTYLE.