Please enable javascript to view the website ..
Repair help > Front-Engine Lawn Tractor repair > Front-Engine Lawn Tractor repair guides
January 1, 2015
By Lyle Weischwill
This step-by-step repair guide explains how to change a front tire on a riding lawn mower if the old tire is damaged beyond repair. Replacing the front tire is fairly easy; you just need a few tools and a manufacturer-approved riding mower part.
Follow the steps in this repair guide and video to replace the front tire on Craftsman, Husqvarna, Toro, Troybilt, Ariens, Poulan, MTD, Murray, Snapper, Yard-Man, John Deere and Weed Eater riding mowers and lawn tractors.
If you'd rather use tire sealant to repair the tire, the video How to Repair a Riding Lawn Mower Tire shows how.
Quick links
Tools required
Floor jack or bottle jack
Jack stand
Slot screwdrivers
Pry bars
Pliers
Valve stem core removal tool
Liquid detergent
Water
Wood blocks
Work gloves
Safety goggles
Compressor air supply
Repair difficulty
Time required
60 minutes or less
Repair difficulty
Time required
60 minutes or less
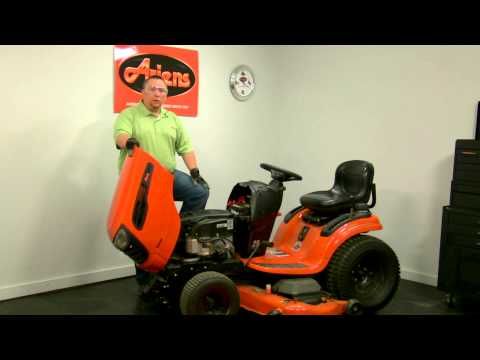
Replacing a front tire on a riding lawn mower
This video explains how to replace the front tire on a riding lawn mower.
01.
Park the riding mower on a level surface and set the parking brake.
Turn the ignition switch off and remove the key.
Wear work gloves to protect your hands and safety goggles to protect your eyes.
Lift the riding lawn mower hood and disconnect the spark plug wire.
Lower the tractor hood.
Tip: Disconnect both spark plug wires if your engine has 2 cylinders.
PHOTO: Disconnect the spark plug.
02.
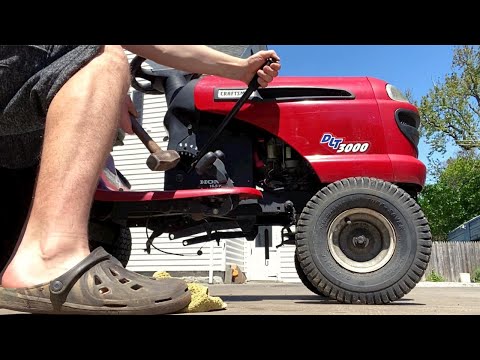
Block the rear tires to keep the riding mower from rolling.
Position the jack under the frame and jack up the riding mower to raise the front wheel.
Place a jack stand under the frame to support the riding mower.
Remove the jack.
PHOTO: Block the rear wheel.
03.
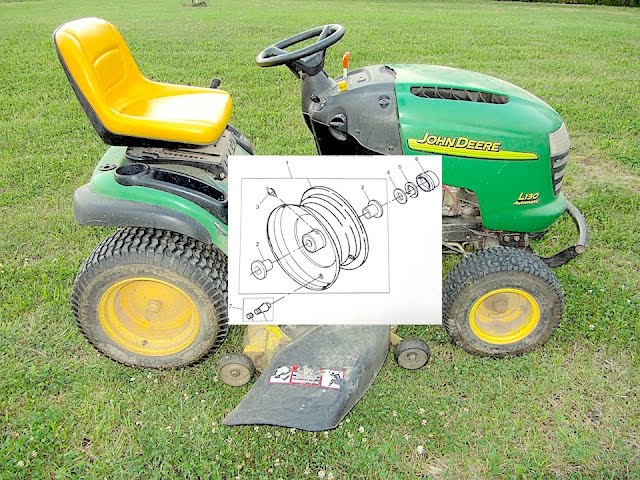
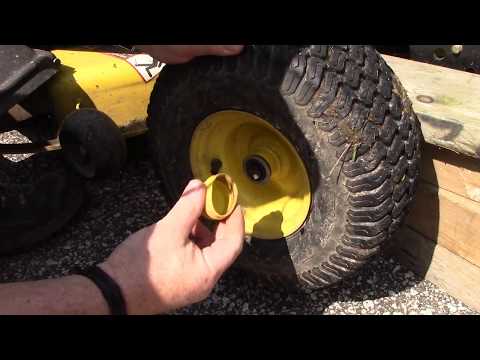
Pull off the axle cover.
Remove the retaining ring and then pull off the washers.
Pull the tire off the axle.
PHOTO: Remove the front wheel.
04.
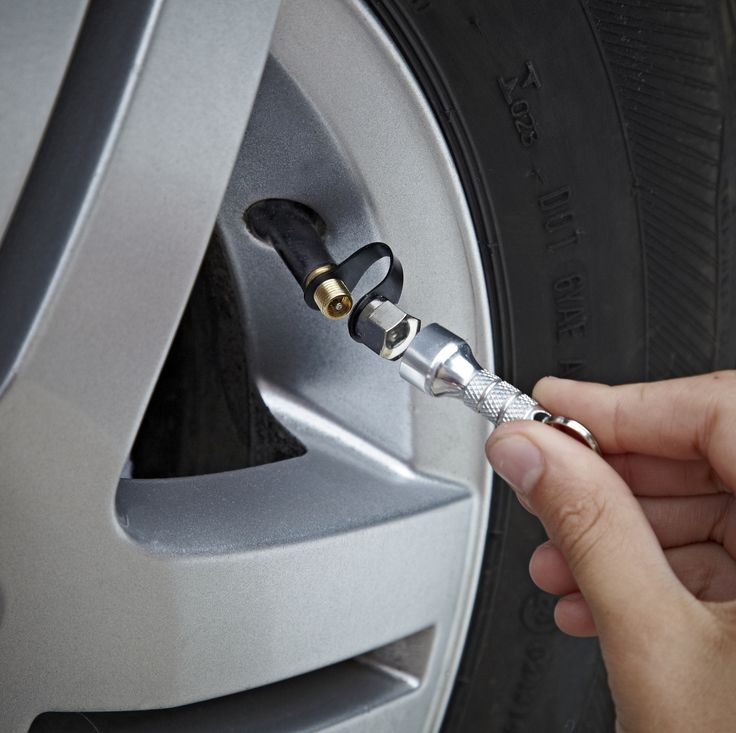
Remove the valve stem cap.
Remove the valve stem core, which lets any remaining air out of the tire.
Break the tire bead and pry the tire off the wheel rim on one side.
Pry the tire off the rim on the other side.
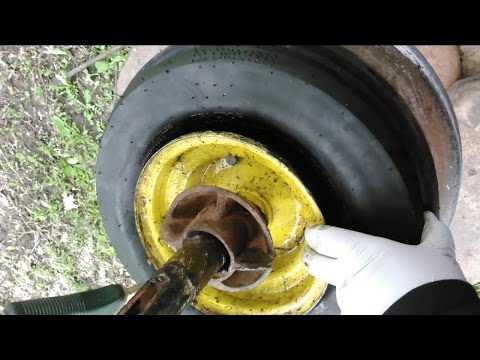
PHOTO: Pry the tire off the rim.
05.
Clean the wheel rim.
Set the new tire flat on a work surface.
Lubricate the top tire bead with liquid detergent.
Pry the rim into the top side of the tire.
Flip the rim and tire over.
Lubricate the tire bead with liquid detergent.
Pry the remaining side of the tire onto the rim.
Warning: Use blunt tools to pry the tire to avoid damaging the new tire bead.
PHOTO: Lubricate the bead.
06.
Fill the tire with air to seat the tire bead.
Reinstall the valve stem core.
Fill the tire fully with air.
Tip: If the tire didn't fill with air, install a ratcheting tension strap around the center of the tire tread, tighten the strap to force the beads outward, and fill the tire with air to seat the tire bead. Carefully release and then remove the strap.
Tip: If the bead doesn’t seal, check the rim and replace it if you find damage.
PHOTO: Shoot air into the tire.
07.
Slide the wheel on the axle.
Reinstall the washers and snap the retaining ring onto the axle.
Push the axle cover onto the wheel.
PHOTO: Reinstall the wheel.
08.
Push the jack under the frame and raise the riding mower, and then pull out the jack stand.
Lower the riding mower to the ground.
Remove the wood blocks from the rear tires.
09.
Raise the tractor hood.
Reconnect the spark plug wire and lower the hood.
Tip: Reconnect both spark plug wires if your engine has 2 cylinders.
Warning: Undertaking repairs to appliances can be hazardous. Use the proper tools and safety equipment noted in the guide and follow all instructions. Do not proceed until you are confident that you understand all of the steps and are capable of completing the repair.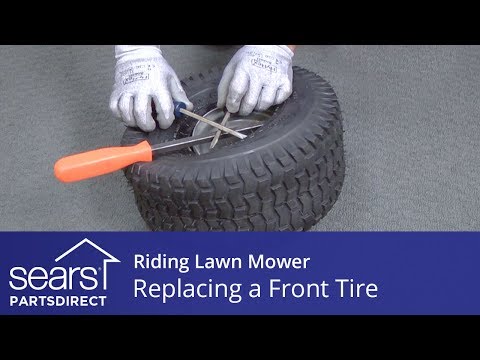 Some repairs should only be performed by a qualified technician.
Choose a symptom to see related riding mower and lawn tractor repairs.
Main causes: punctured tire or inner tube, leaky valve stem, damaged wheel rim
Read moreMain causes: worn or broken ground drive belt, bad seat switch, transaxle freewheel control engaged, transaxle failure, dirty carburetor
Read moreMain causes: shift lever needs adjustment, neutral control needs adjustment
Read moreMain causes: worn or broken blade belt, broken belt idler pulley, blade clutch cable failure, bad PTO switch, damaged mandrel pulleys
Read moreMain causes: damaged cutting blade, worn deck pulley, damaged mandrel pulley, loose fasteners on mower deck components
Read moreMain causes: engine overfilled with oil, leaky head gasket or sump gasket, damaged carburetor seals, cracked fuel pump, broken fuel line
Read moreMain causes: clogged carburetor, damaged flywheel key, dirty spark plug, stale fuel, improper valve lash, engine needs a tune up
Read moreMain causes: faulty battery, bad alternator
Read moreMain causes: unlevel mower deck, dull or damaged cutting blades, worn mandrel pulleys, bent mower deck, engine needs tune up
Read moreThese step-by-step repair guides will help you safely fix what’s broken on your riding mower or lawn tractor.
January 1, 2015
By Lyle Weischwill
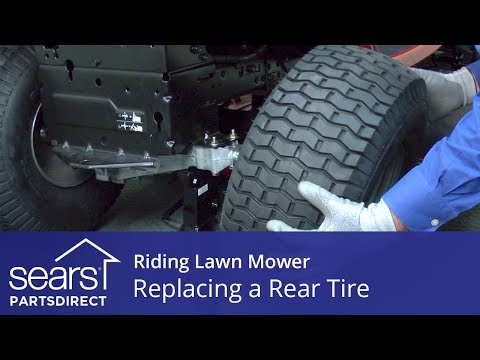
Your mower can’t run on a damaged rear tire. Here’s how to install a new one.
Repair difficulty
Time required
60 minutes or less
Read moreJanuary 1, 2015
By Lyle Weischwill
If a blade on your mower is dull or bent, replace it following the steps in this repair guide.
Repair difficulty
Time required
30 minutes or less
Read moreJanuary 1, 2015
By Lyle Weischwill
Help your mower run better by replacing the fuel filter during your riding mower's annual tune-up.
Repair difficulty
Time required
15 minutes or less
Read moreUse the advice and tips in these articles and videos to get the most out of your riding mower or lawn tractor.
August 5, 2022
By Lyle Weischwill
Learn about Sears Technical Institute and the advanced technical content being developed for aspiring appliance techs.
Read moreAugust 6, 2020
By Lyle Weischwill
Learn how a blade removal tool makes replacing the blade easier and safer
Read moreApril 9, 2019
By Lyle Weischwill
Keep these 6 things on hand to keep the mower season running smoothly.
Read moreSamsung DVE52M7750V/A3-00 dryer parts
Shop GE JBP70WK4WW electric range partsShop Maytag MET8885XB02 electric range partsShop Kenmore 79096419406 electric range parts
Shop KitchenAid KEBS177YAL2 electric wall oven parts
Shop Model #917274961 Craftsman lawn tractor
Weatherking Furnace Repair Parts
Shop Craftsman 13953918D garage door opener parts
Shop Magic Chef 83EY-1 gas range partsShop Model #NX58K3310SS/AA-00 Samsung gas slide-in range
Shop MTD 31AS6HEG799 gas snowblower parts
Shop Craftsman 137212290 miter saw parts
Refrigerator Door Bin DA63-08646A
Refrigerator Parts CraftsmanNorge Refrigerator Repair Parts
Craftsman Snowblower attachment Repair Parts
Kenwood Speaker Replacement Parts
Shop Roper RT18HDXJW00 top-mount refrigerator parts
Shop Model #6209SR Roadmaster sidewalk wagon
Craftsman 12512008 wet/dry vacuum parts
This post contains affiliate links.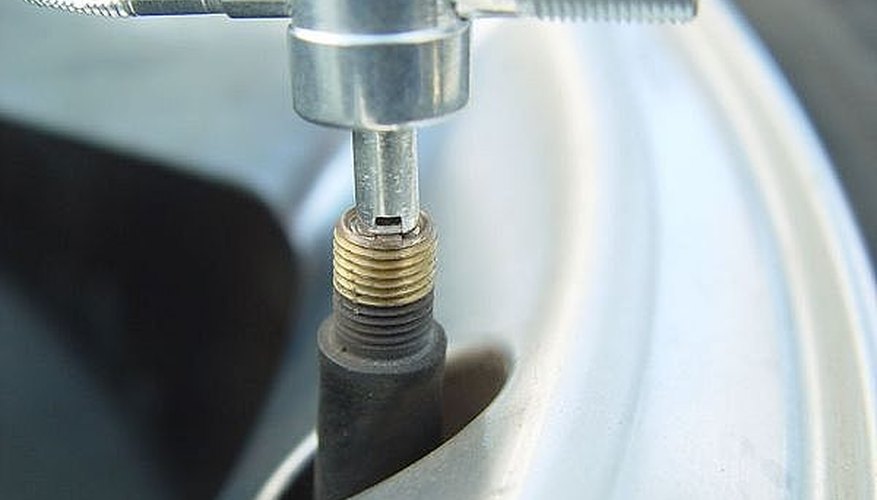 If you click and buy we may make a commission, at no additional charge to you. Please see our disclosure policy for more details.
0shares
Apart from the blades and their engine, lawn mowers also rely on their tires. Even the smallest push mower may come with a set of tires you need to maintain. And when they get defective, replace.
But replacing lawn mower tires is not the easiest thing to do. While it doesn’t require a degree in mechanics or tons of experience – you may have some trouble finding the perfect way to do so.
Don’t worry, though. We know what you have to do to get a defective lawn mower tire out of the machine and then install a new one (or several ones).
So, do you some help changing tires on your lawnmower? Then keep scrolling.
Table of Contents
Step-by-Step Guide: How to Change a Lawn Mower Tire?Now that you’re aware of the reasons why you should replace the mower tires on time let’s go into the nitty-gritty.
The following steps will help you replace your mower’s tires in a few minutes or hours. Let’s get into it!
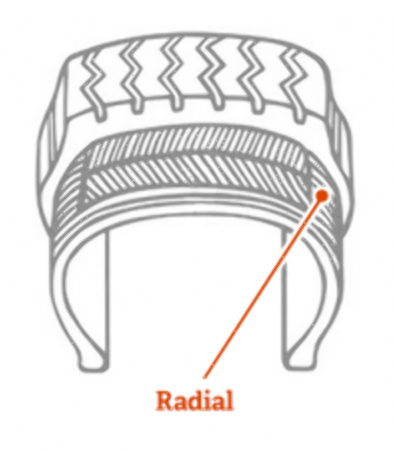
The first step into lawn mower tire repair is to know which type of tire your mower uses.
Tubeless tiresFor example:
Before you go any further, be sure to know which type you’re going to work with. Then, you can shop for the right tire and follow the correct guide accordingly.
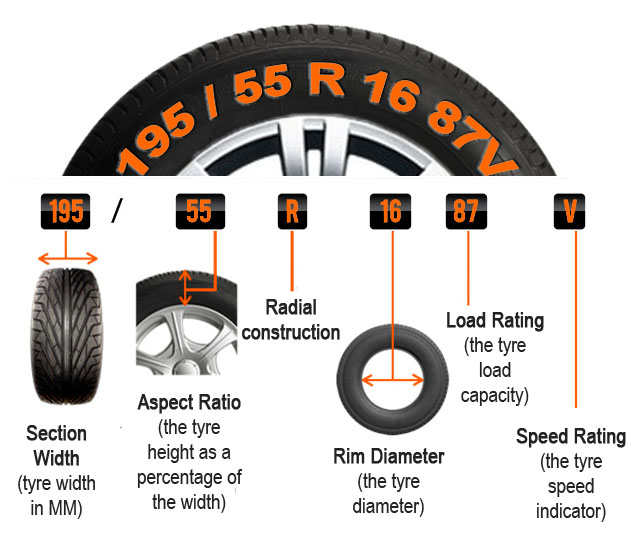
Before you shop for any tire replacement, first check that you have the right size. Here’s how to check:
 The first number will tell you the diameter/thickness.
Now you can go and shop for the ideal tire for your mower. Be sure to follow these numbers so you can prevent any waste of time and money.
Now you can proceed to change the lawn mower wheels. And for that, you’ll have to start by locking the wheels. This is how:
Now that you’ve put the mower in lock mode, the wheels won’t move when you start working on them.
After securing the wheels, you need to lift the mower up. Here’s how:
 It should be even as well.
Be sure the mower is secured while lifted. Otherwise, it may fall while you’re working on it.
If you want to replace the tire, be it a tube, tubeless tire, or even if it is on a spindle wheel – you’ll have to remove it from the mower. Follow these steps:

Once you’re here, the rest of the process gets exponentially easier and straightforward.
Removing the rim is relatively easy.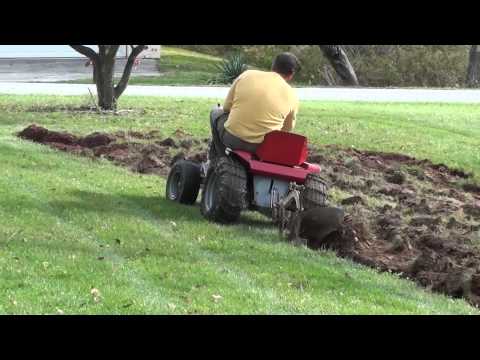 However, it requires some strength. You may want to do this with someone else to make it easier if you aren’t particularly strong.
Proceed this way:
 Unscrew it to deflate the tire.
Now that you’ve freed the tire from the rim, it is time to mount the replacement wheels. Here, you’ll also have to proceed differently depending on the type of tire.
 Apply some of it on the part of the tire that connects directly to the rim.
If you’re using a tube tire or a spindle wheel with a standard tire, then you’ll have to look for an air compressor and fill accordingly.
Remember to place the inflating valve in the right place to prevent any issue. Try looking for the correct pressure in PSI before starting. Use a PSI meter as well.
Then just attach the air hose to the wheel valve and let it inflate. Check that the PSI is at the right level. If it is, then you’re done. Otherwise, inflate or deflate as needed.
#9. Reattach the WheelWith the tires inside the rim and inflated, then it is time to set them up again on the mower. Proceed this way:

You’re almost ready now. Just check that the mower works as required.
If the mower starts working as it should and moves smoothly on the grass, then you’ve successfully changed its tires.
5 Signs You Need to Change a Lawn Mower TireThere are many obvious reasons to replace a tire from a lawnmower. For example, if it deflates after getting pinched with a nail or it doesn’t want to inflate at all – then it needs replacement.
But some other reasons may not be so obvious. And they can take several days, weeks, and even months before anything sufficiently bad happens for you to replace it.
Well, here are 5 signs that your mower’s tires may need some replacement:
If you detect any of these signs, you should replace the tire right away before it gets damaged once and for all.
Why Replace a Lawn Mower Tire?So, did you notice that your tire needs replacement? Then you’ll want to know why it is so important to change it right away. Here are three significant reasons to consider:
There’s nothing like a precisely-cut lawn that looks beautiful and even all around.
But with defective tires, the mower won’t cut consistently at all. Instead, it will shake or move too much to the sides – which could cause the blades to cut unevenly.
If you use new, properly treaded, and smooth tires on the walk-behind mower – this is less likely to happen.
Pushing the mower on thick grass? Then it should have proper tires to go through the thick leaves. Otherwise, it may get stuck and make it all much more complicated.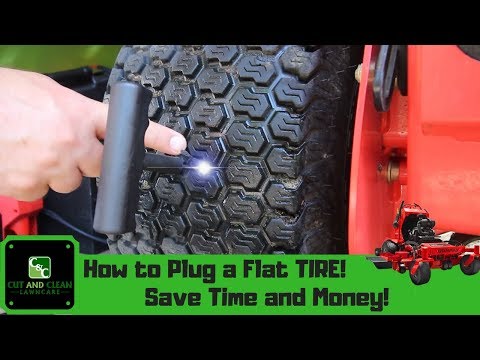
If you have deflated tires, then this will be a nightmare. But with proper ones, cutting through the grass will be smooth and easy.
Trying to mow the lawn on a hill? Then you’ll need maximum traction. If the tires don’t have sufficient tread, then there’s a high chance you won’t achieve the ideal traction to go uphill or downhill safely.
With properly treaded tires, you won’t have any problem using the mower on hills.
ConclusionReplacing lawn mower tires is critical for its effectiveness. So learning how to change them will be an excellent thing to do.
If you have a driving mower or any model with tubed or tubeless tires, then following this guide will help you out enormously.
Follow our advice and tips to ease out the process, save time, and possibly money.
0shares
Other
Author stroika. ru.admin Reading 4 min Views 7 Published
If you have been using your lawn mower for more than two years of lawn mowing, chances are its tire is now flat. I have been using the lawn mower for five years now, so I have experience in troubleshooting all related problems
This is not hard to do because you can do it using simple tools and methods. Usually a lawnmower tire works well, but when it gets too old or a nail is stuck in it, all the air comes out of the tire and it becomes flat.
In this article, I have detailed how to remove a flat tire from a lawnmower, how to install a new tube, and then how to install it back on the rim of the machine. You can also do this by easily following step by step and saving money.
Contents
During the spring season, the lawn has a lot of hard work cutting grass with a lawn mower.
But if you notice that the machine is getting heavier and not running smoothly, but dragging on the grass, its tire is probably flat due to wear or maybe a pinched nail in its tube.
First of all turn off the engine because you know you need to fix a new inner tube or maybe a new tire. Here is a step by step guide through this entire procedure.
When you notice that the machine is dragging and moving unevenly, turn off the engine because it will take some time to inspect the mower.
And if you make sure that the tire is flat, you will probably need some time to repair or replace the tire. Therefore, it is better to turn off the engine to cool the car and also save fuel.
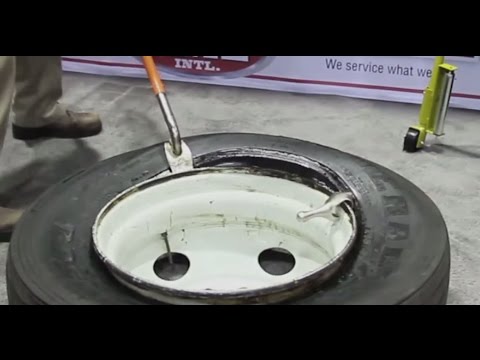
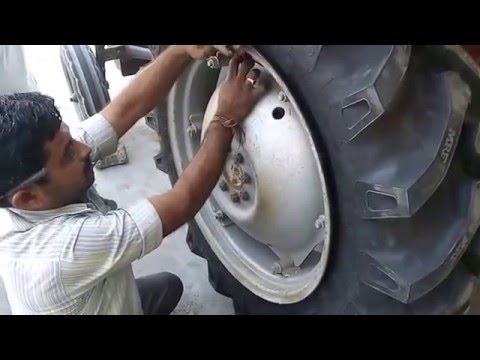
Obviously, you know that the first thing to do is to disconnect the damaged tire from the rim of the machine.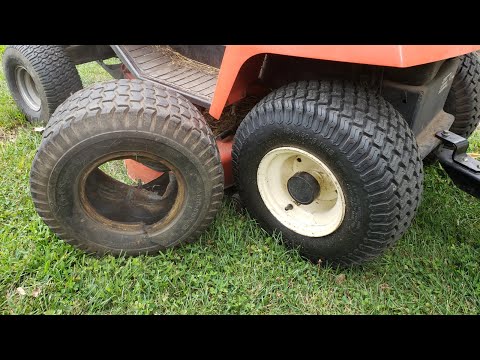
The next step is to separate the tire from the rim, you can do it easily this way.
With the tire completely out, inspect it carefully. If you find nails inside, remove them with pliers.
If you find that it has a lot of cracks and the tire is too old, replace it with a new tire.
Now finally the last step to put the tire back on the rim. You can do it easily this way.
Once the tire is on the rim, it is now easy to attach the tire to the lawnmower.
AlbaniaAustriaBelarusBelgium (fr)Belgium (nl)Bosnia and HerzegovinaBulgariaCyprusCroatiaCzech RepublicDenmarkEstoniaFinland (fi)Finland (sv)FranceGeorgiaGermanyGreeceHungaryIcelandIrelandItalyLatviaLithuaniaLuxembourg (de)Luxembourg (fr)MoldovaMontenegroNetherlandsNorth MacedoniaNorwayPolandPortugalRomaniaRussiaSerbiaSlovakiaSloveniaSpainSwedenSwitzerland (de)Switzerland (fr)Switzerland (it)TurkeyUkraineUnited Kingdom
ArgentinaBoliviaBrazilChileColombiaCosta RicaDominican RepublicEcuadorGuatemalaMexicoNicaraguaRepublic of PanamaParaguayPeruUruguay
Canada (en)Canada (fr)MexicoUSA
Practical Tips
When servicing your chain saw, you should also check the bar to determine if it needs repair or replacement.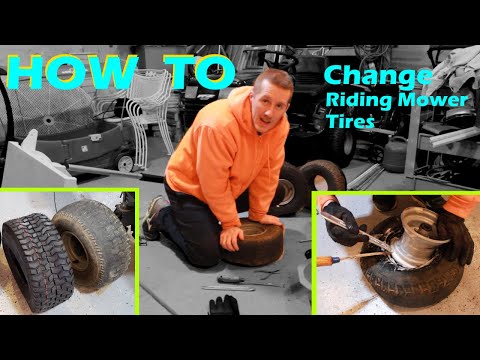
(16)
Practical Tips
Products and Innovations