By Matt Weber
A car or truck’s lug nuts and studs are the crucial components that hold the wheels onto the vehicle. If they fail while driving, then one would expect bad things to happen, ranging from sudden immobilization to a complete loss of control that results in a raging inferno of twisted metal.
Although it’s highly unlikely that all of a wheel’s lugs will fail at once, it’s always a good idea to keep your wheels mounted securely to the vehicle with all appropriate fasteners, and broken lug studs are a common problem. If left unrepaired, the improper connection of the wheel can result in unwanted vibration while driving that could affect steering and lead to premature wear in other vehicle components.
The EHT staff recently broke a lug bolt during a routine tire-rotation job. We suspect the nut and bolt had been cross-threaded by a careless mechanic, because the bolt easily twisted in half when using a lug wrench without exerting any extra torque. Here’s a step-by-step account of how to replace a broken lug nut stud (also called a lug bolt or wheel stud).
Use a wrench to loosen the wheel’s lug bolts while the vehicle remains on the ground. Then jack up the vehicle and support it with jack stands. Remove the lug nuts and pull off the tire.
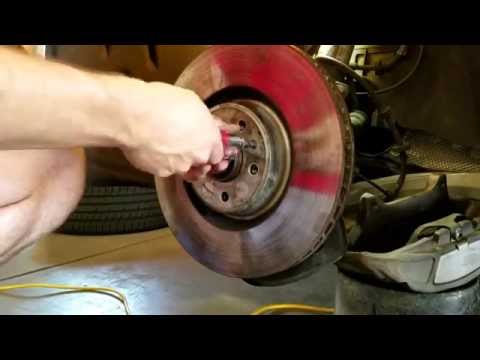
Next, use a socket wrench to remove the brake caliper. Note, the driver bits required to remove the caliper pins vary among manufacturers—some require hex bits, some require star-drive bits, etc. With the caliper off the car, use a wire to hang the caliper from the vehicle to keep the weight off the brake line. Then, remove the caliper’s mounting bracket. (If working on a drum-style brake system, remove the brake drum.)
Remove the rotor and set aside in a place where it will not be scratched or exposed to dirt or oil. Use a metal hammer to knock the broken lug bolt out the back of the wheel. Aim carefully and be sure not to damage the threads of the adjacent lug bolts.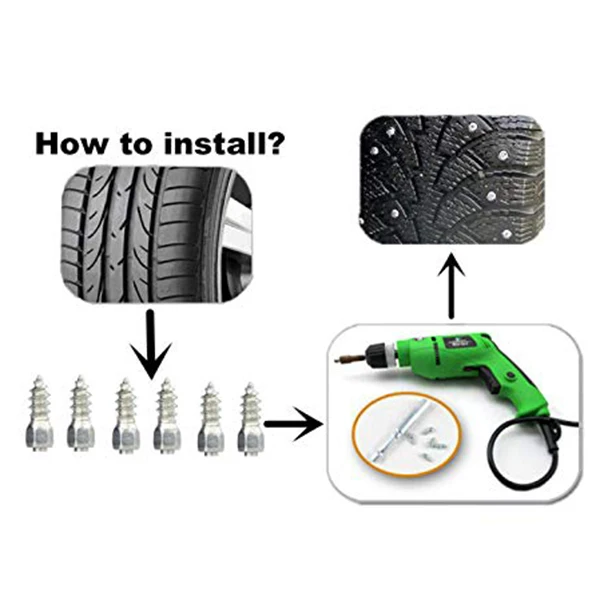 Use your fingers to pull the broken bolt from the rear of the hub flange.
The replacement bolt was a stock part from a local auto parts supplier. To install the new bolt into the bolt hole, the wheel must be turned to align the hole with a slot on the rear of the hub flange, which provides the clearance to thread it through. If the hub flange must be turned for alignment, you may have to jack up the opposite wheel so the axle can freely spin to match the hole with the slot.
One unexpected problem with this job was the full, round head of the replacement bolt. You’ll see the in the photos that the head of the original bolt was flat on one side because it is positioned so close to the axle housing. The full head of the replacement obstructed the bolt’s insertion into the lug hole, so I had to clamp the bolt in a vise and flatten one side of the head with a 4-in. electric grinder.
For easier installation, store the replacement bolt in a freezer for a few hours.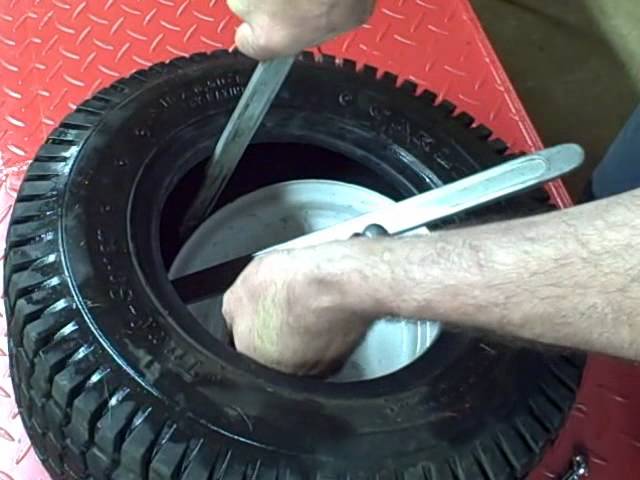 The tolerance of the lug bolt and the hole will be very tight, and any small amount of contraction the cold temperature may cause in the metal alloy will make it easier to install the new bolt. This will help greatly with your wheel stud replacement.
Use a metal-bristle brush to knock away any rust from the wheel and lubricate both the bolt and the bolt hole with a spray-on solvent. Insert the bolt straight into the hole as far as it will go (the bolt will stop at its shoulder at this point).
Thread a very large nut over the end of the new bolt (a stack of large washers will also work). The large nut is not intended to thread onto the bolt. There should be no positive connection between the bolt and large nut; it should slide loosely over the bolt like a washer to function as a spacer.
Next, thread the new lug nut over the end of the new bolt, sandwiching the big nut between it and the hub flange. Use a lug wrench to tighten the nut, which will draw the bolt into the hub until the bolt head is flush with the back of the flange and snugly installed.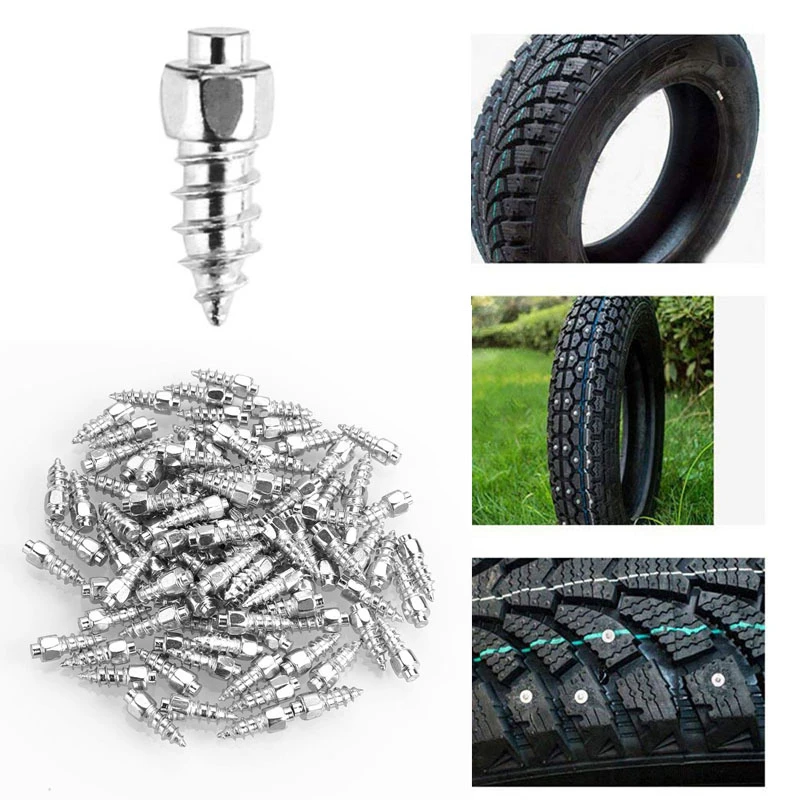 Remove the large nut, tighten the lug nut, and the job is done. Clean the rotor with brake dust remover. Reverse the procedure to replace the brake, wheel and tire, tightening the lug nuts to the manufacturer’s specifications.
Unscrew the caliper pins to remove the brake.Unscrew the bracket bolts.Use a wire to hold the brake caliper out of the way while you work, keeping weight off the brake line.
Remove the rotor. Set it aside where it won’t get oily or scratched.Remove the caliper mounting bracket.
To create an identical replacement I had to grind down the head of the new bolt so it would fit against the hub flange.I use a metal punch and hammer to carefully remove the broken bolt.Freeze the replacement bolt so the metal alloy contracts and easily fits into the hole.To create an identical replacement I had to grind down the head of the new bolt so it would fit against the hub flange.
 Insert the bolt up to its shoulder. This may require turning the wheel so the slot on the hub flange aligns with the bolt hole.Lubricate the new stud and bolt hole.
Tighten the lug nut with a wrench to draw the shoulder of the new stud into the hub flange so the bolt head is flush.Thread a very large bolt over the stud to act as a spacer. Follow that with the new lug nut, threading it onto the end of the stud.Reverse the procedure to reassemble the wheel, tightening the lug nuts to spec.
Other Automotive Related Articles
Research > Average Wheel Stud Replacement Cost
This price range is based on national averages for all vehicle types. It does not consider your particular vehicle’s make or model, nor include any taxes or fees. Some parts of the country may have lower or higher average mechanic costs. For a more accurate estimate based on your make, model, and location, use the RepairPal Fair Price Estimator.
This cost is dependent on the make and model of your vehicle. The labor involved in replacing a wheel lug stud is less than average, which means it is a reasonable cost if you choose to have the part replaced by a mechanic.
If your wheel stud has been damaged, stripped, or broken, you will need to replace the stud to ensure the security of your wheels and maximize the safety of your vehicle.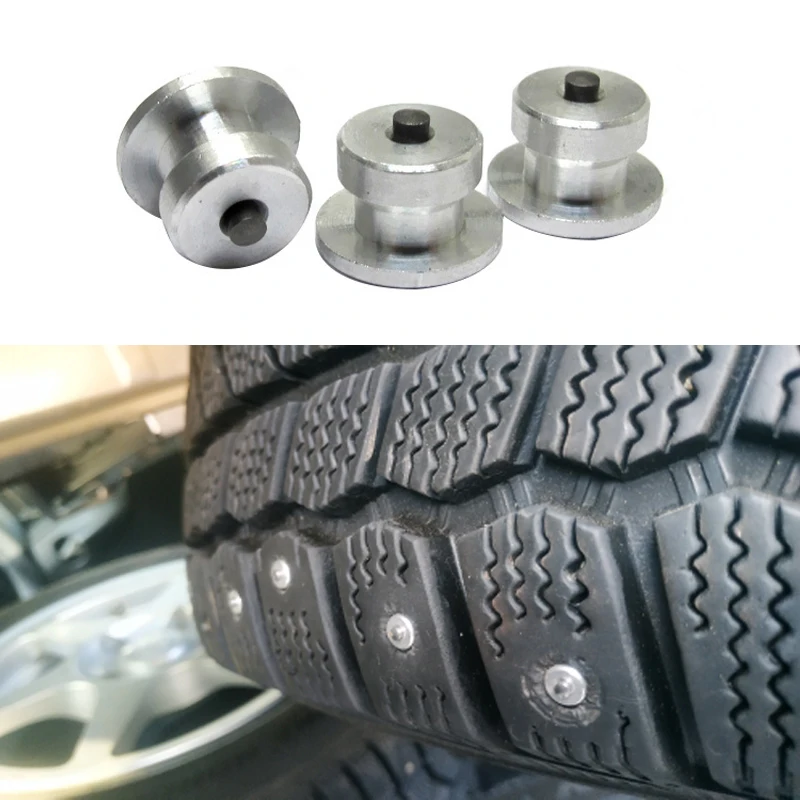 A mechanic will usually charge between $60 and $120 to replace a wheel stud because it takes less than an hour. Almost the entirety of this cost is labor since the wheel studs themselves are inexpensive. So you can save most of your money by doing it yourself, especially if you already have the tools needed for the job.
Also, there are different kinds of wheel studs you can purchase, depending on what type of car you have, that vary in terms of length, thread pattern, and more. If you opt to go the DIY route, make sure you have the right parts for your vehicle and refer to the repair manual regarding your car.
First off, a wheel stud or wheel lug stud is a large bolt that extrudes from the wheel hub and is what your tires are placed on and then bolted to with lug nuts. Most vehicles made outside of Europe use wheel lug studs that are pressed in from the rear of the hub and protrude out from the wheel hub. Meanwhile, most European vehicles utilize lug bolts that are screwed into the wheel and wheel hub and squeeze the wheel and hub together, so these vehicles are not equipped with wheel studs mentioned here.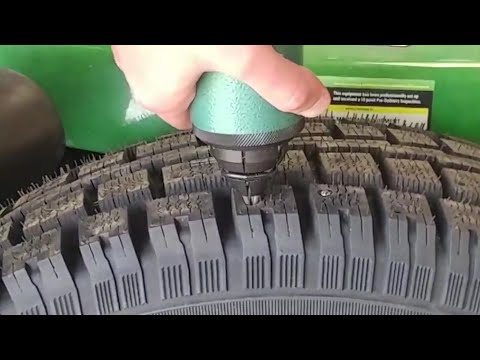
The first step in replacing the wheel stud is removing the brake caliper, caliper mounting bracket, brake pads and brake rotor from the affected wheel. Once wheel hub has been accessed, the broken wheel stud can be removed from the hub. Most of the time, this can be done by hitting the stud with a hammer, but be careful not to miss and accidently hit the wheel hub. The hardest part of the repair is probably getting these to come loose, so if a couple strikes of the hammer doesn’t move the stud (or you don’t feel comfortable using the hammer method), you will need to get a specialized tool for removing and installing wheel studs.
Once you have loosened the stud, it will usually just fall out the back of the hub. Angle the stud into the recessed area and pull it through. To seat the new stud, there is an install tool you screw on like a lug nut, or you can use washers and an open-ended lug nut on the backside. Tighten the lug nut until the stud is fully seated against the hub, but make sure to not over-tighten the stud and lug nut.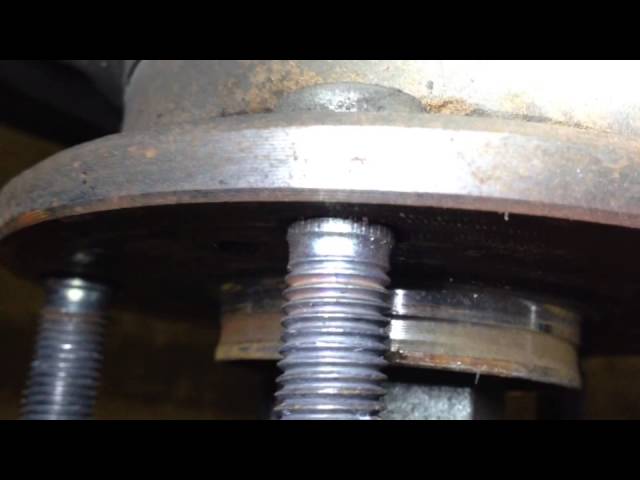 Then all you need to do is reassemble the brake components and reinstall your wheel.
If you notice a single stud missing from your wheel, it isn’t cause for immediate emergency, but you don’t want to drive with a missing stud for too long. Doing so can put extra stress on the other studs causing them to break or cause damage to the wheel.
Most wheel studs will last the life of the vehicle unless they have been damaged, either by being stripped or over-torqued. If you are removing your wheels (for a tire rotation or brake job) and you notice a stud that is damaged or cross-threaded, then you should replace it then rather than having to worry about it breaking in the future. A damaged wheel stud includes cracking, excessive rust, or threads that looked stripped bare or worn. At that point, it is recommended to replace them as needed.
You may notice one or more of the following symptoms if you need to replace a wheel stud:
Proper operation requires that the wheel be securely and evenly attached to the wheel hub by the lug nuts tightened on the stud. If the wheel stud threads are stripping out or one of the studs is broken, the wheel may vibrate when you drive or wobble. It puts strain on the other wheel studs and could lead to a catastrophic failure.
If the threads are worn on a wheel lug stud, the vibration can cause the lug nut to work loose over time and eventually fall off. Again, putting pressure on the rest of the wheel studs potentially causing a serious issue.
When you tighten lug nuts, and the stud turns with the lug nut, it has broken or come loose and needs to be replaced. Also, examine the mounting hole in the wheel hub to make sure it isn’t damaged.
When you are replacing a wheel stud, there isn’t much else you need to replace or maintain in addition to the wheel studs. However, you may wish to replace the lug nuts simultaneously and ensure the wheel hub isn’t damaged.
You’ll never have to miss necessary maintenance again with the FIXD Sensor and free app. This app allows you to customize a maintenance schedule based on your vehicle’s make, model, and mileage. In addition, FIXD sends automated alerts to your phone when any maintenance is due. This includes tire rotations, oil and oil filter changes, and even alerts you when it’s time for your brake pads to be replaced.
With the FIXD app, you’ll be able to see your tire, battery, and wiper blades’ life to help keep everything running as smooth as possible. Download the FIXD app today to help take the stress out of owning a vehicle and keeping up with maintenance. So sit back and enjoy the ride.
FIXD Research Team
At FIXD, our mission is to make car ownership as simple, easy, and affordable as possible. Our research team utilizes the latest automotive data and insights to create tools and resources that help drivers get peace of mind and save money over the life of their car.
90,000 repair of studded rubber, DOSHIP DIY DIY DIY repair of studded rubber, Doshpovka tires with your own handsPressure in wheels
Explosive tires can significantly reduce the roads on the roads in the winter conditions.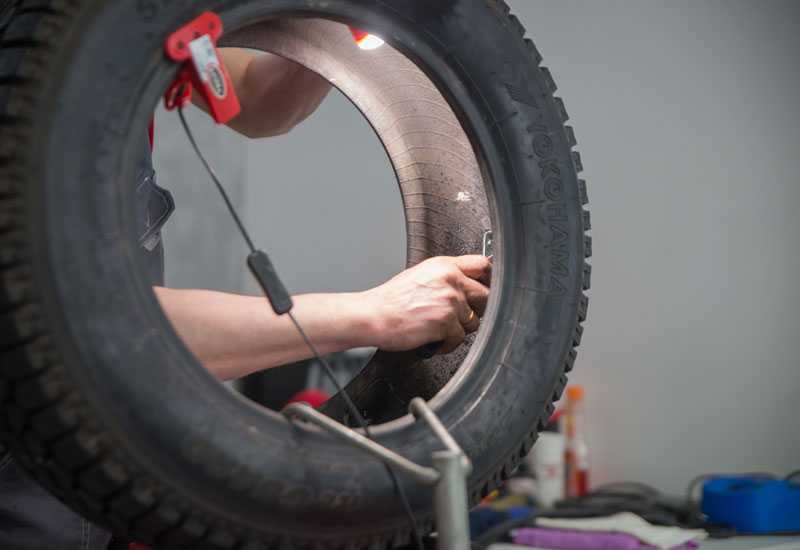 In Russia, since 2015, drivers are required to use winter tires on cars from December to February.
In most of these cases, the tire and tread from which the studs have fallen out remain in good condition and can be restored. Therefore, the repair of studded tires by studding allows you to get significant benefits:
The time of renovation of winter car lines by doshpovka or replacement of spikes is determined by the following indicators:
Qualitative replacement of spikes on winter rubber is possible subject to a number of necessary conditions:
9000 9000 9000 9000 9000 9000 9000 9000 9000 9000 9000 9000 9000 9000 9000 9000 9000 Important! Tire studding is performed using a special set of repair studs with an increased base diameter for secure fixation in the tread slots.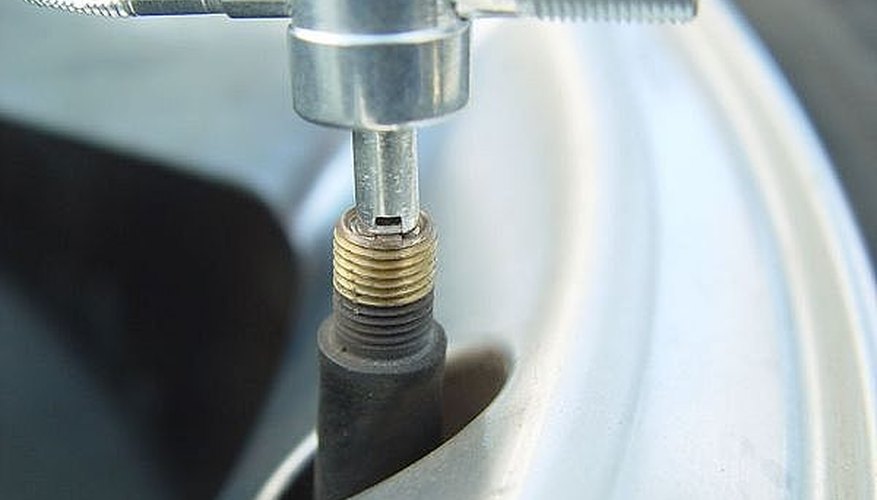
Studding of winter tires can be done in two main ways:
Important! Do-it-yourself repair of studded tires with additional studding will require some knowledge and skills. For the service of specialists, you can contact the nearest tire fitting.
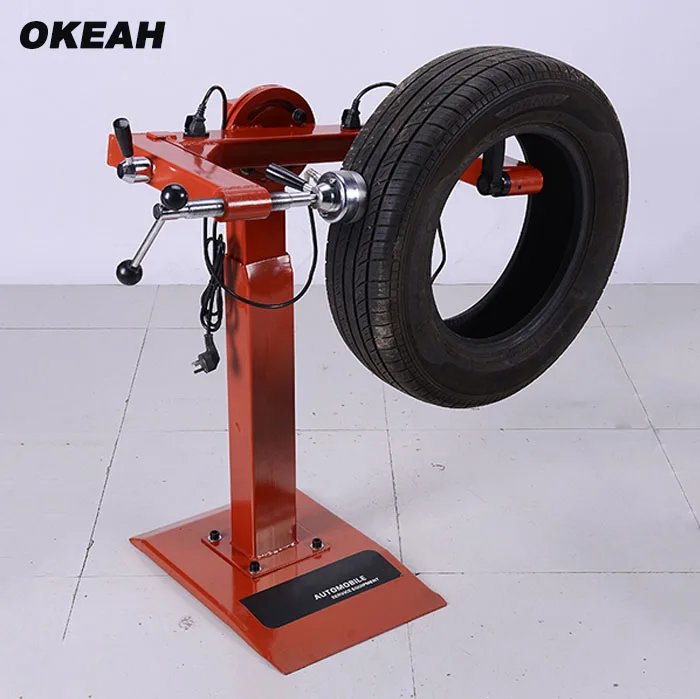
This method involves the use of a special pneumatic gun that allows you to quickly and efficiently stud a tire. In this case, the studs are inserted into the tread under compressed air pressure. The spikes are automatically set to the correct depth and securely locked into their sockets.
However, the pneumatic gun is mainly used by tire shops, as it is quite expensive. Using such a tool at home is also problematic due to the required connection to the compressor.
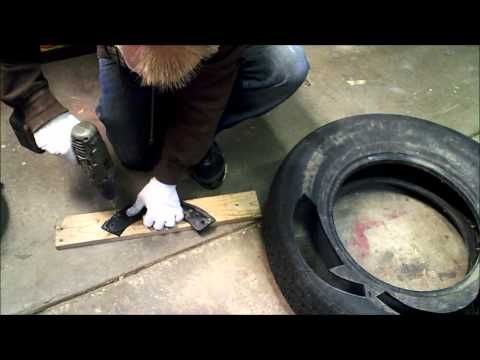
Performed with a small set of common tools. To do this, you will need:
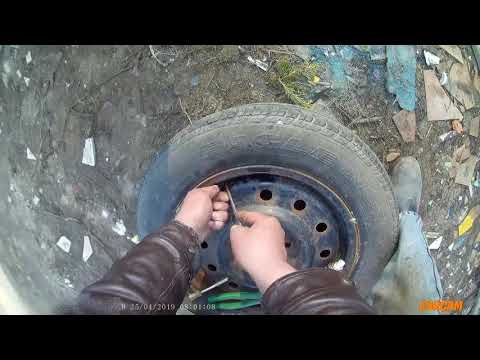
To install the missing studs, the tire is pre-washed with water. The outer surface of the protector is wetted with soapy water. Then, using a screwdriver, the seat sockets are expanded, and with the help of a hammer or pliers, the spikes are driven to the desired depth.
Do-it-yourself tire studding saves costs compared to going to a tire shop. But at the same time, this method is quite laborious and does not guarantee a high-quality result.
In conclusion, we note that the effectiveness of winter treads restored by studding is reduced by about 15-20% compared to new tires. But at the same time, the cost of repairing such tires will be much lower than purchasing a new studded set.
Quality refurbished studded treads allow for several more seasons without noticeable performance degradation.
Which rubber should I choose with spikes or Velcro?
Use of winter tires
Changing wheels on a car
How to choose winter tires for crossovers
Changing summer to winter tires. Tips
Tire pressure sensors
Which wheel locks to choose?
Truck Tire Repair
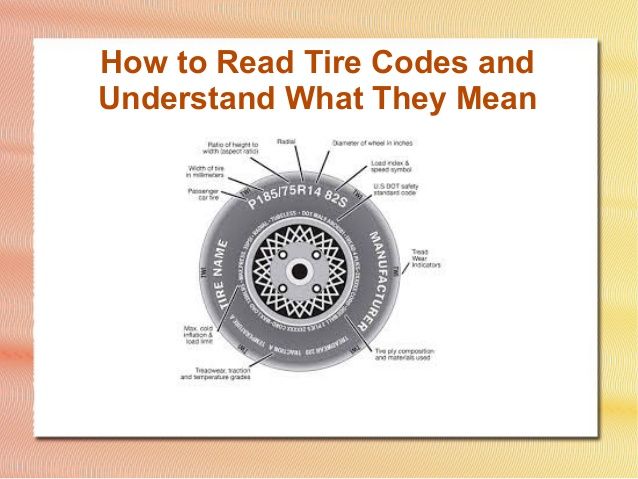
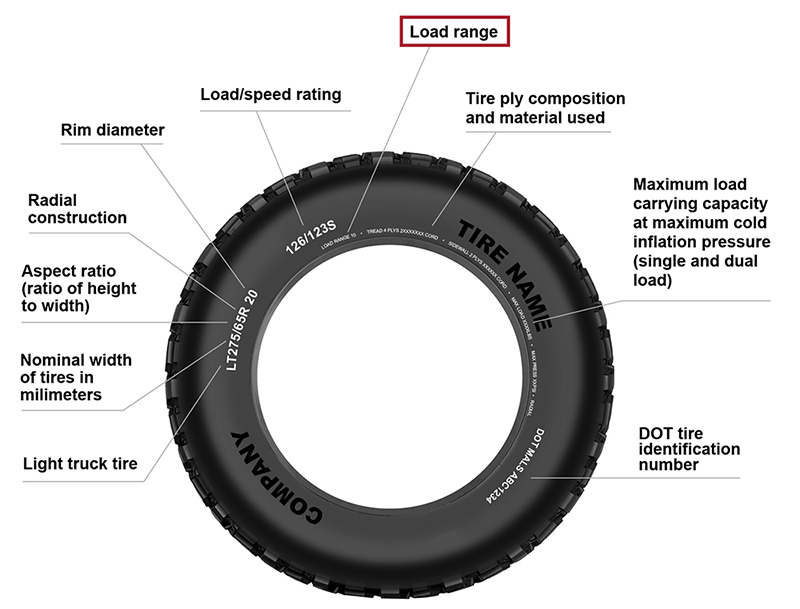
Bicycle Tire Marking
How to install a tire in the direction of the tread pattern
What is the service life of tires on cars
Choosing tires for an SUV
The legend is back in fashion - Nokia 3310
The return of the iconic Nokia 0000 smartphone holder 03 ... with wireless charging function
Unique car holder for smartphone with…
↑
(
Updated:
25/01/2022
)
Article content
During operation, the winter set of tires wears out actively, loses grip, loses elasticity at low temperatures.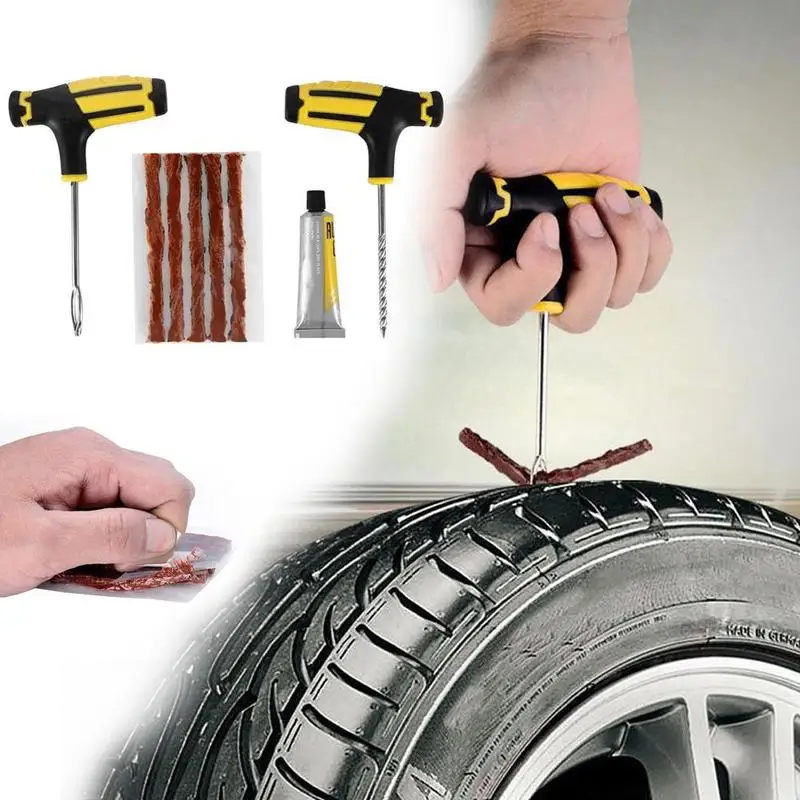
The studs wear off and fall out due to deformation. With such damage, manufacturers recommend changing tires to new tires in order to prevent an emergency, to prevent skidding on an unstable winter road. However, in a situation where metal cutters are damaged on new tires, it is not necessary to install a new set. It is enough to restore the studding.
Re-studding of winter tires is a standard procedure used to improve the performance of tires. It improves grip on icy surfaces, improves driving safety in cold weather.
Due to the design, the studs stop working even on new tires. If the tire wear is uneven, the cutters become dull, stop grabbing on an icy road, or become higher than the tread. This leads to the fact that they are pulled out during sudden braking or wheel slip. In this case, a new kit is not needed, since it makes sense to stud.
This process can be done by hand or with a tool.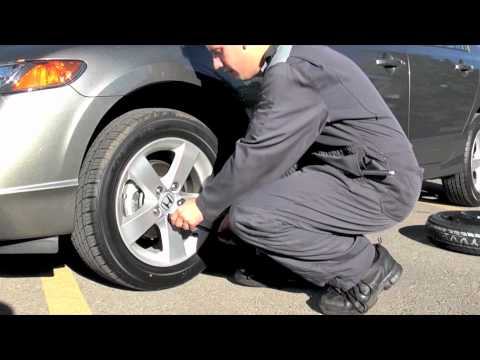 Before re-completing, it must be taken into account that the installation of spikes should be carried out 2-3 months before the onset of the winter period. The process is influenced by technology, the rubber must be dried before operation, after which a mandatory run-in must be carried out. Only if the conditions are met, you can get the desired effect - the spikes do not deform and do not fly out.
Studding winter tires can be done in several ways. There is an initial and repair (repeated) method. The initial technology involves the operation of non-studded tires, which can be equipped at any time if necessary. Re-studding is a do-it-yourself procedure for installing new incisors to replace the lost ones. Self-installation increases the working life of the wheels, improves safety.
Despite the advantages of the method, there are restrictions that prohibit the repair of worn tires. If they are ignored, this will lead to poor-quality re-recovery and will not give a result.
Mounting studs on a winter tire is done in cases where:
Do-it-yourself reassembly of cutters is not allowed if:
Before making repairs, decide if you need additional studding or if it is better to replace the set of wheels.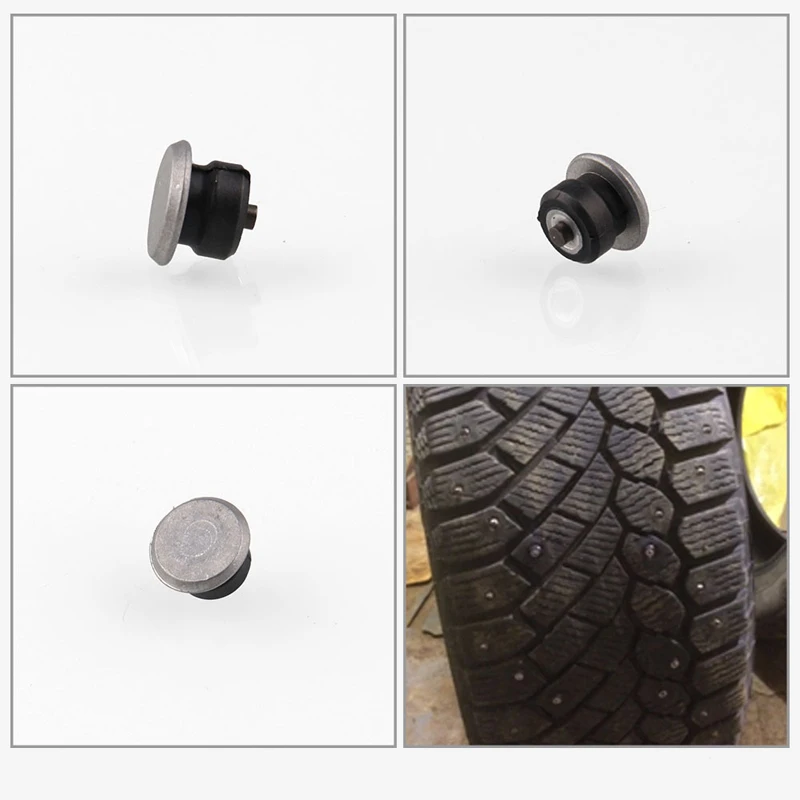 Only having determined the relevance, one should start work and re-install the metal elements.
Winter Drive protection
Tires Goodyear UltraGrip Arctic 2 SUV
Winter Drive Protection
Rating:
4.5
Tires Goodyear UltraGrip 600
Winter Drive Protection Sound Comfort
Rating:
4.5
Tires Goodyear UltraGrip Ice Arctic
Winter Drive protection
Tires Goodyear UltraGrip Arctic 2
Winter Drive Protection Sound Comfort
Rating:
4. 5
5
Tires Goodyear UltraGrip Ice Arctic SUV
Winter
Rating:
4
Tires Goodyear Cargo UltraGrip 2
There are several ways to reposition the incisors. Repair is done with a tool or with your own hands. In the first case, studding is used with an air gun, which pushes the edges of the winter tire at the desired angle. In the second case, the tire is equipped with conventional spikes, installed with a screwdriver and a hammer. The first method of re-studding is correct and guarantees the result. It involves the preparation of tires, cleaning the tread from contamination with compressed air.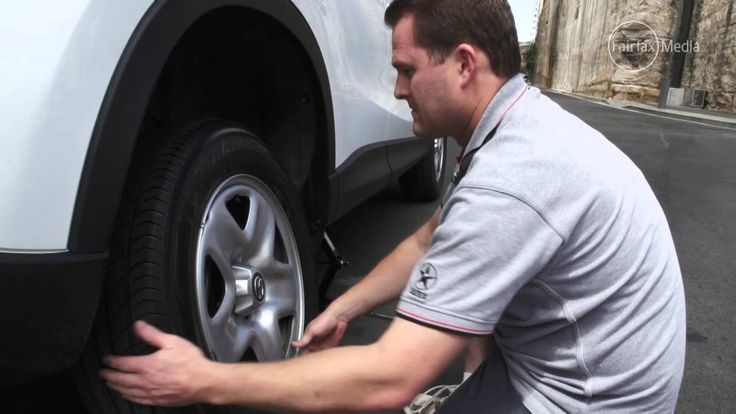 This avoids the distortion of metal elements, their rapid loss.
It is possible to repair a winter tire in several stages, it is enough:
Installing metal cutters instead of worn ones improves the car's handling on the road, grip on slippery surfaces, and reduces the braking distance.