It’s not uncommon that valve stems start leaking only after a few years in use due to dirt, corrosion, road salt, or degraded rubber. Luckily, they are relatively cheap and easy to replace at home.
The same basic principles displayed in this guide apply to most tubeless tires, whether on an ATV, car, lawnmower, or snowblower.
A tire shop may charge around $20 to $30 to change a valve stem. If you do the job yourself, it will cost about 5$, depending on what tools you choose and have at your disposal.
I’ve made this guide for those that wish to do the job at home to save a few bucks or don’t have a tire shop nearby. We’ll be looking at two different methods; one where the wheel needs to come of the room, and a second, where the valve can be replaced with the tire still on the rim, using a specialist tool.
You can replace a valve stem with the tools most people already have in their garage. However, to make the job easier, faster, and safer, we recommend that you get a couple of cheap tire tools as well, available at most auto supply stores
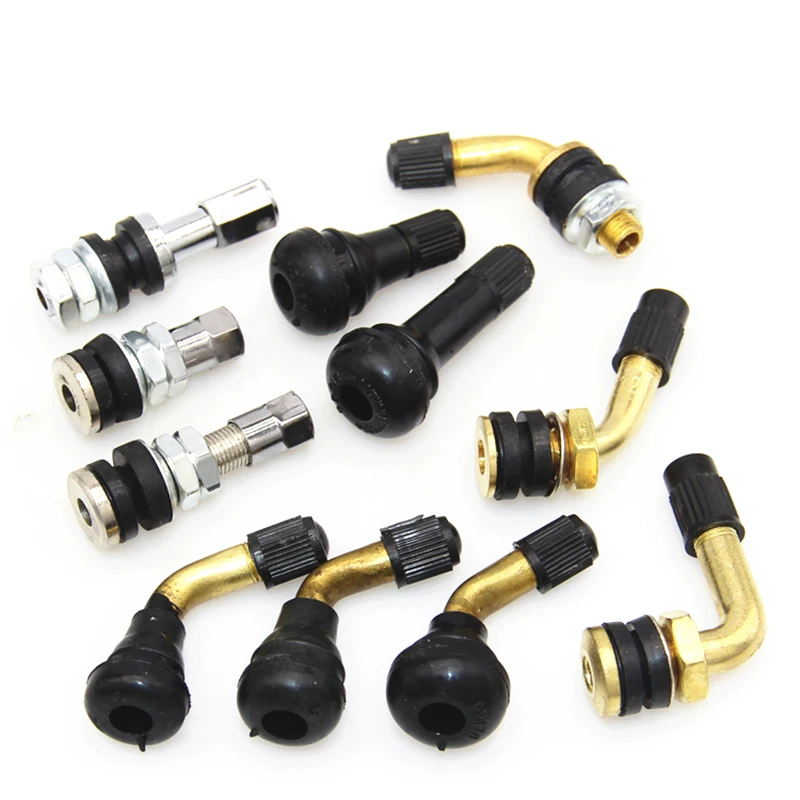
Valve stems come in a range of sizes. They vary in diameter and length, depending on the size and style of wheel you have.
A design-number is used to categorize the various types and sizes of valves available.
Let’s use the most common valve for ATVs as an example: TR-412.
| Industry Valve Number | Maximum Inflation Pressure (PSI) | Effective Length (in) | Rim Hole Diameter (in) |
| 412 | 65 | 0.88 | 0.453 |
| 413 | 65 | 1. 25 25 | 0.453 |
| 414 | 65 | 1.50 | 0.453 |
| 415 | 65 | 1.75 | 0.453 |
| 418 | 65 | 2.00 | 0.453 |
| 423 | 65 | 2.50 | 0.453 |
| 415 | 65 | 1.25 | 0.625 |
| 425 | 65 | 2.00 | 0.625 |
You will find the design number of your old valve stem stamped on the bottom of the stem. This does, however, require removing the valve stem or removing the tire from the rim.
Alternatively, you can measure the old stem and compare your findings with the table above.
You can move straight to step 2 if you already know how to remove the wheel from the vehicle safely.
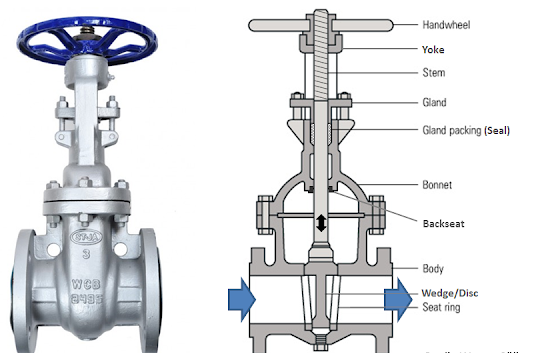
Remove the valve cap, then use a valve stem core removal tool to unscrew the valve stem core from the valve stem. This will release the air from the wheel.
Remove the valve stem core, using a valve stem core tool.If you don’t have a valve stem removal tool at hand, you should be able to unscrew the core with a pair of small needle-nose pliers. Just place the pliers on the flat portion of the core, and turn anti-clockwise. In a pinch, you could even use a pair of tweezers, as long as they fit.
Next, you need to break the tire bead from the rim.
I tend to use my portable tire changer, but there are several ways you can de-bead a tire. Click here to find a list of alternatives for home mechanics to choose from.
After successfully de-beading the tire, place your knee or a wood block between the rim and the tire for easy access to the bottom portion of the valve stem.
You only have to de-bead the side of the wheel that has the valve stem in it. I removed the tire from the wheel completely to take better photos for this post, but this is unnecessary.
To remove the old stem, you have two options.
You can use a sharp knife to cut it, either on the outside or inside the rim. Cut as close to the rim as possible without scratching the rim itself.
Use a razor blade to cut the old valve stem flush with the inside of the rim.After cutting, you should be able to pop out the remaining piece of the stem easily.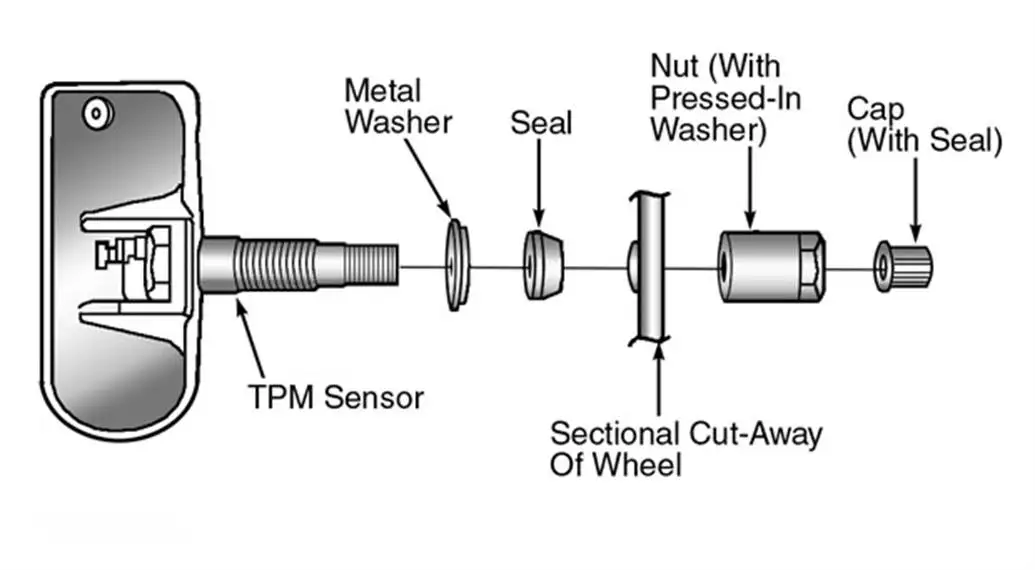
Alternatively, you could use a pair of vice grips to pull the plug out from the inside of the tire. Use this method if you plan on reusing the valve stem.
Spray some soapy water on both the outside and inside of the rim as lubrication. Place the grips over the stem’s thick portion and use leverage to pull the plug out. You may need to reposition the tool several times for better grip until you get the core out.
Before installing the new valve stem, you need to lube the rubber portion to slip into place much more effortless.
Use dish soap, some vegetable oil, or spray the new valve with a generous amount of soapy water.
Notice: Do not use any petroleum-based products such as oil or grease as it will degrade the rubber over time.
Lube the valve stem with dish soap.Insert the valve stem through the hole from the inside of the rim. Make sure the hole is clean and free of debris. The threaded part should protrude on the outside of the rim.
To pull the plug in place, you will need a valve stem pull tool. You can find them at most auto supply stores at an affordable price.
These tools come in a variety of shapes, but all work with the same basic principle.
The threaded portion of the tool mounts to the valve stem core’s threads to get a good grip.
Attach the valve stem tool to the threaded portion of the valve stem.Do not use pliers to pull the valve stem, as this will likely damage the soft copper threads.
Use the tool to pull the valve stem straight out from the wheel until the small rubber groove on the valve stem pops in place.
This tool uses leverage to pull the valve stem out through the rim.As an alternative, you can use a simple 4-way valve tool to pull the valve stem in place.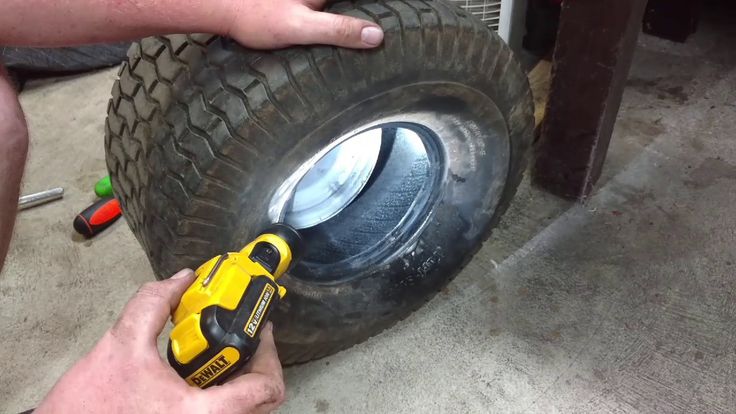 Make sure the valve is properly seated.
The tire is seated back on the rim by using compressed air. This will press the tire outwards until it pops over the tire bead and rests against the rim’s lip.
Lube the tire and tire bead with soapy water. This allows you to seat the tire without using excess pressure, which could blow out the tire’s side.
The trick to succeeding is by adequately closing the gap between the rubber and the rim as you start adding air.
On softer and smaller tires, you should be able to close the gap manually. However, on tires with stiffer sidewalls, you may not be able to create a tight enough seal to build up pressure.
I prefer using the ratchet strap trick as this works great most of the time.
Using a ratchet strap when seating the tire will helpforcing the tire sidewalls outward.Use a ratchet strap to press the tire walls out against the rim. Attach the strap as shown in the picture and tighten it until the tire touches the rim.
With the valve stem core removed, add air until the bead pops in place. Never exceed 7-8 PSI with the strap attached.
As soon as the tire has seated, deflate the tire, remove the strap and install the valve stem core before inflating the tire according to spec.
You are now done and can install the tire back on the vehicle.
The hardest part of replacing a valve stem from the inside is getting the tire off the rim.
If you don’t have the tools or don’t feel comfortable with the idea of de-beading a tire, consider getting a valve changing tool kit designed to replace a valve stem from the outside, like this one from Amazon.
It can be a bit fiddly to get the hook past the old valve stem. Use plenty of soapy water as a lube, and be careful not to damage or scratch the rim as this could cause a leak.
November 23, 2021 Roadkill Customs How To & DIY
From cars to trucks, ATV’s and motorcycles, all of these vehicles suffer from bothersome leaky or broken valve stems.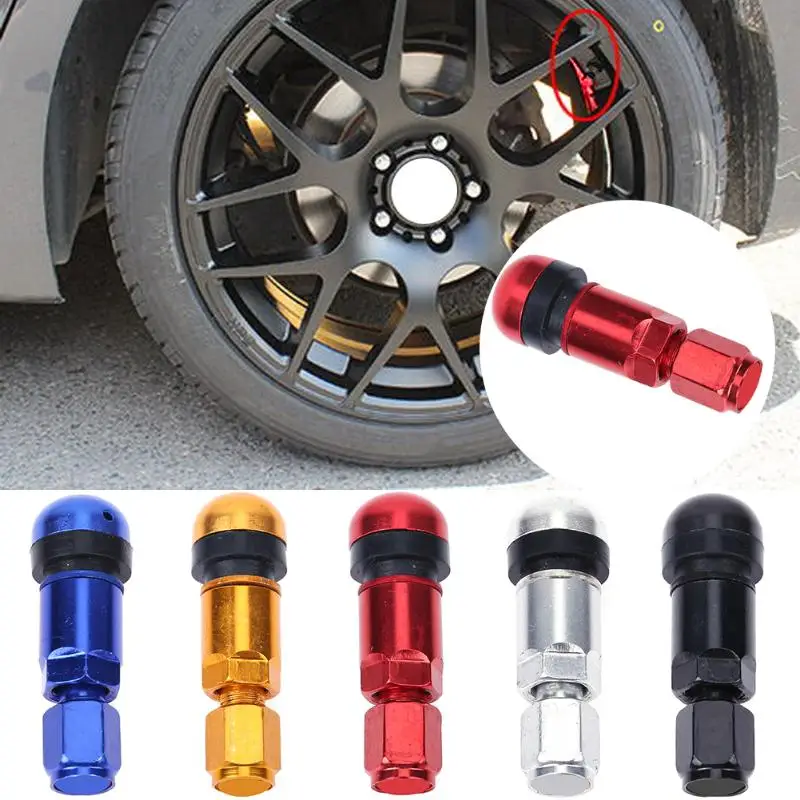 Especially with vintage cars and trucks, the stem can become dried and brittle and be very prone to leaking. Aluminum car and truck wheels are also notorious for corrosion around the valve stem base allowing air to leak out.
While changing the stem is not a difficult task, breaking and reseating the tire bead can be a challenge for many DIYers. Enter the AME Valve Stem Replacement Tool Kit that allows you to replace the valve stem quickly and easily without removing the tire from the wheel. Save yourself time, money, and the headache of replacing valve stems the hard way.
Time Needed : 1 minutes
How To Replace A Valve Stem Without Breaking The Tire Bead
Deflate the tire if not already flat. Insert T-Handle between the rim and valve stem.
Turn T-Handle 1/4 turn to hook the valve stem and pull it out.
Thread a new valve stem on the end of the plunger rod. Apply tire/rubber lubricant to the base of the valve stem.
Position the insertion guide cone over the valve stem hole.
Push plunger rod/valve stem assembly completely through insertion cone.
Pull back to seat the new valve stem and un-thread the plunger rod.
This tool kit is great for cars, trucks, trailers, and off-road vehicles and ideal for any leaking rubber valve stem. AME International is a leading manufacturer of tire-changing tools and automotive maintenance equipment.
Editor’s Note: This kit will not work for TPMS equipped vehicles that have the sensor in the valve stem hole. Valve stems are not included with the kit.
New: $38.25
Buy on Amazon
New: $3.49
Buy on Amazon
New: $19.34
Buy on Amazon
Follow Us on Flipboard
Adjusting the valves on an ATV is one of the most important maintenance steps.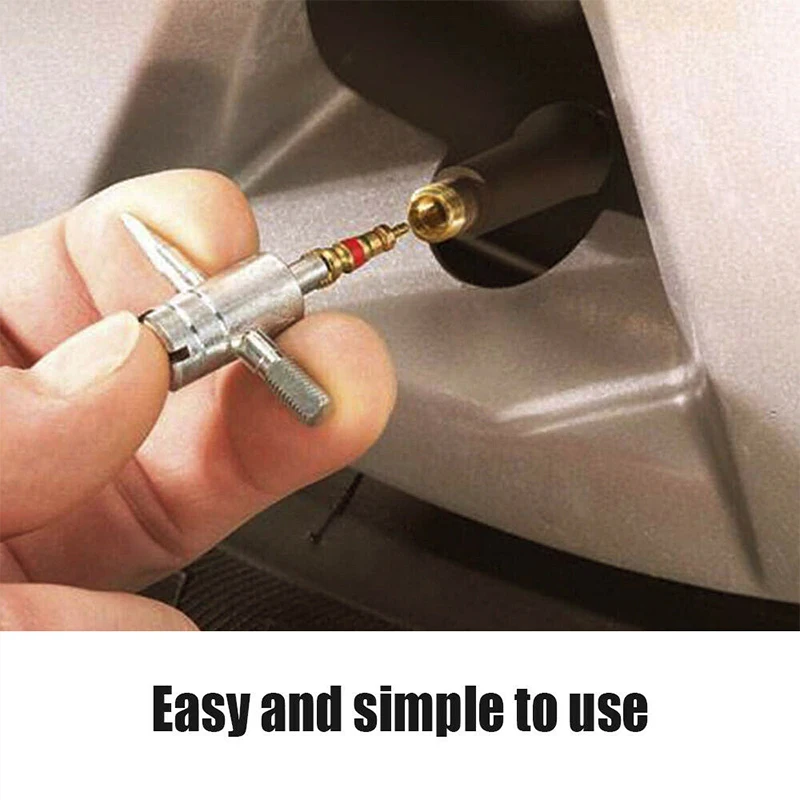 Ignoring this operation will adversely affect the operation of the engine, make it difficult to start the ATV, and even lead to a number of serious breakdowns. Therefore, it is important for the rider to figure out when it is necessary to carry out the adjustment and whether it is worth performing the procedure on their own or it is better to seek help from an ATV store in Kyiv.
Experienced motorists advise adjusting the valves on the ATV immediately after purchasing the equipment. The fact is that when assembling devices (especially Chinese ones), manufacturers do not pay due attention to this procedure. And the operation of ATVs with incorrectly adjusted clearances leads to:

The second clearance setting should preferably be done when the vehicle is running in. That is, after 300-350 km of the way, the rider should check the cylinder head.
Please note: An operation such as adjusting the valves on an ATV is considered a mandatory maintenance item and should be carried out every 1000-1500 km.
Before adjusting the valves, you need to prepare the quadric for the procedure. To do this, it is recommended to raise the front of the ATV. This will clean the cylinder head oil bath and remove excess fluid.
Then dismantle the body parts that make it difficult to get to the valves. However, it all depends on the model of the quadric, in some devices you can get to the cylinder head without removing the plastic parts and assemblies.
The rider also needs to prepare tools: an 8 wrench (better with a head so as not to damage the nuts), measuring probes (you can find them in any auto shop) and a hammer. nine0003
Let the machine cool down before adjusting the ATV's valves. The procedure is performed "cold", so it is better not to start the ATV before adjusting.
In fact, adjustment is a basic operation, so even a novice ATV rider can perform it. The driver only needs:
 You need to rotate the knot until the corresponding mark appears in the window.
 After making adjustments, start the ATV and observe engine operation. It is possible that at first the device will make a slight tapping sound. However, if the knock is strong, then the valves were not set correctly.
Important: Do not load the ATV heavily after adjustment. Carry out a mini run-in (5-10 km). Also, during the trip, listen to the sounds that the ATV engine makes. nine0028
02/19/2021 4248
You left your ATV in the garage on a trip or out of town, and when you return a few weeks later, you can't start it anymore. Common situation? Even after adding a spark and fresh fuel, the engine only stops for two to three seconds. What could be the effect? After all, before the ATV, he had no problems: it was enough to pass a periodic thorough inspection. nine0003
Don't panic: in this case, you can say with almost 100% certainty that the problem is only in gasoline, and not in ATVs. Like any hydrocarbon gas, Gasoline mixture is volatile and should not be relied upon for long periods of time. Some of its fractions evaporate, and the remaining gasoline liquid loses its ability to ignite and is no longer a fuel mixture.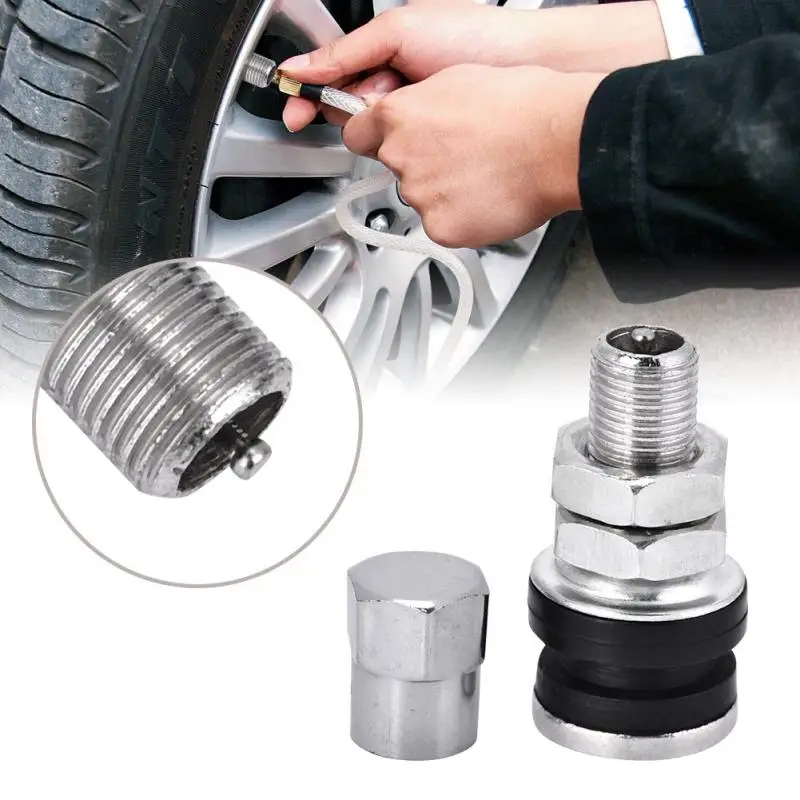 So your ATV didn't want to ride after a long break. nine0003
No response starter after turning the key
 Fully turn the throttle and engage the starter - the spark plugs should be on the wires and on the engine. Don't touch the candles. Put them on and start the engine. nine0010
  nine0010
 Bendix is broken or after inspection the starter rotates in the wrong direction in the wrong housing, the latches are connected upside down: have the mechanics check the starter (they will do this without removing it from the motorcycle).
ATV stalls : Starter relay clicks but engine does not start
Loose starter cord or short circuit due to broken wire: check connection, remove rust, check current with multimeter. nine0003

 On a liquid-cooled engine, white indicates damage to the cylinder head gasket. nine0010
 nine0010