· Modified: by Rose Atwater · This post may contain affiliate links · 7 Comments
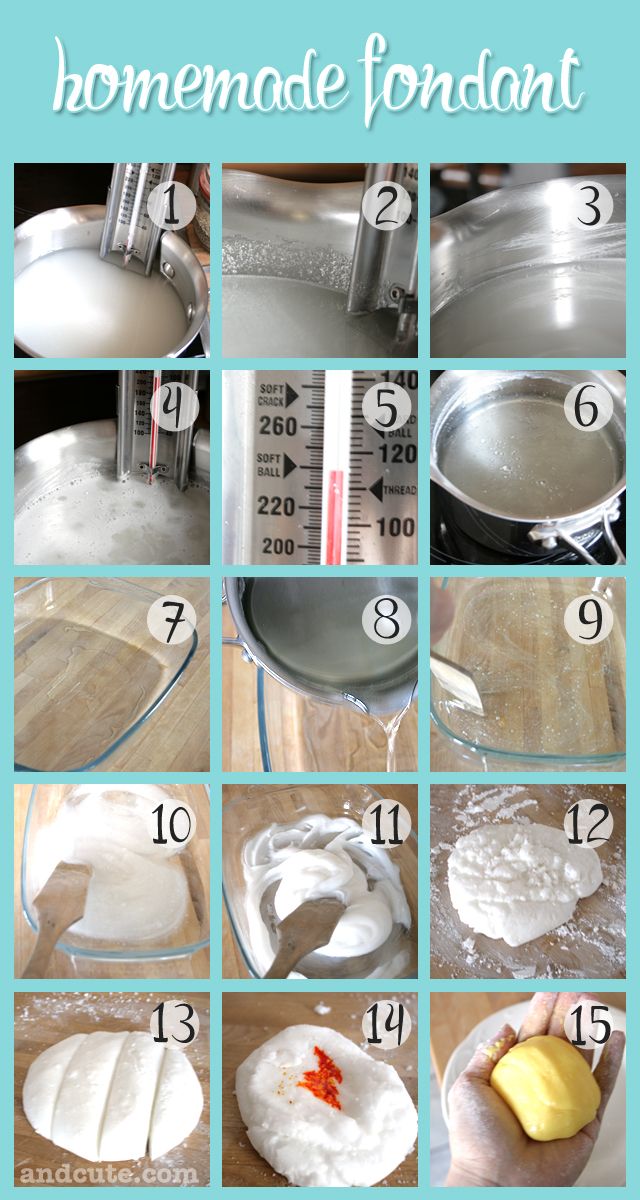
This Good Years Tire Cake is the perfect cake for a man (or woman) who loves cars or is in the auto industry! Or in this case, is celebrating a milestone birthday! Ed was celebrating 49 "good years" and loves his cars! His wife ordered this cake for him! Keep reading to find out the details of how I made it.
I don't take a lot of last minute orders. But every now and then I get a request I can't say "no" to. This was one of those times. When the client called, it was Thursday and she wanted to pick up the cake on Saturday afternoon. Talk about last minute!!
But when she sent the pic and it was a tire cake (and I only had one other order that weekend), I knew I had to say yes! I'd had this tire tread impression mat already for quite awhile and I'd only used it once (I think). Plus, my brother owns a tire shop so I thought it would be cool to show him as well.
So, here are the details:
This was an 8" round vanilla bean cake. It was baked in my favorite Magic Line pans, then cooled, filled and frosted with vanilla buttercream.
I'd haved loved to use the diamond plate texture mat with fondant to cover the board (I'd have used silver spray to make it SO cool!) BUT, since it was such short notice, I just wrapped the board in silver paper and used a red ribbon border (tutorial here) to make it pop!
For the center of the tire, I scooped out a small amount of cake in the center of the top to give the tire dimension. I re-frosted that "hole", then I covered the cake in Satin Ice Black Fondant.
Next I rolled out a long piece of black fondant (approximately 25 inches long and 6 inches wide). Then I laid the tire tread impression mat over the fondant and used a rolling pin to press it down evenly. I had to move it a few times to get the texture covering the full length.
After measuring the height of the cake, I trimmed the tread to the correct height.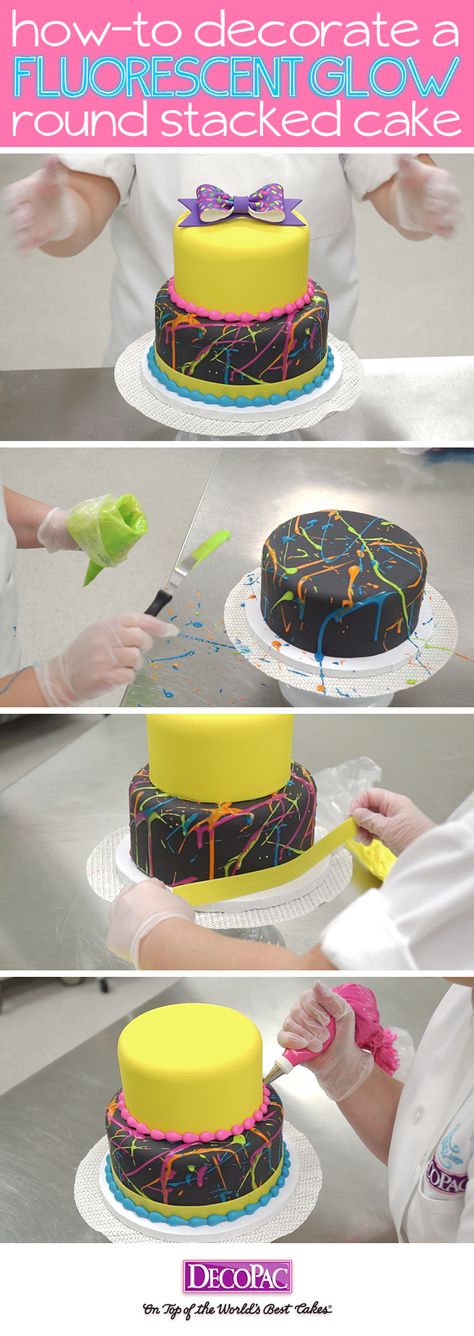 Then rolled it up on a rolling pin and unrolled it around the cake. The soft fondant adhered to the cake pretty easily but if you have trouble with it sticking, you can use a light brush of shortening or water.
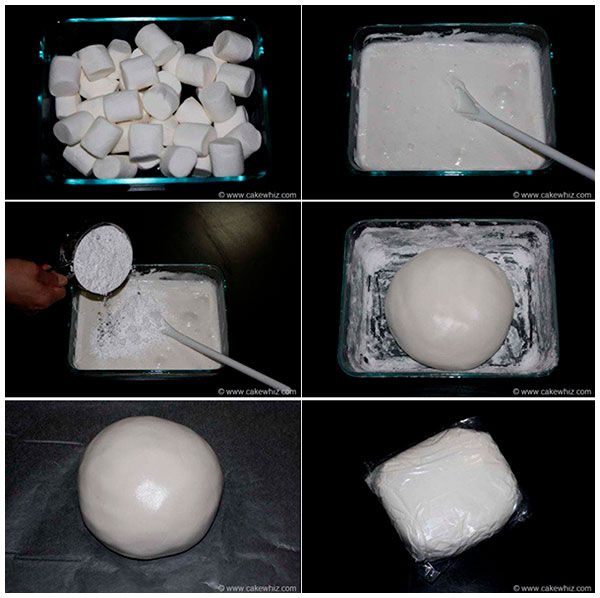
For the top of the cake, I used a round cookie cutter to cut out the "hub" from homemade marshmallow fondant, then I used large round piping tips to cut out the smaller circles. Silver edible spray was used to get it the shimmery silver color. After it dried, I centered it in the hole I'd made earlier.
The letters were done with alphabet cutters similar to these and the numbers were cut with cutters similar to these. I used homemade marshmallow fondant for the letters and Satin Ice for the red fondant.
Satin Ice Black Fondant
Buy Now →Fondant Smoother
Buy Now →Xacto
Buy Now →The only other detail for the Good Years Tire Cake is the symbol. It was a rough hand sketch that I cut out with an xacto blade then used a black food marker to draw the details.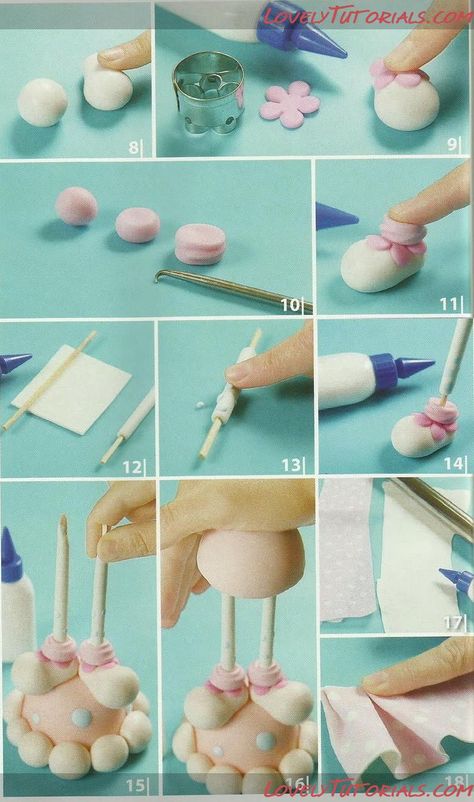 Easy-peasy!
And that's it.. I think that's all of the details I can share with you on this cake! If you have questions, leave me a comment!
I do have one more treat for you! Here's another cake I made years ago and never posted... it's an Engine on a Tire Cake:
Rose Atwater is the founder and cake decorator behind Rose Bakes. She is baker, cake decorator, author, wife to Richy and homeschooling mommy to 6 wonderful kiddos! Her work has been featured in American Cake Decorating Magazine, Cakes Decor, Pretty Witty Cakes Magazine, Huffington Post and Cake Geek Magazine. Learn more here...
By Meagan Fikes Leave a Comment
Some links on this site are affiliate links which means that if you make a purchase at one of these links, I may receive a small commission at no additional cost to you. Additionally, I am a participant in the Amazon Services LLC Associates Program, an affiliate advertising program designed to provide a means for sites to earn fees by linking to Amazon.com and affiliated sites.
I only link to products and services I personally recommend and believe will benefit my readers. These links help to cover some of my blogging expenses. I appreciate your support!
I've missed decorating cakes so much! You may have seen me mention or read in my bio that my passion for cooking began with cake decorating. After being diagnosed with gluten intolerance, I gave up cake decorating for a while because 1) I had to start cooking all my own meals so there was no extra time to make cakes, 2) I was unsure if certain decorating ingredients were safe for me, 3) I had my doubts that a cake without gluten would be sturdy enough to hold multiple layers and heavy decorations, and 4) I had to replace all my decorating equipment that had touched gluten which is so expensive! The idea of picking it up again was overwhelming.
I took care of my urge to bake by re-learning how to bake, this time using unfamiliar gluten free flours and other ingredients. I stopped sharing large cakes with people and started a blog to share my own original recipes. I also switched my creative outlet from cake decorating to food styling and food photography for the blog. All of this kept me happy but I still had the itch to make more cakes.
My son's first birthday was in December and I decided to just go for it! He's obsessed with cars and wheels (and anything that kind of looks like it might be a wheel) so I started thinking of how I could make a cake look like a car or the simpler shape - a tire.
I was at a loss on how to make the tread so I started searching Pinterest and yes, this had been done many, many times before. I really liked the tread pattern used on the website "Yes It's Cake" so I tried to imitate that pattern.
Now, keep in mind, I wasn't great at cake decorating before this and it's been about seven years since I last tried! I took a few shortcuts that I knew better than to take and unfortunately, it shows.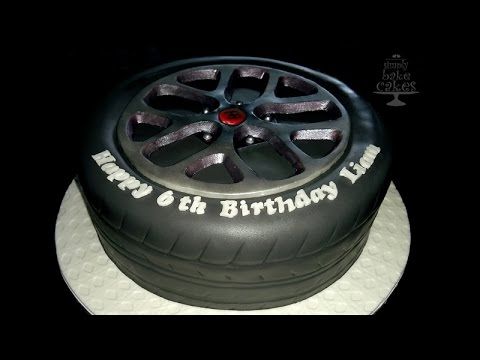 And those "shortcuts" really only saved a few minutes over the span of a nine hour project so it wasn't worth it. I'll tell you where I cut corners and what I would do different next time.
I think the most obvious mistake was the piping icing. I couldn't find my recipe for the icing I usually make (which wouldn't have even taken 10 minutes) so I just used the store bought stuff and figured I'd add powdered sugar to stiffen it. Except I lost my patience and didn't add the powdered sugar. Since the icing was too runny, the grass didn't hold a nice shape and many strands were too long. Thankfully, I found my icing recipe so I could at least include it in this post.
The other negative outcome from not making my own icing was that I also used it as my crumb coat and it was too wet. This caused my fondant to moisten and pull away from the cake. It actually developed a hole and slid partway off which has never happened to me before! I'll admit, I was a little horrified ;) I patched it up but you can see what I mean about it sliding/pulling away in the photo right where the light hits the side.
I thought maybe I didn't use enough powdered sugar in my fondant because it was a little wet after I rolled it out on the shortening greased countertop. I really forgot what it was supposed to feel like and just kind of guessed. However, now I think it was wet because I used regular food coloring instead of gel. I know you're supposed to use gel coloring for fondant but I didn't even think to check for gluten free gel food coloring. Turns out, it exists! (Update: I used it in the frosting on my son's 2nd birthday cake and it seems to works well!) The wet fondant combined with the wetter crumb coat contributed to that hole I mentioned. I tried to let the fondant dry out a little by leaving the lid off the cake carrier as long as possible but there was no saving it.
I also wish I would have replaced my fondant rolling pin. Oh man, that was tough to get the fondant over the cake without one! I literally wrapped it over my forearm to lift it up without it tearing. Seriously, get a fondant rolling pin. And a lazy susan - I wasn't able to find mine until about a week after I made the cake. Thankfully I was able to hide most of the bumps in my fondant with the tire tread pieces.
There was actually one area I cut corners on and it probably turned out better! I typically only decorate my cake with edible ingredients and planned on making sugar cookie cars but they probably would have been too big. I asked Lenny to pick up a red or blue toy car so he picked those and I love the way they look on the cake. He even found a CRX which he used to drive so that was a really neat addition!
Learn how to decorate a cake using only gluten free ingredients. I made this vanilla cake decorated in a tire tread pattern for my son's first birthday.
*Please see notes section at bottom of recipe first*
 Something like these cardboard cake circles would work too)
 Feel free to add extra flour if needed - any excess flour can be dumped out or saved for the next batch of cake. Just make sure there are no large clumps of flour, especially in the edges of the pan that would create dents in the cake. Set aside.
 Wash and dry the cake pans and prep again as you did in step 3. Repeat the same process to bake, cool, and remove the cake from the pans.
 Place one of your four cake layers in the middle of the cake board so it's secured by the icing smear.
 Too thick of a layer can cause the fondant to soften and break. After icing, make sure your cake is still stacked nicely before proceeding. Set the cake aside and store the remaining icing as you did before with plastic wrap and an airtight container.
 Starting at the base of your cake, slowly unroll the fondant up and over the top then back down the other side until it is covered. Grease the fondant smoother with the shortening and gently coax the fondant to lay flat against every surface of the cake, down to the base. Once you work your way down to the base, use a fondant cutter or knife to cut away the excess fondant (save this excess for the next step!). Use a damp paper towel or cotton swabs to clean the exposed area of the cake board. *Tip: If you develop small cracks in the fondant after it's already on the cake, paint in the area with some of the black food coloring.*
 They should stick without needing to add anything.
 Put this in a clean piping bag with the Wilton tip #233. Pipe grass all over the top of the cake, staying outside the number you outlined.
I've linked to many of the products I used for this recipe which worked for me (severely gluten intolerant and mild dairy allergy) but if you have food allergies/intolerances or are cooking for someone who does, please thoroughly research the ingredients you buy and follow safe practices to prevent the cross contamination of any problematic allergens while cooking.
Even if you own four of those 8 inch round cake pans, you don't want to put four pans in the oven at the same time unless they all fit on the same rack.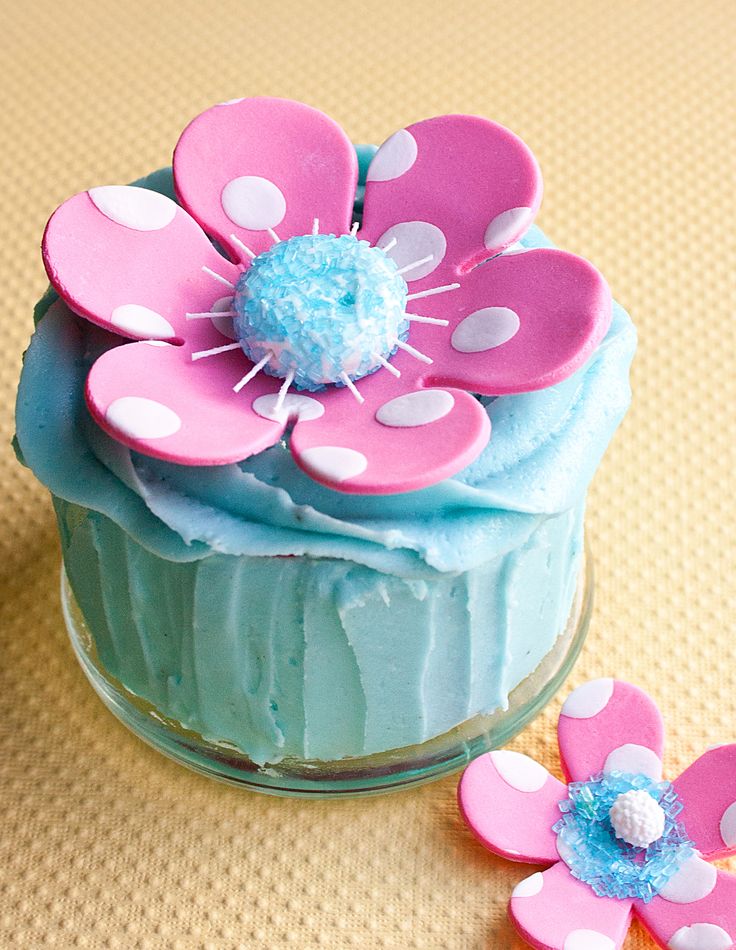 If you have some on the top rack and some on the bottom, they won't bake correctly.
Tag @eatsomethingdelicious on Instagram and hashtag it #eatsomethingdelicious
Hello friends!
Today I'm telling and showing how to make beautiful, spectacular and unrealistically saving your time and labor costs mastic toppers for a children's cake! At the same time, we will learn how to work with sugar and wafer paper, the topic is interesting, the material has great potential, but we have never written anything about it, we need to correct it!
Mastic toppers I will demonstrate using the example of a children's cake with Fixies. I recently had a story with him that is probably familiar to every home confectioner. Nine in the evening, the doorbell rings - the neighbors. Cake for tomorrow. To kid. With Fixies! “Really asks, really wants, birthday, how without a cake, help me out!” The situation, frankly, is not pleasant, and the most reasonable thing is to refuse, but how? After all, people are not completely strangers.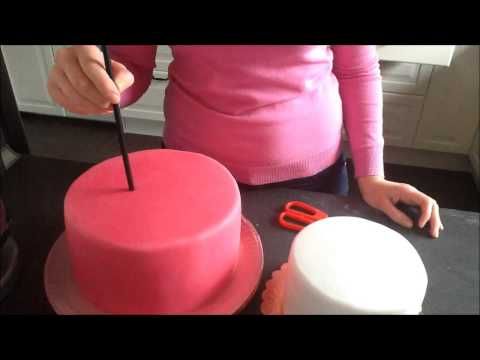 And Fixikov, meanwhile, wants almost everyone. In general, in such cases, if you can’t refuse, and you don’t know how to draw too much, the only way out is to print on sugar or wafer paper and mastic toppers. Well, not to sculpt the whole company, really? nine0003
The only condition is the possibility to make this same sugar or waffle picture anywhere. To print, you need a printer, and not necessarily a special confectionery one (I'm not even sure that such ones exist), but refilled with food coloring cartridges. The service of printing on edible paper is provided by some pastry shops, as well as private pastry chefs at home, those who have purchased a printer and cartridges.
In order for the ink not to dry out and the printer to serve for a long time and properly, you need to print pictures at least once a day, which is why almost everyone who has this printer does not refuse those who wish to make sugar pictures. You just need to find a person who lives near you, write to him, agree on a price, send him a file in a jeep and agree on a time when you can pick up the finished picture.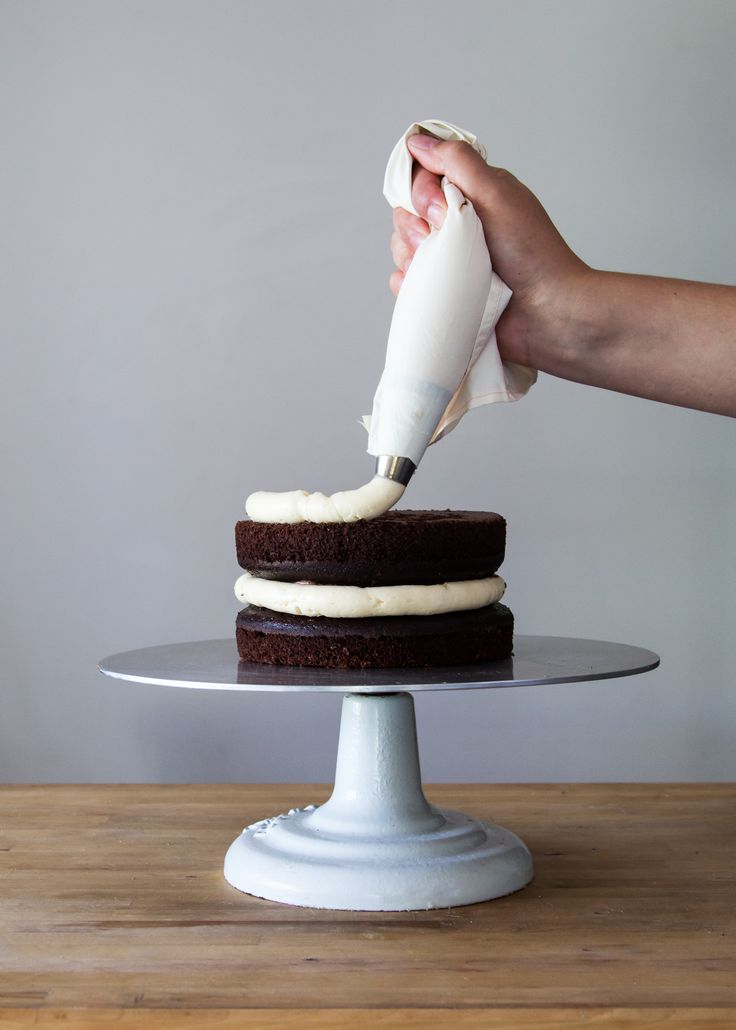 nine0003
You can print with food coloring on both sugar and wafer paper. Sugar is denser, the image on it is brighter, but it is usually a little more expensive. What to use is up to you.
Here is my sugar picture.
You see, it is packed in a zip-package (in this form, including a large thick envelope, the store where I print gives pictures to customers, very thoughtfully and pleasantly). If you're not going to use the picture right away, store it in a zip-lock bag: it won't let air in, and your picture will retain some of its inherent flexibility. From a long stay in the open air, sugar pictures dry out, become brittle and brittle. But this, by the way, does not threaten the waffle, but it is brittle in itself. nine0003
Show sugar picture closer. It is slightly rough, and the print is bright enough. The paper itself is pasted on a thick film.
Here you can roughly understand the thickness.
Let's make a baby cake topper!
Cut out the character.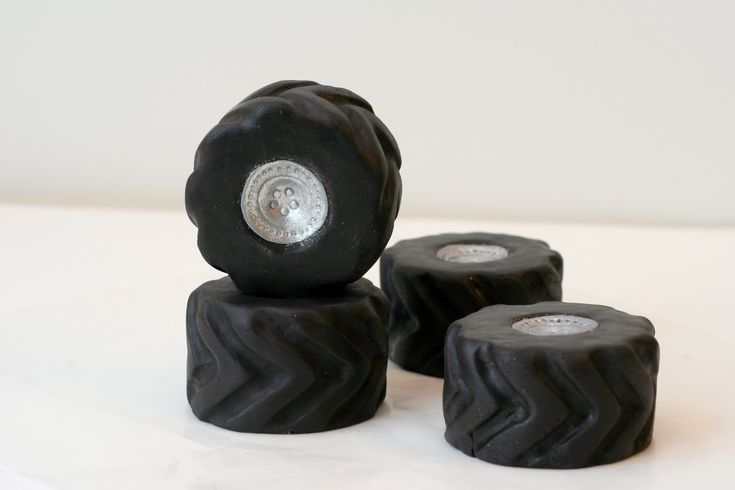 ..
..
...along the outline, with a slight indent, however, as you like.
Take a piece of mastic that dries quickly. It can be gelatin mastic (but it is completely tasteless, as for me, and it becomes very hard, I decided that if the children decide to gnaw on the topper, then it can simply be dangerous for their teeth)) or purchased mastic like Vizyon or "Top -product ”, in which SMS can be added to speed up drying (powder, sold in confectionery stores). However, if you have time, then you can do without SMS, it just takes longer to dry. nine0003
Here I have the Top Product white vanilla mastic, probably the most budgetary today, but very good.
Added a pinch of sms.
Kneaded. Rolled into a ball, slightly flattened.
Rolled out 5 mm thick (can be thinner, depending on how thick your skewers are).
Attached a picture. She circled the stack around the contour.
Cut out. This must be done very carefully!
I inserted a skewer a few cm deep so that it held well.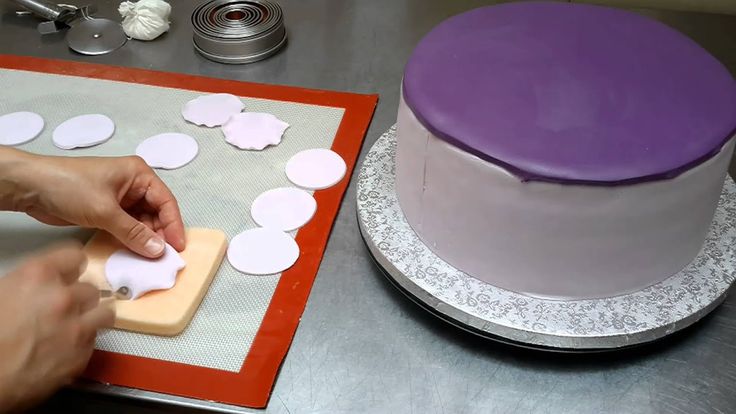 The thickness of the skewer should be completely immersed in the mastic! In other words, when rolling out the mastic, consider the thickness of the skewer. nine0003
Lubricate the mastic with a thin layer of decorgel (can be replaced with honey diluted in water), quite lightly and evenly.
Remove the film from the picture.
Carefully glue the image to the mastic.
Our topper is ready!
Leave to dry, and you can insert it into the cake!
Drying time depends on many factors: mastic, topper size, room humidity. This little Nolik from Top Product mastic with the addition of SMS dried up, at most, in an hour. nine0003
And here is the whole gang. Bright and beautiful! And most importantly - quickly, if there is a place to print a picture.
Exit for those who need all at once for a cake weighing 1 kg)
Well, the whole cake.
The cake is made in a minimalistic design. Of the decorations - only toppers made of mastic and cogs-bolts, also made of mastic.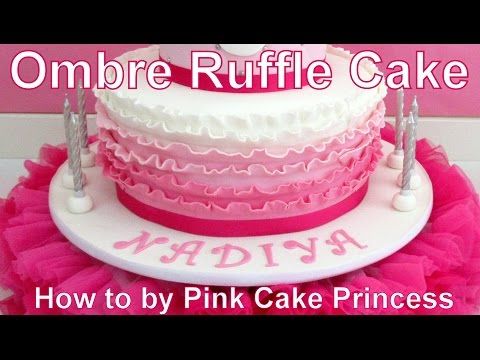 It was an urgent cake, as you understand, so I had to do everything very quickly, and the silicone mold from the CakeUp store literally saved me in that situation. I just sprinkled it with corn starch, took small pieces of mastic, dyed it in the right colors, filled the recesses with them, walked along the surface of the mold with a knife, holding it flat and cutting off the excess mastic, and took out the details! nine0003
There is time - you can let them dry a little or freeze them in the freezer, they will come out even better. But even so, in a hurry, the result is excellent!
Mold with numbers, by the way, also from the same store. And the stand))) In short, I have a lot of everything from there) And what can you do if the things are really worth it!
We work with wafer paper in the same way. Well, or almost: the image on it is not as bright as on sugar paper, so you can often find a recommendation to cover it with decor gel on top. So it really will become much brighter, but it will acquire gloss, and not everyone likes it.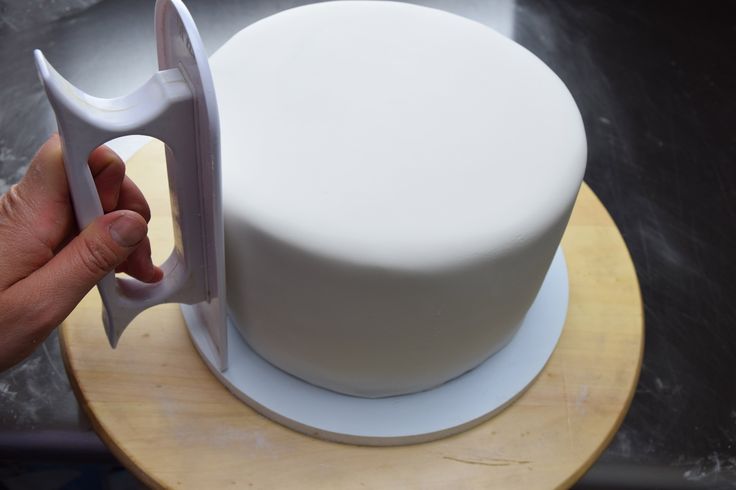 The waffle also comes in waves more often, but I think it's a matter of practice. nine0003
Practice! Interesting work for you!
I hope this information was useful to you.
Author: Tori Pteat
Category: Decor
Tags: Toppers, Cake decor, Cake, Trendy cakes, Mastic, Children's cake, Molds
Decoration on the cake figurines for boys Toper sugar decor Spiderman Spiderman1 pcs
Delivery from Kharkiv
UAH 50
Buy
Decoration for cakes Figures for boys Supply Superheroi Man Spider-Men
Delivery from Kharkov
100 UAH
Buy
,embellish adventure for Malyak cake
at a warehouse in the city Poltava
Delivery across Ukraine
65 UAH
Buy
Sugar figurines edible cake decoration for boys set Minecraft
Delivery from Kharkiv
82 uah
Buy
Sugar cake decoration sneakers for a boy.
Delivery in Ukraine
55 UAH
Buy
Sugar confectionery figures from mastic on a children's cake Set of Race Cars for a boy
Delivery from Kharkov
160 UAH
Buy 9000 9000 Small set of confectionery figures cake for boys Motocross
Delivery from Kharkiv
UAH 85
Buy
Set of Urbanball jewelry for the 1st birthday for a blue boy with gold UB3218 Fe, Code: 1388498
Delivery in Ukraine
319 UAH
298.98 UAH
Set of Urbanball decorations on the 1st day birthday for a boy Blue with gold UB3218 TP, code: 1388498
Delivery across Ukraine
319 UAH
298.98 UAH
Buy
UrbanBall jewelry set for the 1st Birthday in gold Blue PUB2 with 19,8 code 38 KUB28
Delivery in Ukraine
319 UAH
298.98 UAH
Buy
Set of Urbanball jewelry for the 1st birthday for the Blue Blue with gold UB3218 BS, Code: 1388498
319 UAH
2 298. 98 hryvnia
Buy
Cake decoration "Christening set" (boy)
Delivery in Ukraine
50 hryvnia
Buy
UrbanBall decoration set for 1st Birthday Blue BB2 with gold code BB8 for boy : 1388498
Delivery in Ukraine
319 UAH
298.98 UAH
Buy
Set of Urbanball jewelry for the 1st birthday for the Blue Blue with gold UB3218 PP, Code: 1388498
319 UAH
298.98 UAH
Buy
UrbanBall jewelry set for the 1st Birthday for a boy Blue with gold UB3218 GM, code: 1388498
Delivery across Ukraine
319 UAH
UAH 298.980003
Buy
See also
Set of Urbanball jewelry for the 1st birthday for a blue boy with gold UB3218 SK, Code: 1388498
Delivery in Ukraine
9000 319 UAH298.98 UAH
Buy
Set for the 1st Birthday for a boy Blue with gold UB3218 AG, code: 1388498
Delivery in Ukraine
319 uah
298.98 uah
Buy
UrbanBall decoration set for the 1st Blue UB3 birthday with gold IX, code: 1388498
Delivery in Ukraine
319 UAH
298. 98 UAH
Buy
Set of Urbanball jewelry for the 1st birthday for the Blue Blue with gold UB3218 OB, Code: 1388498
319 UAH
2 298.98 UAH
Buy
UrbanBall jewelry set for the 1st Birthday for a boy Blue with gold UB3218 KS, code: 1388498
Delivery across Ukraine
319 UAH
UAH 298.980003
Buy
Set of Urbanball jewelry for the 1st birthday for a blue boy with gold UB3218 GL, Code: 1388498
Delivery in Ukraine
319 UAH
298.98 UAH
Set of jewelry Urbanball on the 1st Birthday for a boy Blue with gold UB3218 TS, code: 1388498
Delivery across Ukraine
319 UAH
298.98 UAH
Buy
UrbanBall jewelry set on the 1st Blue Birthday with code: ZKUB3 for a boy 1388498
Delivery in Ukraine
319 UAH
298.98 UAH
Buy
Set of Urbanball jewelry for the 1st birthday for the Blue Blue with gold UB3218 SM, Code: 1388498
319 UAH
2 298.