by Donna Baylis | Aug 13, 2017 | Reference
Contributed by Jason Mueller
Loading an ATV into a truck seems like it would be a simple task to handle. However, it can not only be difficult but it can be dangerous. One thing to keep in mind is being safe when loading or unloading your ATV and you need to make sure you have the proper ramps to hold the weight of the bike and easily load it into the trailer. Whether you’re taking your ATV to the woods to get in a little playtime on a long trail ride or you just need to relocate the ATV, using the right ramps and loading techniques will go a long way to maintaining the condition of your ATV.
ATV ramps should not be pieces of flat wood or metal you may have laying around your tool shop. They need to be carefully chosen from a store or designed and crafted from the right material to handle the machine you want to load. You will need to be certain that the ramps are the right length for your truck bed or trailer.
Modern trucks tend to be a little higher off the ground than some of the older trucks, so you will want to buy or build longer ramps if you plan to do the work on your own. You’ll also need to know how much your ATV weighs. This is extremely important when determining the materials to use on the ramp build.
In some instances, if you don’t own a truck or trailer to haul your own ATV, you can always contact an ATV shipping company (Canada, USA). The following ideas for building ramps to load ATVs in and out of trucks or trailers are great for those who are handy with building things, but alternatively, ramps can be purchased from an ATV shop or even a hardware shop locally.
Aluminum Diamond Plate RampsUsing 3/16” aluminum diamond plate, a lot of weight can be held and it provides a sturdy, solid surface for ATVs. Making them around 5 feet long, you can bend up two channels and tie them together. Welding can be done for strength, but it is not necessary. Adding 4” tubes in the curls of the aluminum provides more strength to the ramps, making them ideal for moving ATVs.
Using 2×10 pieces of steel with a 3”x3/16 angle of iron down each of the sides provides more support. You do not have to weld the pieces together, but bolt each of the areas down. Adding ramp ends from a hardware store can provide even more stability and provide a way for the ramp to easily connect to the trailer or truck and ground.
Wood and Velcro2×12 with 1/4” angled iron on one end of each board. Add industrial strength Velcro on the bottom sides of each one. This helped reduce slipping when pushing the ATV up the wood and into the bed of the truck.
Alternatively, you could screw eye bolts into the sides of the ends. Use tie downs to lock them in place on the bed of the truck so they do not slip, instead of the Velcro. Cutting the 2×12 in half so each is 6’ is ideal. Cutting them too short or keeping them too long puts too much stress on the wood. Remember wood is slick when wet so caution is recommended.
Using 2-2×6’s with 1×2’s every foot or so up each board provides more support when loading and unloading the ATV. Placing a 1×2 at the top of the board, as well as the bottom provides additional support so they do not slip out of place when being used. Again, slick when wet.
Treated Wood with AnglesTreated 2-2×12’s with 2×2 angles along each side of the 2×12’s provides additional support. The 2×2 angles helps with slippage since the angle holds onto the ends where they are placed. Making them just over 4 feet long is adequate to load the quads into a trailer without slippage and the treated wood is heartier, making them a more durable solution.
Remember, it is always recommended that you test for safety. It is better to be safe than sorry when it comes to loading your quad up, only to find out the ramp cannot hold the weight. Also, loading into the back of a trailer that is low to the ground, rather than into a higher elevated truck, is much easier to do when using ramps.
See also:
Keeping It Safe On the Trail
New Riders
Are you tired of lifting your heavy equipment into the bed of your truck? This can be awkward and even lead to injury depending on how much they weigh. Learning how to build your own DIY truck ramps alleviates a lot of the hassle and strain from your jobs. Follow our comprehensive instructions so you don’t have to lift that lawn mower, snow blower or other heavy machinery again.
Before you begin any project, you want to ensure you have all the equipment needed to get the job done right. Here’s a list of items to have handy.
Here’s a video of someone who constructed these truck ramps and how it turned out. The only thing we would’ve done differently is to add non-skid Durabak paint to complete the job. https://youtu.be/e0apV7ZQJMM
Whenever you attempt to build something yourself, there are some safety precautions you’ll want to take.
You can tweak this idea and make it your own. There are many different plans out there on the Internet worth checking out. Some other good ideas included:
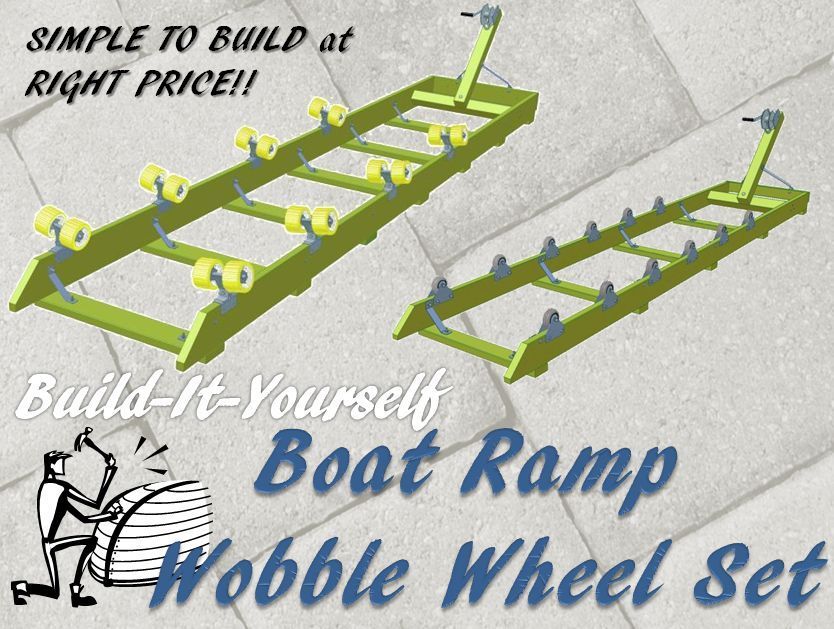
While you can purchase truck ramps, not everyone has the money to invest. That’s when creating your own DIY truck ramps becomes a great option. There are many ideas out there, so you’re sure to find something that works for your needs. Just imagine the pride you’ll feel the first time you use your creation.
Back to blogUse left/right arrows to navigate the slideshow or swipe left/right if using a mobile device
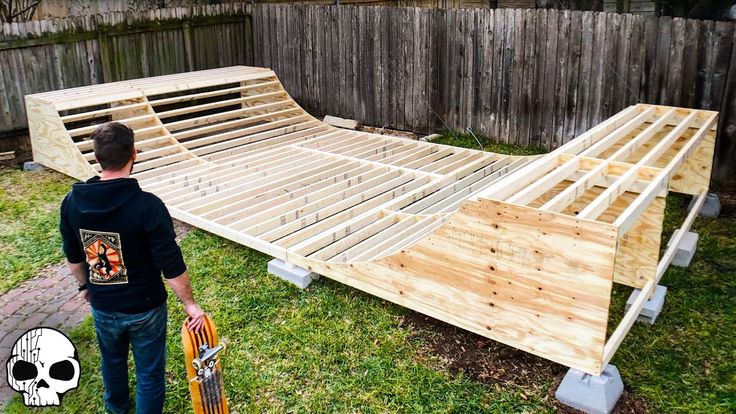
Often public parks in cities, especially small ones, are not equipped with equipment for practicing bicycle tricks. In this case, there is nothing left but to make a BMX ramp with your own hands. We reveal the process of creating a homemade ramp from start to finish.
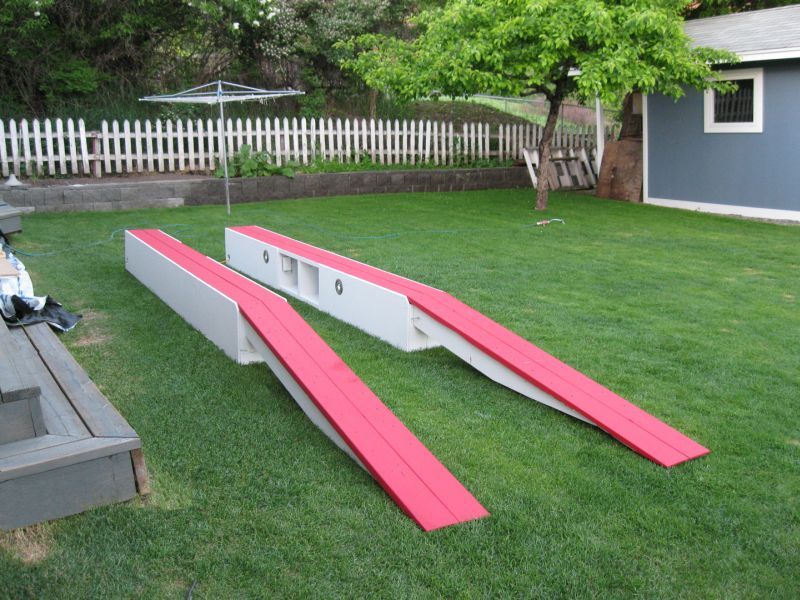 You probably don't want to use it to practice just one trick. So, you need universal equipment. nine0012
 Your drawing should contain not only a ramp drawing, but also a complete technical layout. In particular, the amount of materials that will need to be used to create equipment. The ramp, depending on your preferences, can be made of metal or wood, but remember that wood is much easier to get.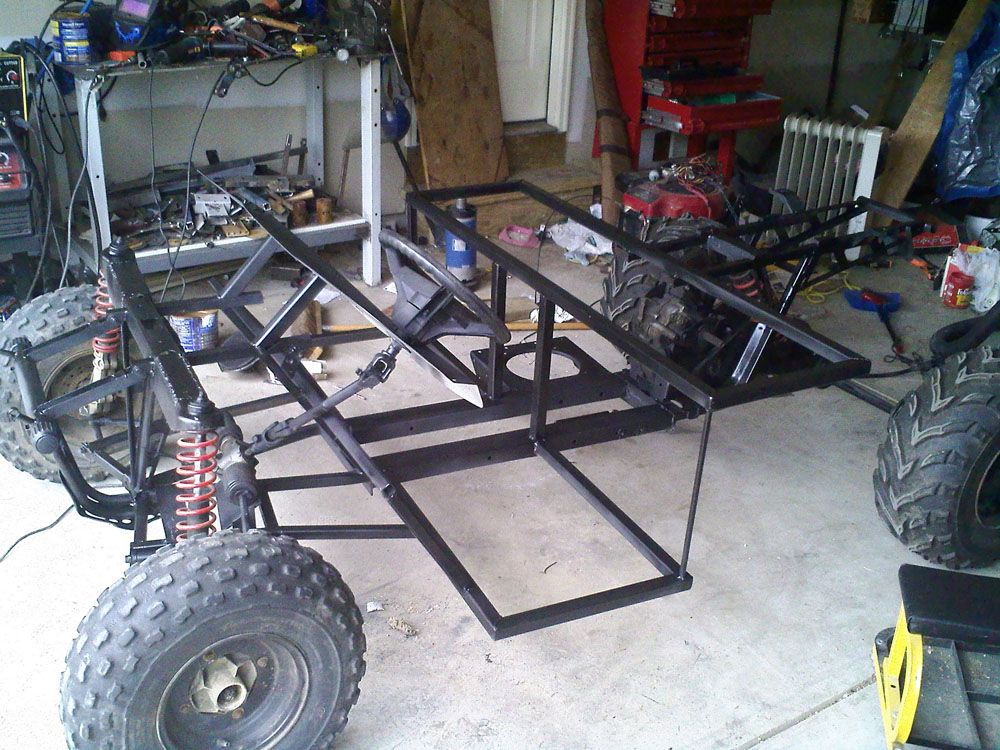
Now everything is ready. It remains only to learn how to build a BMX ramp from the prepared materials. It's easy enough:
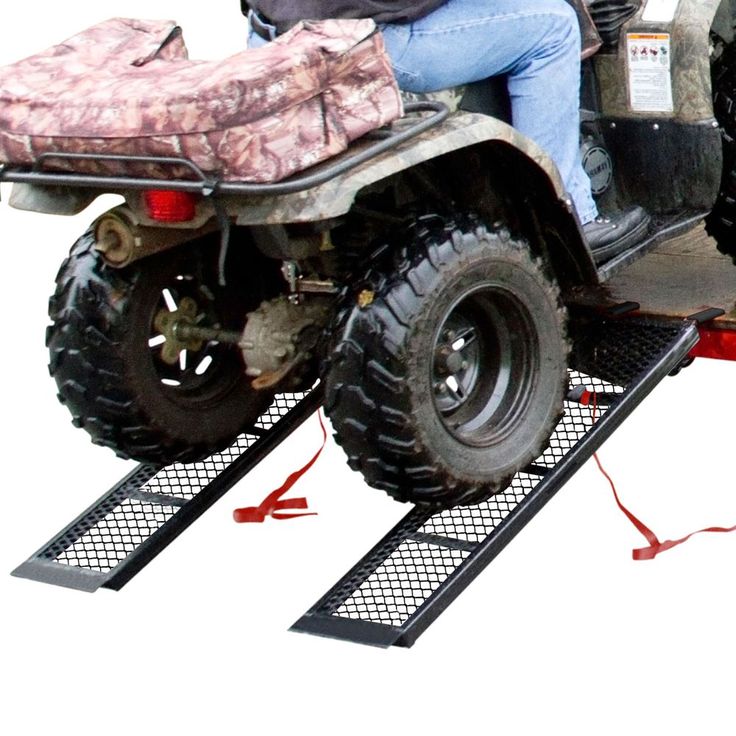
Done! Now it remains only to process the ramp with sandpaper and paint if necessary.
Today, ATVs are very popular in the modern world. This is a small vehicle that looks a bit like a motorcycle, but the ATV has more than 2 wheels. Trunk - the luggage compartment of an ATV, it is designed to carry the necessary things.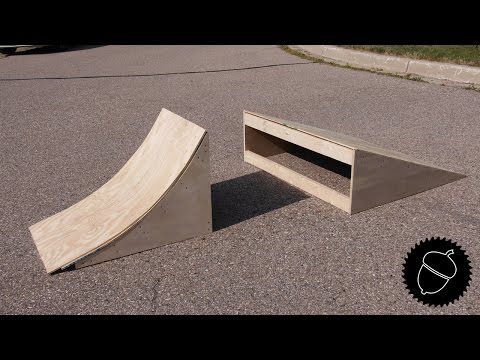 Panniers can be front and rear, rear panniers are more popular. Such wardrobe trunks cost a lot separately, so now I will tell you how to make such a wardrobe trunk with your own hands, while saving a lot of money. nine0005
In order to create a homemade wardrobe trunk you will need:
- Foamed plastic or hard foam, there is not much difference here, you can choose any one, the thickness of which will be at least 10 mm, 6 mm can be on the bottom
- Glue for plastic
- Self-tapping screws
- Metal ruler (approximately 1-1.5 meters)
- Bulgarian
- Tools for fastening and fixing
- Screwdriver
If you do not have special tools for cutting plastic, you can take a regular clerical knife or blade. ATTENTION! if you cut plastic with a blade, wear a glove on your working hand, there are many cases when people cause mini-injuries to themselves by cutting themselves on the edge of the plastic. nine0005
To make your own ATV case, follow these steps:
1. The first step is to cut out the bottom for your future case. To do this, you need to measure the area where you want the trunk to be located, then all measurements must be transferred to foam or plastic and cut the bottom according to measurements using a grinder. All precautions should be observed, first of all, protect eyes, hands, clothes during work.
2. Once we have finished making the bottom, we should make the side walls of the trunk. To do this, we measure again and, having received the necessary parameters, we transfer them to polystyrene or plastic and cut out the necessary pieces from polystyrene or plastic. Next, we fix them well to the bottom with screws and glue. nine0075 3. After gluing the side walls, it's starting to look like a trunk, the next step is to file all the edges so that we get smooth and even corners of the case.
4. Next, after processing the corners, we proceed to the lid of our trunk. In order to make the trunk lid, we again go to foam or plastic, measure the almost completed wardrobe trunk and transfer the resulting dimensions of the lid, cut it out with a grinder, observing all precautions.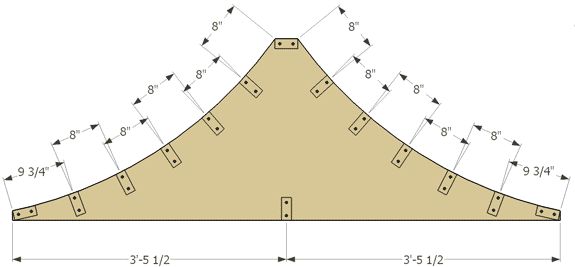 After we have received the desired piece of foam or plastic, we attach it to the already made wardrobe trunk with the help of hinges that are used in door structures, you can also use other materials for fastening at this stage, because the hinges can take up an amount of space in your case. nine0075 5. Now you have attached the case cover, at this stage you have already got a full-fledged case, but for the beauty and attractiveness of the trunk, as well as to match the color of your ATV, you should give the trunk a beautiful look. There are many options here on how to do this. You can paint it in the color of your ATV, you can paste over it with a film and there are many such options, but the choice is yours!
In addition to using hinges to secure the lid, other fastening materials can be used to secure the lid. nine0005
Also, for convenient storage and transportation of various substances and materials, the wardrobe trunk can be divided into several parts, sections.
The most important thing in this business is not to be afraid to fantasize and experiment.