Whether you had one rough pull or a hundred easy ones, wear and tear on your winch cable is natural. Everybody has to replace theirs with something new eventually.
It’s a simple job right?
Not so fast!
There are a few major pitfalls you need to avoid when changing your line. We’re going to walk you through how to replace an ATV winch cable or rope to make sure you get it right and don’t damage your gear.
Table of ContentsYou’ll need a few basic tools to replace your winch cable. There’s nothing special here—you should already have everything.
These steps will take you through the process of removing your existing synthetic rope or steel cable and replacing it with a new one. The process is nearly identical whether you’re replacing cable or rope, but we’ll note the differences when they come up.
Before you do anything else, you need to figure out if you have room to remove your ATV’s winch cable while the winch is still installed.
If your winch is mounted on top of a bumper, you’ll have no problem keeping it installed.
However, if you can’t reach your winch drum with both hands, you may need to remove it. In some cases, removing the fairlead alone will give you enough space to work with. If you do have to remove your winch, the process is simple enough:
Removing your cable or rope is a piece of cake. If you’re working with cable, be sure to don your heavy-duty gloves to protect your hands.
Then, follow these steps:
The line will run through a hole in the drum. With synthetic rope, the line will have a simple knot (tip: take a picture of the knot now so you can replicate it later). Steel cable will be secured with a set screw or locking bead.
If you’re removing synthetic rope, lighten the tension by pushing the long end of the line through the hole. Then, undo the knot and pull the rope through the drum. You may have to cut the end off if it’s covered in glue or tape that won’t allow it to run through the hole.
With a steel cable, you’ll need to use an allen key to loosen the set screw so you can pull the line out. On some winches, the cable will loop around a locking bead set into a slot in the drum. Just feed the cable through to lighten the tension on the bead so you can unloop the line.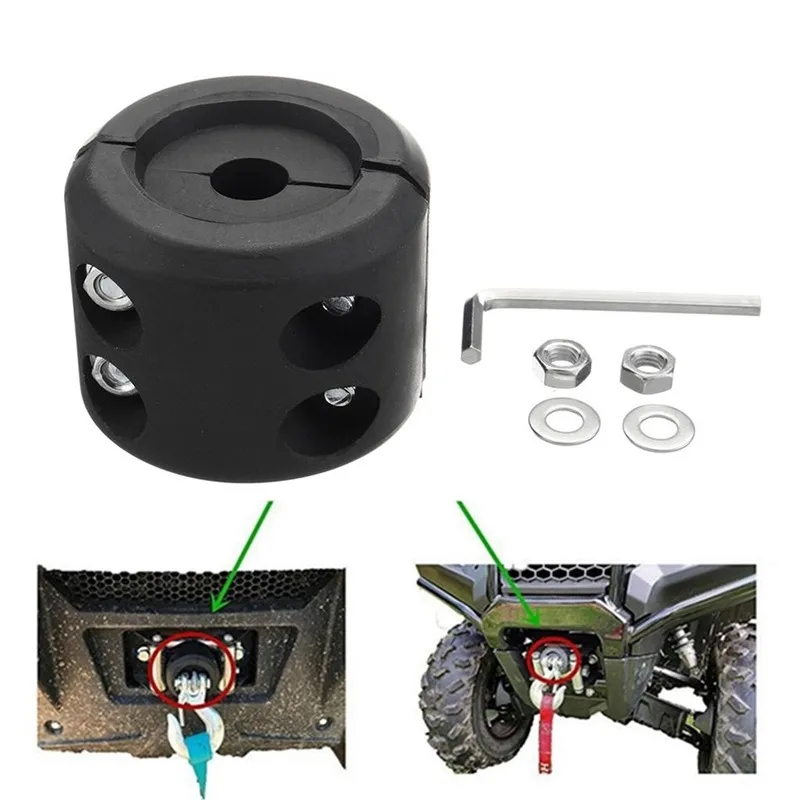
It’s important to take this opportunity to inspect the condition of your winch, especially if you’re replacing a steel cable with a synthetic winch rope.
Look for grooves and ridges—anything that’s not smooth.
If it’s roughed up, you’ll need to file it smooth or replace the winch before using a synthetic rope. Those grooves can easily slice fibers when under the intense pressure of a loaded winch.
Installing your new line is a little bit more complicated than removing it. Make sure you pay careful attention to these steps. This is the part of the process where mistakes are likely to happen.

For synthetic rope, that means looping it around the drum and tying a knot. We recommend using electric tape to attach the loose end to the drum.
For steel cable, tighten your set screw or loop it around the locking bead.
To secure a synthetic rope to your drum, feed it through the hole and tie a knot. It’s helpful if you take a picture of the knot on the original rope so you can replicate it.To properly spool the line, you need a heavy load to tighten the line around the drum as you reel it in. Attach the end of your line to a tree and slowly winch the line in as you guide it onto the drum. Your goal is to achieve neat, tight rows with no crossover.
The tension ensures that the rows are packed tightly and won’t get damaged the first time you use it in a real winching situation.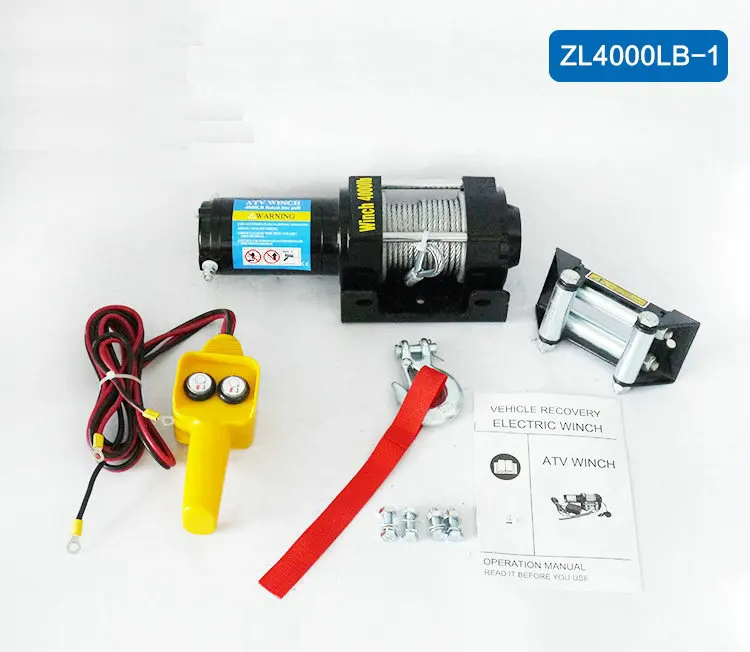
Don’t be tempted to put your fingers through the hook or loop as you guide the last few feet in. It’s easy to crush your fingers in the fairlead if you get distracted for a moment.
The even loops around the drum ensure that the rope will feed out easily when you need it and won’t get damaged when you winch in under tension.Now you know how to replace an ATV winch cable or synthetic rope. The process is simple enough, but paying attention to the details will ensure that your new line lasts longer than your busted one.
If you need a new line, check out our replacement synthetic winch ropes. We have bright colors to make them easier to spot if you’re in mud, or you can roll with classic black if that’s more your style.
But if your winch has fully bit the dust, check out our Black Ops Winches. We have 2,500 lb. winches that are perfect for ATVs, but you can also get 3,500 lb.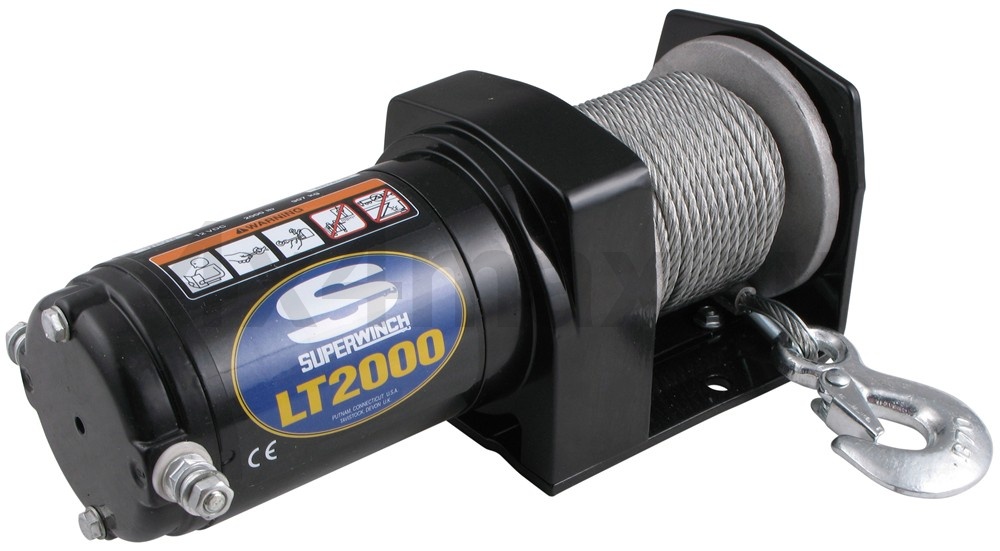 , 4,500 lb., 6,000 lb, and 12,000 lb. winches if you need a little more oomf.
Now get back out on the trail and have enough fun to get stuck. With your ATV’s winch cable replaced, those ditches and mud holes will look a lot more inviting.
Check out how to change a UTV winch rope on a Black Ops Winch:
If you’re familiar with the absolute basics of a winch, you know that there’s a winch and cable or rope spooled into it. A winch without a cable is useless. That’s why it’s fair to ask when a winch cable should be replaced.
A winch cable should be replaced when there’s the slightest appearance of fraying or splicing. There is no such thing as replacing it after a specific amount of time as you would oil in a car.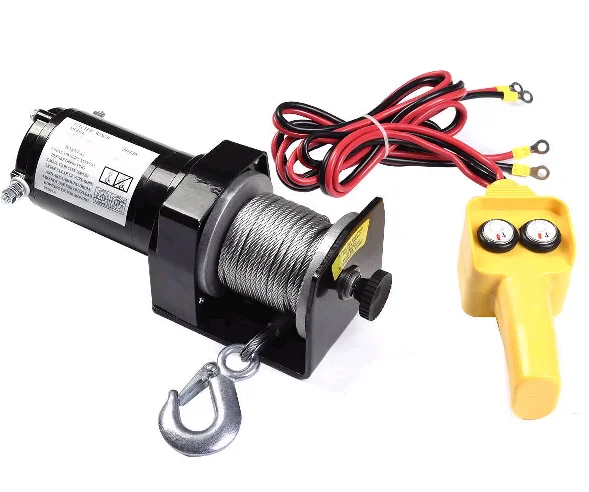 As long as the cable is undamaged, it is fully useable.
Get into the habit of checking your winch cable before you use it. This will allow you to correctly maintain the winch, which will help to prolong its life.
Check your winch cable for signs of damage or general wear and tear. Replace it if you find problems such as excessive fraying or spliced wires.
Don’t put off replacing your winch cable, as this will increase the likelihood that it will snap while under stress. Replace your winch cable, as soon as you start noticing problems. Failure to do so can cause you more problems in the long run.
If you neglect to maintain your winch cable, it’s likely that you’ll end up with expensive repairs or that you’ll have to buy a completely new winch. To allow your winch to function adequately, you should inspect and clean it after use. Service your winch regularly and replace the winch cable as soon as problems arise.
View this post on Instagram
A post shared by BOLD4WD (@bold4wd) on
It’s hard to put a time scale on how long your winch cable is likely to last. Several factors will determine the life span of a winch cable. These include how often it’s used, how much weight it regularly has to bear, and the thickness of the cable. Cable maintenance also plays a factor.
Winch cables are made up of a core cable with six wires that wrap around it. Each wire is made from either seven or nineteen strands. The thickness and number of strands determine a cable’s strength and flexibility.
Cables all have a minimum breaking strength. This should be taken into consideration when deciding on what thickness of cable to use.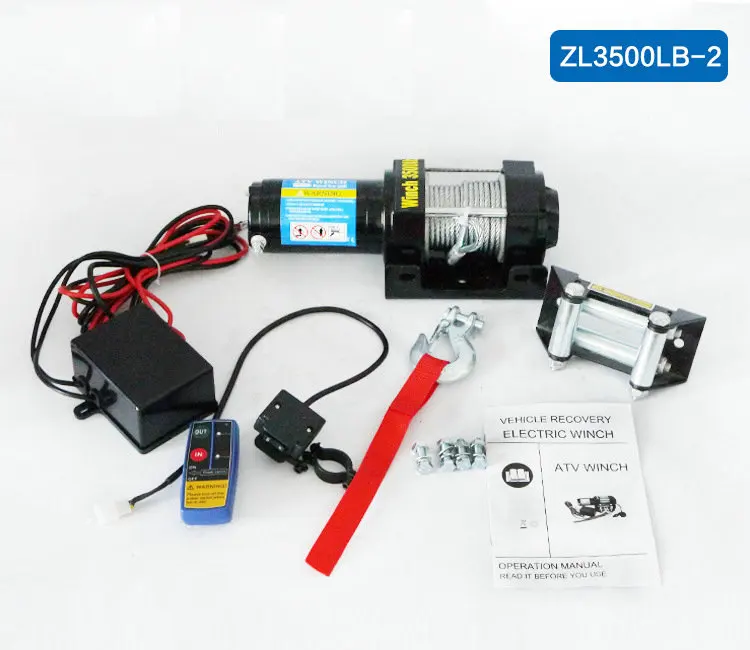
Choosing a synthetic rope will increase your safety factor since this type of winch line is often longer-lasting. Synthetic winch ropes have a higher minimum breaking strength than wire cables, which means that they are more robust and beneficial for towing larger loads.
How do you maintain a winch cable?There are many things that you can do to ensure that your winch cable is kept in good condition. Keeping your cable well maintained will allow it to last longer.
Make sure that your winch cable is put away correctly after you’ve used it. It should be wrapped around the drum, tightly and evenly.
Another good tip is to add lube to your winch cable to help it spool out of the winch smoothly. When the winch cable moves, it will create internal friction within the mechanism which can damage the wire strands.
Use new motor oil as a lubricant and allow it to penetrate into the wire’s strands. Don’t use a stick lube, such as wheel grease, as this is likely to trap dirt and cause problems.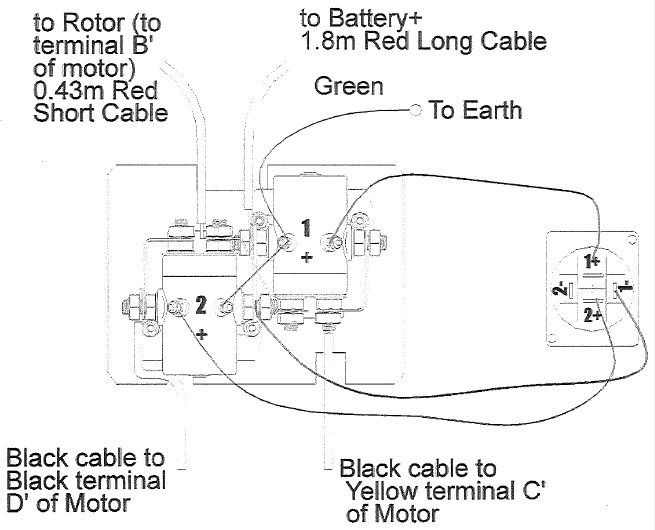
Ensure that your winch cable is kept straight and don’t allow it to get into odd positions or to become kinked for long. This will cause unnecessary stress to the cable.
Many people connect their winch cable to the bumper of their vehicle and then reel the cable in. This can cause issues as it deforms the section of cable that has been wrapped around the fairlead. In the long term, this will cause the winch cable to weaken.
How do you keep winch cables tight?Many people use their winches with a loose cable but it is essential to keep your winch cable tight. You can do this by applying tension to your cable while spooling it in.
Make sure that you have at least 50-100 lbs at the end of the line while spooling and make sure it’s winding neatly. You can do this by putting a strap around a tree or another vehicle and then attaching your winch cable. This will help keep the winch cable tight while spooling, and it will be wound neatly around the drum.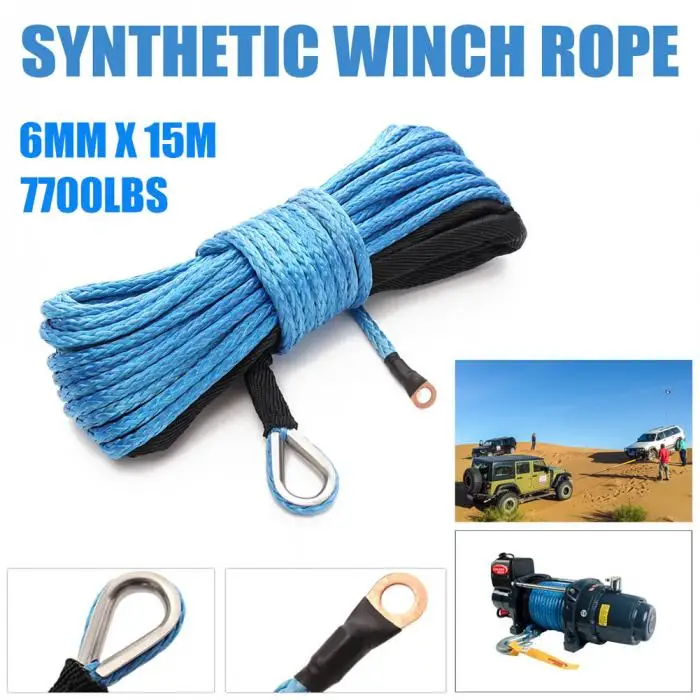
If your winch cable breaks while you are in the middle of using it, you can carry out a temporary repair. Bear in mind that the wire should then be replaced as soon as possible.
Use a bolt cutter to cut off the damaged ends from the cable then repair it by splicing the cable. This is a similar process that’s used on fiber rope.
The winch cable has been created using six strands, as well as a core. Undo each end of the cable for five complete turns and then seize each of the strands individually by wrapping it in baling wire.
Join the strands together in twos at the ends to create three super strands around the core wire. Cut back the core wire on each half, to the point where all of the six strands are seized together.
Create a standard short splice to join the ends of the two pieces of cable together. You’ll need to use a vice to hold the wrench cable in the correct position. Your wrench cable will now be working at about 80% capacity, so you should bear in mind that you won’t be able to tow such heavy loads as before.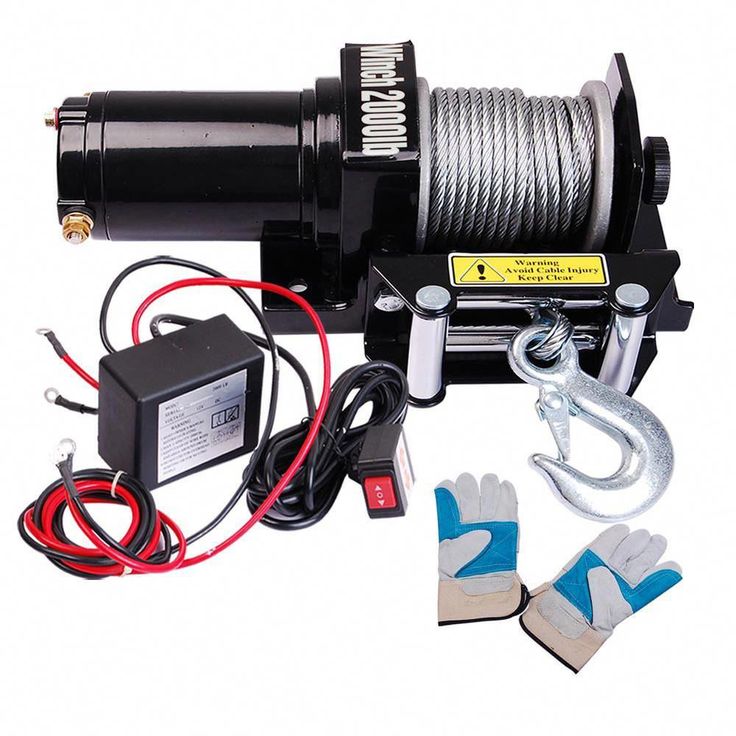
If you’re a visual learner, here are some short videos of guys doing quick fixes on their winch cables:
How to replace a winch cableTo replace a winch cable, you will need an adjustable wrench and a new cable. I recommend wearing gloves while working with your winch, especially if your winch cable has broken strands as these can easily cut your hands.
First, remove the old cable, this can be done by putting the winch gear into neutral and allowing it to spool free. Pick up the hook and walk away from the winch until the cable comes out. Alternatively set the winch to the “out” position. You’ll then be able to use the motor to spool the line.
Next, unbolt the cable from the drum. One end of the winch cable will be attached to the drum with a bolt and a washer.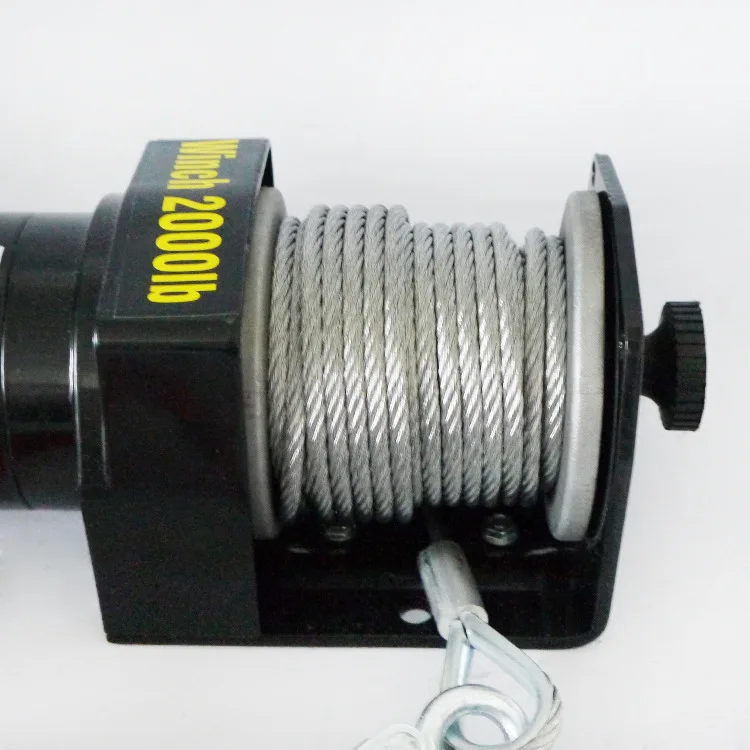 Open the bolt using an adjustable wrench and remove both the bolt and the washer. This will allow the cable to fall out off the drum.
Once you’ve removed the cable, you can clean out the drum if it’s dirty. You’ll then be able to attach a new wire cable by threading the bolt through its loop and tightening it. If you want to make your winch extra secure, add a small drop of thread sealant.
Next, spool the new winch cable onto the drum. You can do this by switching the winch to pull in, and this will allow you to rewind the cable around the drum. Make sure that it wraps tightly and neatly around the drum.
Winding in an orderly fashion will help to save space on the winch. It also means that when you pull the cable out again it will come out with ease and without incident. Don’t let the winch cable buckle or wrap over itself.
Once the winch cable is on the drum, you can secure the hook. Easy, right?
What is better? Steel cable or synthetic rope?While synthetic rope can be stronger and safer, it does take more effort to maintain.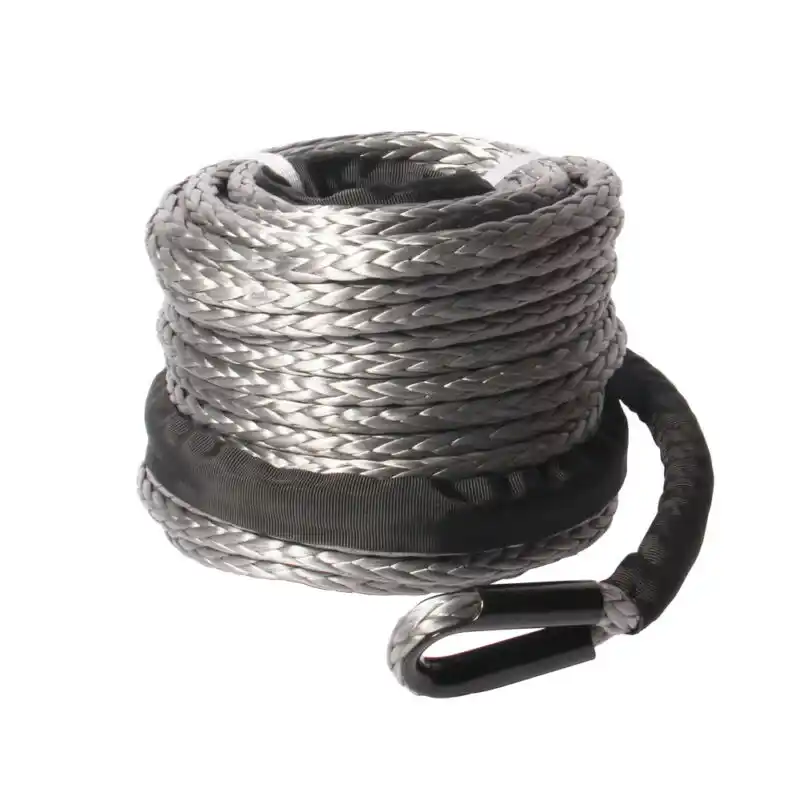 After using a synthetic rope, you should leave it out in the sun to dry before spooling. If a synthetic line is wet or muddy, it can begin to rot if it’s left on the drum to dry.
It ultimately comes down to personal preferences and how heavy a load you plan normally pulling. In general, synthetic rope is stronger. If you are using a 5/16” winch cable, it will break at around 9800 lbs. The same thickness of synthetic winch rope will break at 12,300 lbs, which shows that there is an increase in strength.
Should I cover my winch?It’s important to use a cover on your winch, as this will help protect it from the elements. A winch cover stops dirt and water from getting into the winch drum. The winch can still be used while the cover is on.
If you are using a synthetic cable, it’s essential to use a cover as it will protect the line from the sun’s UV rays, which can damage and shorten the life span of synthetic ropes.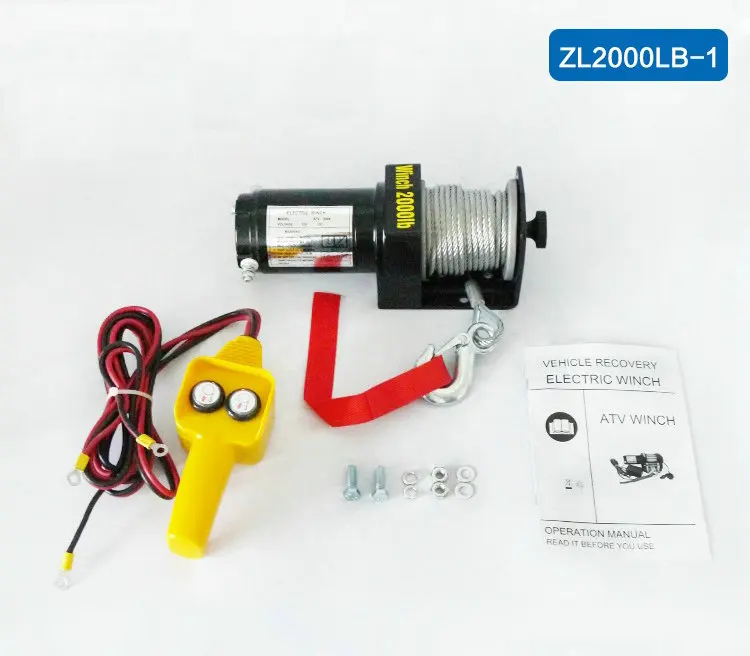
Servicing and maintaining your winch cable is very important as it will help keep your winch in good working order. Replace the winches cable as soon as possible when you notice signs of fraying or other damage.
If your winch cable is damaged and you need a new one, there are two options. You can either buy a new, ready-made winch cable from the manufacturer, or you can purchase a roll of bulk cable and make your own.
If you’re thinking of different ways to accessorize your truck or make it more functional, consider checking out my recommended accessories page. I spent a good amount of time picking out mods that can be useful for most pickup trucks.
Posted by by MotoDoctor
Owners of any ATVs have probably encountered the problem of a broken electric winch cable.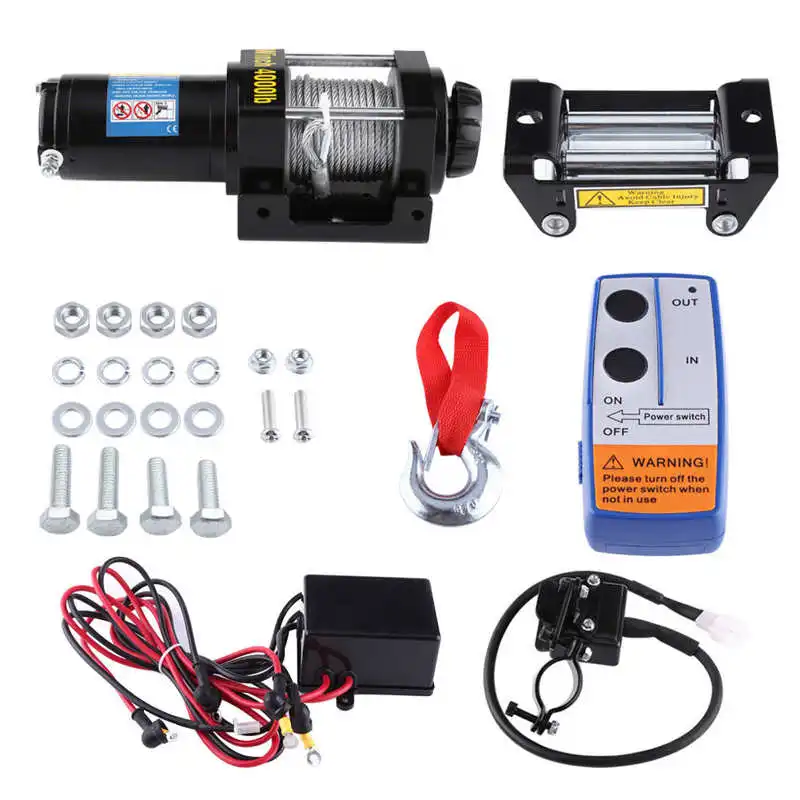 It would seem that a sufficiently powerful cable and, according to all its characteristics, must withstand the load expected for this model of an all-terrain vehicle. It turns out that the cable breaks not at all because it is weak.
The fact is that on electric winches of ATVs, when the cable is wound on the drum, the cable is biting and breaking. After that, the cable loses its qualities. In the place where he was bitten, and a break occurs. All this is because the regular steel cable is very rigid and does not fit well on the electric winch drum. Yes, a few more minuses can be added to this, these are burrs about which you can injure your hands and in the event of a break, the steel cable is very unsafe. Therefore, it is better to replace such a cable without waiting for problems. The best alternative to steel cable is synthetic or Kevlar. Cables made of such material have good elasticity, and when winding they occupy a smaller volume on the drum, which makes it possible to install a longer cable than a metal one on the ATV electric winch. Of course, there is also a drawback to the synthetic and Kevlar cable. When dirt, sand gets inside the cable, it eventually becomes shaggy and delaminates. This is the only negative that can be easily eliminated by periodically washing the cable in soapy water and further drying. Replacing the cable on an ATV electric winch is not very difficult. But for this you need to remove the winch. Using the BRP Outlander 800R ATV as an example, we will consider replacing a steel cable with a synthetic one. The order of dismantling the electric winch:
When the electric winch is removed from the ATV, the old steel cable can be removed and the new synthetic cable wound on.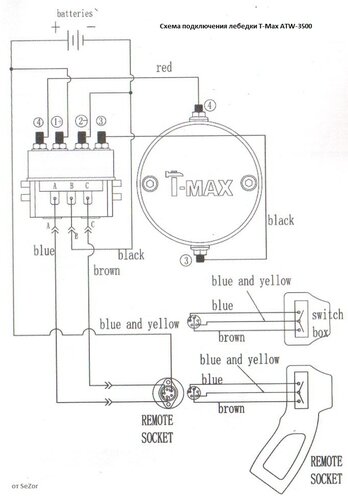 Secure the beginning of the cable well on the drum so that it does not jump out of it when winding. We recommend that you paint the first meter of the beginning of the cable on the drum red, this will serve as a signal that the cable is ending and will give you the opportunity to leave a few turns on the drum, thereby eliminating the possibility of disconnecting the cable from the drum under heavy load. Installing the winch on the ATV is done in the reverse order. Now the new synthetic cable will be much more reliable and safer. After operating the electric winch in marshy areas, do not forget to periodically wind the cord from the drum and stretch it. This will increase its service life on an ATV by several times.
This entry was posted in Motorcycle Repair Tips by MotoDoctor. Bookmark the permalink.
A winch is a must have for off-road riding. It allows you to pull a stuck ATV out of mud, water or deep ruts. Many models of CFMOTO ATVs and ATVs have a winch from the factory, for others it needs to be purchased separately. In this article, we will tell you how the winch works, what to look for when choosing, and also give useful tips on how to use it.
The ATV winch is a drum with a cable. An electric motor is located on one side of the drum, and a gearbox on the other. Rotation from the electric motor to the gearbox transmits a shaft that passes inside the drum. The gears of the planetary mechanism are located in the gearbox.
Reducer reduces speed and increases traction. The rotation from the gearbox is transmitted to the drum, which winds the cable, creating traction and gradually pulling out the stuck equipment.
One of the key parameters to consider when choosing a winch is traction. It determines the maximum weight of the load that can be torn off the surface. With each skein of the drum, the winch force decreases.
Thrust is measured in pounds (labeled on winches as lbs), 1 lb = 0. 45 kg. The force depends on a number of features: the diameter of the drum, the number of wound turns, the power of the electric motor, as well as the gear ratio of the gearbox.
It is not always necessary to choose the most powerful and fastest winch: the more powerful the mechanism, the more difficult it is to handle. Beginners can harm equipment and even their health - it is not uncommon for a broken cable or a broken hook to cause injury.
Matches the cubic capacity of the ATV:
Steel - cheap and easy. Requires work with gloves, not repairable. May cause injury if mishandled.
Synthetic - requires maintenance but is easy to use.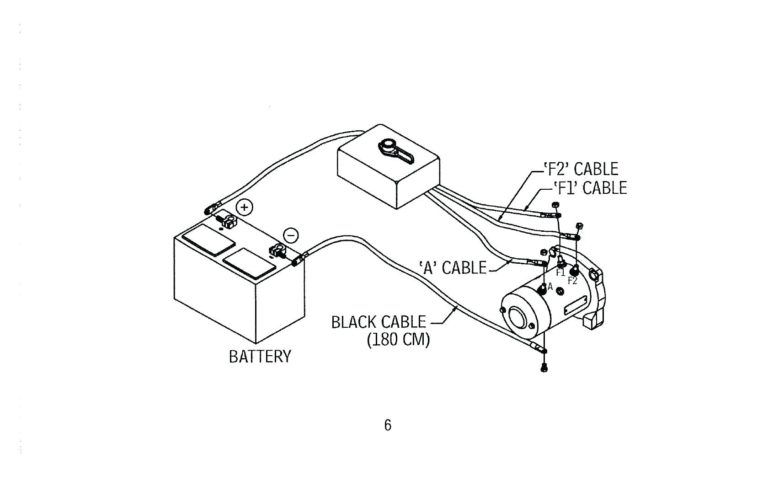 It does not "shoot", and if the cable is damaged or torn, it can be braided on the spot.
Most experts believe that material selection should be based on personal preference, with some riders leaning towards steel over time, others towards synthetics.
The winch is installed on a special platform on the ATV frame. If there is no platform, you need to buy it and install it according to the instructions. The site has standard anchor points that fit classic winches up to 3,500 feet of pull.
When choosing a winch, pay attention to the width of the drum:
With certain skills, you can modify the fasteners and install almost any winch - the main thing is not to make the fasteners "break" and not to strengthen weak points. If the ATV is under warranty, it is advisable not to touch the frame and buy a regular winch.
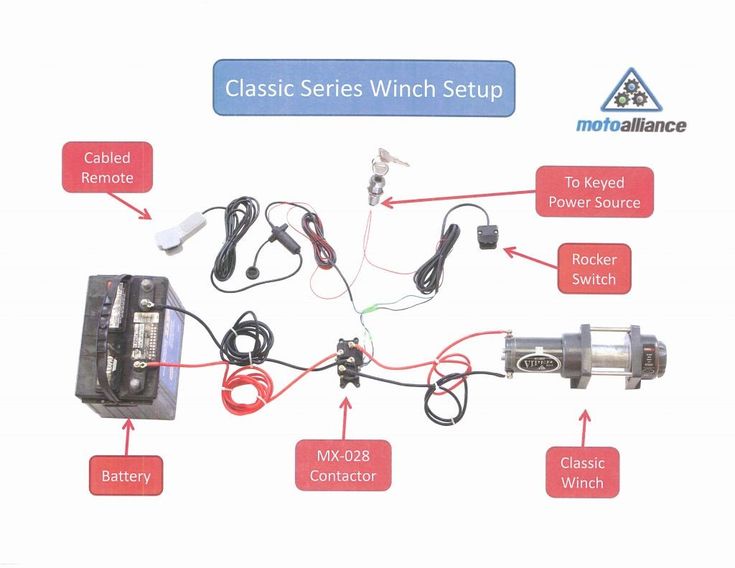
Installing the winch is easy, but the connection will have to be tricky. To lay the wiring, it is advisable to remove the plastic from the ATV. The winch must be connected to the control unit and battery. It is recommended to keep the power cable as short as possible to avoid current loss. All wires must be hidden in the corrugation so that they do not come into contact with the frame and are protected from moisture.
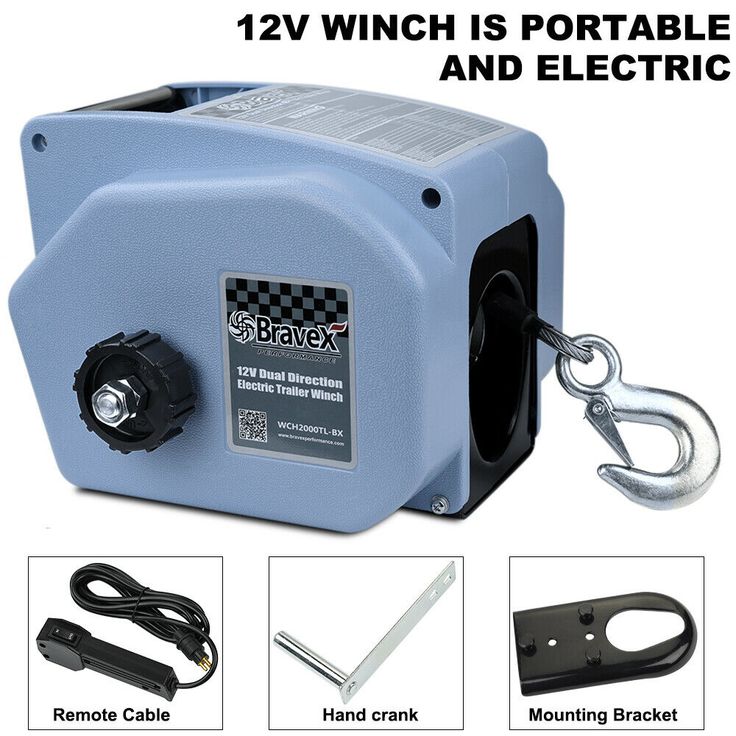 The attachment point should be as far away as possible - this will create a larger shoulder and increase traction.
