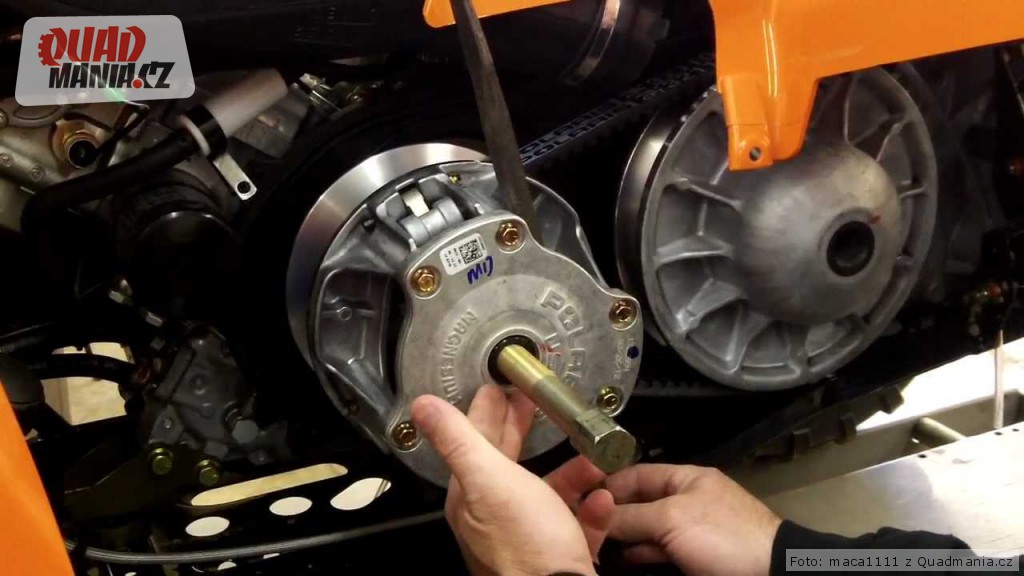
Push starting a vehicle is a way of starting an engine if the battery is dead or does not have sufficient charge to turn the starter motor. This method of starting the engine is also known as bump starting or popping the clutch and is usually used for manual transmission vehicles.
Is there a similar method to starting automatic vehicles, specifically your ATV, if the battery is not operating at optimal capacity? Generally, only ATV’s with certain types of automatic transmissions can be push-started safely. If you try to push-start an automatic ATV with the incorrect transmission type, it will at best not start and, at worst, cause damage to the transmission.
If your ATV can be push-started safely, then here are 3 steps to get your ATV started.
There may only be three steps to this push-start procedure, but there is more to the three steps than what first glance portrays.
Remember: Before trying any push-start method on your automatic transmission ATV, you need to make sure it is capable of starting using this method and that no damage will be caused by attempting this method!
Many ATV riders will tell you that you cannot push-start an automatic ATV, and in most instances, they are correct. Some automatic transmissions require the parts of the gearbox to be rotating before a gear can be selected, while others rely on the compression of a running engine to engage the clutch.
There are, however, some ATVs that can be started using this method, particularly if they have hydraulic pumps.
 The incline that you use as a starting point will, therefore, need to be high enough and have a steep enough angle to achieve this purpose.
This process can be an exhausting undertaking if you are doing is all using man-power. Pushing an ATV up a hill may require what some would consider superhero-type strength! After pushing your ATV to the top of a hill two or three times, you will begin to wonder why you started off-roading on your ATV to begin with!
The physical effort required to perform this task repeatedly may prompt you to employ another method to gain the necessary momentum to start the ATV. You may try towing your ATV with another ATV or behind a truck.
This is, however, a potentially hazardous way to try and start your ATV, and you should weigh up the risks to determine if it is really worth it.
If you struggle to push-start your ATV or your transmission does not allow for this starting method to be used, you may want to try one of these other methods to get your ATV fired up!
Another method commonly used to start vehicles with battery problems is to use jumper cables from one vehicle’s battery to another.
The idea behind the jumper cable method is that the vehicle with a battery that is in good working order will supply a charge to the problematic battery. This charge should be enough to allow the engine to be started.
This is a well-known and widely used method in vehicles that are of the same type but requires some care when you are attempting this method with vehicles that are different.
For example, using another ATV to connect to your ATV battery is a safe method. Make sure the batteries are connected positive to positive and negative to negative. Start the donor ATV and wait a few minutes while it delivers charge to the ailing ATV. It sometimes helps to keep the revs slightly elevated on the ATV that is doing the charging. After a few minutes, try starting the ATV normally with the leads connected and the second ATV running.
If the ATV is still struggling to start, you may want to try and let it charge a bit longer before trying to start it again.
A second example is using a car or truck to provide the charge, and this is where some additional care needs to be exercised due to the differences between the two vehicles.
When using a car as the charging vehicle, you can connect the cables to the battery as normal, but leave the car turned off. Do not switch on the ignition or start the car as the differences in the electrical systems may cause damage to your ATV or the car.
With the batteries connected, wait a couple of minutes for a charge to build up in the ATV battery and then try to start the engine of the ATV. Hopefully, you should be able to get your ATV running after a couple of attempts.
If your ATV battery is completely dead in that it does not even power the ignition lights to some degree, then the problem of starting your ATV takes on a different dimension.
With a completely dead battery, it may be possible to get the engine started using the push-start or bump-start method, but the battery may not hold the charge. If your battery is in this condition, it will not be able to successfully store a large enough charge to start the engine after the ATV has been switched off.
If you are using the cable start method, you may fail to get the ATV to start at all. This is because this method depends on the good battery being able to charge up the flat battery to the point that it can start the engine. If the flat battery is faulty and unable to hold a charge, then this method may not work to get the ATV started.
If your battery is in this condition, the only solution is to replace the battery with a new one. This should solve much of your ATV starting problems.
If the battery is the cause of your starting problems on your ATV and the methods already mentioned are not achieving any success for you, then you may wonder if there are any other options.
Unfortunately, due to the simplicity of the way the battery system works, there are not many different ways to achieve a current flowing in the circuit. Your only other option may be to take your ATV to a mechanic for a professional diagnostic to be run to establish the problem.
Some methods are purported to work, such as connecting a drill with an impact socket to the flywheel nut and running the drill in reverse. If the ATV is in neutral, the ignition is on, and the kill switch is in the on position, the drill can turn the flywheel sufficiently to induce a current in the coil enough to provide a spark.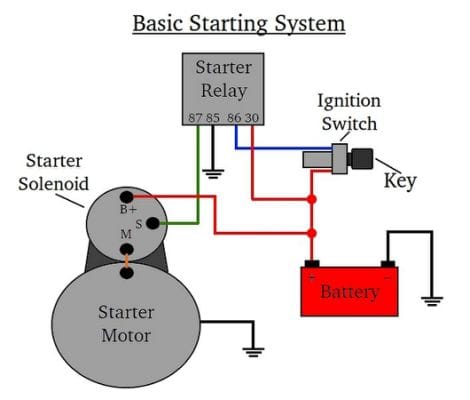
This method may seem easy, but it lacks some practicality, as it only works on smaller engines and requires you to have a drill and impact socket on hand at the time your ATV won’t start!
Starting issues caused by battery problems are notorious for appearing at the most inconvenient times, such as when you have no tools at hand or a fellow off-roader to help you out. This should not be looked at as a downside to the activity, but rather as a part of the adventure that is ATV off-roading!
Choose to learn from the experience so that you are better prepared the next time the problem occurs, or you are in a position to help another off-roader who suffers from the predicament!
Happy ATV’ing!
You turn the key or push the starter button on your ATV, but nothing happens. The bike is completely dead, with no sign of wanting to start. But do not worry; there is no need to panic just yet.
When you find your ATV in a “no crank, no click, no light, and no start” situation, there are a few things that could be wrong. This troubleshooting guide will help you identify and fix the most common causes.
Most ATV owners will find themselves in a situation where their bikes won’t start at some point or another. However annoying it may be, the problem is more often than not caused by a minor issue that is relatively simple to fix by yourself.
The key to successfully troubleshooting such an issue is to begin by noting how the ATV behaves when you try to start it. Doing so helps you narrow down the possible culprits quite a bit.
This guide only covers a situation where you turn the key or push the starter button, but the ATV is completely dead:
If that’s the case, continue reading to discover what’s causing it.
However, if your ATV does show signs of life, such as the lights or dash coming on, it makes a clicking sound when you turn the key, or if the engine cranks but doesn’t fire up, the problem is likely something else entirely. If that’s the case, we recommend checking out this troubleshooting guide.
When you first notice that your ATV is dead and does not show any sign of wanting to start, it’s only natural to suspect a dead battery. After all, that is the most common cause when faced with such an issue.
But, before you check the battery, it’s a good idea to rule out most simple things first. This guide begins with the quick and easy steps before working our way through the more time-consuming issues.
If you’re confident that your battery is dead, you may skip down ahead to the part on how to start an ATV that has a dead battery.
While this may sound too obvious, you’d be surprised how common this simple mistake is. The run switch, also known as the kill switch, needs to be on for the ATV to start.
I’ll be the first to admit having assumed that the kill switch was in “ON” like I usually leave it. Only to later realize, after wasting precious riding time on troubleshooting, that I had switched it off the last time I parked the bike.
Another scenario is if someone else has pushed down the kill switch. If you have children, you know they like playing on parked vehicles by randomly pushing buttons. The shiny red, easily accessible killswitch is a temptation it can be hard for them to resist. So always begin by making sure it is set to “RUN” or “ON.”
Some ATVs use a tether pull-cord style kill switch instead of or in conjunction with a kill switch. Make sure the cap at the end of the cord is connected correctly.
Many ATVs are designed not to start when in gear as a safety precaution. The gear shifter must be in “Park” or “Neutral,” or the starter will not engage.
Also, on some models, the parking brake needs to be engaged to turn off the starter interlock.
Now it’s time to inspect the battery and connectors for issues.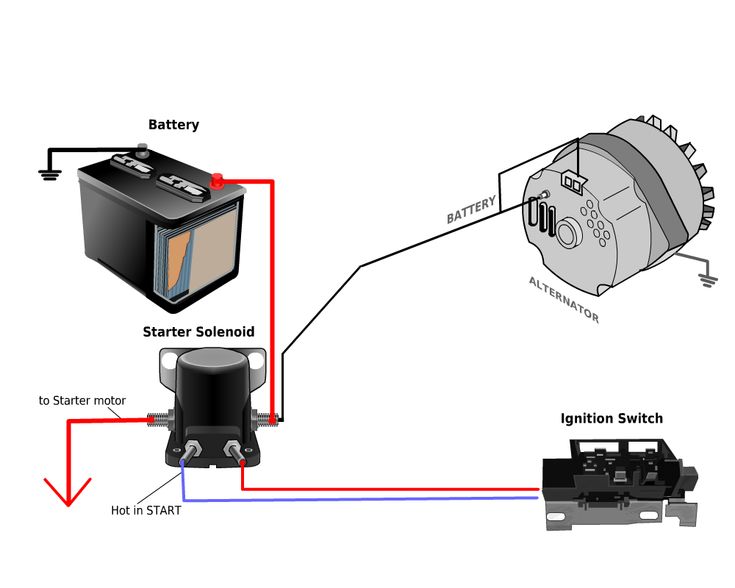 Remove any panels or covers to access the battery. On modern ATVs, the battery may be hidden underneath the seat or behind removable plastic covers, usually at the front of the vehicle.
After gaining access to the battery, make sure both the positive and the negative battery terminals have not come loose from the battery terminals. Also, make sure the terminals do not look overly corroded, leading to a bad connection.
Some ATVs have a power cutoff switch near the battery that cuts all electricity to the bike. Make sure it is turned “ON.”
The main power switch on a Polaris Sportsman XP 1000You usually won’t use this switch daily, but it’s good practice to turn it off to prevent shorts whenever you’re working on the bike’s electrical system or prevent parasitic battery drain when you leave the bike sitting for extended periods.
Like the kill switch that you usually don’t use every time you ride, easy to forget to turn the main power switch back on when you’re ready to use the ATV again.
You will need a multimeter or a simple voltage tester to check the battery. Some ATVs also have a built-in voltage meter in the instrument panel, making reading the battery’s state of charge a bit easier.
A fully charged ATV battery should read between 12.6 and 12.8V with the engine off. If the voltage drops below about 11,5V, the battery won’t have enough power to start the bike. If it drops even lower, the lights and possibly the instrument panel won’t turn on.
To read the voltage using a multimeter, follow these steps:

If you read a voltage between 11.5V and 12.4V, you should charge the battery with an external battery charger. This guide will tell you how to charge the battery correctly.
If the voltage reads below 11.5V, the battery is considered dead. A dead battery cannot always be revived, especially if it has bees sitting for more than a few days with a low charge. But if you notice the low state of charge early on and act fast, it may be possible to bring the battery to almost a full working order. This guide shows you how you can charge a dead ATV battery.
If the battery won’t charge or won’t hold a charge, you may need to replace it with a new one. Before you do, it may be worth testing the battery to verify that it is bad before spending money on a new one. This is how you install a new battery.
Related: 10 Reasons Why Your ATV Battery Keeps Draining (Going Dead)
 Check the Main Fuse
Most, but not all, ATVs have the main fuse. It cuts off power to the ATV’s electrical system when it’s blown. So if the battery checks out fine, you need to make sure that the main fuse hasn’t blown. To locate the fuse, please refer to the user manual. It is usually located close to the battery.
If the fuse is blown, replace it with a new one with the same rating as the old one, assuming no one has previously switched it to an incorrect rating.
The kill switch is usually not operated during regular riding but sits fully exposed on the handlebars. Over time, internal corrosion caused by dirt and water may cause malfunction by preventing a proper connection.
In some cases, you can return the switch to working order by soaking it with WD40 while repeatedly operating it. If possible, disassemble the switch to clean its internal metal connectors.
While this may bring the ATV back to life, it should only be a temporary fix. Corrosion issues tend to come back sooner or later when they’ve first appeared.
Your best bet for a more permanent fix is to replace the switch with a new one and protect it by packing the internals with non-conductive dielectric grease.
Also, make sure the switch is not full of mud and water, which would cause an internal short.
The ignition key or starter switch on your ATV is not designed to handle the high current required to power the starter. It would have to be much bulkier with high gauge wiring going to and from the switch.
That’s where the solenoid comes into play. The solenoid is located between the battery and the starter. It acts like an electrically operated switch that turns on when it gets a smaller electrical signal from pressing the starter button.
Each time you press the starter button or turn the key, you should hear the solenoid’s audible “clicking” sound. This tells you that the solenoid is getting power from the battery. The problem is likely with the solenoid itself. Solenoids sometimes won’t fully engage due to internal corrosion. In some cases, the problem may be with the actual starter, but this is less common.
When there is no sound, the solenoid may knot be getting power from the battery, or it may not be getting a signal from the starter button/key. Use the multimeter to verify that there is no power at the solenoid positive terminal.
Look for loose, damaged, or corroded wiring. Another potential culprit is a faulty starter button or ignition switch, often due to internal corrosion.
We’ve now covered the most common causes to look into when your ATV is dead. However, the list is not complete.
Other things to look for are blown fuses (lights, instrument panel, or ECU fuses), loose or corroded ground wires, damaged wires shorting out, and a defective rollover shutdown relay.
All of these topics are covered in our post on reasons why your ATV is not getting power.
Suppose your initial testing came out with the battery completely dead, but you cannot charge or replace it. In that case, the options you are left with are limited.
Jump-starting is using a set of jumper cables to connect the battery on another vehicle, such as an ATV or a car, to the battery on your ATV. The healthy battery will provide external starting power to the dead battery.
Jump-starting is not considered a suitable method to charge your dead ATV battery fully. It’s only meant to stay connected for a few minutes until you succeed in starting the dead ATV.
When using a car as a donor battery, it’s recommended that the car stays off during the whole procedure.
You will need a set of jumper cables, preferably with built-in circuit protection.
Caution: Make sure the black and red connectors never touch when connected to a battery. Also, make sure the red lead connectors never touch any exposed metal when connected to the battery. Both of which will cause a direct short. This type of short may not only damage the battery or the electronics in both of the vehicles. It may also cause a potentially fatal accident from the battery exploding. Always wear protective eyewear when working on the battery.
Most modern ATVs with larger displacement engines do not come with a pull start. However, if you ride a youth ATV or an older model with a smaller engine, it may have a pull starter for emergencies like this.
On some models, the pull starter is visible; just look for a pull starter handle on the side of the engine. On other models, you may need to remove a plastic cover to access the pull handle.
Published
Content
New models of ATVs are equipped with an electric starter. Therefore, problems with starting almost never arise. But in older models, manual kick starter can be installed. With him, beginners sometimes have difficulties.
To start the ATV, do the following:
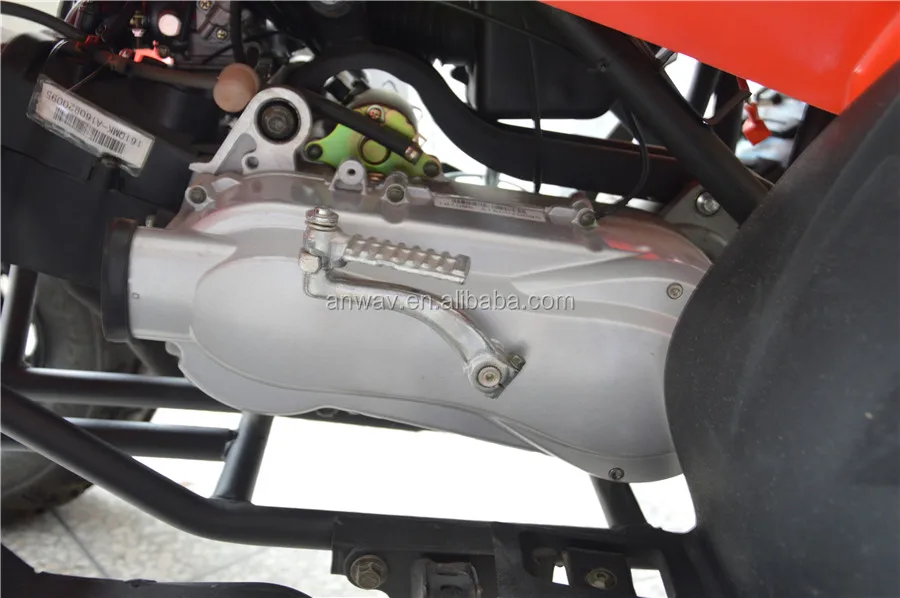 It must be in the "on" position. Also, the ignition switch must be in the "on" position on the control panel.
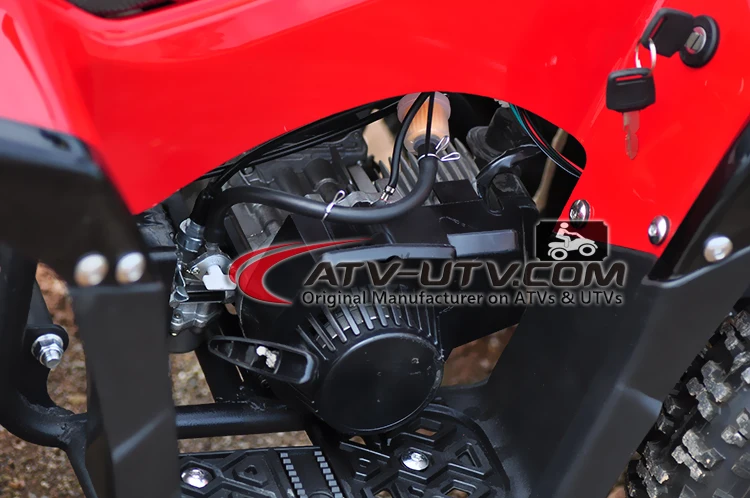
Start the CFMOTO 500 with a manual starter?
Watch this video on YouTube
Paradoxically, but sometimes the owners of ATVs simply forget to pour gasoline into the tank. Therefore, before proceeding with the diagnosis, it is worth checking the fuel level.
It is not uncommon for the cause of the problem to be insufficient battery charge . It can be charged at home. If the ATV is small, you can purchase an additional battery. The cost of batteries for budget models is relatively low.
How to start an ATV?! If the battery is dead!? Life hacks! Subscriber reply | Irbis Atv 250s | SJ8Pro
Watch this video on YouTube
If the battery is good, but the starter does not work, it may be worth looking for the cause in the starting system.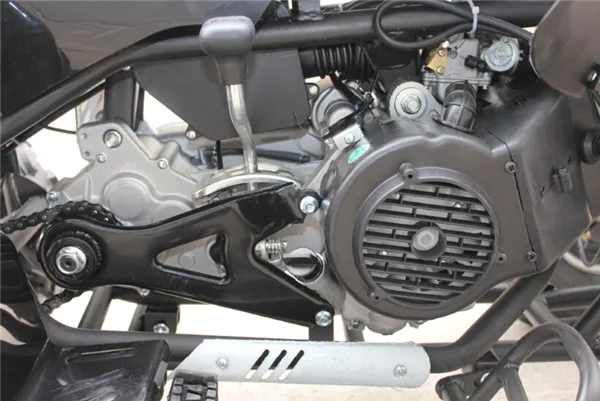 It is necessary to try to close the contacts, which are located on the starter relay. To do this, you need to use a screwdriver. The relay is usually located under the seat. Two thick wires are connected to it.
If you need to find a way to start the ATV without a key, you can also follow these steps. This technique will be effective only if the system is not controlled by the central computer . Otherwise, blocking will work.
If, after the manipulations, the engine starts up, then the problem is in the launch system . Otherwise, you will need to look for the cause of the malfunction further or visit a service center.
Each ATV has a stop button on the steering wheel. Usually it is red. This button is responsible for turning off the ignition, it turns off the engine . If you do not bring it to its previous position, the engine, of course, will not start. Therefore, it is worth checking in what position the "Stop" button is located.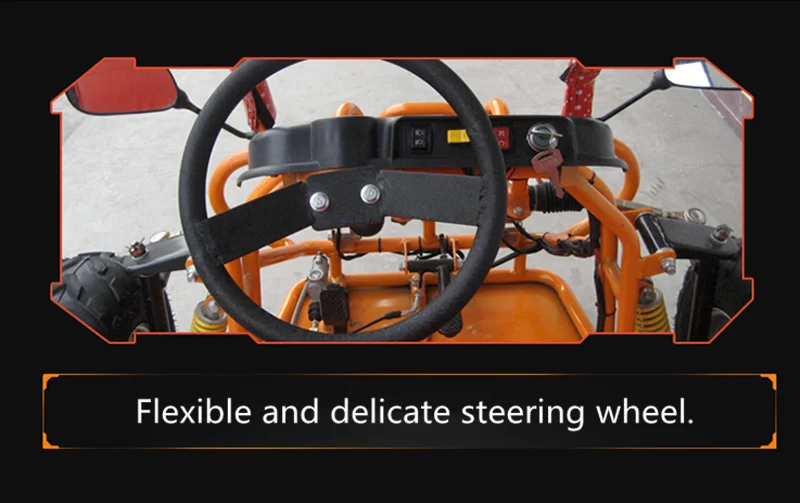
Another security system provided in ATVs is a special check. This is a cable that is attached to the ATV at one end and to the driver at the other. If the latter falls off the ATV while driving, check flies out and the ignition turns off. You won't be able to start the vehicle without this receipt either. If this part is lost, you will need to look for the appropriate contacts and close them directly.
Another possible reason why the ATV won't start is a blown fuse. If the ATV is small, there is usually only one fuse. It is located next to battery . The suitability of this part for operation can be assessed visually. The cost of the fuse is cheap, so it is better to have several of these parts in stock.
If there is no spare fuse, and the failure happened away from home, you can insert wire instead. This is a temporary solution that will allow you to get home. It is impossible to constantly replace the fuse with wire. You can burn much more expensive elements of the system.
This part is located under the seat or next to the motor (depending on the model). It's a small box with wires coming out of it. They are connected to the ignition coil. It is difficult to assess the health of this part, so it is better to contact a service center with a similar problem.
If the spark plug wire is broken or the ignition coil is broken, it will not be difficult to check the performance of these systems. The candle is unscrewed and inserted into the candle cap. Next, you need to attach it with the metal side to the engine and press the starter button. If there is no spark between the electrodes, this is a sign of a breakdown. Try cleaning the spark plug electrodes and adjusting the gap between them.
If there is a spark, then the problem lies either in the candle cap or in the candle. You need to buy a new part and change it.
It will be possible to eliminate many malfunctions and start the ATV even in the forest. For models with a manual transmission, you can try to start the engine from the pusher. It should be said right away that this cannot be done with an automatic transmission. In other cases, it is recommended to look for the cause of the breakdown according to the points listed above.
How to start an ATV with a PUSHER
Watch this video on YouTube
Maxim Rogov / author of the article
Back in 2011, I got on a motorcycle for the first time and since then I have been addicted to motorsport. I love trying new bikes. I dream of a BMW F800GT and a motorcycle tour of Peru.
What to do if the battery is low
When the ignition is on, the indicators on the dashboard will be dim or not lit at all,
If a voltmeter is available, an arrow in the reddish area will indicate a battery dilemma,
The "spinning" sound on startup will become sluggish and viscous, and you will hear clicks from under the hood,
Presence of white or iron coating on battery terminals, which interferes with electrical conduction.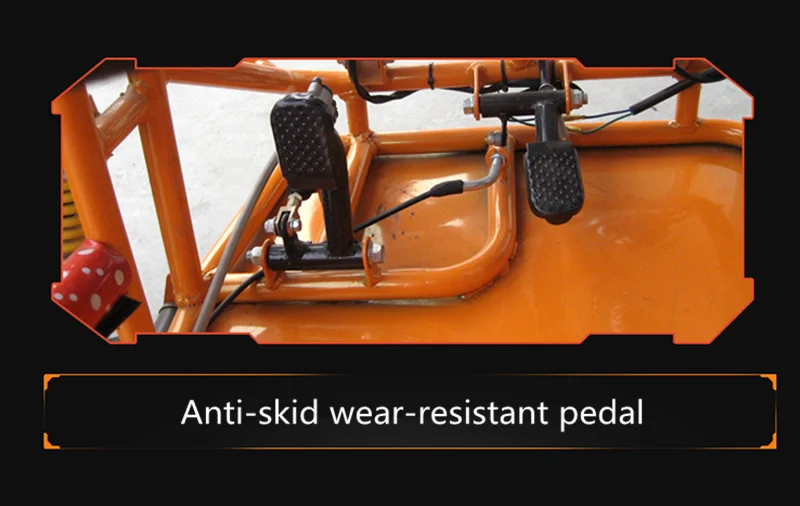
When you find signs of a low battery, you should first try turning it on to cause the battery to "warm up" the chemistry. This charge may be enough to start the engine. The main thing with all this. Do not hold the ignition for more than 5 seconds. If that doesn't work, try "making" your car using one of the following methods:
When choosing this method, take into account the fact that there is a surge in the vehicle's on-board network that can damage all sensitive electronics and the aircraft. When using the cigarette lighter to start the engine, all sensitive devices must be turned off. For lighting , a donor car and a set of high-voltage wires that connect both batteries in strict polarity. First, they start the car assistant and charge for 5-10 minutes on their own battery . Then turn off donor car , start your engine. If there is no positive result, the procedure should be repeated, but at the same time it should be started with the auxiliary engine running (it is recommended to maintain a speed of about 2000 rpm).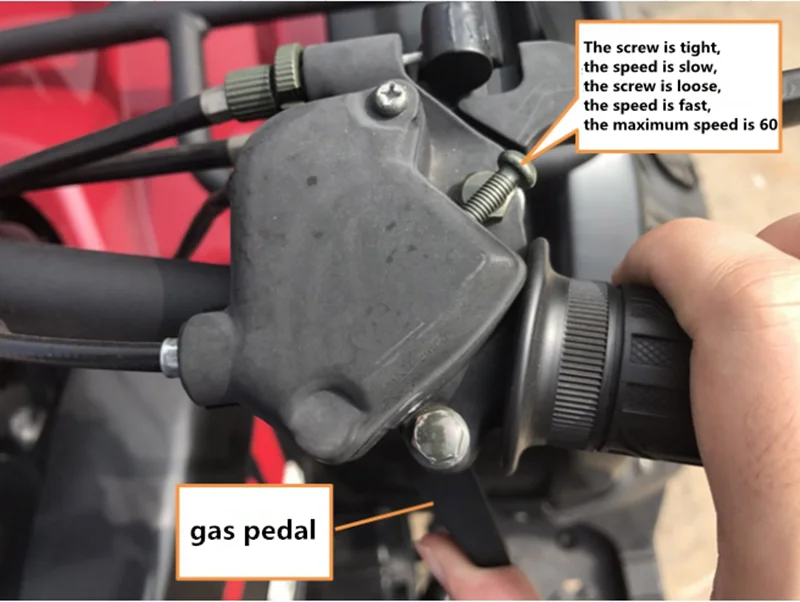 With a positive result, the wires should be immediately removed and moved to a place where you can fully charge the battery as usual.
In this video you will learn how to start quad bike without battery .
Starting a Chinese motorcycle with a dead battery.
The above methods are equally valid for both automatic and manual transmissions. But you can start "from the pusher" only on machines with a manual transmission. The help of several people is required who can accelerate your car at a speed of 10-20 km / h. After activating the neutral transmission and ignition, we wait for the assistants to accelerate the car to the desired speed, then shift into second gear and release the clutch smoothly. As soon as the engine starts, we immediately proceed to fully charge the battery to avoid repeating this procedure.
In terms of specifications, this method is similar to the previous one, with the difference that your vehicle is being driven by another vehicle towing rope . It is important to synchronize the actions of both drivers: the clutch will appear when the clutch is released. Your vehicle which can cause a skid or rock towing rope .
If your car is automatic transmission, it is packed with all sorts of electronics and you can call a tow truck, then the best solution. organize the loading of the car on a tow truck and send it to a car service.
Published on 10/26/2015
" We book a hotel room Sometimes people are faced with the need to move to another state. "
" Higher education abroad If you have already decided to go to a foreign university, you need to. "
"How to get around blocking the Roskomnadzor website Every user who decides to visit the group.