Posted by Mike Hagerty Maintenance
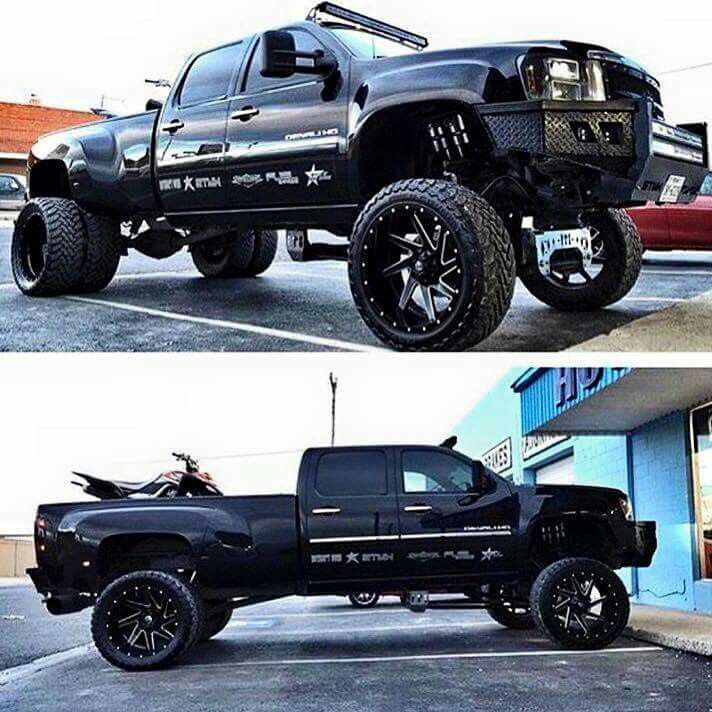
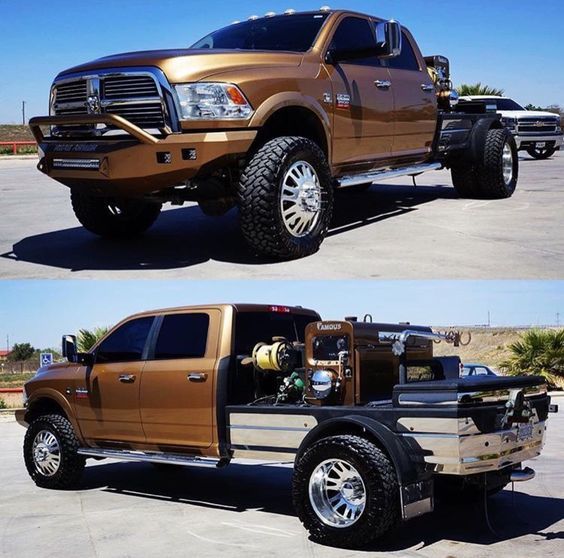
When it comes to towing and hauling jobs, nothing beats a pickup truck. And the biggest, baddest type of pickup is the dually — a truck with dual rear wheels, two on each side. That means six tires instead of four, which complicates rotating your tires, a process that’s usually quite simple on any standard four-wheel vehicle. So let’s talk about how to rotate tires on a dually.
Why It MattersYou rotate the tires on your car to avoid uneven wear, and on a dually, you’ve got one more variable to consider. It’s not just that a right or left or front or rear tire might wear more quickly than the others — the inner and outer tires on both sides of a dually can wear unevenly as well.
But the tire situation is even more complicated than that. Sometimes your truck runs with an empty bed, not towing anything, but in other cases it might be carrying or towing literally tons. There’s no wheel alignment that can adequately cover that spectrum of load on your rear dual wheels. As a result, any working alignment will be an estimate — a compromise that accounts for what your truck might see before your next alignment. This means those rear wheels are more susceptible to wear issues than your front tires or the rears tires on a standard light-duty truck.
And when you’re considering the replacement cost of six tires, it really makes sense to get the most mileage and wear you can out of the rubber on your dually.
How To Rotate Tires On A DuallyNow that you know a bit more about why rotating tires on a dually is especially important, get your tire-changing equipment out and start preparing for the job. Opinions on the best way to rotate differ, but the general consensus among most tire pros seems to be that a counter-clockwise rotation on each side of the truck is the best approach.
In other words, the front tire on the driver’s side would become the outer left rear tire, the outer left rear tire would move inward, and the inner rear tire would move to the front. On the passenger side, the front tire becomes the rear inner tire, the inner tire moves outward to become the right rear tire, and the outer rear tire becomes the front tire.
It’s not only important to rotate the tires and rotate them the same way each time, but also to do so on a fixed schedule. In general, a good rule to follow is to rotate your tires every 10,000 miles. Note, however, that how you use your dually and the conditions in which you use it can affect the recommendations. For instance, frequently carrying heavy loads will cause additional wear on tires, and the type of road surface you drive on could also have an effect.
Consulting with some local tire pros and the community of dually owners on the web will likely provide you with some worthwhile insights on how often to rotate the tires on your own dually.
Check out all the tools and tire-changing supplies available on NAPA Online, or trust one of our 17,000 NAPA AutoCare locations for routine maintenance and repairs.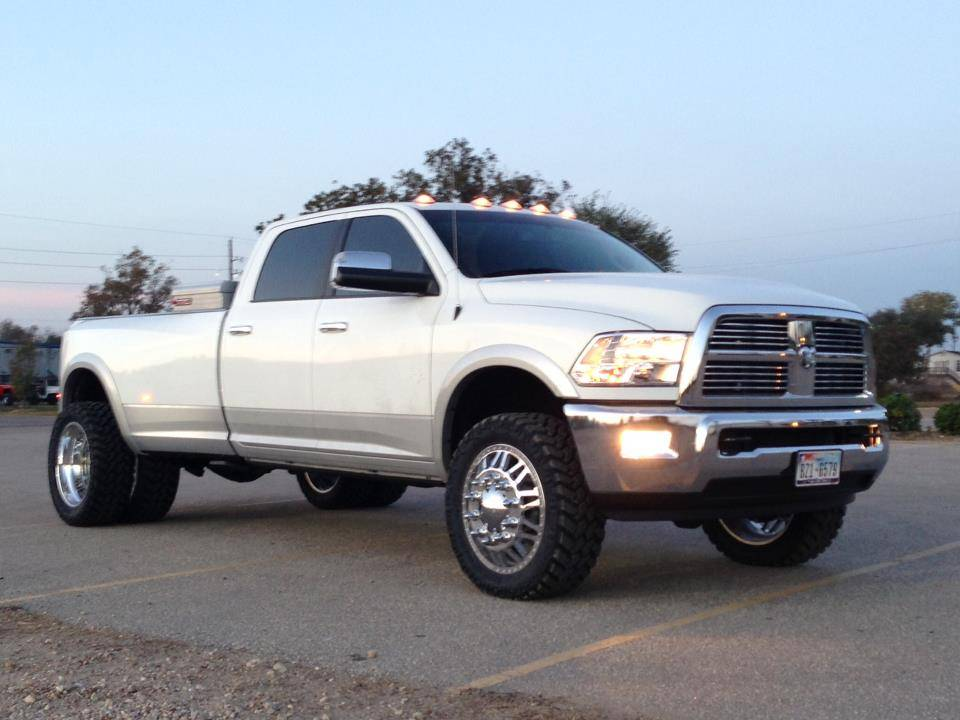 For more information on how to rotate tires on a dually, chat with a knowledgeable expert at your local NAPA AUTO PARTS store.
Photos courtesy of Wikimedia Commons.
Categories
Maintenance
Tags
heavy duty, tire care, tire maintenance, tire rotation, tire rotation frequency, tire wear, tires, truck
Mike Hagerty is an automotive journalist whose work has been featured on radio, TV, in print and online since 1997. He's the Publisher and Editor of MikeHagertyCars.com, and contributes car reviews to the Los Altos Town Crier and losaltosonline.com. Previous outlets have included KFBK and KFBK.com in Sacramento, California, the ABC television affiliates and Hearst-Argyle and Emmis radio stations in Phoenix, Arizona; AAA magazines for Arizona, Oklahoma, Northwest Ohio, South Dakota and the Mountain West and BBCCars.com.
Rotating tires on a dually truck or RV is a lot more complicated than vehicles with four wheels.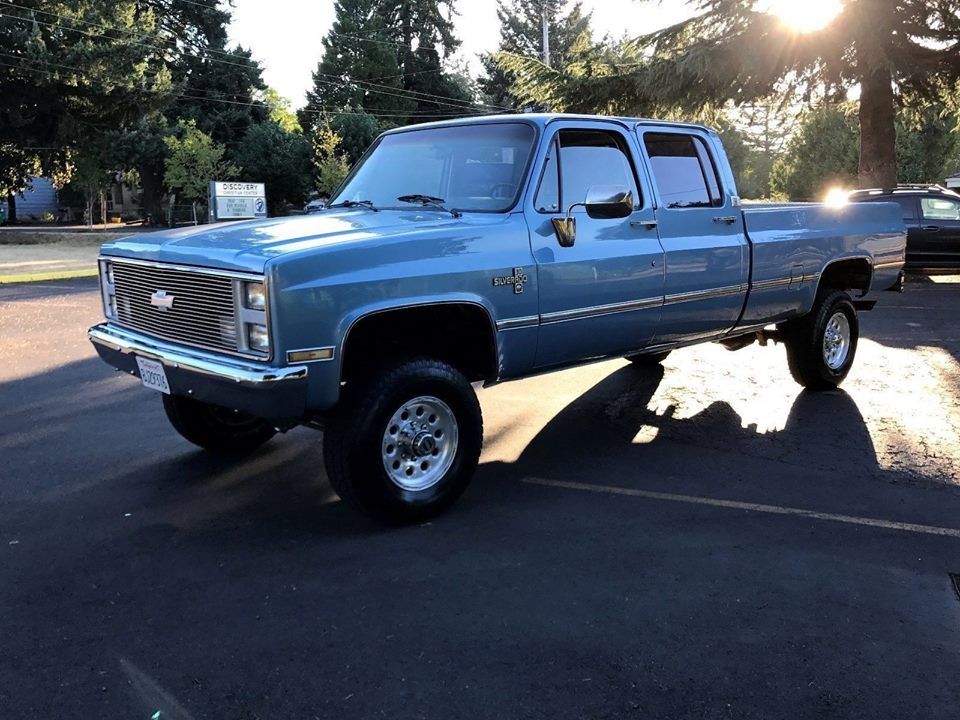 Potential differences with the inside dual wheels and even aesthetic differences with the inner tire can make it undesirable to rotate tires on a dually with the preferred tire rotation pattern.
Dually Tire Rotation Pattern
The standard rotation pattern for a dually truck or RV is called the Circular pattern. However, there are many complicating factors that limit rotation with six tires.Most of the complications deal differences between the inner and outer rear tires. Directional tires and differences between the rear drive tires and front steering tires can also limit options.
Rotation can help uneven tire wear, although the root cause is usually a wheel alignment problem or out of balance tire. If you’re experiencing uneven wear you should be sure to have alignment and balancing services performed.
There are many possible patterns to choose from to rotate your tires depending on the limitations you’re facing with your dually.
There are quite a few patterns to choose from when rotating tires on a dually. Let’s start with the most common and work our way down to the more unique patterns.
If you’re not seeing any unusual or uneven wear, this is the best pattern to use.
The circular pattern is the preferred way to rotate tires with dual rear wheels. It’s a simple pattern where the front tires move to the outer rear, the outer rear move to the inner rear, and the inner rear move to the front.
With this pattern the tires do not switch sides of the vehicle. This makes performing a tire rotation yourself easier since you only need to jack up one side of the vehicle at a time.
This pattern will require all 3 wheels to be identical if you’re concerned about aesthetics. Dually trucks with steel wheels are the best candidate for circular rotation.
Directional rotation with 6 tires gets a little more complex due to the fact that the outer wheels on the rear axle are mounted facing inward. You have to take this into account when rotating the tires.
This pattern isn’t recommended for non-directional tires since the circular pattern will do a better job of distributing tire wear more evenly across the tread over time.
This is also the way you would rotate white letter tires that are only on one side of the tire, which is typical. If you’re concerned about the aesthetics, this will ensure the white lettering is always facing outward.
While directional tires on a normal 4 wheel vehicle would never be able to change sides, they must on a 6 wheel truck or RV.
The front tires move to the inner rear positions. The inner wheels move to the outer positions on the opposite sides. The outer tires move to the opposite sides of the front.
Side to side rotation is best for situations where there are differences between the wheels or tires on the front and rear axle. This could be situations where you have towing tires on the rear and steering tires on the front. Or there may be wheel or tire size differences that prevent rotating front to rear.
When rotating the front tires, they simply switch sides.
When rotating the rear tires when all the wheels are identical, each rear tire should spend time at each possible rear tire position.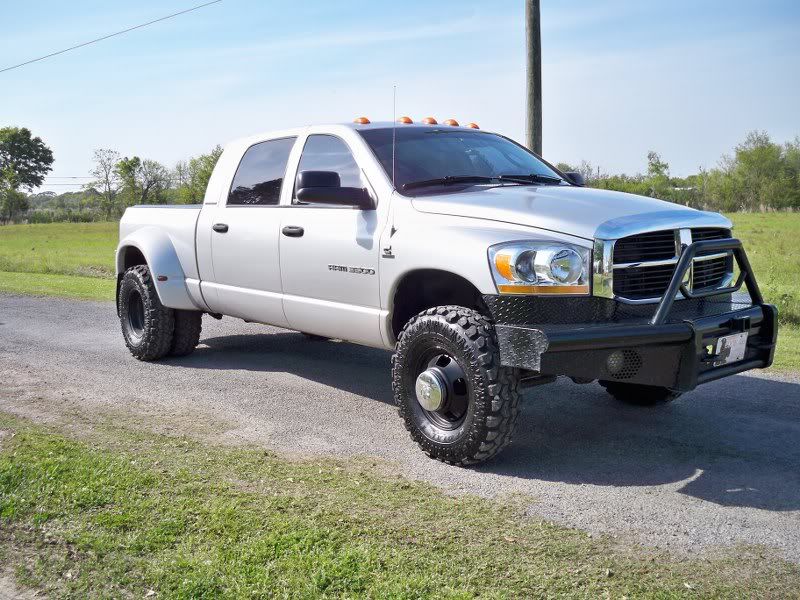
This is achieved by simply shifting each rear tire over one position each time a rotation is performed.
Driver’s side rear outer moves to driver’s side rear inner. Driver’s side rear inner moves to passenger side rear inner tire position. Passenger side inner tire moves to passenger side outer position. Finally, the passenger side outer moves to the driver’s side outer to complete the loop.
When the outer and inner rims are different, the outer rears should swap with each other and the inner rears should swap with each other as well.
Including a spare tire when rotating tires will significantly increase the life of the tire set, ensure the spare doesn’t go to waste before dry rot causes it to fail, and better ensures the spare will be properly inflated and in good shape if it ever needs to be put into use.
There are a few different methods for including a spare tire when you rotate tires on your dually.
The modification to the circular pattern has the driver’s outer rear move to the spare position and the spare move to the driver’s inner rear.
If you have 6 matching wheels, usually all steel wheels, you would remove the driver’s rear inner wheel and place it in the spare location. The spare would move to the outer driver’s rear. Otherwise, the dually directional pattern would remain the same.
The spare tire is typically an inexpensive steel wheel. While many don’t bother to rotate tires with a spare when there are only 2 inner steel wheels, you can do so by mounting the spare at the passenger’s inner rear, rotating the passenger’s inner rear to the driver’s inner rear, and moving the driver’s inner rear to the spare tire position.
If all 4 rear wheels and tires are the same, the driver’s inner rear will move to the spare position and the spare will move to the passenger inner rear. The rest of the rotation will be the same as the side to side pattern described above.
If you’re experiencing wear unevenly across the rear tires on a dually, the inner rears and outer rears should be swapped. This obviously can’t be performed unless the inner and outer wheels are matching.
If you’re experiencing wear unevenly across the front tires on a dually, the outer rears and the front tires should be swapped.
This obviously can’t be performed unless the outer wheels all match. Aftermarket front and rear wheels will not be matching on a dually and can’t be rotated in this manner.
The proper way to rotate tires on a dually varies greatly depending on the limitations you might encounter. The best method, if possible, is the circular pattern.
The circular pattern requires all wheels and tires to be matching. This is often not the case for many dually owners. Frequently, front and rear outer wheels are aluminum while inner rears are steel. This makes it impossible to rotate your tires except for side to side, like for like swaps.
Side to side tire rotation has much less benefit than front to rear or inner to outer rear rotations.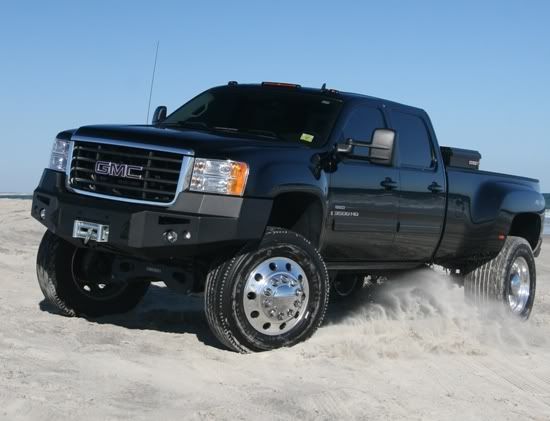 Experienced dually owners with 3 different sets of wheels on their truck usually don’t rotate their tires unless they are experiencing a problem with uneven tire wear.
Tires on a dually truck or RV should be rotated according to the mileage requirement for maintaining your tire warranty. Tire manufacturer’s will usually require your tires be rotated before a certain amount of mileage is reached.
Generally, rotating your tires every 5,000 miles will meet or exceed this requirement, but it does vary so be sure to read the paperwork provided when you purchased your tires to be sure you rotate your tires according to the manufacturer’s requirements to maintain your warranty.
It’s necessary to rotate tires on a dually to maintain the tire warranty. Whether or not your tires have a warranty, rotating your tires will help ensure they last as long as possible and wear more evenly.
That said, many dually owners don’t rotate their tires unless they are experiencing uneven tire wear.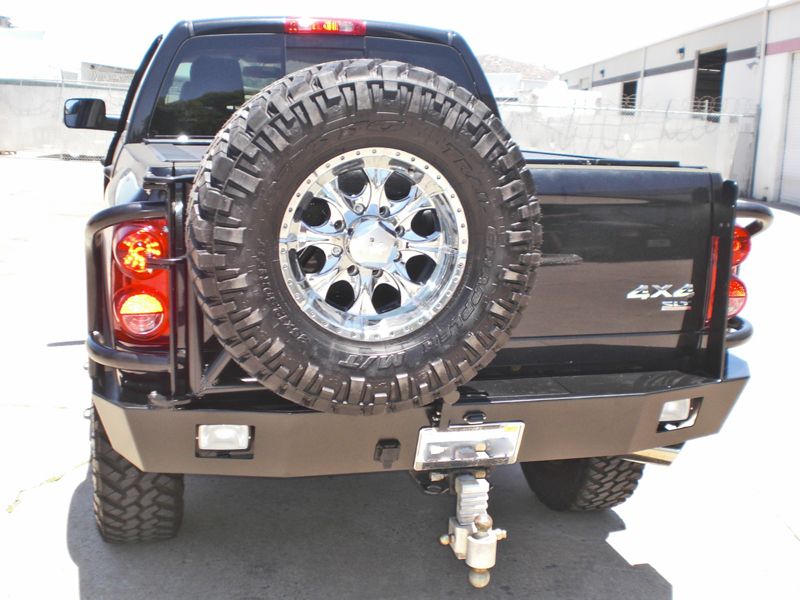 Especially those with aftermarket wheels and aluminum wheels on the outer rear axle.
Dual rear wheels are mounted facing each other on the rear axle. The driver’s side and the passenger side will each have 2 wheels facing each other. The front and inner rear wheels are mounted as they would be normally. The outer rears are mounted facing inward.
Aftermarket dually wheels can usually only be rotated side to side. This is because the front aftermarket wheels and the rear outer aftermarket wheels are usually completely different designs. The inner rear wheels are usually inexpensive steel wheels since they can’t be seen.
Dually trucks with six steel wheels have the rear outers facing inward instead of outward. Aftermarket wheel designs account for this with unique but complementary front and outer rear wheel designs meant to be used with inner rear steel wheels.
Wheel alignment and tire balancing aren’t perfect and can drift over time due to potholes and curb strikes.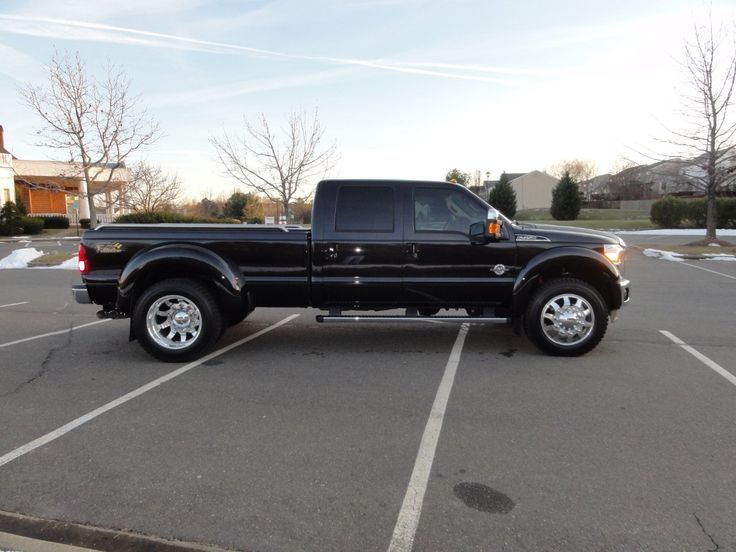 These issues can cause uneven wear as your tires age.
Regularly rotating your tires can help even out uneven wear. This will help your tires last longer, ride smoother and quieter, and usually be a requirement for maintaining your tire mileage warranty.
Rotating tires on a dually is a long more complex than vehicles with only 4 tires but it’s still beneficial if you can have this tire maintenance service performed regularly.
Below are some links you may find helpful when learning about tires
Will Creech
Will has been an automotive enthusiast since he was old enough to make engine sounds. Formerly a member of the contract training team at Discount Tire, he is unusually knowledgeable on all things related to tires. He is now the owner of and main contributor to TireGrades.com.
The question of loading a motorcycle in a van, pickup truck or trailer arises when transportation is required.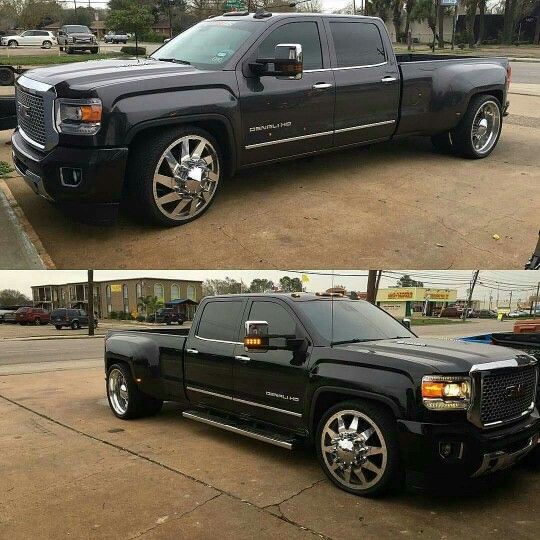 Most often, transportation of a bike is required either when buying / selling a motorcycle, or if the equipment is sports equipment that is prohibited from appearing on public roads. Throwing a motocross bike or enduro into the back is much easier than a large "tourist" or sportbike. For those who are faced with such a task for the first time, it may seem easy only at first glance. Questions begin directly at the high side of the pickup truck.
Consider how to load a motorcycle for transport.
The simplest and most common way is to use a ladder or build it from improvised means. The ladder is a long strip along which the motorcycle is rolled into the body. It happens that a car for transportation arrives and does not have a ladder, or the driver thinks that the motorcyclist has his own in the garage. Then adventure and improvisation in its purest form begin.
If a ramp is not available, boards connected together or something that can support the weight of the motorcycle and allow it to be rolled in are used instead. The width of the ladder plays the same important role as the angle of inclination. It will be more difficult to dive with a narrow ladder. At any moment the wheel can slip, then the fall is inevitable. A wide ladder can be climbed with a motorcycle, which makes the task easier.
Some drivers use large boxes as an alternative or out of desperation. You need to understand that such a trick works more effectively with motorcycles that have a short base. With overall models, it is better not to take risks and load with the help of a second person. First, they put the front wheel on the box, then they lift it up and put it in the body, then they lift the rear wheel onto the box, and then the motorcycle is completely rolled in. The box is also useful for lowering the bike when there is no ladder. In fact, the box is used to save human strength and safety net, when there is no certainty that it will be possible to “throw” the bike in one jerk.
It never hurts to have a friend help you load your bike into a tall body.
And yes, you don't have to try to drive your motorcycle down the ramp into the body. The web is full of videos of how it ends: rarely with success, more often with injuries and nasty giggling of eyewitnesses.
It's amazing how quickly ideas come up if you don't get out of the situation in obvious ways. When circumstances turn out for the worse: there is no ladder, there is nothing to make it from, the side of the car is high, the motorcycle is heavy ... you can use the area around. This is the same quest, but there is still no choice.
Your goal is to reduce the distance from the motorcycle to the side in every possible way. Ideally, find a ramp or hill where you can roll the motorcycle, drive the car up to it, and complete the loading.
There are systems that allow you to load a motorcycle into the body at the touch of a button, but let's be honest: not every car can install them, not everyone needs this system so much.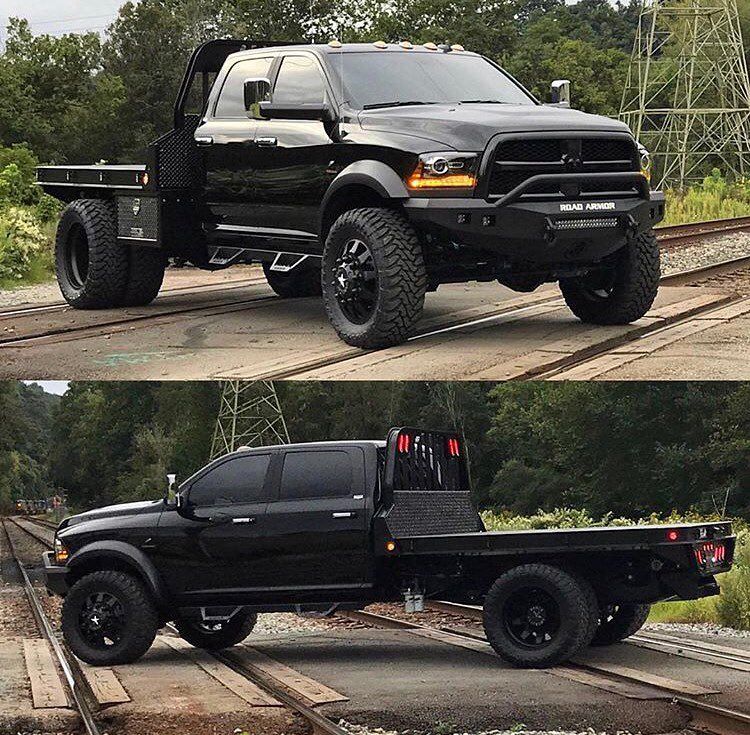
Riders who frequently carry motorcycles are opting for vehicles that allow their bikes to be loaded in the first place. Athletes do not in vain make workshops on wheels from minibuses and vans. Low side - a minimum of problems. And in a pickup truck to constantly carry a city or racing motorcycle, no one in their right mind will.
When loading a motorcycle, grab everything that comes to hand. Especially when the bike is hard to hold and threatens to crash. No one wants to end up with expensive repairs. This is how torn wires, pulled out cables, scratched plastic appear ... And also a torn back or sprains on the owner himself.
It is best to take a motorcycle for climbing or descending for strong and large parts - suspension, frame. The motorcycle handlebars are turned so that the wheel can be put sideways, then it will not roll and you will get more tire grip with the fulcrum surface.
When the handlebars are turned to the side, the edge of the fork near the center of the wheel becomes a very good place to grip. According to the principle of traction with weights, it is enough to sit down, it is convenient to grab the edge of the fork and the handlebar, push the front of the motorcycle up and put it inside the pickup or trailer. No need to lift weights with a round back, it will end badly, first of all, for your back. Athletes know a lot about lifting heavy iron, none of them do sets with a round back. If you have never lifted weights, it is worth watching how athletes do it. The heavy lifting technique will save both you and the bike from injury.
The same principle applies to the rear of the suspension, the edge of the swingarm and the tail, but not to the plastic.
There are craftsmen who invent entire suspension systems, use cables and insure themselves with ropes. Sometimes they even load the motorcycle alone due to a well-thought-out rope scheme. It is difficult to advise anything here, since the methods and places of attachment are different. Not everyone will like this approach.
If you're considering transporting your motorcycle frequently, a gangway is a good idea and will solve most of your loading problems.
Caster wheels wear out over time. Under the influence of various factors, they are gradually deformed, losing their original properties. Riding them is becoming increasingly difficult, and it becomes necessary to completely replace them. If the wear is not too significant, you can limit yourself to rotation and ride on a rib that has not yet been worn out for some time.
Caster wheels consist of a plastic hub into which the bearings and axle are inserted, and polyurethane which is in direct contact with the coating.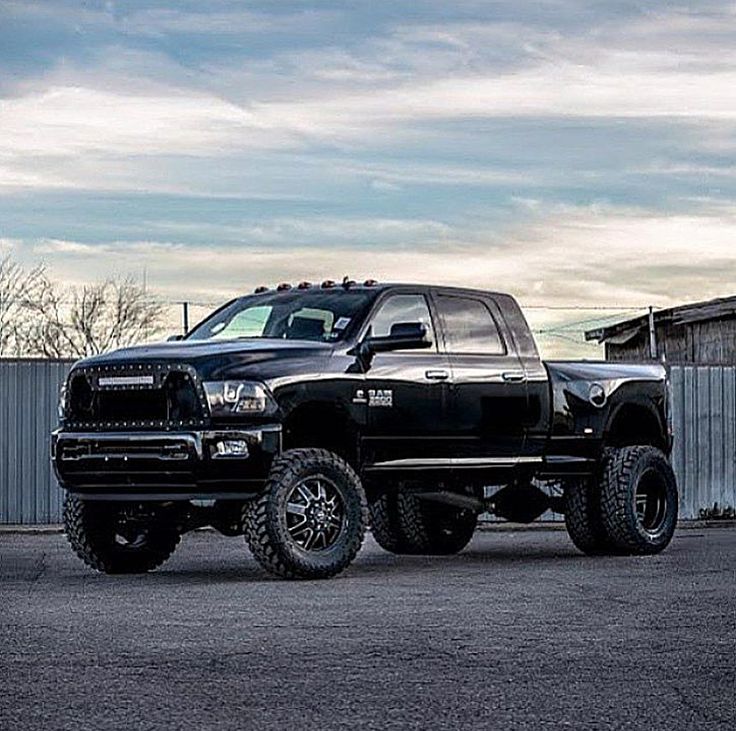 During normal skating, the roller is repelled by the inner edge of the skate, so the wheels always wear down on this side much more than on the outside.
Degrees of wear
Renewal time depends on several factors:
Some people need to change their wheels once a year, others have to do it after every ride on the street. If one side is erased, and the second is almost intact, you can get by with rotation. If the wheels are worn on 2 sides, they will have to be completely changed. Bearings can be left from the old set.
It is recommended to inspect the skates after each use. If they do not look symmetrical, then you should rearrange the moving elements before hiding the rollers for storage. It is important to monitor the general condition and prevent the formation of a "trapezoid". These wheels are not suitable for riding.
Take the casters and turn them upside down. Use one or two wrenches to unscrew the axle that secures the wheel to the frame. This can be done with a hexagon or Torx (asterisk). Put a new wheel in the vacated place and fix it with an axle. Make sure the fastening is secure. For greater strength, you can use a thread lock. It is applied to a previously cleaned and degreased surface. It is enough to process 2-3 threads.
After tightening the axle, turn the wheel by hand. If it turns hard, it may be skewed. To eliminate it, just shake the wheel a little in different directions. If this method does not help, it may be a more serious defect and the sleeve needs to be replaced.
If you need to change the bearing along with the wheel, remove and disassemble it. Most often this has to be done by lovers of aggressive style. During tricks and landings, the bearing parts begin to rattle, and then crumble, unable to withstand the loads. Before extracting, you need to find out which axes are used in this model:
| 6mm | for 8 mm |
|---|---|
Uses a crusher or a multi-purpose wrench with a stepped shoulder. When pressing on the wheel, one bearing with a bushing pops out, and the second bearing is squeezed out by any cylindrical object. When pressing on the wheel, one bearing with a bushing pops out, and the second bearing is squeezed out by any cylindrical object. | A hex wrench is inserted into the wheel and pry the bearing ring from below. After removing the first bearing from the sleeve, the second is squeezed out. |
The bearings must be disassembled and all balls present must be inspected. If they are intact, you can limit yourself to cleaning and lubricating. If damaged, the entire bearing must be replaced. After assembly, the bearing is pressed onto the wheel hub.
The rotation procedure extends the life of wheels of the same diameter, returns the rollers maneuverability and original speed. When using all-purpose skates, the replacement allows the skater to try out different styles of skating. By varying the size of the hub and the rigidity of the wheels, you can switch from slalom to running or jumping.
The cross pattern is the most common, well-proven way to rotate. It is optimal if all wheels have approximately the same load, for example when braking with a plow. Thus, it is possible to increase the resource of the wheels by almost 30%. The whole operation takes 5-15 minutes.
Another variation of the crossover. This scheme is preferable for frequent T-stop braking, when one foot winds up behind the other perpendicular to the direction of movement.
Although this pattern is less common than the cross pattern, it is nevertheless quite effective and significantly extends the life of the wheels.
Professional rollerballs use a non-standard pattern. It assumes that during long skiing, the emphasis is on only one side. The wheels on it wear out faster than on the other. For example, when performing a back vanville, the maximum load will fall on the 4th wheel of the supporting leg. In such cases, it is recommended to remove all the wheels, sort them by size and rearrange the most worn one to the 1st place in another skate.
On rockered skates, the outer wheels are always slightly higher than the center wheels and wear more due to the large number of single-wheel elements and frequent sharp turns with front wheel load.