Lynn Blamires, Special to the Standard-Examiner
The contents of a Screw-A-Flat-Easy kit.
When you go into the backcountry, you don’t have to go very far to be facing a long walk back when a problem occurs. That is why it is important to have your machine working well before you go. However, a flat is something you just have to be prepared to deal with.
I have been riding ATVs for 30 years and I have had to deal with a lot of flat tires. One way others deal with flats is growing in popularity. They carry a spare tire and wheel — one that will work on any of the four corners of the machine.
I am still not sold on the extra weight a spare tire creates.
I have dealt with flats by carrying a mini compressor, a supply of plugs, a reaming tool and tool to push plugs into the tire to seal the leak. The idea is that I will be able to finish the ride and make it back to a place that I can either make a better fix or replace the tire.
That plan has worked in the past, but lately it has let me down (literally). I was riding my Polaris Ace out on the Arizona desert when I noticed that I was hitting rocks that I should have had enough ground clearance to clear. When I was loading the machine on the trailer, I noticed that my front left tire was low.
At the motel, I took the wheel off, took it to my room, ran some water in the tub, put the tire in and found the leak. I plugged it, but I didn’t have the needed rubber cement to seal the plug properly. Consequently, the tire continued to leak and, once again, it let me down. Later in the year, I had to leave a ride at a jamboree in Beaver because that tire was still not holding air properly.
Lynn Blamires, Special to the Standard-Examiner
Inserting Screw-A-Flat-Easy into a tire on my riding lawnmower.
While rubber cement is important, sometimes the need to repair a tire doesn’t happen for a long time and when you need the cement, it is dried up. It is just another one of those things that you need to check before you go.
I didn’t know there was a better way to plug a tire until I attended the Salt Lake Off-Road Expo last February. It was there that I met Tracy, who introduced me to an old product that was new to me — Screw-A-Flat-Easy. This product is now being reintroduced to the market.
Instead of using a plug, this product is a screw. I know, it doesn’t make sense to use a screw in a tire to replace a screw that caused the problem in the first place, but it works.
The screw has a conical shape with course threads 1 1/4 inches long. It comes in three head sizes: 1/4 inch, 3/8 inch, and 1/2 inch.
The screw is made of a proprietary nonferrous composite material. The adhesive used together with the insertion of the screw combined with the heat generated with running of the tire is where the magic happens. The heat activates the combination of the adhesive and the composite element of the screw, causing it to meld with the tire and form a dependable seal. It is important to insert the screw into the tire to the point that it is flush with the surface of the tire so the magic can happen.
Photo supplied
Lynn Blamires
I wanted to put this product to the test, but all my tires are in good shape. I didn’t want to drill holes in good tires for this test. However, I did have a problem with a wad of plugs in a tire on my riding lawnmower that could make a good test.
So I took the biggest screw and inserted it in the middle of the plugs. Not much heat is generated in the action of mowing the lawn, but it did a good job. Now I just need to go for a high-speed ride around the neighborhood to generate some heat. Well, high speed for a lawnmower.
YouTube has videos of the application of Screw-A-Flat-Easy on a variety of tires including truck tires. Screw-A-Flat-Easy is only available by ordering on the internet at https://screwaflateasy.com. It comes with four screws — one small, two medium and one large, plus a small bottle of the adhesive for $12.
When you go, take plenty of water, keep the rubber side down and take Screw-A-Flat-Easy kit with you — it won’t let you down.
Contact Lynn R. Blamires at [email protected].
Join thousands already receiving our daily newsletter.
How to Mount ATV Tires
Mounting ATV Tires at Home
If you’ve been thinking about changing ATV tires or UTV tires at home, know that while it can be tricky the first few times because these tires tend to have stronger beads than on-road tires, it’s a pretty straight-forward process as long as you have the proper tools, and follow this step-by-step tutorial from the tire experts at Treadworld. Also keep in mind that air under pressure is potentially dangerous so take any necessary precautions. Balancing your ATV tires can be difficult and is likely not necessary unless you’re racing or engaging in high-speed ATV and UTV activities.
The Tools You Will Need to Change ATV Tires
Remove the wheel from the ATV
When mounting ATV tires at home, it’s best to start with your ATV on a hard floor like a garage. Loosen the lug nuts a little to make them easier to get off, then jack up your four-wheeler so you can remove the wheel. Consider getting the bolts off using a hand tool rather than an impact wrench, which can on occasion be powerful enough to snap a bolt.
Deflate the ATV tire
Remove the cap from the valve stem and release all the air in the tire using either a valve stem core removal tool which will remove the stem and is the quickest method, or a tire pressure gauge that has a notch on the side used to push in on the valve stem or a screwdriver, which will take longer.
Break the bead on both sides of the ATV tire
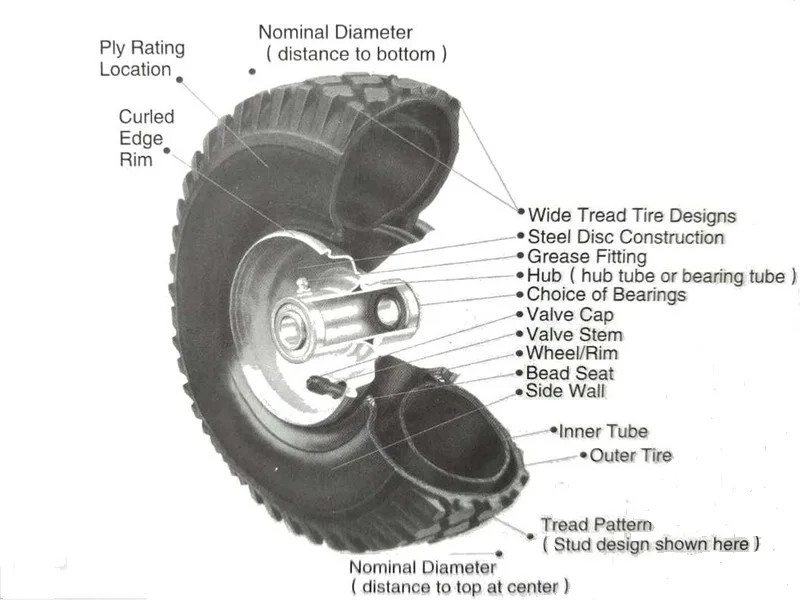
This is likely the toughest part of changing an ATV or UTV tire because the bead is set to the rim a lot more firmly with off-road tires, than with on-road tires. That’s because off-road tires are asked to do things on-road tires don’t, like ride steep slopes, travel rocky terrain and land jumps. First, here are a few details. The bead retainer is a small ridge that goes all the way around on both edges of the wheel rim. It is intended to keep the tire in place so that aggressive riding won’t result in it sliding and losing the air seal. The tire bead is on the edge of each tire. Essentially, it’s a strong steel reinforced loop around both edges of the tire. Many times, a bead sealer is used on the bead to further keep it from popping off. In a nutshell, with this step, you’re getting the bead off the rim so you can remove the tire.
3 options for breaking the bead on ATV tires at home
There are essentially three ways to break the bead on an ATV tire. Likely the easiest method is with a BeadBuster, a tool designed for the job that clamps onto the rim and forces a wedge between the rim and the tire. BeadBusters are quick, simple and offer less chance for damaging the tire than other methods. A quick look shows they currently sell for around $100 at online shops. A cheaper alternative is using another of the several available portable tire-changing tools, generally available at any hardware store or auto supply shop. Most models need to be bolted to the floor, or some other heavy object. If you go with this alternative, you’ll want to leave 3-5 PSI air in the tire to facilitate success. Finally, there is the DIY method, which involves your inventiveness. Start by putting soapy water on the bead to help it slide. Devise the best way to get the tire in position so you’ll be able to force the tire to break free of the bead. You may want to use a 2×4 set as close to the rim as possible to push the tire edge away from the bead. Then flip the tire and do the other side.
 Again, it may help to have 3-5 PSI of air left in the tire with this method.
Peeling the ATV tire off the rim
You’ll want to use tire spoons or large screwdrivers for this step. Place one of the irons between the tire and the rim, and lift a section of the tire over the rim. Using one tool, hold that section away from the rim, and use the other tool to edge the rest of the tire over the side of the rim. Continue with this process until the full tire is from the rim, then remove the tire from the wheel rim completely.
Clean the lip rim on both sides and consider a sealer
The better you clean the lip rim on both sides, the better your new tire will fit. Wash off any dirt and debris. Use a stiff brush if necessary. Remove any rust. To get a good airtight seal, you need the surface to be smooth. If your rim shows any signs of pitting, nicks or other damage, you’ll likely want to apply a bead sealer, which is a rubber product designed to aid in bead seating. You may want to skip the bead sealer if you don’t need it in order to make changing the tire in the future easier.
Clean and lube the tire bead on the new ATV or UTV tire
So that the rubber will slide easier, put commercial tire lube or some soapy water on the bead retainer on both sides of the wheel rim. You can also use a light coating of baby powder, but stay away from WD40 as it can deteriorate rubber.
Check to see if your ATV tire is directional
Tires can be directional or multi-directional. Directional ATV tires should be mounted in a certain way for best traction and optimal performance and safety, while multi-directional tires work in either direction. Some types of four wheeler tires are directional depending on usage, like ATV mud tires for example. Look on the tire sidewall for an arrow, which indicates the tire is directional and should be mounted with the arrow facing the direction of the forward rotation. Another way to tell is by looking at the tread. A tire with an aggressive V-tread is likely a directional tire and should be mounted so the tip of the V hits the ground first. Directional tires can be mounted on either side.
Pop the new tire on the rim and get it seated correctly
The next step is to get the tire seated and the bead lined up correctly. Start by putting soapy water or lube onto the wheel rim. With stiffer walled tires, place the tire on the garage floor then push the wheel into position. With tires that have a less-stiff wall, placing the wheel on the floor and positioning the tire may be easier. Push straight down with both hands to slip the bead of the tire over the lip of the wheel. To get the second bead pried over the lip of the wheel, you’ll need to use your tire spoons, working your way around the tire until you have the entire bead pried over the wheel. To hold air, the tire needs to be firmly seated on the bead. At this point, be sure the tire is lubed up and begin using your higher-powered air compressor to put air in the tire.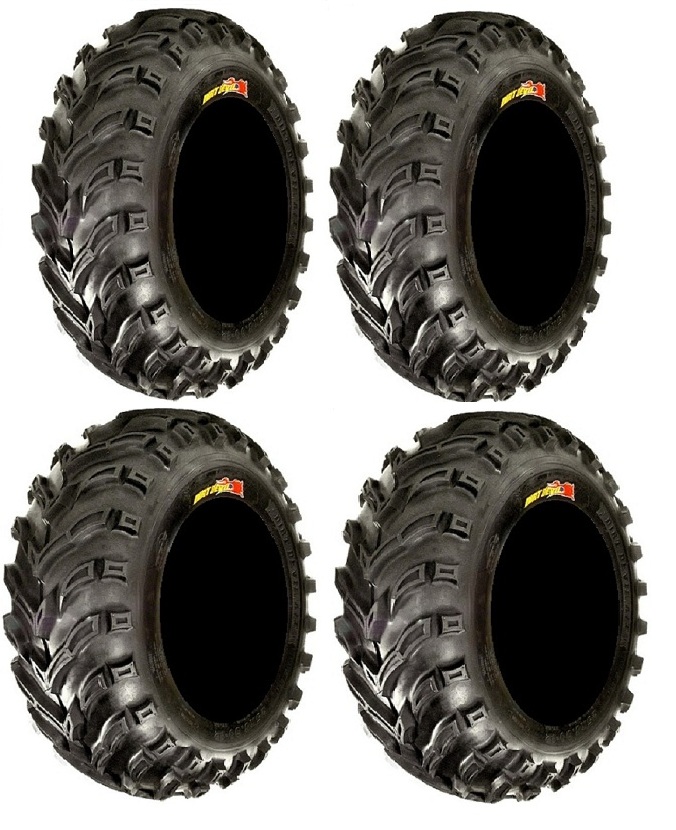 Don’t over inflate. The maximum inflation pressure should be stamped on the sidewall of the tire. The expectation is that as the tire inflates, both beads will seat themselves, as indicated by a loud “pop”, which should happen at a fairly low air pressure, 7-8 PSI. Once that occurs, let the air out of the tire. The beads will remain seated.
You may have difficulty getting the air into the tire fast enough to get the beads seated. That’s due to the gap that still exists between tire and rim. A good way to solve that issue is to tighten a ratchet strap around the middle of the tire, pushing the tire walls out towards the lip of the wheel on each side. Stop tightening as soon as the tire touches the tip of the rim. Then the tire should hold air because the gap has been closed.
Reinstall the valve stem and inflate the tire
Use your valve stem tool to reinstall the valve stem, then inflate the tire before capping the valve stem to keep it free of debris. Now you’re ready to reinstall the tire on your ATV, having solved the problem of how to mount ATV tires at home.
Find Master ATV Tires here. Big selection, fast shipping and guaranteed quality.
Here at Treadworld, we have the ATV tires you need for wherever your adventures take you. Our wide selection of Master ATV Tires and Master UTV Tires are the high performance tires you want, made from top quality rubber compounds, triple-tested for quality before being X-rayed to be sure they’re perfect, and covered by our Ultimate Advantage Warranty. Don’t hesitate to contact our tire experts via live chat or email with any questions you may have, and to get the ideal Master ATV tires for you.
Unlike automobile tires, ATV tires are not divided into winter and summer tires. All utility models are fitted with all-season tires from the factory. But if you are not satisfied with the grip or patency, there are complaints about the handling or comfort of the equipment, you can choose more suitable tires for the cold season. Which are better for deep snow, ice and frozen ground - we will tell in the article.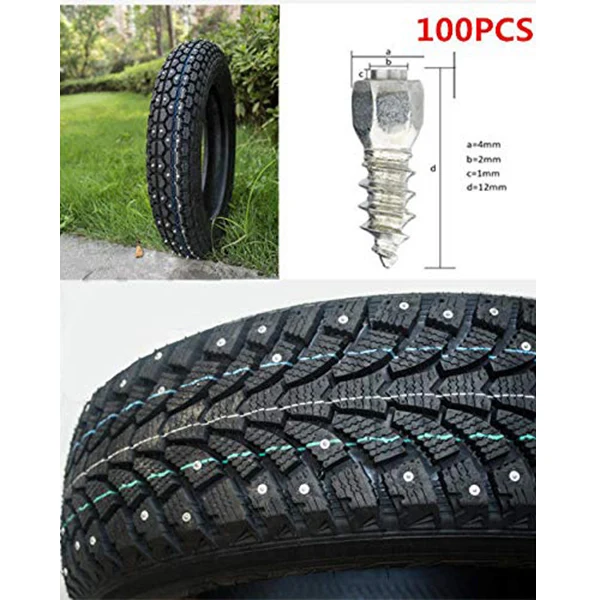
According to the structure of the carcass, tires for an ATV are divided into radial and diagonal, and according to their purpose - into mud and universal. Consider their features.
Radial. More durable. With less rolling resistance. They hold their shape well and provide a larger contact patch. They improve the dynamics of acceleration and braking, as well as handling at high speed and in corners. Great for smoothing out small imperfections. Of the minuses - a higher cost. nine0003
Diagonal. Cheaper. More flexible. They have better grip on loose surfaces and self-cleaning more efficiently. At the same time, such tires wear out faster, have increased rolling resistance and impair the handling of the ATV at high speed and when cornering.
Mud tires are usually bias-ply tires, as flexibility, self-cleaning ability and traction on loose ground are more important.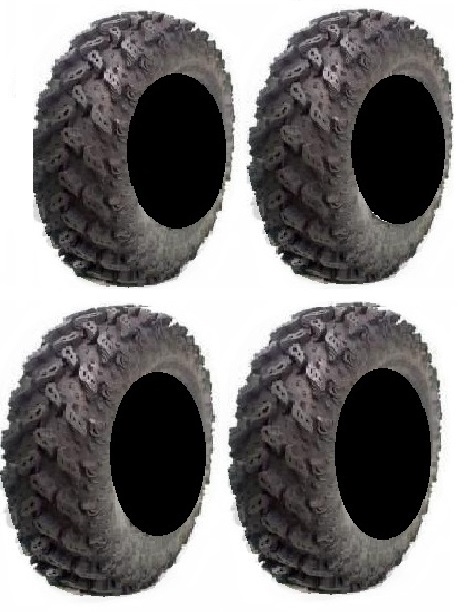 All-purpose tires are often radial to give the ATV more stability and control on hard surfaces. nine0003
Mud. They have large lugs with a height of 3 cm or more. The angular arrangement of the tread elements and the large space between them provide effective self-cleaning - the faster the wheels spin, the better the mud is pushed out. Such tires are not suitable for hard surfaces due to poor grip, rapid wear and reduced stability of the ATV. An example of a mud tire is the CST Wild Thang.
Universal. Available in any tread pattern to be more adapted to mud or fast riding. The height of the lugs does not exceed 2.5 cm, and the distance between them is less than on mud tires. At low pressure, these tires create the maximum contact area of the tread with the surface. At a low speed (about 5 km / h), they do not throw snow out from under them, but compact it. The wider and softer the tire, the better it is for off-road driving.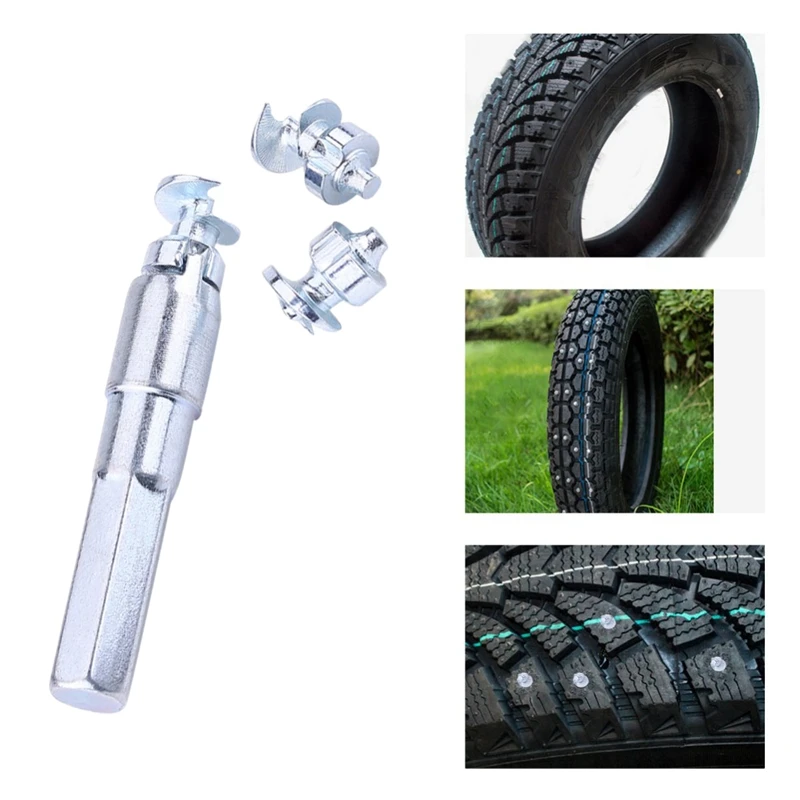 An example of universal tires is CST STAG. nine0003
Different types of tires are suitable for different types of snow.
For "powder" - mud. This snow does not hold vehicles, so mud tires are optimal. They quickly burrow to the ground and will push off from it. But on one condition - if there is no frozen surface below. All-purpose tires will handle icy ground better.
For compacted compacted - soft universal without aggressive tread. Hard mud tires with large lugs will not work as they will dig in. nine0003
For crust - universal. Tires with minimal ground pressure work better on this surface.
On ice, the maximum contact patch of the tread with the surface is important - for better grip. It is better to refuse mud rubber. The optimal choice is universal tires with a low and frequent tread pattern, designed primarily for high-speed driving.
Radial all-purpose tyre, preferred.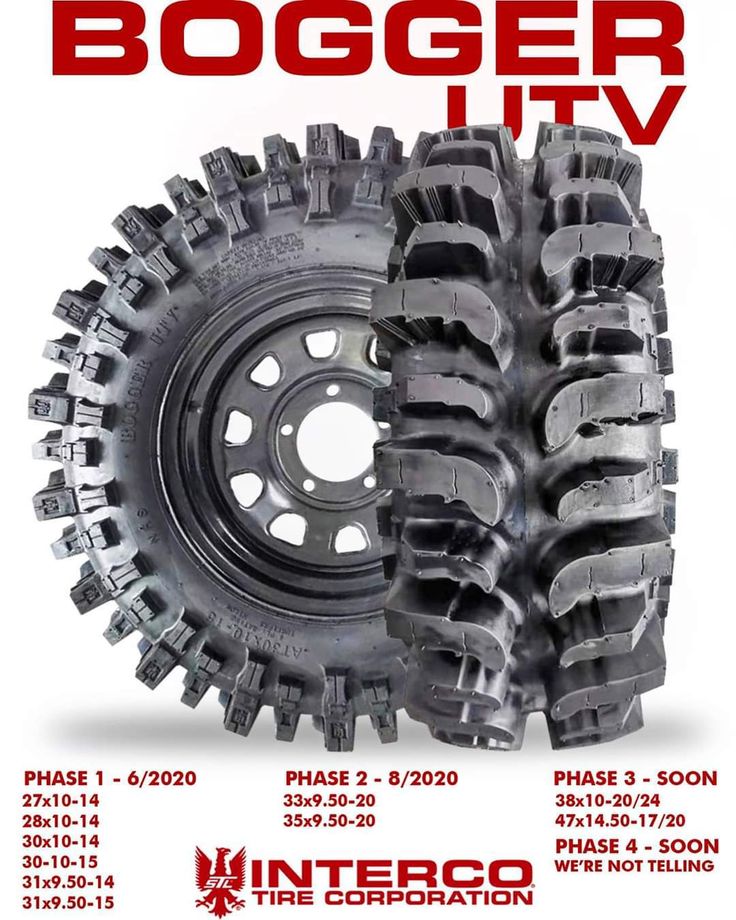 On it, the ATV will be safer, more manageable and more stable. It also transmits fewer shocks to the suspension, which will positively affect the resource of equipment and rider comfort. nine0003
It is important that the tires are soft and do not tan in the cold.
For ice, frozen ground and packed snow, general purpose tires with a narrow and low tread pattern are best suited. They provide a larger contact patch, allow you to accelerate or decelerate faster, and make the ATV stable and controllable at high speeds and in corners.
All-round tires are also great for deep packed snow: the lower the pressure, the better the ATV will ride. The main thing is to avoid slipping. nine0003
Mud tires are better than others on powder and shallow snow - they quickly reach the ground and push off from it. But such rubber is not suitable for hard surfaces due to increased wear, deterioration in handling and safety of equipment.
 The glass is dirty. It's dark outside, but you have to go. As a result, the liquid is consumed at an unprecedented rate, but it does not get better. However, there is a way out of this situation. It just needs some tweaking of the system. How to do this, tells the portal "AvtoVzglyad". nine0003
 Egor Vasiliev
Many drivers note that in winter the windshield washer nozzles are not as efficient as they would like, they deliver liquid to the right points on the glass. As a result, you have to use the washer much more often. Which is annoying and leads to additional troubles and expenses. Few people like it in the cold, under a piercing wind, open the hood, unscrew the filler cap of the washer reservoir and try to get into it with a thin stream of precious liquid, which the incoming gusts of wind try to send either directly into our pocket or into the gentle depths of the generator. nine0003
Let's take a look at why washer efficiency drops so significantly in the cold season.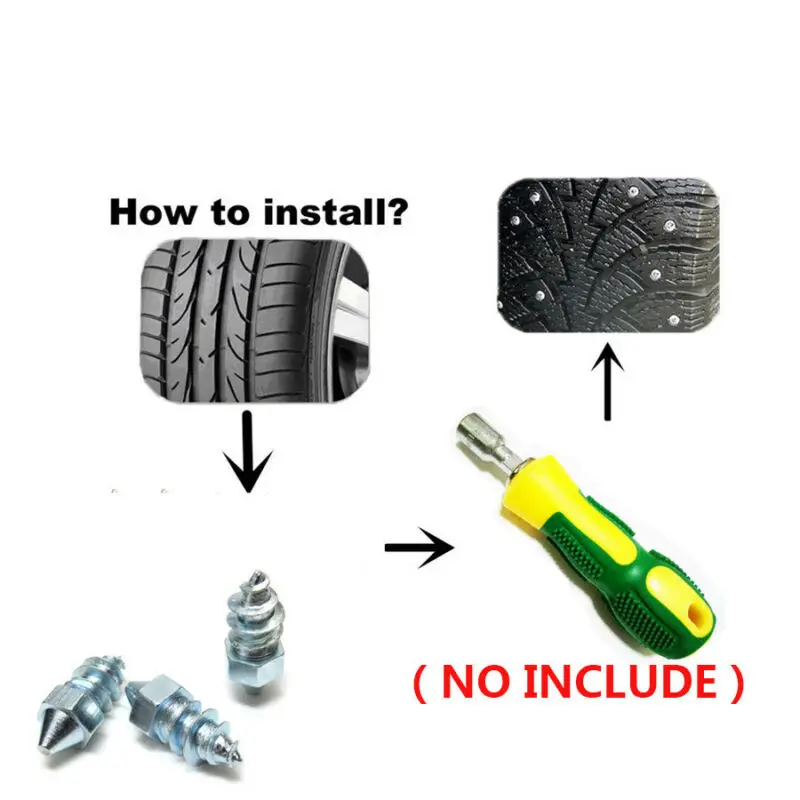 Firstly, the problem is caused by the fact that winter air is much denser and, while driving, puts more pressure on the windshield, preventing the expensive alcohol-containing jet from even reaching its middle part. As a result, only the very bottom of the “frontal” is cleared. And not everyone can look at the road, being in the position of a tanker, from under the steering wheel and into a small transparent gap.
Secondly, a lot depends on the physical properties of the liquid itself. After all, we use water in the summer. And its specific gravity is 997 kg/m³. And the adjustment of the nozzles, as a rule, is carried out specifically for water and the summer period. And the washer pump is optimized for water. In winter, we use liquids based on ethyl alcohol. And its density is lower - only 789 kg / m³. It is lighter, so it is more difficult for the washer pump to create the right pressure.
Photo blog.consumerguide.com
In other words, the mass of the jet at the outlet of the nozzle is less than 20% and the cold stream of dense air manages to stop it much earlier. In addition, as the temperature drops, the viscosity of the liquid also increases. That is, the pressure at the outlet of the nozzle drops even more. Moreover, the losses for pumping liquid through the system of pipes, tees and valves are growing. And to achieve at least the minimum acceptable result, you have to constantly use the washer, consuming the liquid literally at the pace of fuel consumption. nine0003
Meanwhile, the frequency of such fillings can be reduced, and the efficiency of the washer can be significantly increased by carrying out its simple seasonal tuning. Since the problems are related to the overall pressure drop in the system, then by adjusting the position of the nozzles, we first make sure that they spray strictly at the points on the glass recommended by the manufacturer. And then we raise them even higher, compensating for the influence of cold air when driving at high speed.
To improve the pumpability of the liquid after the pump, you can use a slightly longer tube and spiral it around the rubber coupler of the engine cooling system.