This post contains affiliate links. Read the full disclosure here.
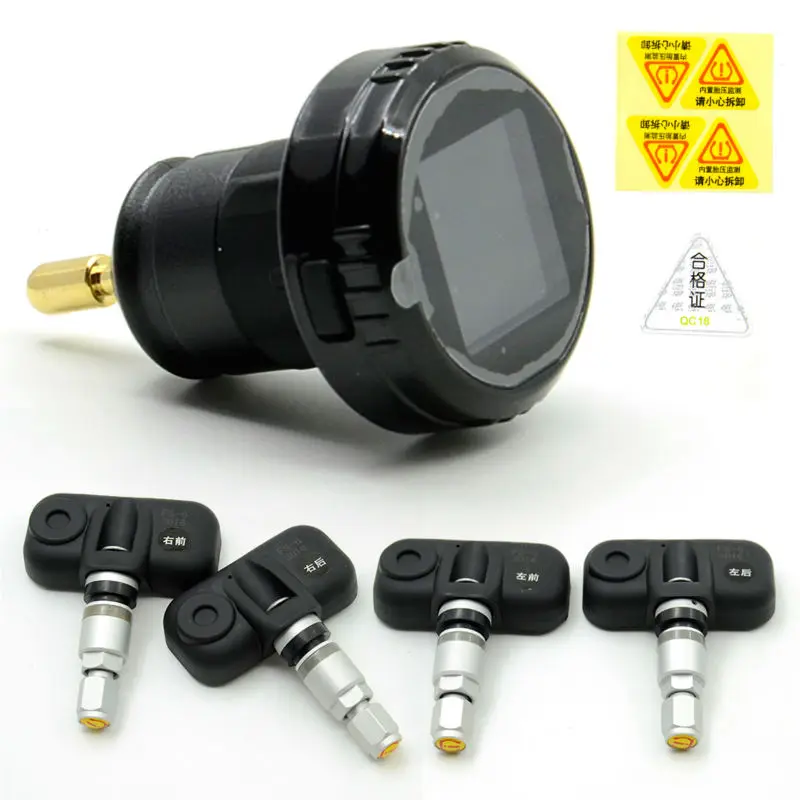
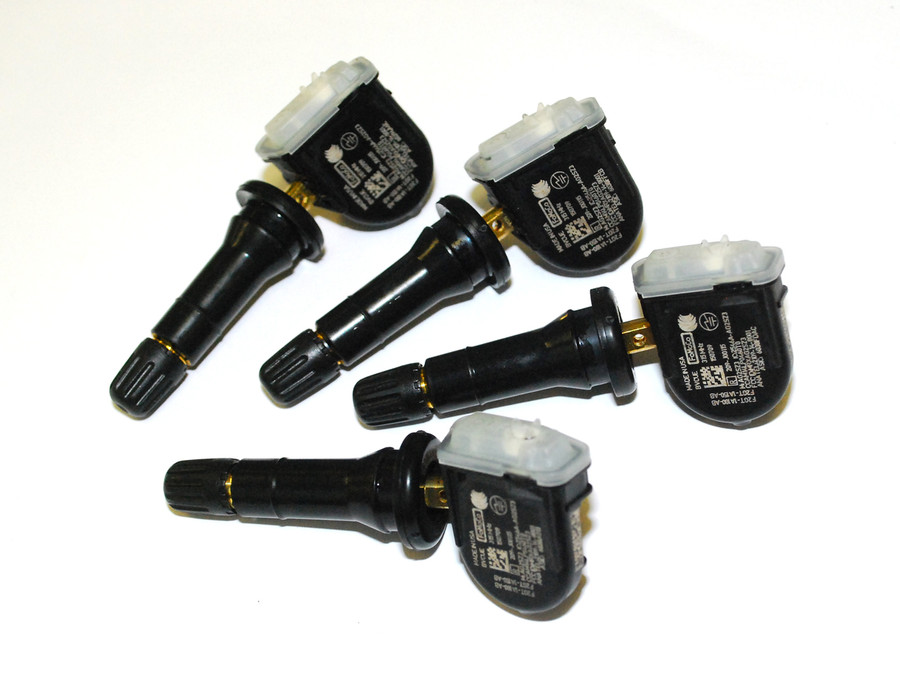
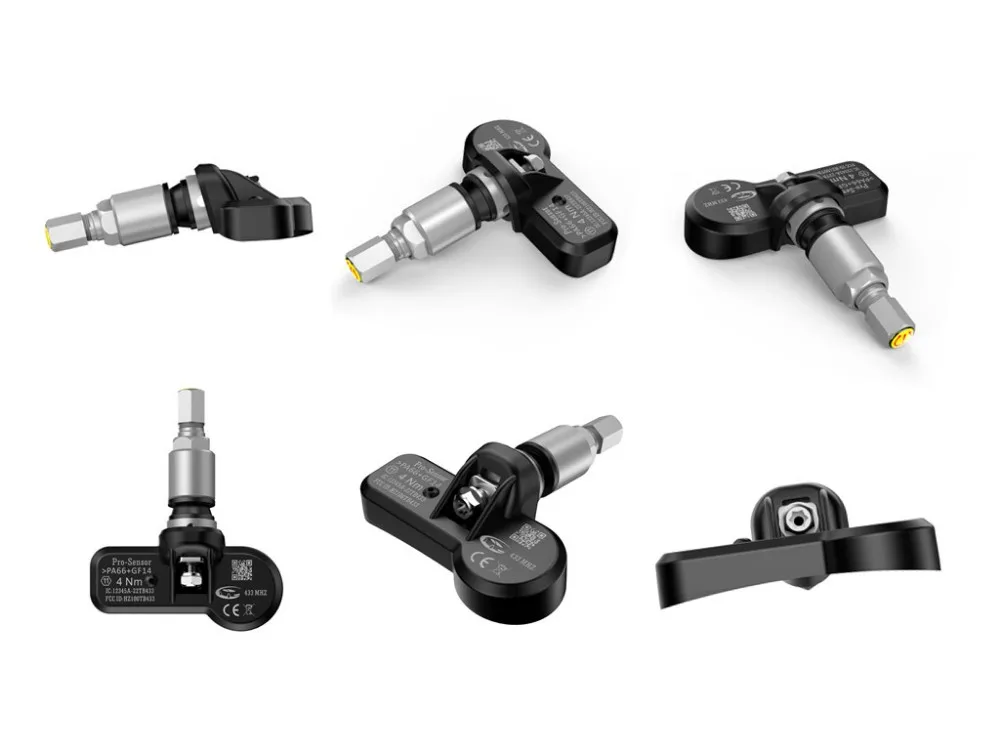
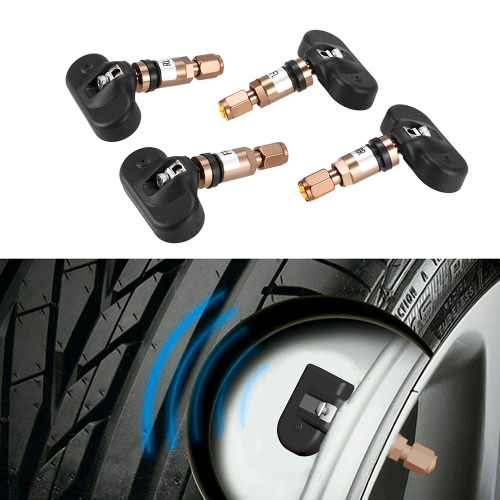
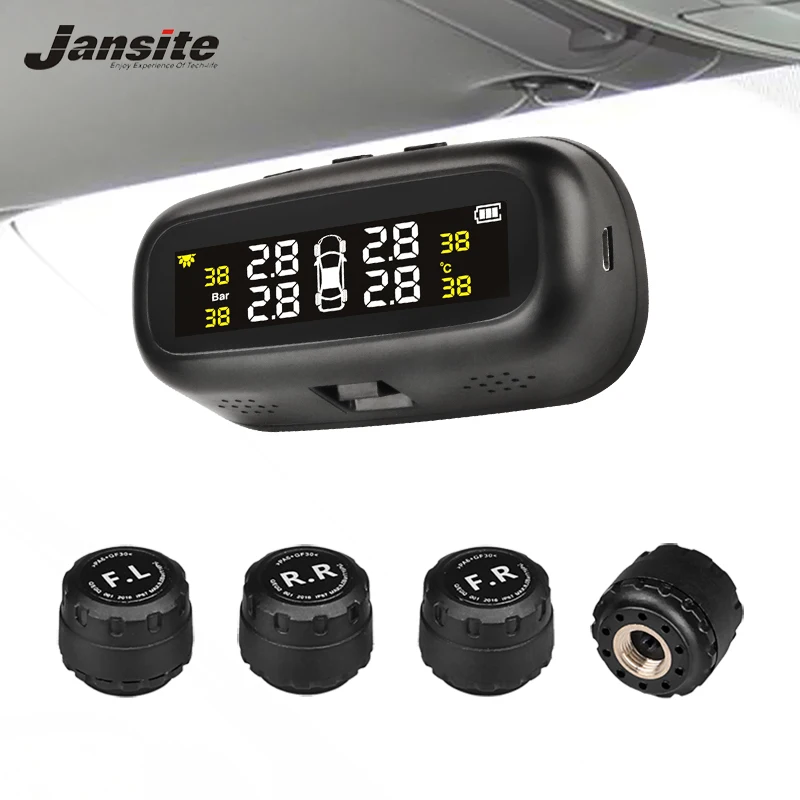
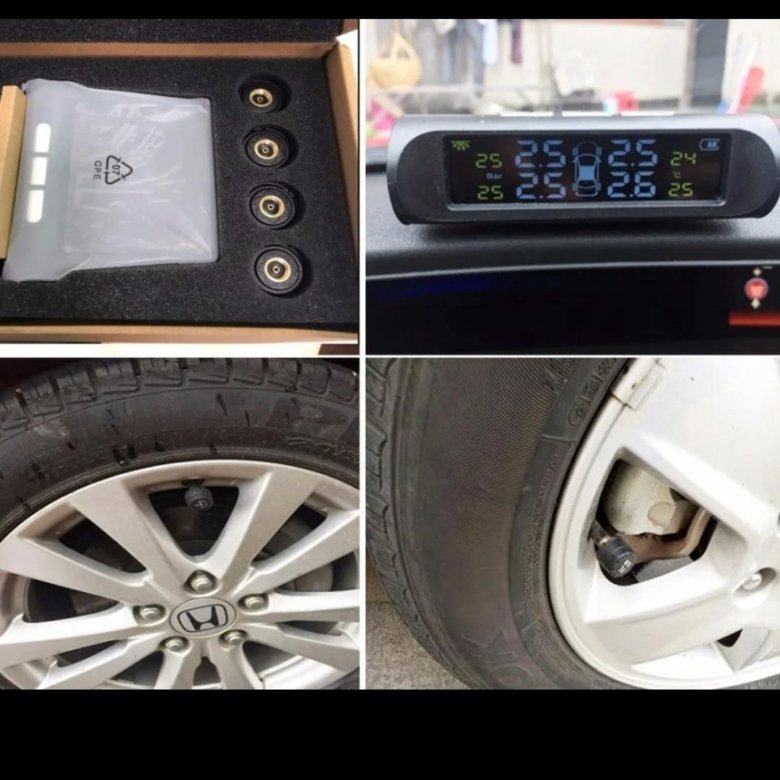
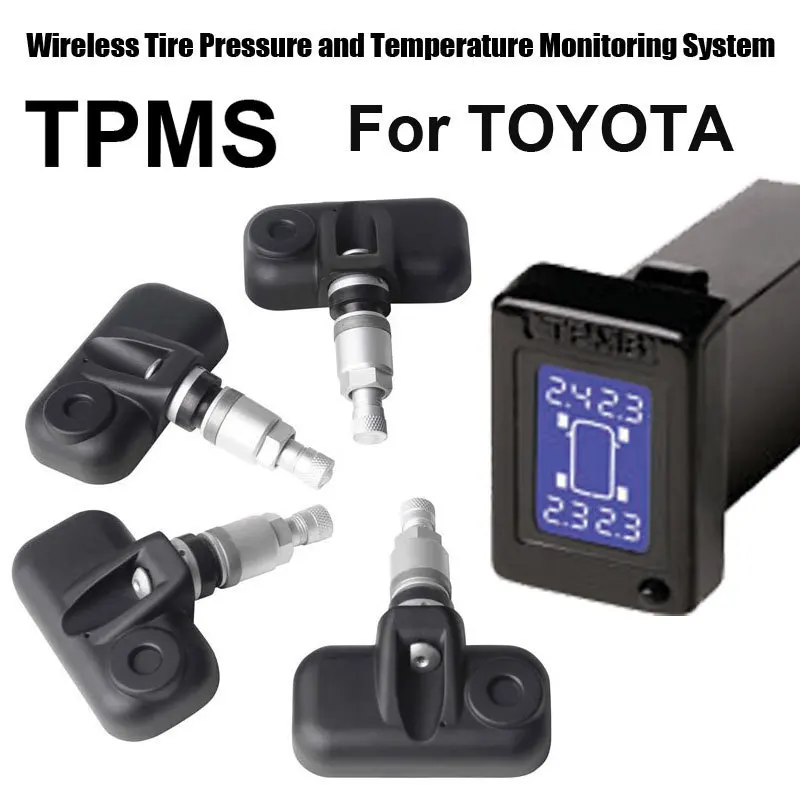
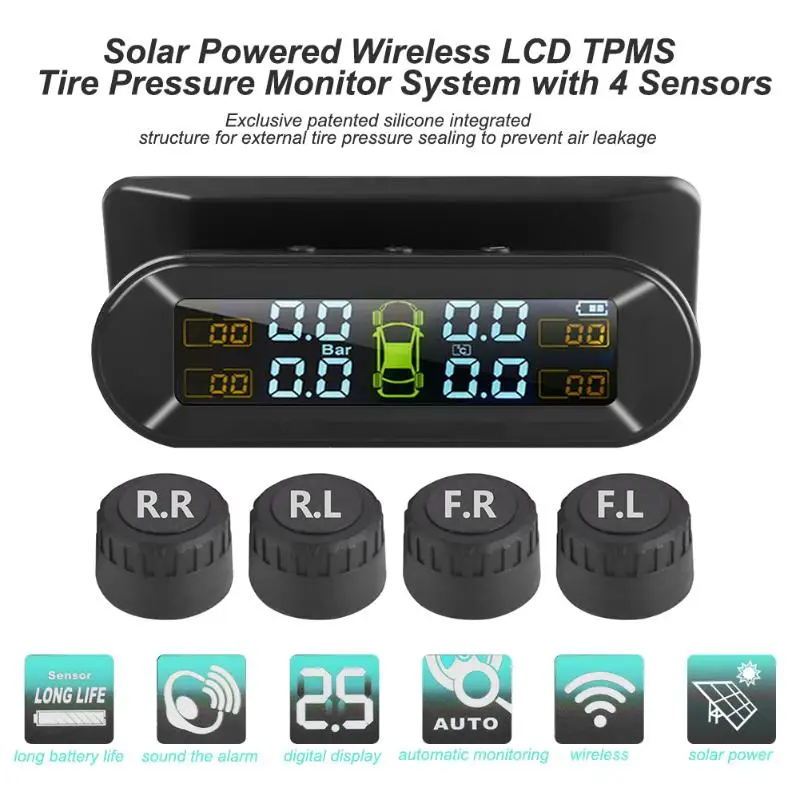
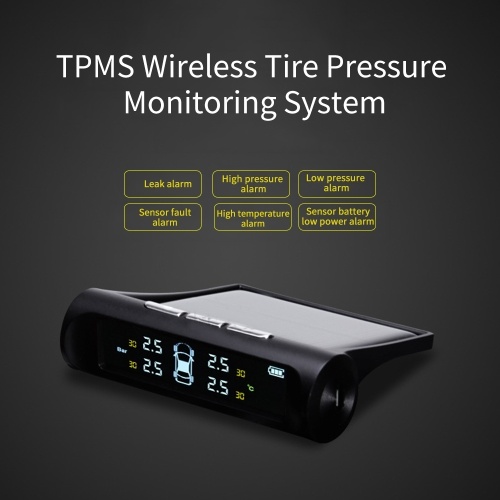
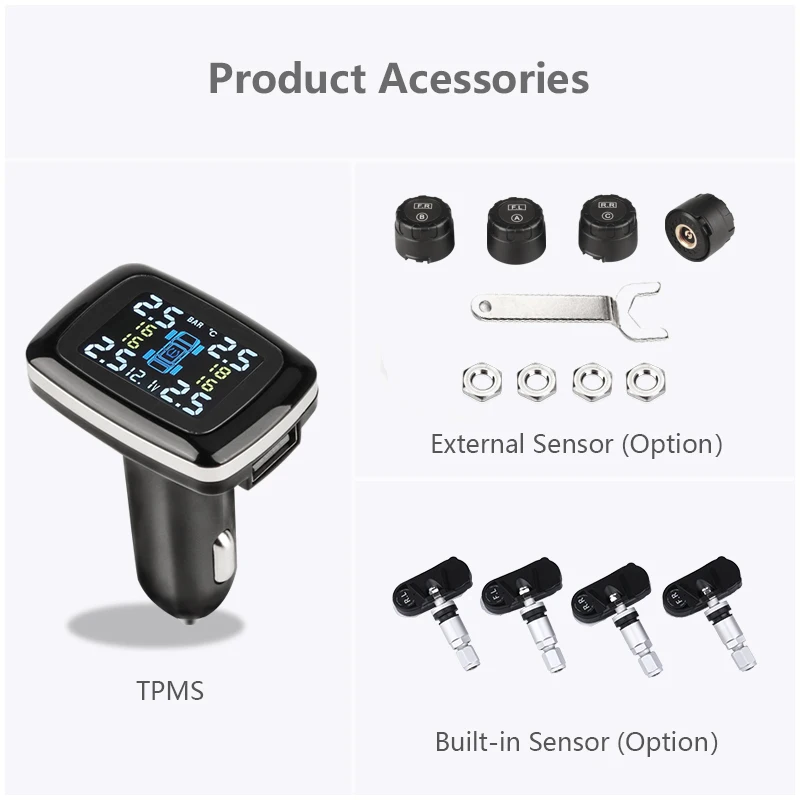
A tire pressure sensor monitor ( TPMS) is a sort of electronic device that is capable of monitoring the air pressure inside pneumatic tires on all vehicles. It usually gives real-time pressure information to the driver through various means.
These means could be a gauge, a pictogram display, or even a very simple low tire air pressure warning light coming on.
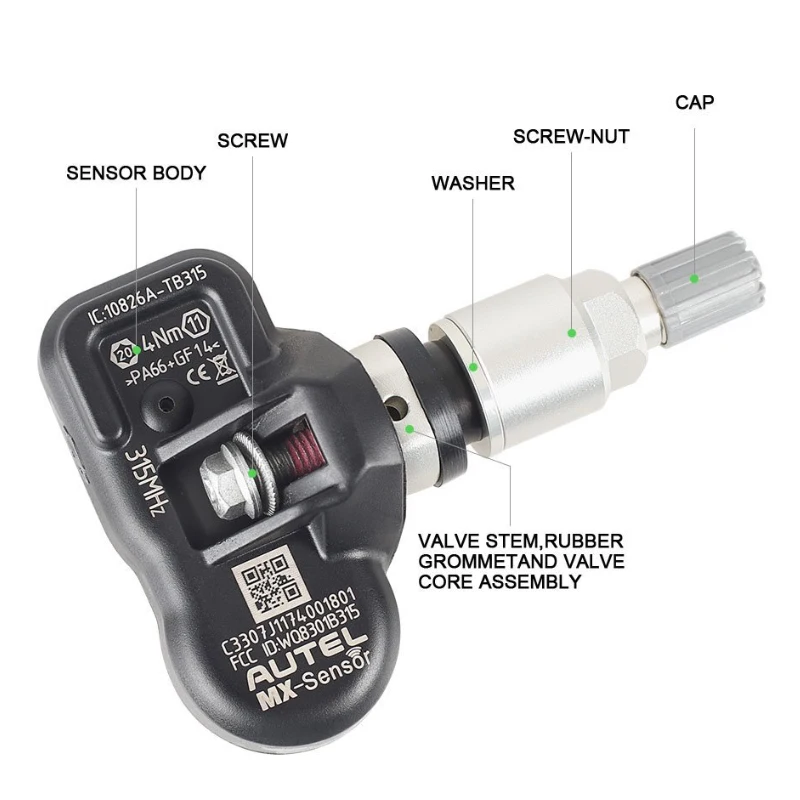
Can Tire Pressure Sensors Leak Air? Certainly tire pressure sensors can and do leak air if conditions permit, such as when you remove a rubber snap-in valve based TPMS, the sensor from a wheel, or replace a tire sensor with an incompatible or new TPMS snap-in valve that is only designed to be used with a TPMS sensor.
Should you, for whatever reason, attempt to reuse the original rubber snap-in valve and its core, air may also leak out of your tire too.
Table Of Contents
Yes, a TPMS can leak air provided the necessary conditions allow it to. For instance, if you replace an old one with a new TPMS snap-in valve meant for use only with a TPMS sensor, air may leak out due mainly to their incompatibility.
Secondly, if you make any attempt to reuse an original rubber snap-in valve and its core, the tire air may also go out. In fact, various kinds of malfunctions can make a tire pressure monitor sensor leak air profusely.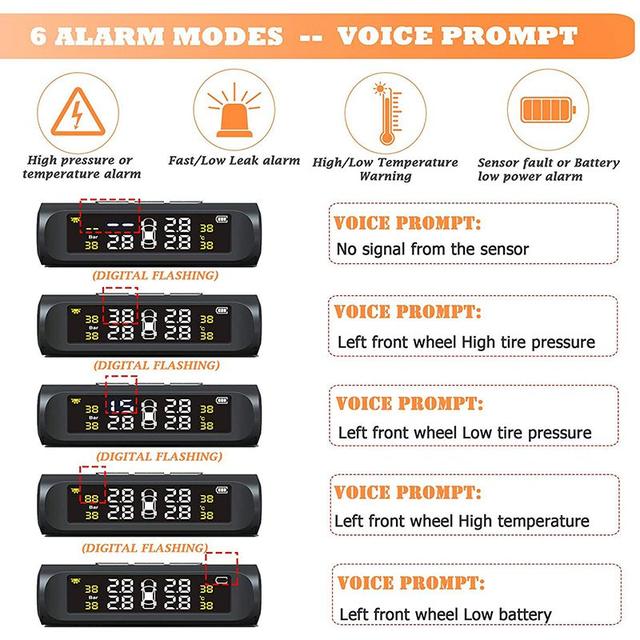
It is indeed easy for you to know whether your tire pressure sensor is bad or not. Sometimes, the TPS warning light may suddenly come on, but after driving for a short while, the light may go off, if everything is fine.
However, if it refuses to go off as it should, and you later discover your tire pressure to be normal after inspection, then obviously you may have a tire pressure sensor malfunction on your hands. Some of the following symptoms diagnose a TPS sensor malfunction or damage :
( 1). Showing low tire air pressure even when they are normal. In other words, giving out a false alarm.
( 2). TPMS warning light illuminates. Sometimes the warning light of the system may come on even when there are no reasons for it to.
( 3). If the device gives out an incorrect warning not related to any tire air pressure conditions, it implies a bad sensor as well.
Furthermore, if the device fails to give you any warning to notify you of a deflated tire, it may be bad. Also, if its warning light does not come on in the presence of a depressurized tire, it is a bad sign too. The sensor can also signal its malfunction if it gives wrong warning signals when nothing is actually the matter with your tires at all.
If your tire pressure sensor is leaking, the first step is to determine the cause of the leak. In some cases, the sensor itself may be faulty and will need to be replaced. However, the leak may also be due to a damaged tire or a faulty valve stem.
If the sensor itself is the cause of the leak, you will need to have it replaced by a professional. Your vehicle’s manufacturer or a tire shop will be able to provide a replacement sensor and install it properly.
Watch this video on YouTube
If the leak is due to a damaged tire or a faulty valve stem, you will need to have the tire repaired or replaced and the valve stem replaced. This should be done by a professional, as improper repairs can cause further damage and safety concerns.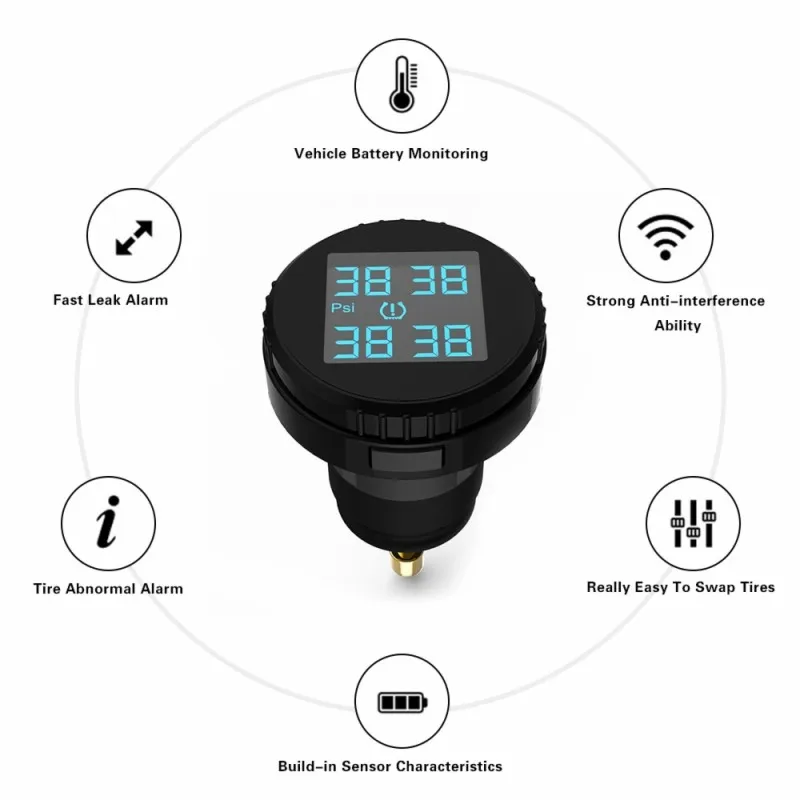
In general, it is important to address a leaking tire pressure sensor as soon as possible to avoid further damage and maintain the safety and performance of your vehicle. A professional mechanic or tire shop will be able to diagnose and repair the problem quickly and effectively.
Trending Searches
It is certainly wrong to drive with a tire pressure sensor fault. This is particularly so when the TPMS light stays on permanently. If the light stays on, it simply means that your tires are under or over-inflated.
This development can cause unnecessary accelerated wear of the tires, which could lead to tire failure or even a sudden blowout. This is agreeably a dangerous situation for both you and other road users as well.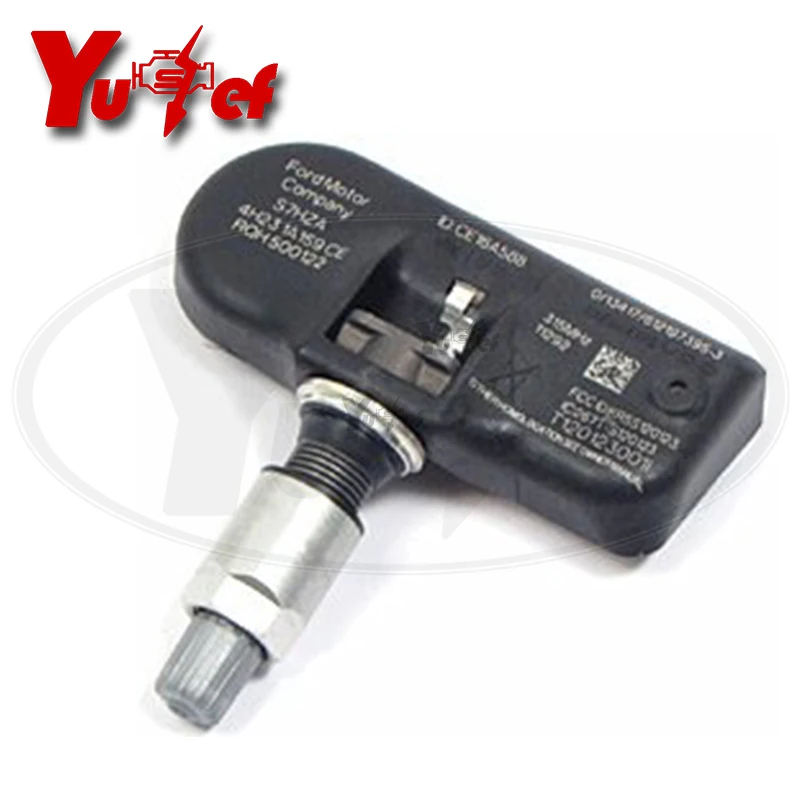
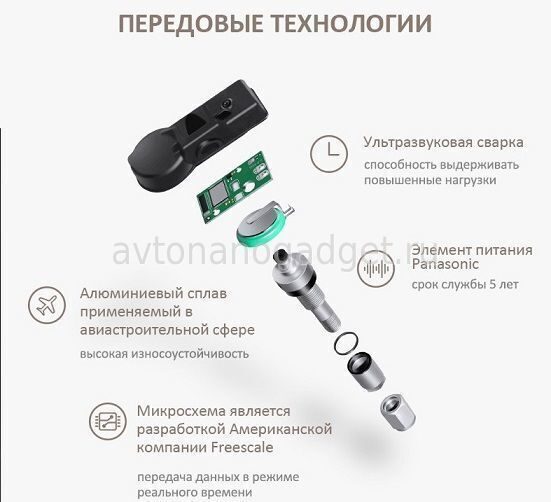
The lifespan of a tire pressure sensor (TPS) can vary depending on several factors, such as the quality of the sensor, the conditions in which the vehicle is driven, and the maintenance and care provided to the sensor. In general, a tire pressure sensor can last for several years before it needs to be replaced.
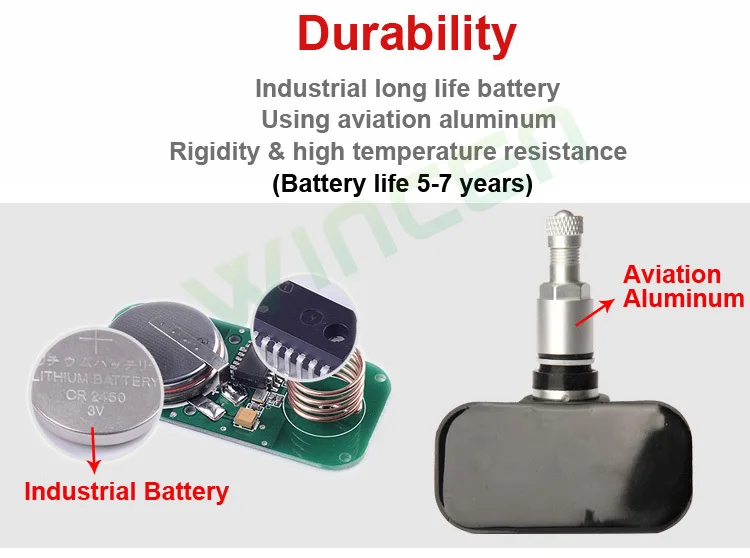
Some tire pressure sensors are designed to last longer than others, and may contain special materials or technologies that help extend their durability. For example, some TPSs are made with high-quality materials that are resistant to wear and tear, and can withstand extreme temperatures and conditions.
In addition, the conditions in which the vehicle is driven can also affect the lifespan of a tire pressure sensor. If the vehicle is regularly driven on rough or uneven roads, for example, the sensor may be subjected to more stress and may need to be replaced more frequently.
Tire pressure sensors use the Lithium-ion battery in most cases, which can last for as long as between 5 to 10 tears, though about 5 to 6 years is their projected safe life span for the older versions of tire pressure sensors.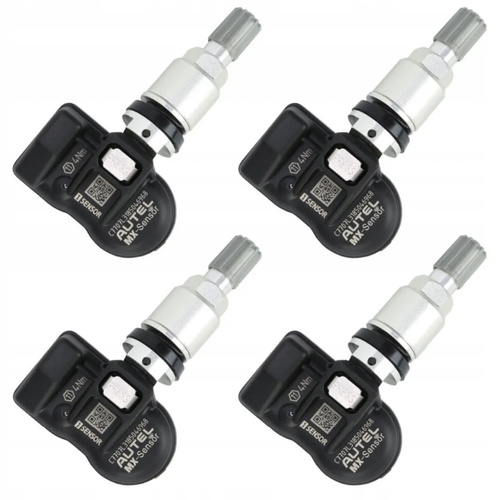
Overall, the lifespan of a tire pressure sensor can vary depending on the specific product and the conditions in which the vehicle is driven. It is typically recommended to have the sensor checked and replaced as needed to ensure the best possible performance and safety of your vehicle.
How do you remove TPMS?To remove a tire pressure monitoring system (TPMS) from your vehicle, you will need to follow these steps:
 Use the TPMS tool or socket wrench to tighten the sensors securely in place.
By following these steps, you can remove and replace a TPMS from your vehicle quickly and easily. It is important to follow the instructions provided with the TPMS and to use the proper tools and techniques to avoid damaging the sensors or the wheels.
How do you fix a TPMS sensor without replacing it?If your tire pressure monitoring system (TPMS) sensor is not functioning properly, you may be able to fix it without replacing it. Here are a few potential solutions:
 If the battery is dead or low, the sensor may not function properly. In this case, you may be able to replace the battery and restore the sensor’s functionality.
In general, it is often more effective and cost-efficient to replace a faulty TPMS sensor rather than trying to repair it. However, if you are able to diagnose and fix the problem without replacing the sensor, it may be possible to restore its functionality without incurring the cost of
No, you cannot.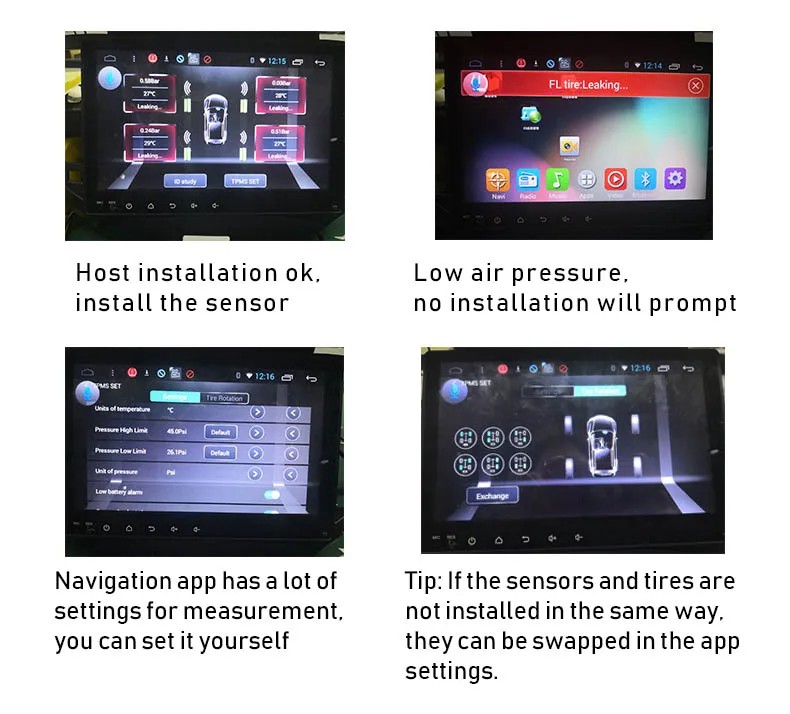 If you replace a TPS sensor with a regular or conventional valve stem, it is an avenue given for your tires to leak air. In other words, the TPS is not compatible with a regular valve stem. Simple.
A tire pressure sensor should be replaced whenever it begins to leak air unnecessarily. It is also due for replacement when it gives false alarms and generally functions in ways that are simply unusual or not normal.
Does Walmart install TPS?Of course, Walmart installs tires. In fact, Walmart offers all kinds of basic tire services including a road hazard protection warranty as well. At Walmart, valve stems or TPMS service installation cost only about 3 dollars for each tire. In reality, Walmart installs tire valve stems even on cars that do not have the TPMS.
Can Walmart program TPMS sensors?Definitely, Walmart programs TPMS sensors. A sensor can relearn itself while just driving for a few miles only if you have the original TPMS on the wheel.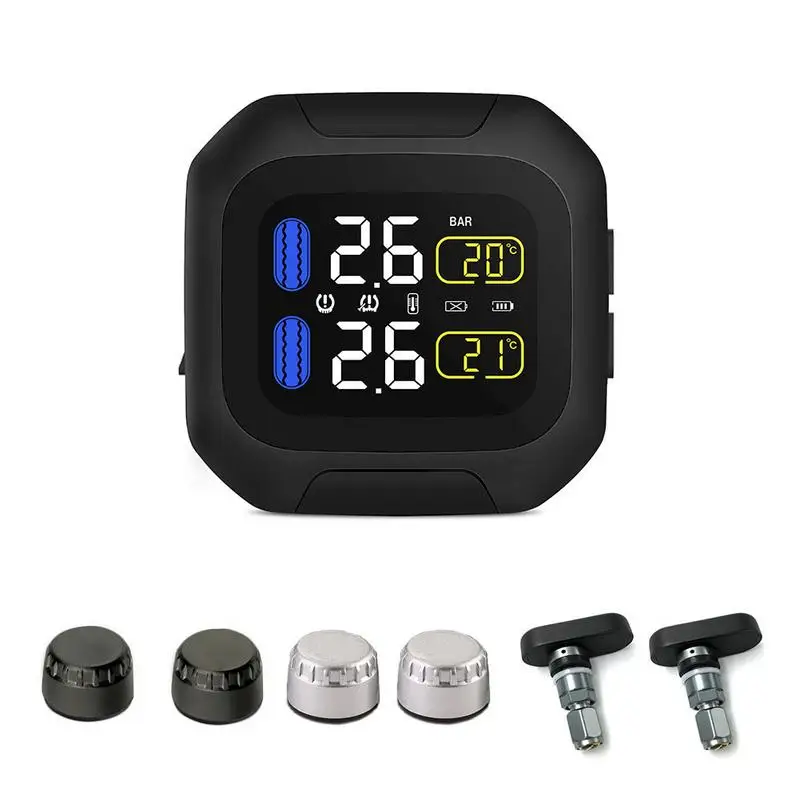
However, you should make sure that your tires have sufficient air based on how many PSI is on the sticker on the driver’s door.
A new TPMS sensor has got to be reset with a special tool. All valve stems issued from the aftermarket TPMS sensors that come as programmable, universal, or clone-able sensor units, can be reprogrammed.
However, these sensors must be programmed using the proper protocol or application details for the vehicle before they can be installed.
Will Walmart installs the tires you bring in?Yes, Walmart will install tires you bring in, provided such tires are bought at any Walmart store with a Tire and Lube Express. You can have recommended tires installed at Walmart even though the cost of doing so may vary from place to place.
To get this done without any delay, simply print a copy of your order confirmation page or email, and bring the same when you pick up your tires. This will definitely give you a faster in-store service always.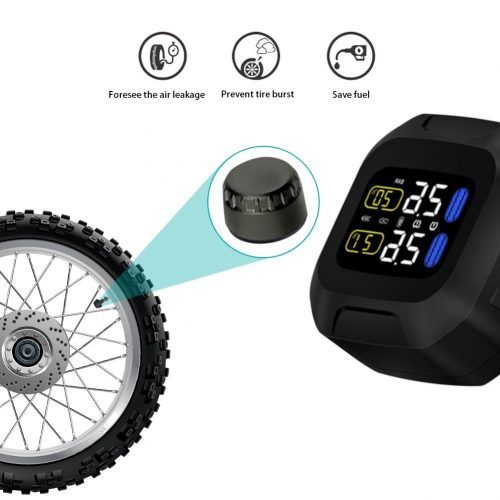
Yes, TPMS, as the latest technology in proper tire use and maintenance is more than worth it, if I may say. In addition, the good news is that you really do not have to replace all 4 tires with TPMS if only about 1 or 2 are faulty.
This has the tendency to reduce the overall expenses or costs of any replacements. So, yes, TPMS is certainly worth it.
Do I need to replace TPMS when replacing tires?This depends on a lot of things really. Notably, most experts recommend that you should service your TPMS after changing or installing new tires or wheels by just replacing their valve cores, while at the same time retaining their nut seals and caps on the valve stems.
After all, these, test the system in order to make sure that everything is just fine. Many direct systems are known to display the actual air pressure in each tire.
So, essentially, you may not really have to change the entire TPMS whenever you are changing tires since you have the option of changing only their valve cores while retaining the nut seals and caps of the valve stems.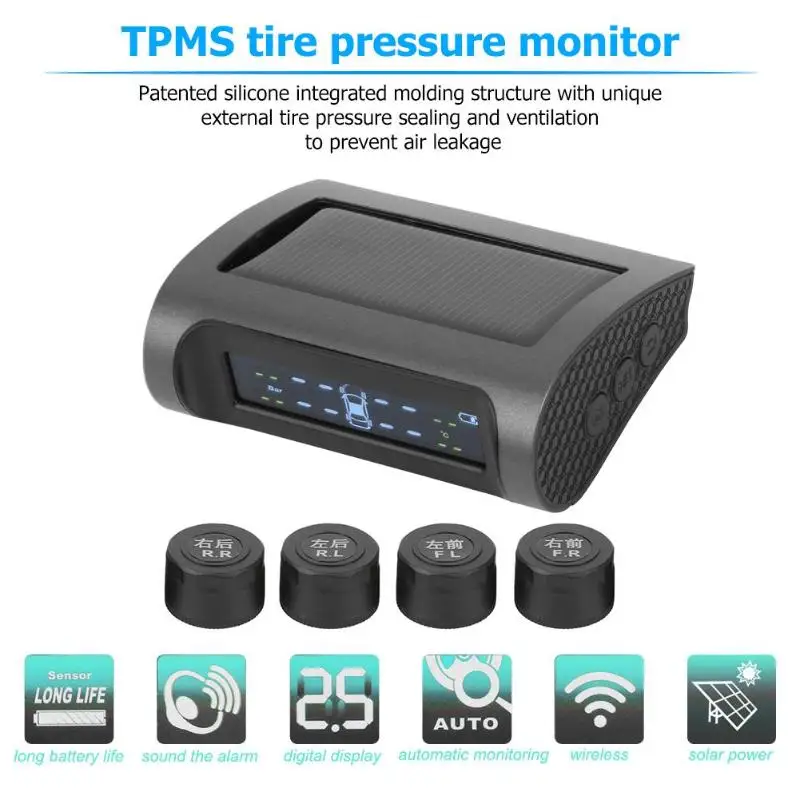
The cost of TPMS service and replacement varies from one auto shop to another. However, for most auto specialists, the cost starts from about 40 to 100 dollars for each sensor.
This will ultimately give you about 160 and 500 dollars for a set of 4 sensors. In reality, it costs close to 30 or 70 dollars including the labor of installation.
A careful online search will likely reveal some of the most reliable auto shops nearest to you that can do it well.
How long can you drive with a TPMS light on?Generally, your TPMS light is supposed to come on whenever there is something the matter with your tires or their accessories. However, sometimes the lights can come on even when there are no complaints.
But whenever this happens, under normal circumstances, the lights will go off after you have driven for just a short while only, if all is well with your tires.
If they fail to automatically go off on their own even after driving for about ten miles, there may really be the need to get them to reset according to the producer’s accompanying manual.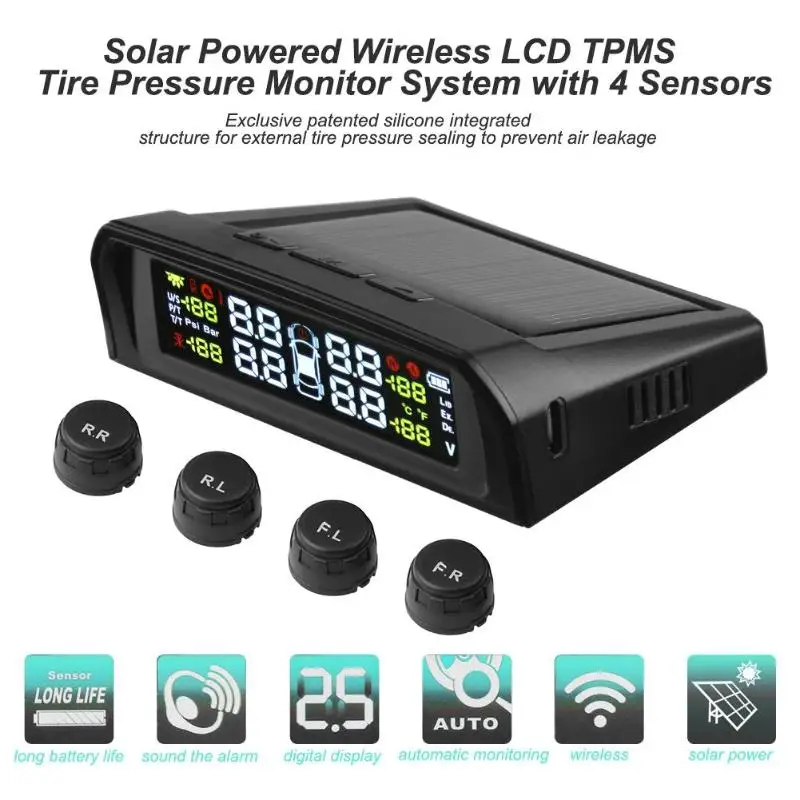
It is commonly said, and rightly too, that those vehicle tires are actually the next best thing in the vehicle after its engine.
In fact, it may not be out of place to place them side by side in importance. After all, none of them is useful without the other.
There is no gainsaying therefore that, our vehicle tires need and deserve any attention we give them.
First, make sure that your tires are normally inflated. This means that they must not be either under or over-inflated by putting in the correct tire PSI recommended by the manufacturers.
Always make sure that you check your tires regularly while looking for anomalies or any odd changes. Furthermore, refrain from parking your vehicle in sunny environments by making sure that you park only under shaded trees or in roofed garages.
Check for signs of any abnormal or accelerated tire wear and tear. Doing this on regular basis will also enable you to discover any potential problems with other vehicle components, such as the wheel bearing, for instance.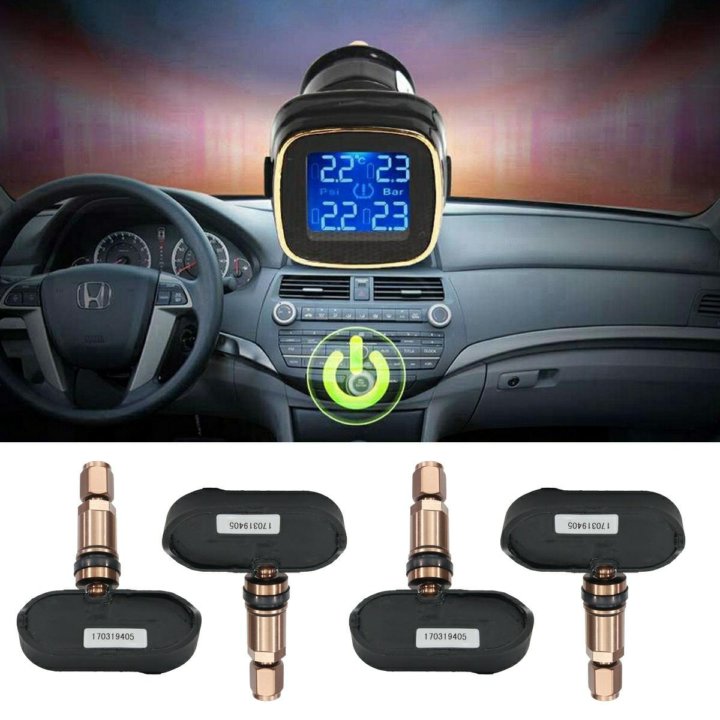
Drive very carefully and apply the brakes properly too. Whenever you are cleaning or washing your vehicle tires, use only those cleaning agents recommended by the manufacturers.
In addition, do not use tire shiners that are either injurious or corrosive to rubber or plastics.
Part of driving carefully and using your tires properly include being careful always in order to avoid hitting potholes or other obstacles that may be present on the roads.
If you maintain this stance, your tires will not be as threatened as when you don’t, regardless of the terrain or nature of the roads you commonly ply. Make sure that you always refer your tires to qualified tire specialists for all your tire issues or complaints.
The TPMS is indeed an innovation that is like no other when it comes to tire maintenance. It is primarily designed to warn or alert you whenever there is something the matter with your tires.
Because of the indispensable role it plays in effective tire maintenance, you are not at all advised to ignore it whenever its warning light is showing.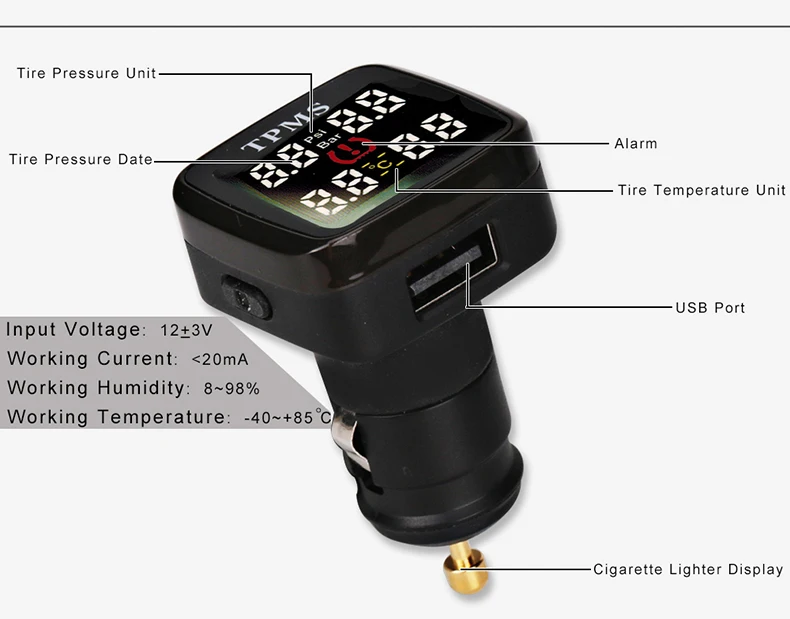 Â
Â
The moment you notice that its light is up, park at a safe place and inspect the tires very carefully.
You may really have the best of high-quality tires, but if your maintenance culture is poor, they may not be in your service for as long as they should or even as efficiently.
Whenever their parts or other accessories are not compatible, refrain from swapping them for fear of taking unnecessary risks.
In this installment of RV Mishaps, we learn what to do when your TPMS ends up causing—instead of detecting—an issue with your tires.
By Lindsey Chambers
Photo: Lindsey ChambersWelcome to RV Mishaps, a content series written by RVers about problems they’ve encountered on the road, how they solved them, and lessons learned. Have a mishap story of your own that you’d like to tell? Send us an email at editorial@togorv.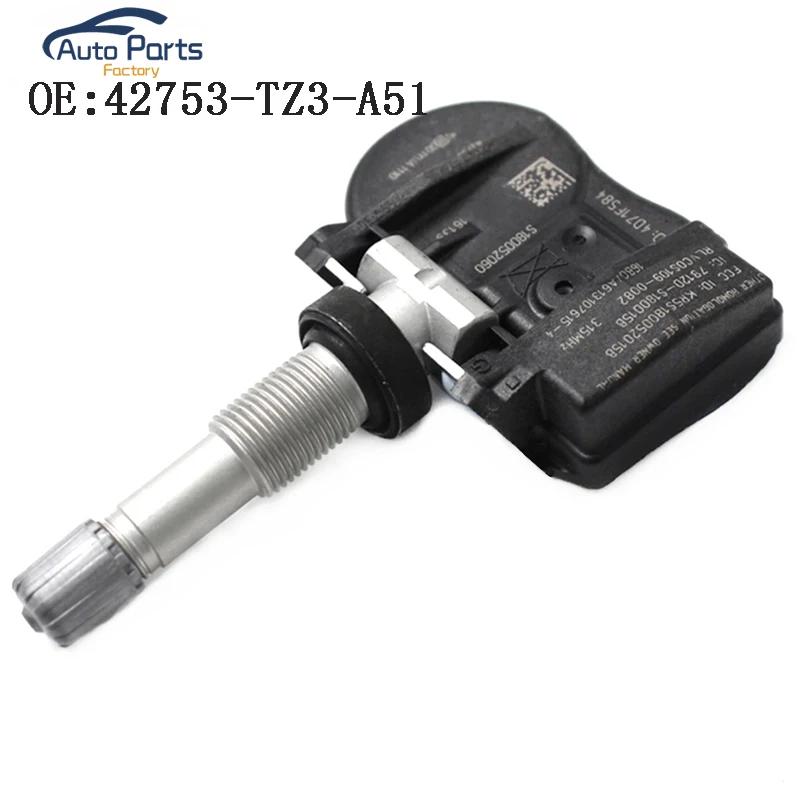 com.
com.
My husband and I spent most of 2018 planning for a new life on the road, watching YouTube videos, listening to podcasts, and reading books to learn everything we could about full-time RV life. We learned that safety is of the utmost importance and that tire blowouts are one of the most common causes of accidents. According to the National Highway Traffic Safety Administration, tire blowouts cause over 75,000 accidents each year and can be both a damaging and terrifying experience. The cause for most tire blowouts? Underinflated tires.
Related
To avoid this situation, we invested in a tire pressure monitoring system, also known as TPMS. A TPMS alerts drivers of any tire inflation issues. Most basic systems will alert when the tire pressure is low, while more high-end systems also alert for high temperatures, high pressure, and fast leakage. TPMS for travel trailers can range from $250 to more than $650, and while not inexpensive, they’re worth the investment.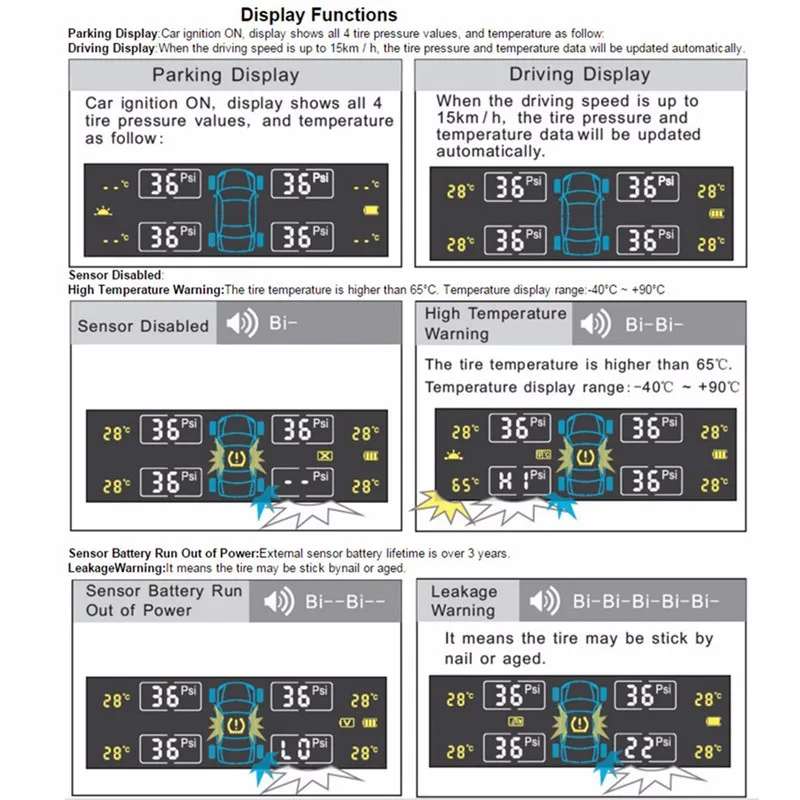
Before driving off the lot with our new Airstream travel trailer in 2019, the dealership installed a TST 507 Series 4 Sensor TPMS with Color Display. The kit came with four small sensors that were added to the existing RV tire rubber stem valves and a monitor positioned nicely on our tow vehicle’s front console. The TST system has proven effective and reliable, and even offers flow-through sensors—meaning that it’s possible to add or remove air from the tires without removing the sensors.
After 14 months on the road and thousands of miles under our belts, we were ready to make our third trip across the country. We felt confident and pleased with our TPMS—it had come in handy a few times over the year, alerting us when the tire temperature was creeping up or if the pressure was a bit too low.
After a few nights of boondocking, we wanted hookups and amenities and found a site at Jordanelle State Park in Utah. As we pulled into our spot, the TPMS alarm went off, showing a slow leak coming from the rear driver’s side trailer tire.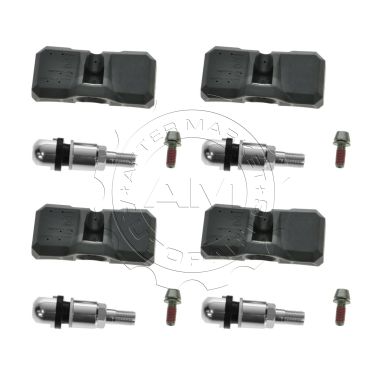 Luckily, we were settled for the week and not boondocking or driving. We assumed the leak was caused by a hole from a nail or another sharp object. Upon inspection, we noticed a hissing sound coming from the valve stem, which showed cracks and was leaking where the stem meets the tire.
During the initial search for a TPMS, we bought one that was compatible with both rubber and metal valve stems. Because metal valve stems can sometimes snap more easily, we opted to keep the standard factory rubber valve stem on our tires. What we didn’t know was that the centrifugal force of the sensor can cause the more flexible rubber stem to slowly fail over time.
Photo: Lindsey ChambersPhoto: Lindsey ChambersRelated
We considered ourselves lucky that we were in a convenient and safe location, as well as experiencing temperate weather. We were also grateful for our CoachNet roadside assistance membership. The membership covered the service call fee and our Airstream warranty covered the cost of the tire replacement.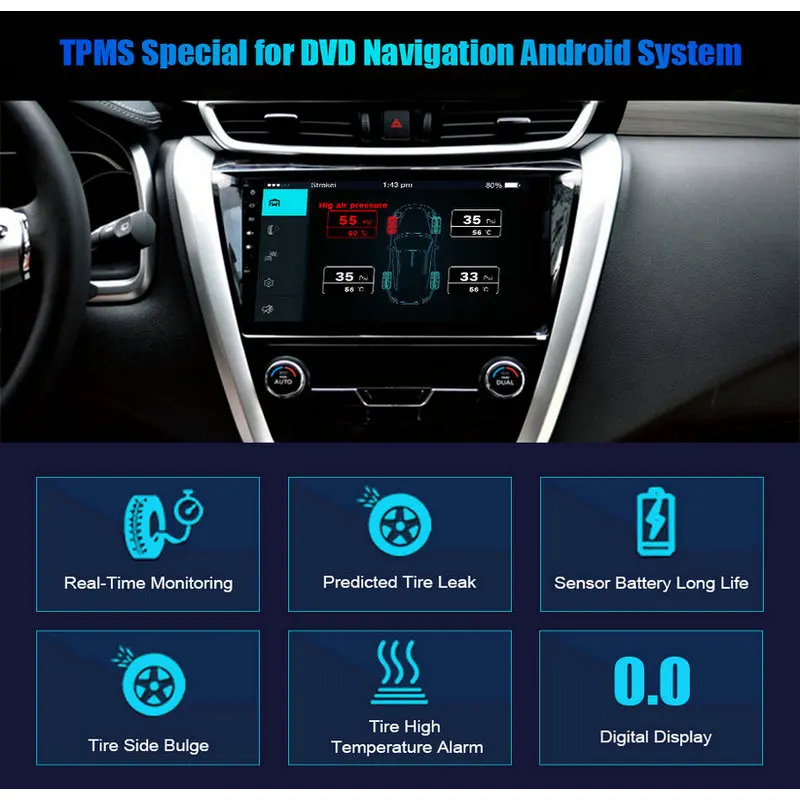 We simply called CoachNet that evening and they worked with a local tire repair service center to send someone to the campground. The technician was at our site the next morning to replace the rubber stem valve, and we were thrilled we didn’t need to be towed to a tire center.
After inspecting the failed valve stem and reading Airstream and TPMS forums, we self-inspected the valve stems on the other three tires and found that two of them were also failing. We made the decision to have all four rubber valve stems replaced with metal valve stems.
Related
While tire safety is not the most glamorous aspect of RVing, it’s definitely one of the most essential. In addition to our TPMS, here are a few tactics we use to avoid a tire mishap:
Invest in a compressor to easily fill your tires from anywhere on the road. One popular option is the Viair 00088 88P Portable Air Compressor.
Disclaimer: Togo RV is part of a joint venture, partially owned by Thor Industries, Inc., of which Airstream is a subsidiary.
This article has links to products that were carefully selected by our editors. We may earn commission on your purchases from these links. Visit this page for the full details of our affiliate marketing policy.
Disconnect the wires connected to the pressure switch by unplugging the wire connectors from the switch terminals. Install a multimeter to test resistance (ohms).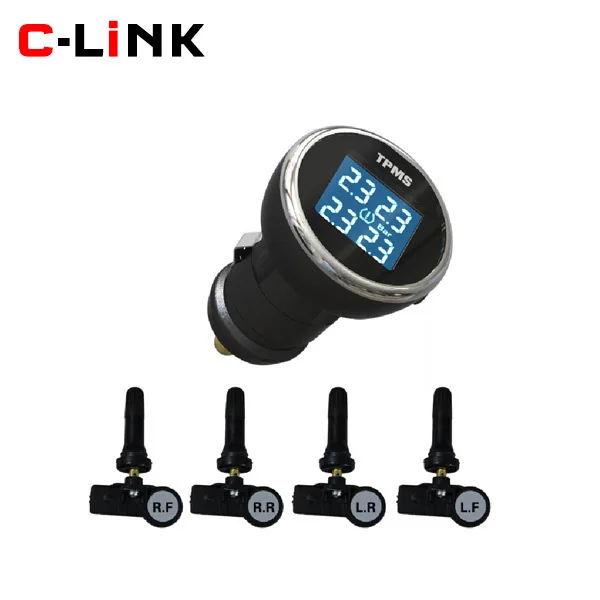 Touch each tester probe to one of the switch terminals. The tester should read 0 or close to 0 (indicating no resistance).
Whenever the oil level is OK but the sensor shows zero, it means that the oil pressure sensor needs to be replaced because it is faulty or there is some connection problem.
A faulty oil pressure sensor can cause your vehicle to leak oil. Oil pressure sensors are connected to the oil supply units. Therefore, they may leak. If your car's oil pressure sensor is leaking oil, you should replace it as soon as possible. nine0005
This could mean that one or more tires have insufficient air pressure. If you have already confirmed that this is not a problem, it could mean that the problem is with the TPMS sensor.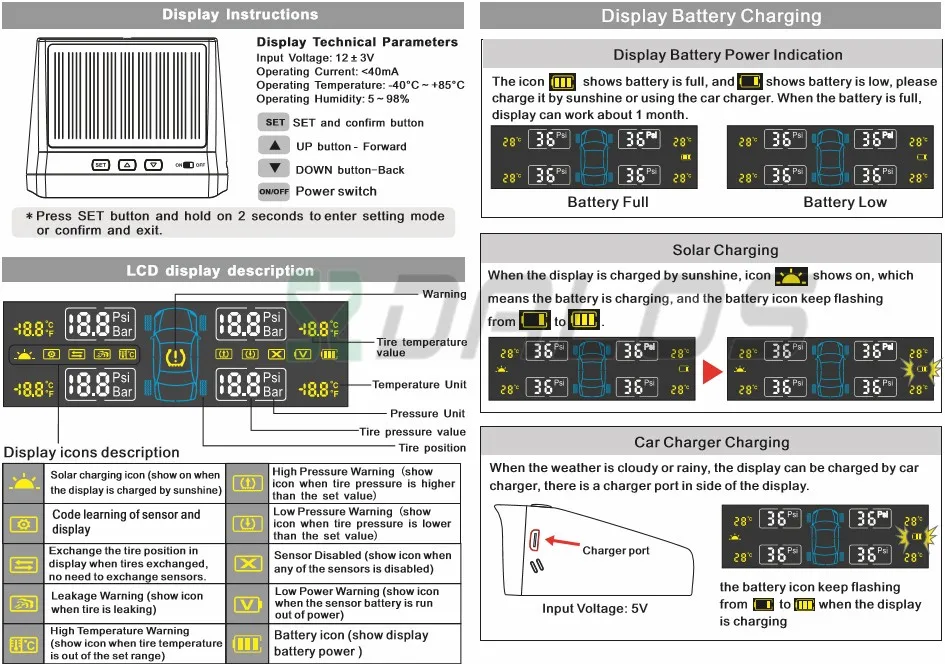
Replacing the oil pressure sensor is on the plastic side so all you have to do is pop it back in, tighten it up and then done. Of course, you tighten it with your vise. nine0005
Dodge Nitro Oil Pressure Sensor Replacement | Fix It Friday - Then click the clip. And you take it out and there's a little bit of rust and corrosion from years of living in salt water if you're in salt water. Regions. At this point, you can get to the sensor.
A faulty oil pressure switch or oil pressure switch may falsely signal low oil pressure, causing the oil pressure warning light to come on. nine0005
Oil pressure sensor normally closed. When the ignition is switched on, the oil pressure warning lamp comes on.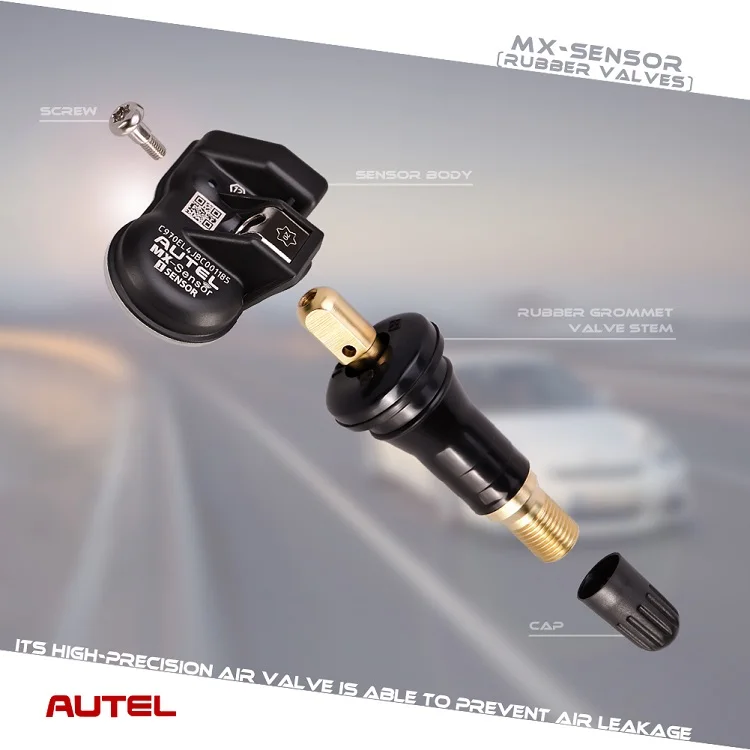 When the oil pressure rises when the engine is started, the switch contact in the oil pressure switch opens and the test lamp ground contact is interrupted. The signal lamp goes out.
You may notice that the needle on the pressure gauge is stuck at one end or that the pressure gauge is intermittent. One common symptom of a bad oil pressure sensor or switch is a burning oil pressure warning light.
Switch on the ignition. Press and hold the TPMS setting switch and check that the TPMS warning lamp in the instrument cluster flashes twice and beeps once. nine0005
Add comment
Ushak wrote (A)
During the repair of the GBC, the Nagar was added with a solution of 647.
Annet wrote (a)
dumb salts
Kawaii wrote
hello! I have such a problem - I pour antifreeze into the expansion tank more than the minimum by 3 cm.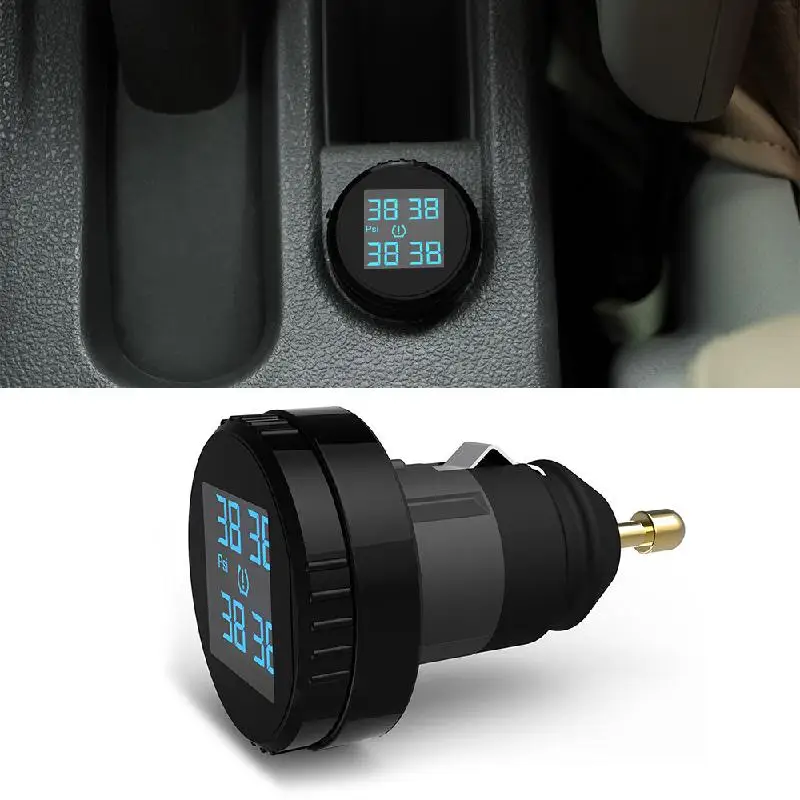 After driving, it goes to the minimum, is this normal?
Alimbek wrote
The pressure depends on: the viscosity of the oil, the oil pump, the density of all connections, including gaskets, crankshaft oil seals, the health of the breather, the cleanliness of the oil intake (filter), the wear of the rings and sleeve.
Jamshed Khlopchur wrote
The car is in such a state!
One wrote
Well done, you said everything correctly! I will add - we change the valve - and wash the valve cover at least once every 50 thousand with special diligence - so that the oil separator shines - preferably with disassembly, even if there is a non-separable structure. nine0005
Dmitrik wrote
Activation of all car brands for all Launch adapters (Easydiag, Idiag, Golo, M-Diag...). Offline method (1000 rubles) - this is me preparing the most recent and proven brands for your adapter, the brands are made for firmware in order to avoid mistakes.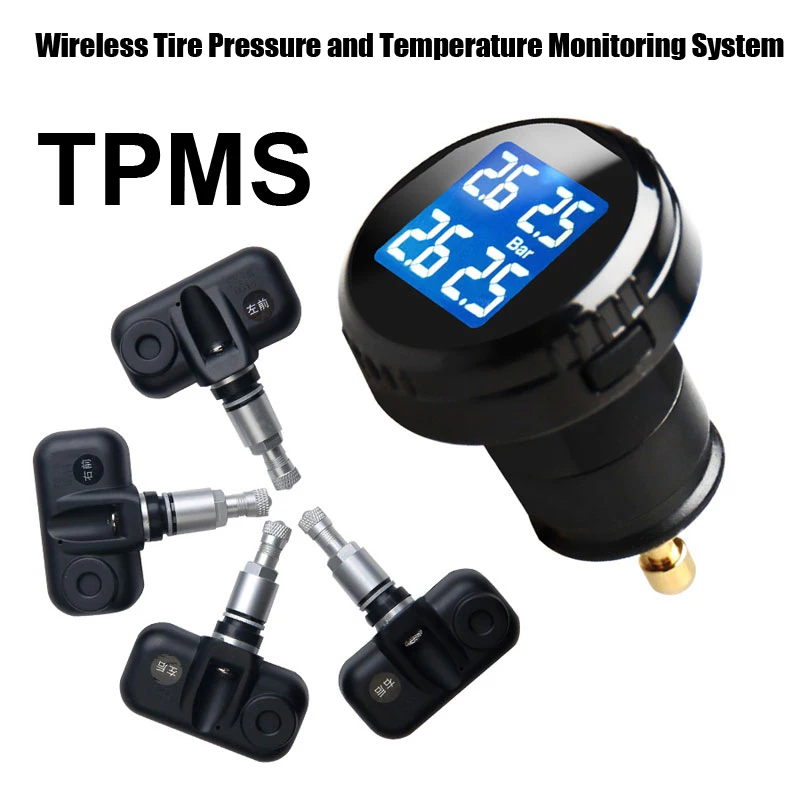 You get a ready-made working folder with all the brands and Resets, you just have to download the folder from the Cloud to your computer, unzip it and drop it into your android device and run it. Online (online for three days) download of all cars on an android device, without updates. You use those versions of the Software that were on the day of downloading from the official server. They will work without restrictions. Everything is like in the X431 PRO version…adaptation, training and so on. Online activation for 1 year, with the ability to download programs of different versions and updates, as in the original program (after a year, all brands will remain and will work in full functionality, but there will be no access to updates). Everything works, as in the X431PRO version ... adaptations, training, and so on. You can use the program at least on how many android devices! The most important thing is never to connect the adapter to a car with the Easydiag program, you will lock your adapter.
 Write to mail 30631 Viber
Mirozhin Bruce wrote
There are a lot of servicemen ..., they filled you with oil. When cold, the oil is even thicker and the pump seizes the oil even more or less, but as the current becomes hot, the oil is already liquid and the oil pump no longer seizes the oil properly. The oil itself is ATF, DEXTRON, etc. are divided into mineral, synthetic and semi-synthetic. They didn’t fill you with oil according to the automatic transmission type ... At the end of the video, as a result, you changed everything up to the oil and the paradox - everything became OK! nine0005
Ross wrote
This sludge will now only wash out Dimexide. And then for a couple of visits. And it is useless to use simple washings there
Emmanuil wrote
super video! Well done
Barrick wrote
hello tell me the regulator from which car??
Vesta. Alteration of aerodynamic shields.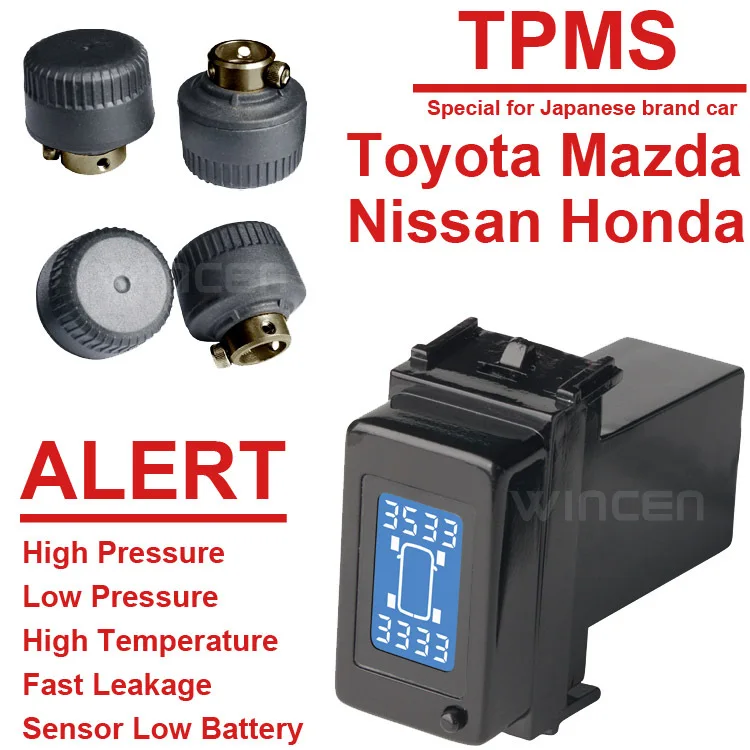
Why floating idle Hyundai Solaris - Kia Rio
Replacing the oil pressure sensor in Corolle
Mitsubishi and Ford Collision
New oil pump for Pajero II 6g72 (12valve) from HYUNDAI. General
Do-it-yourself oil and filter change. 1.3 CDTI diesel.
QG18-267804A
Alfa 147 JTD Black Smoke EGR MAP sensor removal clean diesel fuel injectors
Rescue operation. SUZUKI GRAND VITARA
Oil pressure sensor replacement Prior VAZ 2170
Oil level sensor Opel Combo 1.3 cdti Z13DTJ.
Timing chain tensioner Toyota Sequoia Tundra Lexus LX 570 Cruiser
RAD-G ™
Religious finger sensor
RAD-G ™
Religious finger sensor
Fig. : 2 : 2
|
Instruction
reusable reusable0071 Not made with natural rubber latex
Non-sterile
Before using this transducer, the user must read and understand the Instruction Manual for the device or monitor and these Instructions for Use.
Rad-G™ Reusable Sensors are designed for non-invasive spot checks of functional arterial hemoglobin oxygen saturation (SpO2) and pulse rate (measured by the SpO2 sensor) for use in adults, children, and infants in both rest and motion . conditions, as well as for patients with good or poor perfusion in hospitals, hospital-type facilities, mobile and home settings. nine0005
Rad-G Reusable Probes are contraindicated for use on mobile patients or for extended periods of use. They are not intended for long-term observation. They must be removed and moved to another monitoring site at least every four (4) hours. Because individual skin conditions and perfusion levels affect the site's ability to tolerate transducer placement, more frequent transducer repositioning may be required.
Rad-G Reusable Sensors are for use only with Rad-G devices containing Masimo SET® Oximetry and licensed to use Rad-G Sensors.
The Rad-G sensor is only compatible with the Rad-G device.
Rad-G sensors have been tested using Masimo SET oximetry technology.
WARNING: Masimo probes and cables are designed for use with devices containing Masimo SET oximetry or licensed to use Masimo probes. nine0005
 Never use a damaged sensor or a sensor with exposed circuitry. nine0218
 If the sensor is exposed to radiation, readings may be inaccurate or not available during active radiation. nine0218
A) Site selection
CAUTION: Before using the sensor, check that the sensor is not physically damaged, has no broken or frayed wires, or damaged parts.
Preferred Site by Weight Range
B) Connecting the sensor to the device
C) Connecting the probe to the patient
 1. Orient the cable away from the sensor location. Open the sensor by pressing on the sensor recesses.
 NOTE: The Sensor is not designed to be used over a child's arm or leg.
D) Removing the probe from the patient
E) Disconnecting the sensor from the device
NOTE: Pull on the sensor connector, not the cable, to avoid damage.
CLEANING
To clean the transducer:
The surfaces of the reusable Rad-G sensor have been tested for chemical resistance to the following solution(s): glutaraldehyde, quaternary ammonium chloride, 10% bleach (sodium hypochlorite) in 90% aqueous solution, 70% isopropyl alcohol.
CAUTIONS

When used with Masimo SET pulse oximetry monitors or licensed Masimo SET pulse oximetry modules, reusable Rad-G sensors have the following specifications:
| 90067 | 5 beats per minute | 5 beats per minute | |
| Pulse accuracy, low perfusion | 3 shots per minute | 3 beats per minute | 9,000 90,000 90,000 |
 from 70% to 100%. nine0005
 This sensor is for use only with Rad-G devices containing Masimo SET technology. Each sensor is designed to work properly only with pulse oximetry systems from the original device manufacturer. Using this sensor with other devices may result in disconnection or malfunction.
Masimo warrants to the original purchaser only that these products, when used in accordance with the instructions provided by Masimo with the products, will be free from defects in materials and workmanship for a period of six (6) months. Disposable products are warranted for one patient only. nine0071 THE FOREGOING IS THE SOLE AND EXCLUSIVE WARRANTY APPLICABLE TO PRODUCTS SOLD BY MASIMO TO PURCHASERS. MASIMO EXPRESSLY DISCLAIMS ALL OTHER ORAL, EXPRESS OR IMPLIED WARRANTIES, INCLUDING WITHOUT LIMITATION ANY WARRANTY OF MERCHANTABILITY OR FITNESS FOR A PARTICULAR PURPOSE. MASIMO'S SOLE OBLIGATION AND PURCHASER'S SOLE REMEDY FOR BREACH OF ANY WARRANTY SHALL BE MASIMO'S DEFAULT TO REPAIR OR REPLACE THE PRODUCT.
This warranty does not apply to any product that has not been used in accordance with the instructions for use that accompanies the product, or has been subjected to misuse, neglect, accident, or external damage. This warranty does not apply to any product that has been connected to any unauthorized device or system, has been modified, or has been disassembled or reassembled. This warranty does not cover transducers or patient cables that have been remanufactured, remanufactured or remanufactured. nine0071 IN NO EVENT SHALL MASIMO BE LIABLE TO THE PURCHASER OR TO ANY OTHER PERSON FOR ANY INCIDENTAL, INDIRECT, SPECIAL OR CONSEQUENTIAL DAMAGES (INCLUDING WITHOUT LIMITATION LOSS PROFITS) IN NO EVENT SHALL MASIMO'S LIABILITY ARISING FROM ANY PRODUCTS SOLD TO THE PURCHASER (WHETHER UNDER CONTRACT, WARRANTY, PRACTICE OR OTHER CLAIMS) EXCEED THE AMOUNT PAID BY THE PURCHASER FOR THE SUPPLIER OF THE PRODUCT IN NO EVENT WILL MASIMO BE LIABLE FOR ANY DAMAGES ASSOCIATED WITH A PRODUCT THAT IS RECYCLED, RECYCLED OR DISPOSED.