by Mike Anderson
themikeanderson
10th July 2015Benjamin Franklin reckoned that life had two inevitabilities: death and taxes. If you’re a cyclist, there’s one more thing to add to that list. Punctures.
No matter how smooth your local roads, how tough your tyres, how little you ride in the rain, eventually you will puncture. It’s just one of those things.
A couple of tyre levers, a small piece of sandpaper, some tube patches and rubber solution are all you need. You may want to carry a tyre boot as well just in case the tyre is badly damaged. Needless to say, you’ll need a pump or CO2 inflator, tooAnd when you do puncture, you’ll need to know how to fix the punctured inner tube.
Admittedly, you can just change the damaged tube for a new one but unless you have an endless supply of new tubes in your back pockets, you’ll eventually have to face up to repairing the tube itself, even if it’s when you get back home so you can re-use the tube at a later date.
Of course, for starters all this means having a puncture repair kit, and keeping it in your saddlebag should you need it on the road.
The first part is getting the punctured tube out of the tyre. The easiest way to do this is with tyre levers although you can occasionally get some tyres off just by using your hands if the fit is particularly good, or you happen to have the grip of a powerlifter, of course.
Levering the first bit of the tyre off the rim is the hardest part. Let all of the air out of the inner tube (if there’s any left, that is) and push the lever end of the tyre lever under the bead of the tyre. Then push down hard on the end of the lever and lift the tyre up.
Some tyre levers will have hooks on the end so you can attach them to the spokes to hold them in place at this point, but remember that the more you stretch the tyre, the harder it’ll be to get the second level under the bead.
With many tyres, this likely wont be a problem, but if it’s a particularly tight tyre, it might make it damn near impossible to get the tyre off.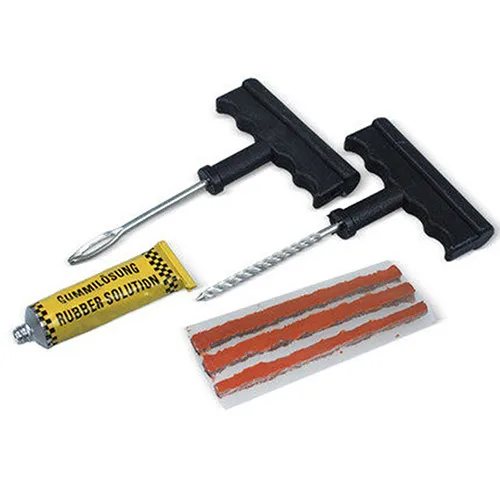
Anyway, the next step is performing the same action with the second lever while making sure the first one stays in place. Once you’ve lifted that second part of the bead, it should sit outside the rim, leaving you free to lift the rest off the tyre off the rim, or do the same thing for a third time, if it needs a bit more persuasion.
At this point it’s actually possible to slide the tyre lever around inside the bead of the tyre, pulling it all out of the rim. As we’ve alluded to, it’s often possible to do this earlier in the procedure, but again it all depends on how tight and stiff the tyre is.
Some tyres can be removed without the use of levers if they’re particularly supple, or you have a very strong grip, but tyre levers just make the process easier
Once you have half of the tyre completely out of the rim, you can remove the tube.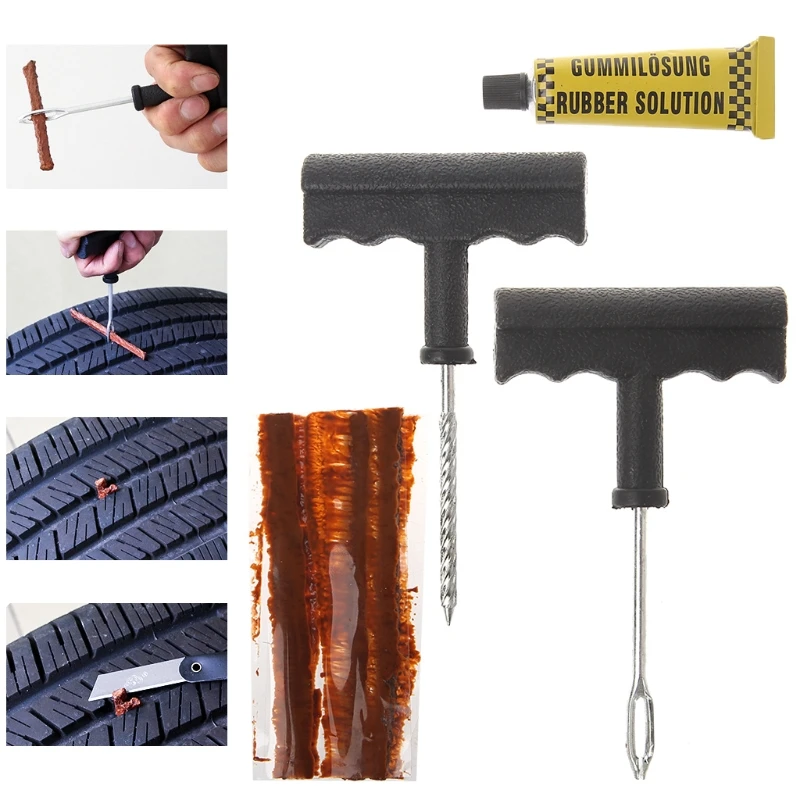 After the tube’s out, check it over to see where the hole is.
There are various methods to do this. One if the hole is obvious enough, is to just look. Another, easier, way to do it is to pump air through the tube and listen/look/feel for air escaping.
Yet another way (and this one only generally works for fixing punctures when back at home, for obvious reasons) is to submerge sections of the tube in a tub of water while pumping air through the tube. That way you can see the air bubbling out of the hole when you reach the damaged section.
One you have one half of the tyre completely off, you can slide the tube out without removing the other side, too. This just makes the process a bit quicker as you don’t have to mess about any more with the tyreSomething that’s easy to forget in the haste of fixing a tube is to check the tyre.
If your puncture’s been caused by something piercing the tyre, the last thing you want is to fix the tube, stick it back in the tyre only to puncture again five minutes down the road because the piece of glass or offending item is still stuck in the tyre.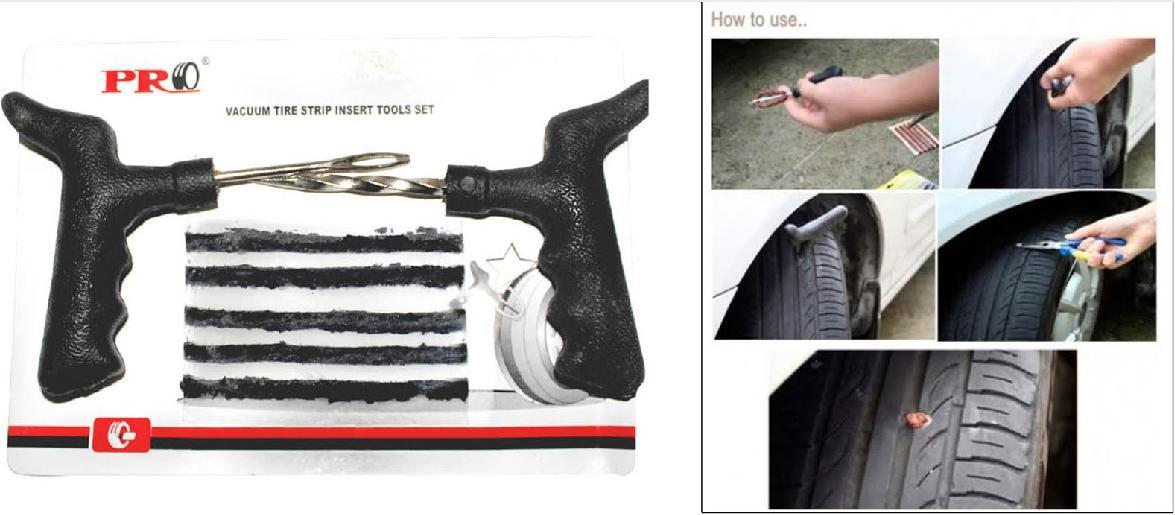
So check the tyre thoroughly – use where the hole is in the tube to clue you in to where the tyre may be punctured – and make sure any debris is cleared.
In the case of bad punctures, where there’s a hole in the tyre, you may need a tyre boot to cover that hole until you get home.
Sometimes finding the hole in the tube is easier than others, but if you have a mini pump, using it to push air through the tube can really help as you can hear/feel it escapingIn your puncture repair kit, there should be a small piece of sandpaper. Use it to lightly rub around the damaged tube in the area of the hole to provide a better surface for the rubber solution to grip.
Next, apply the rubber solution to the tube. The reason we call it rubber solution rather than glue is because if you treat it like conventional glue, you’ll have no joy at all trying to fix the puncture. Basically, you need to apply enough to cover an area the size of the patch and you don’t need a massive amount of solution.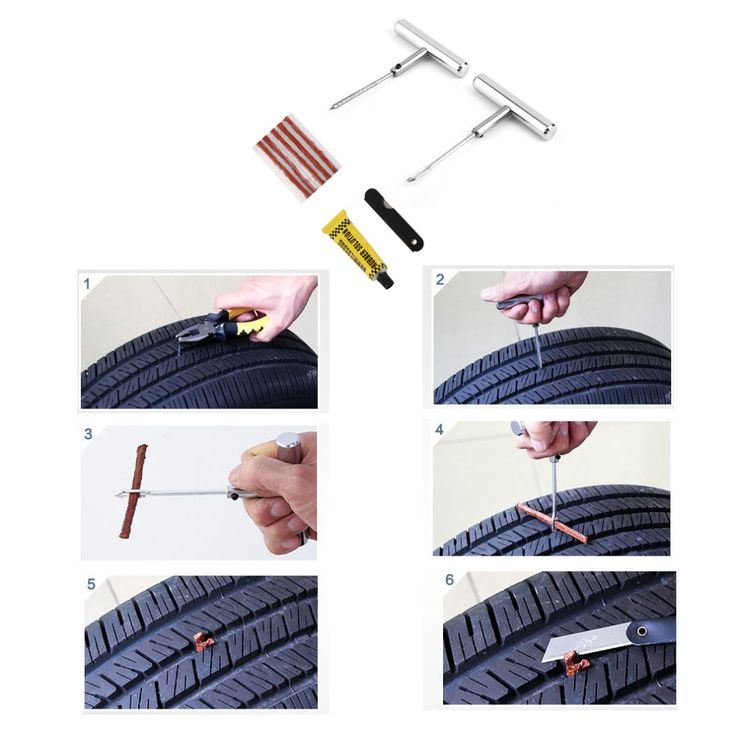
Once applied – and this part is vital – leave it for around 30-60 seconds. You want the solution to go tacky, runny is no good at all, and you don’t want to apply the patch until the solution is just the right consistency.
You can just apply the solution and spread it out with a finger, no special tools necessary! But don’t use too much and remember to wait until it’s tacky before you apply the patch because otherwise you’ll have no joy trying to get it to stickWhile you’re waiting, get the patch ready by pulling the silver foil or similar off the back, but don’t touch the side you’ll be applying to the tube as you don’t want to get dirt on it.
Next, carefully apply the patch to the tube. Sure, it’s not exactly surgery, but you don’t want to mess it up and leave part not stuck down properly because that means it won’t seal the tube and you’ll have to start all over again.
I usually hold the patch against the tube for a good 30-60 seconds to make sure the whole thing is securely stuck down.
After that, either pump some air into the tube to check that the patch has been installed correctly or, once you’re confident enough in your ability to do it first time, stick the tube back in the tyre, inflate and you’re good to go.
If you need guidance on how to pump the tube back up, we’ve also got a beginner’s guide for that.
Fixing a puncture is really a very simple task. But, like everything, you’ll probably have to muddle through the first few times before you get the technique dialled and it becomes second nature.
I’ve had tubes with multiple patches on that have lasted for hundreds more kilometres after the original puncture, so learning how to do this properly will genuinely save you money, especially as repair kits are usually a few pounds and can fix multiple tubes, whereas new tubes are anything between £3-10 each, or even more if you want something very fancy.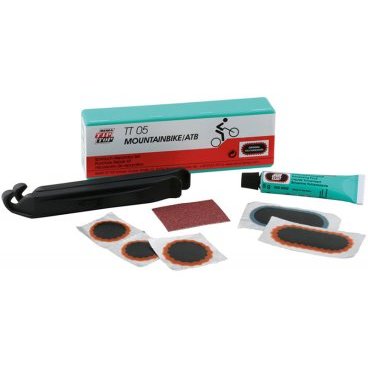
Check out the gallery below for a pictorial step-by-step guide to fixing punctures. And remember, practice makes perfect. If you’re new to cycling and need more advice, check out our other beginner’s guides.
Beginner’s guide: how to pump up a road bike tyre
Beginner’s guide: how to use clipless road cycling pedals
Please enter your email so we can keep you updated with news, features and the latest offers. If you are not interested you can unsubscribe at any time. We will never sell your data and you'll only get messages from us and our partners whose products and services we think you'll enjoy.
Read our full Privacy Policy as well as Terms & Conditions.
Cookies help us deliver our services. By using this website, you agree to our use of cookies. Learn More
Accept
production
Prevention is better than a cure, everyone knows that, but sometimes things simply happen. In the world of off-roading, tyre punctures are a definite possibility. You might be the most vigilant driver around – checking your tyres' condition, inspecting them for wear and tear, cracks, splits, cuts but your tyres may still cop an errant nail, screw or stick in the tread or sidewall; and that's puncture time.
Your tyres are your points of contact with the ground, so never drive for any great distance when you know one or more of your vehicle's tyres are punctured. The simple solution is to fix the puncture, so you can drive the, hopefully, short distance to reach a tyre professional who will then properly fix the tyre or replace it.
Be prepared with a good tyre-puncture repair kit, know how to use it and then you'll be ready for action when the time comes.
Note: Only use a tyre-puncture repair kit on tubeless-type tyres. Also, and this is a great tip from aftermarket supplier ARB: "Never attempt a repair on a tyre that shows signs of internal or external structural damage such as exposed belts, sidewall bulging, ply separation, cracks etc. "
"
A tyre-puncture repair kit.
A tyre-puncture repair kit should include a carry case and all of the gear you need to achieve a temporary fix of a puncture, which will give you enough leeway on that repaired tyre to safely reach a tyre-repair professional in order to have it properly fixed.
As with any gear, you get what you pay for so when it comes time to buy a tyre-puncture repair kit, spend as much as you can afford because that way you'll ensure you have the best quality equipment onboard. In this yarn, we're using an ARB Speedy Seal Mk2 kit ($49).
The tools and materials in a tyre-puncture repair kit include:
A pair of pliers: Use these to remove the cause of the puncture (i.e. the nail, stick etc).
Lubricant: Use this on the reamer to ease its way into the hole.
The reamer: It looks like a cross between a short ice pick and a drill bit with a handle. The reamer is used to probe the puncture, clear away any remaining debris and temporarily separate the tyre's steel belts without damage, helping to smooth the way for the repair cords/plugs.
The cord-insertion tool: Looks like a cross between a sewing needle and an ice pick. You use this to, you guessed it, insert the repair cord into the puncture.
Repair cords: Thick strings of spongy cord that you insert into the puncture to fill the hole and make the tyre temporarily safe to drive on.
Some kits, like this one, include valve accessories, a blade (to trim the repair cords) and more.
Make sure your vehicle is on as flat ground as possible, is switched off, in gear and the handbrake is engaged. If possible, do all of your repair work while the tyre is still on the vehicle, that way its weight will help you maintain a stable working area while you fix the puncture.
Find the punctured spot, and pull the offending object (stick, nail etc) out of the hole with a pair of pliers, as provided in the ARB Speedy Seal Mk2 kit.
Use the reamer tool to clear out the puncture hole.
Then you need to clean the hole as best you can so no left-over material can cause any further problems and your repair cord has a clear hole in which to adhere.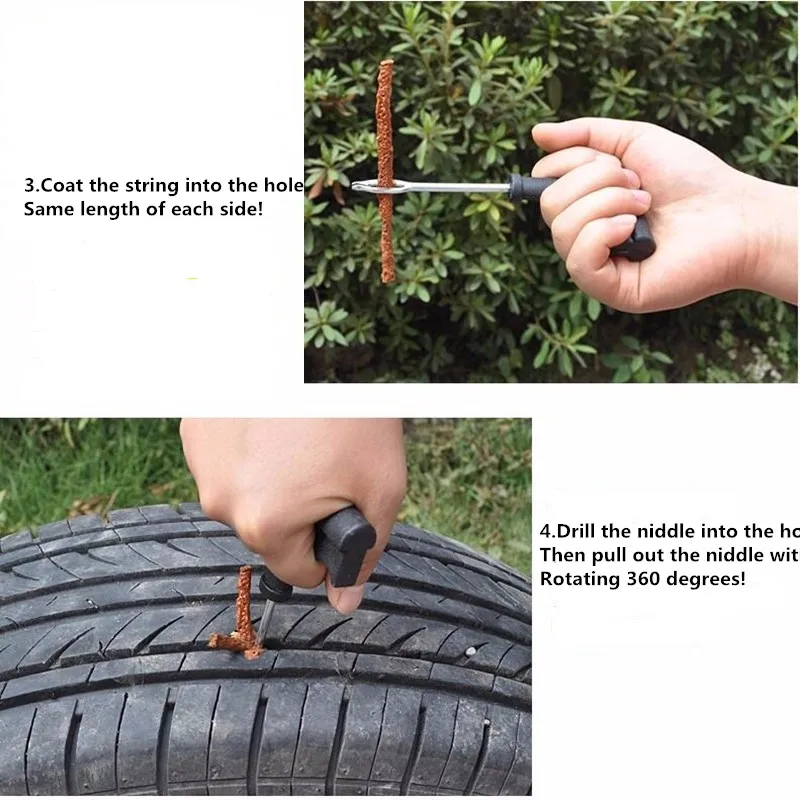
Smear the kit's lubricant on the reamer – this is the tool with the spiral, drill-bit-like shaft – then insert the reamer into the puncture to clear the hole. Move the reamer around in the hole, in circles, in order to make the hole a bit bigger, separate the steel belts, then pull the reamer out. Now's the time to reinflate the damaged tyre to help wth insertion of the cord.
Thread a length of repair cord through the eye of your insertion tool.
Next, thread a length of repair cord through the eye of the insertion tool so there are equal lengths of cord protruding from either side of the tool. Then smear a bit of lubricant on the insertion tool if necessary and push it into the hole until only a little bit of the repair cord is visible.
Hold the tool's metal hilt against the tyre, and pull the insertion tool out.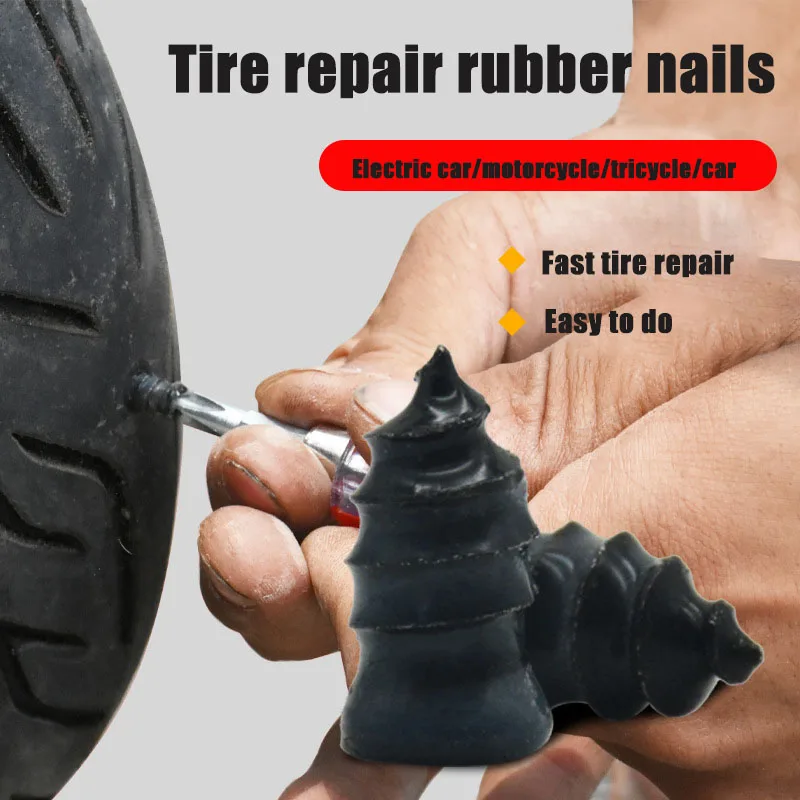 Do not twist the insertion tool's handle. Trim the ends of the repair cord so they aren't protruding too much, inflate your tyre back to the suitable pressure and away you go.
Make sure you have the fixed tyre repaired by a professional as soon as you possibly can.
I've been on desert trips where some fellow travellers have been forced to drive for hundreds of kilometres over sand dunes and corrugated dirt tracks on tyres repaired with a kit such as this, but it's better if you avoid doing that if you can.
Our recommendation is to have the fixed tyre repaired by a professional as soon as you possibly can.
One of the problems that can take the driver by surprise is a flat tire on the road. Such unpleasant moments can be created by an ordinary small nail or self-tapping screw, which can pierce tires. What to do in this case? Do not immediately look for a service station or buy new tires. You can easily repair your wheel yourself using a tubeless tire repair kit.
It is not uncommon for a car's wheels to be pierced by a nail you hit on the road. What to do? First of all, it is necessary to get a piercing object from the puncture site. But to do this is not so easy. If you pull out a nail, for example, with ordinary wire cutters, then a hole will remain in its place, through which air will escape from the chamber, and you will not be able to use your vehicle.
Do-it-yourself tubeless tire repairs are easy if you use a repair kit. The tire repair kit is a set of tools and accessories, among which you can find everything you need:
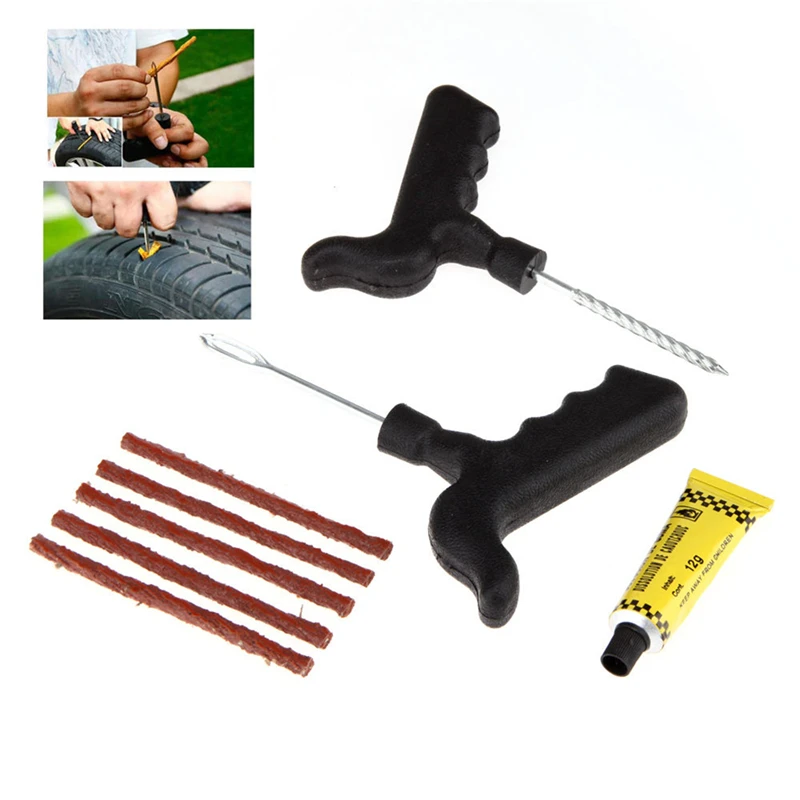 The use of this device will simplify the subsequent repair and patching of a hole in the tire.
 This simple tool kit allows you to quickly make minor repairs to your wheel after a puncture. You will spend about 10-15 minutes on the whole job. The repair kit, which includes a set of tools, harnesses and glue, is inexpensive. You will be able to repair a car tire yourself, without resorting to the help of a tow truck. nine0004
Do-it-yourself tubeless tire repair will save you money on services. Removing the nail from the wheel and sealing the resulting fistula is easy. It is advisable to watch a video of the work being done, which will allow you to get an idea of all stages of the repair. What are the steps for self-repairing a tire?
One of the first tasks is to completely remove the sharp object from the tire rubber. This can be done with ordinary nippers. The repair kit does not have such a tool, but every driver in the garage can definitely find it. Why pull out the nail? Performing this stage of work will allow you to simplify the subsequent repair with a rasp and the application of a tourniquet to the puncture site. nine0004
To repair the puncture site, insert a tourniquet coated with adhesive. To do this, you need to prepare a hole in the rubber. Before removing a metal object from the tire, prepare a rasp. Apply glue from a tube to the metal pin of the tool. Only after that you can proceed to remove the nail or self-tapping screw.
One of the important points is the sequence of actions. As soon as you pulled out the nail, you must immediately insert the rasp, which is included in the repair kit, into the resulting hole. This is necessary in order for the wheel to flatten. nine0004
After installing the tool on which the adhesive has been applied, a hole must be drilled. After watching a few videos, you can understand how best to do this. The ribbed surface of the metal base of the tool smoothes the edges of the hole in the rubber. How is the integrity of the tire restored? The harness, on which the glue is applied, is securely fixed to the rubber of the wheel, which leads to sealing of the breakdown. The video will allow you to visually consider the process of sealing a tire puncture with a tourniquet. nine0004
To seal your rubber, you need to:
It is desirable for every driver to have in his arsenal a special kit for repairing rubber in case of a puncture.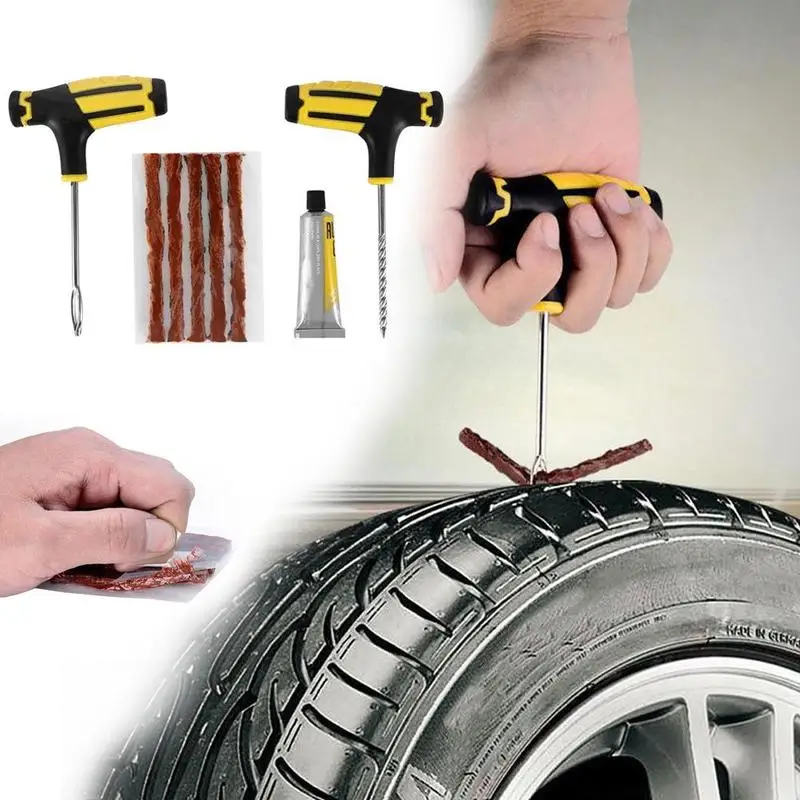 Due to the ease of use and low price, these kits have proven themselves in the market. The kit is designed to work in various conditions.
The advantage of using this kit is a quick and high-quality do-it-yourself rubber repair. You can use such a kit both in the garage and in emergency situations when a wheel is punctured on the way. Practical use of this method has shown that it takes about 10–15 minutes to complete the entire job. After that, the wheel can be inflated with air to the desired pressure. nine0004
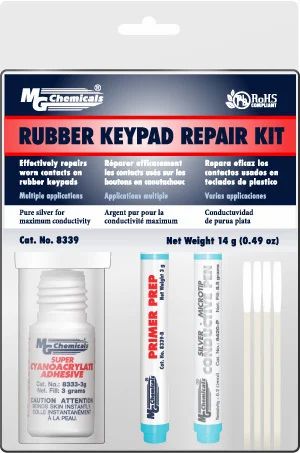 According to the table, select a patch corresponding to the size of the damage. Using the drawn lines as a guide, patch the damage so that the centers of the damage and the patch coincide. Circle it around the contour with chalk with a small (about 10 - 15 mm.) margin. nine0015
  Glue drying time: 5-10 minutes (depending on air temperature). The appearance of a white film on the glue means the end of drying.
 *Note. In the event that the tourniquet is inserted too easily, you must additionally insert a second tourniquet. If the dimensions of the hole in the tire exceed 8 mm, it is necessary to fill the damage with raw rubber and vulcanize the tire in a vulcanizer. nine0004
Instructions for express repair of tubeless tires using universal harnesses.

Instructions for repairing punctures in tubeless tires and tubes with universal patches.