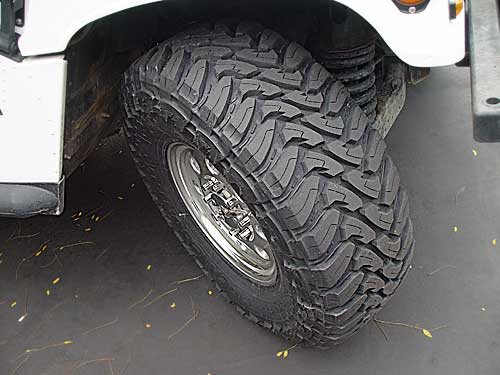
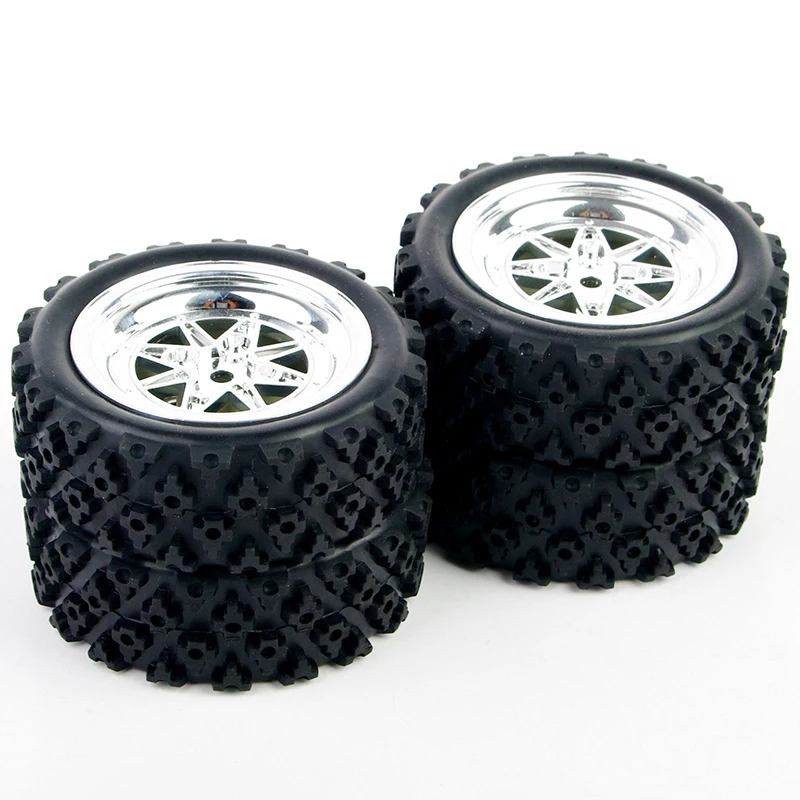
Leaks along the tire bead are relatively common in ATV tires regularly run in mud, sand, and rough and rocky surfaces. This type of leak is typically relatively small, allowing the air to seep out overnight or over a few days.
To fix a leak at the tire bead on an ATV tire, you have several alternatives where these are the most common:
Each of these methods has its pros and cons to consider. Depending on your specific situation and what is causing the leak, one approach may be better suited over the other. We’ll cover each of them in detail in this post.
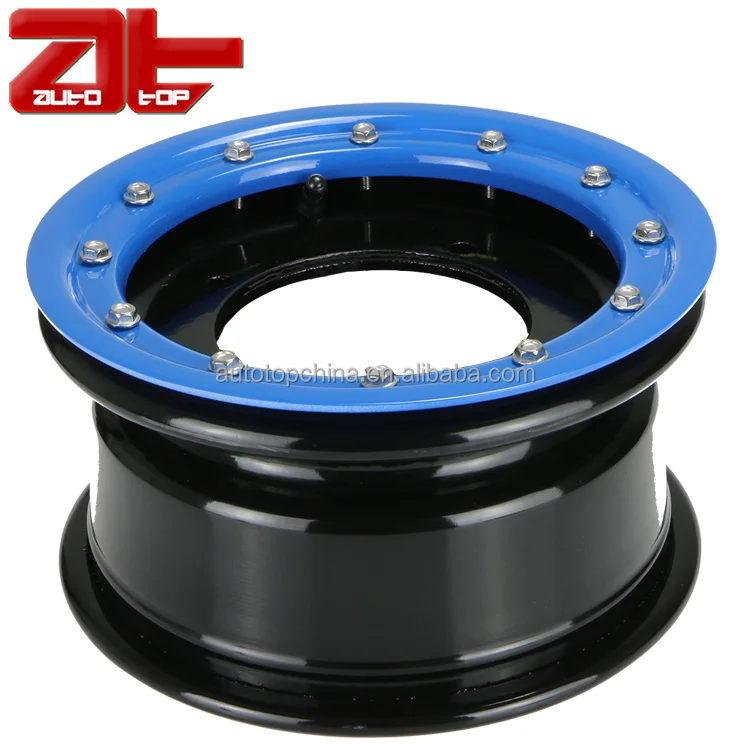
Bead leaks happen when the tire does not seal properly against the rim’s bead in a tubeless wheel. The bead area of the rim needs to be completely clean and undamaged for the rubber to make a tight seal against the rim.
Typical causes of bead leaks on an ATV tire:
Disassembling the tire from the wheel and addressing the issue causing the leak should be your primary alternative if you have the required time and tools. If performed correctly, it will provide a permanent repair without any of the cons that come with the other alternatives.
Pros:
Cons:
You may or may not already know where the tire is leaking. Even if you suspect that the leak is near the bead, it’s a good idea to verify exactly where the leak is located and make sure there are no additional leaks before moving on.
Use a valve stem removal tool to remove the valve stem. This will completely deflate the tire in just a few seconds. Alternatively, you can use an air-down tool to remove all the air. However, this method is more time-consuming than removing the valve stem core from the tire valve.
Depending on what is causing the leak, you may or may not have to break the bead to address the issue adequately.
If the leak is caused by dirt caked in between the rim and tire, but the rim is otherwise undamaged, you may get away with pulling back the tire slightly for cleaning. You can do this by finding a way to apply weight to the tire’s sidewall until there is a small gap between the rim and tire.
Cleaning without breaking the bead is easier on larger tires such as car tires or tractor tires. On smaller ATV tires, it’s less fiddly if you manage to break the bead completely. The result should be better as well.
If the rim is corroded or damaged, you are better off removing the tire from the rim entirely for proper access to the affected area.
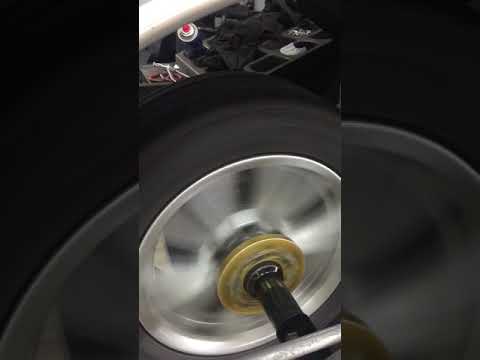
There are several ways to break the bead of a tire at home. My personal favorite is using a portable tire changer tool. These are readily available, relatively cheap, and work well on most ATV tires.
I recommend bolting the tool to the floor if possible. I installed threaded concrete bolt anchors to remove the device when not in use. A bolted-down tool ensures more control of the process and better leverage.
Tip: To boost the success rate and reduce the risk of tire sidewall damage when using this type of tool, leaves a tiny amount of air still in the tire before you break the bead. This will prevent the tire sidewall from giving in, causing the tool to slide out of position as you apply pressure.
As a cheap alternative to a store-bought tool, you could consider making a DIY bead breaker like the one I used before buying a dedicated tool.
Two pieces of wood and a couple of strong hinges give you a decent bead breaker in no time. Remember to cut the short piece of wood at about a 15 degree angle for better grip by the rim.Check this post for a few other ways of breaking the bead on an ATV tire.
This is how you break the bead:
A bead-breaking tool can be worth the investment, particularly for ATV owners who struggle with tire issues regularly.
After breaking the bead, you need to find out what issue is causing the leak. Use a flashlight for a good view. Look for dirt, corrosion, or rim damage; Sometimes, you may even find more than one issue that needs to be addressed.
Continue as described below according to your observations.
When you ride in dirt, mud, or sand, small particles and debris may begin to work their way in between the rim and tire. As more dirt builds up, it creates space for even more dirt until it eventually breaks the seal and causes a leak.
Both steel and aluminum rims may rust or corrode, but steel rims are particularly prone to leaks caused by rust.
Dirt and sand trapped between the rim and tire may wear down the paint over time, eventually causing the exposed metal to rust. Metals expand when they rust, creating gaps and an uneven surface that lets out air.
To fix a corroded rim, you need to remove the corrosion and apply a coating to prevent further corrosion issues.
Consider sandblasting and powder coating the rim for an even better and more professional result. I won’t detail how to do this in this post as it requires tools that typically only enthusiasts or professionals have access to.
The same method applies if the paint on your rim is flaky and starts to come off. Sand down all of the affected areas and apply fresh paint.
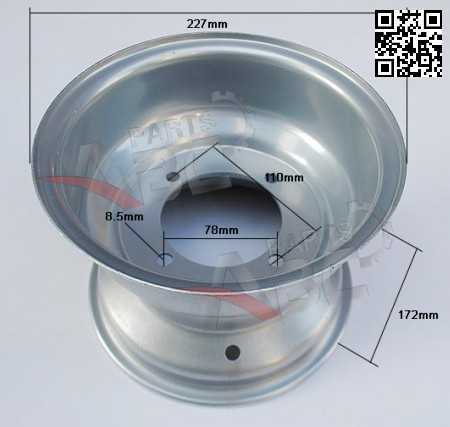
If you hit a rock a bit too hard or scrape the side of your rim against a hard surface, the rim may become damaged, preventing a tight seal.
You can repair minor nicks and dents by removing the tire from the rim and smoothing out the damaged part with a Dremel tool or fine-grit sandpaper.
Larger dents or cracks that may affect the rim’s structural integrity should only be addressed by a professional. Visible cracks left unattended may expand gradually until complete failure down the line. While tire sealant or installing an inner tube may keep a cracked rim airtight, it should only be considered a temporary fix.
Before you seat the tire back onto the rim, please take note of the maximum air pressure the tire can safely handle. Never, under any circumstances, exceed the specified max air pressure.
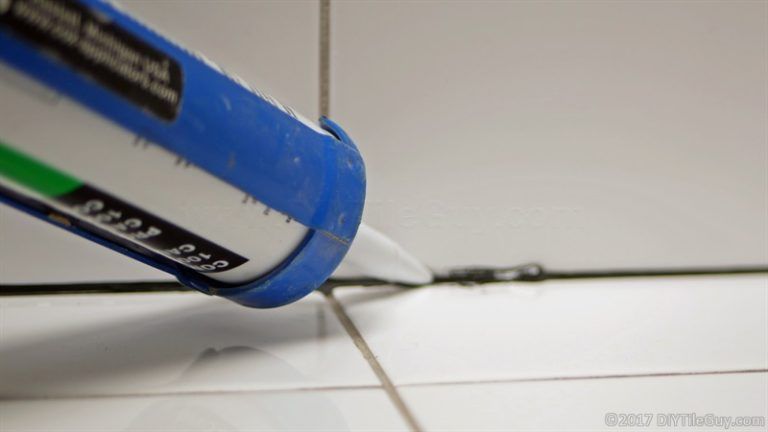
Bead sealer is specially designed to seal troublesome bead leaks that otherwise are hard to repair. It also helps prevent leaks, making it a good option for those that regularly find themselves with bead leaks.
Pros:
Cons:
 You also need to clean up the rim by scraping off the old bead sealer.
 Bead sealer is applied as a thin coat to the inside of the rim where it touches the tire. Follow the supplied instructions carefully for a good result.
Another option to try if you don’t have access to bead-sealer is a quality silicone sealant, applied the same way as the bead sealer.
Ensure not to inflate the tire before the bead sealer or silicone has completely set, as it will force out the sealant.
When you’re out on the trail and don’t have the tools or time to fix the leak properly, or if you’re simply looking for a quick fix, consider using a tire sealant such as Green slime.
Pros
Cons
Another option to fix a stubborn leak is installing inner tubes in a tubeless tire. However, tubes in low-pressure off-road tires are not always the best option.
Pros
Cons
Check out this post if you want to learn more about the pros and cons of installing tubes in ATV tires.
Sadly, there is no way to prevent bead leaks altogether. But, by applying one or more of the actions below, you will significantly reduce the risk of it happening.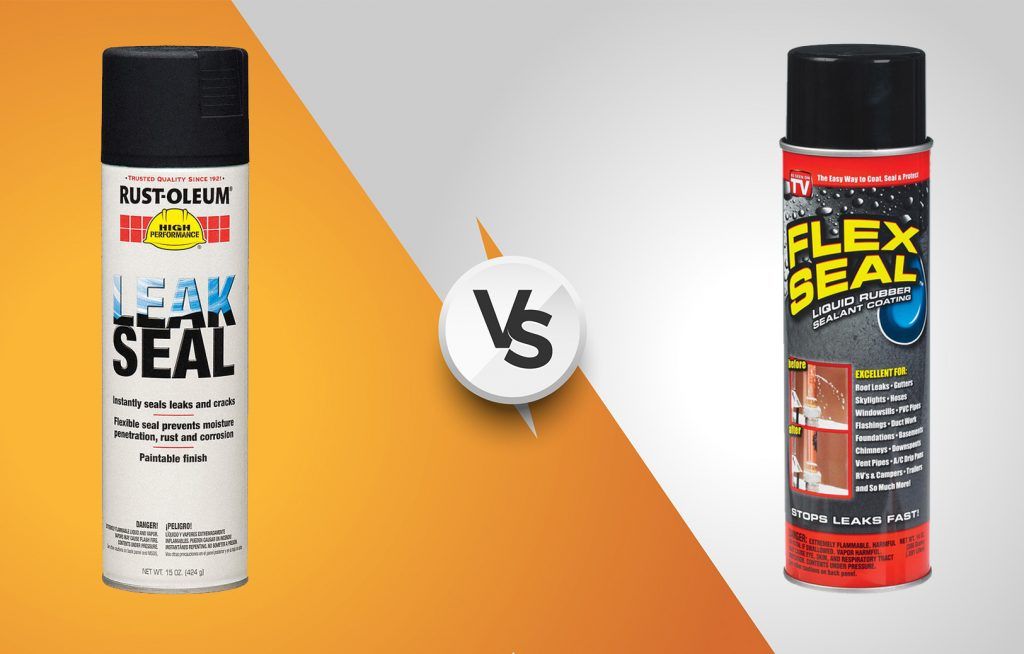
If you know that you ride in a way that dirt will build up and eventually get a leak, it is better to clean when you have tools and time. Implement cleaning the bead into your maintenance.
How often you should do this procedure depends on how much and under what conditions you ride, but once a year could be a good starting point.
Bead sealer does not only help seal current leaks, but it also helps prevent new leaks down the line. The sealer keeps the gap between the rim and tire shut, so that dirt cannot begin to build up.
Inner tubes not only fix current leaks but will also help prevent upcoming leaks from causing any issues.
ATV (All Terrain Vehicles) tires are known to be preferred to other tires due to the durability they offer the vehicles using them. Apart from the fact that they are tubeless, ATV tires also have a longer lifespan than some type of tires.
If you happen to notice a leak around the rim of your ATV tire, kindly find below, the required steps you can take to ensure that the problem is rectified so as not to cause further damage to the tire and yourself in the long run.(Read Also: Can You Put Drive Tires On Steer Axle?)
Table Of Contents
 Unclean Beads
 Tools Needed To Fix A Leak Around A Rim
Before you venture into dismantling your tire into bits, you have to be sure of the source. Leaks can occur from a punctured tire and the rim/bead, bent rim or cracked rim, or a tire valve. The next step will show you how to go about this.
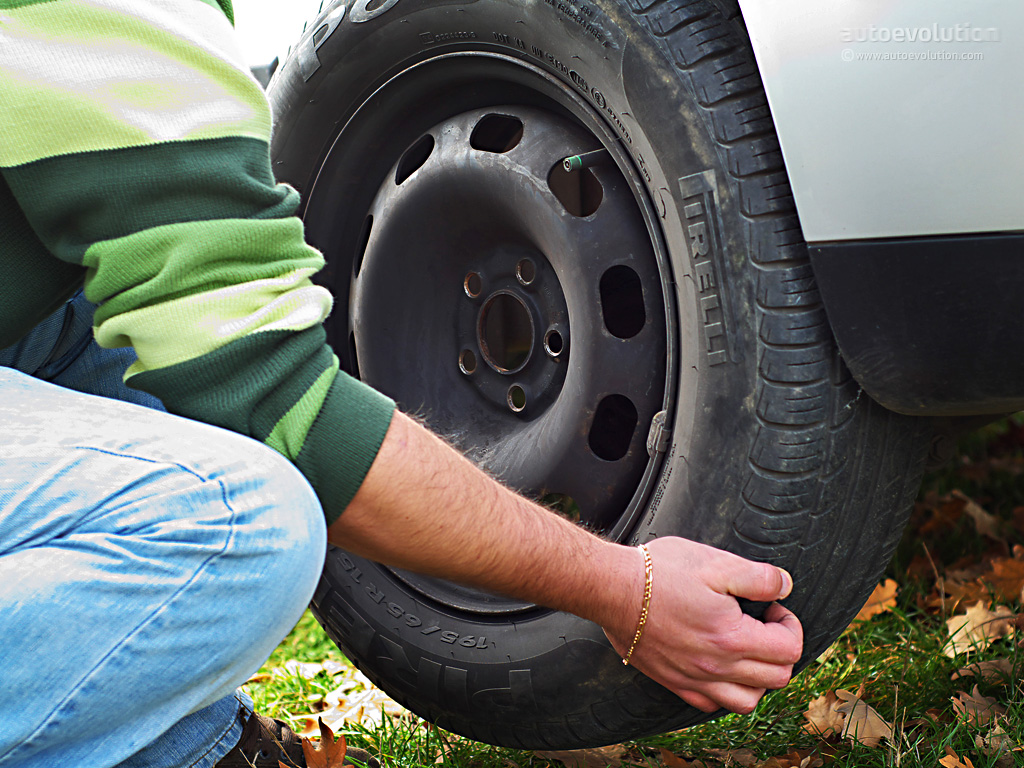
The first step is to remove the tire and place it on a flat surface. Next, keep an open ear by listening closely to the tire rim, as well as other parts of the tire. If the leak is a significant one, you are likely to hear the leak making a slight whistle sound, or feel the air on your cheek.
If you didn’t notice or feel anything, then the next step below will be essential
Step 3: Fill The Tire Rim With Soapy WaterFilling the tire rim with soapy water will indicate if the leak is from the rim or not. Use your Bar5F Plastic Spray Bottles to spray soapy water around the rim; the leaks around the rim will be seen by bubbles made from the leaking air. Remember to do this for both sides of the rim. You can also use plain water is soapy water is not close by, but note that it will be more difficult to spot the bubble generated from the leak.
After you notice the spot of the leakage in the ream section, get all the air out from the tire, but ensure you have an air pump close by. Also, ensure you mark the area of the leakage with something visible, say a little scratch from your key. (Read Also: Can Tire Rotation Throw Off Alignment?Find Out)
Step 5: De-Bead The Tire From The ReamAs you should know by now, fixing a leak from the rim of an ATV tire will require you to remove the tire, not only from the wheel but from the rim; and the process of removing the tire from the ream is called de-beading. There are multiple ways to achieve this feat, but I will be going with the easiest possible way.
Get a set of BeadPro spoons. I prefer these BeadPro spoons because they are quite easy to come by, and also easy to use. BeadPro spoons don’t take a lot of time as long as you adhere to the instruction spelled out in the package.(Read Also: Best Floor Jack For Jeep Grand Cherokee)
You can also preferably use a heavy hammer and wooden plank if a BeadPro spoon is out of reach at the time of reading this article. Put the plank close to the tire rim seal and use sufficient force to hit the plank, this should get the rim out, but it would take a longer time, compared to when you use a set of BeadPro spoons.
Step 6: Wipe Clean The Edges Of The Rim And Proceed To RepairClean the edges of your tire with a cloth as soon as the de-beading process is complete. The clean process will get rid of any debris that might be lurking around such areas. Put some repairing solution around the leakage area and get ready to re-bead.
Step 7: Re-Bead The Tire To The RimThis is where your air pump or air compressor comes in. Start the re-beading process by spaying a good amount of soapy water to the bead section of the rim to act as the lubricant needs to ensure that the whole re-beading process is seamless.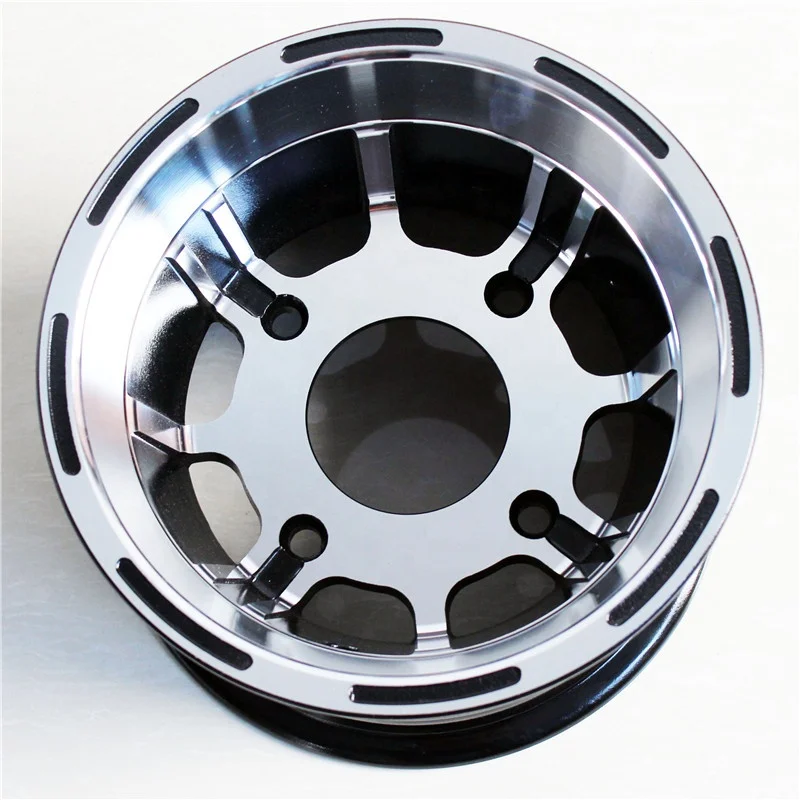 Remove the stem core of your ATV tire to allow the free passage of air.
Read Also: How To Identify Tubeless Tire Puncture Plus Quick Fix
Simply fill the air with the air pump as usual, and along the line, you are likely to hear a “pop” sound as soon as the tire fits inside the rim, one for each side.
If this doesn’t work out, try strapping a ratchet strap around the outer walls of the tire. Tightening the ratchet strap will help push the tire walls out against the beads, which would now require a lesser airflow for the tire to fit into the rim.
Once you are done strapping the tire, get an air pump and pump in air through the valve. Ensure that you don’t pump in too much air while the strap is fitted to your tire, all you just need is a little amount to just fit your tire to the rim. As soon as this is achieved, ensure that you don’t pump in too much air as soon as you hear the “pop” sound. (Read Also: Can Tire Shine Damage Rims?)
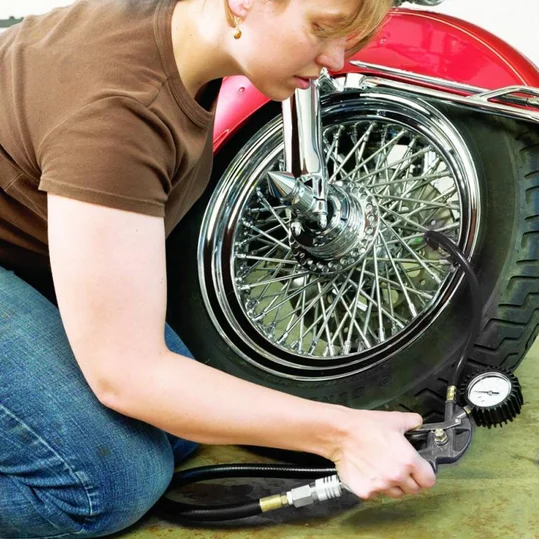
The standard gauge for seating a tire is around 15lbs, which is equivalent to 1 bar of air pressure; while ATV tires with very stiff sidewalls will require about 40lbs (2.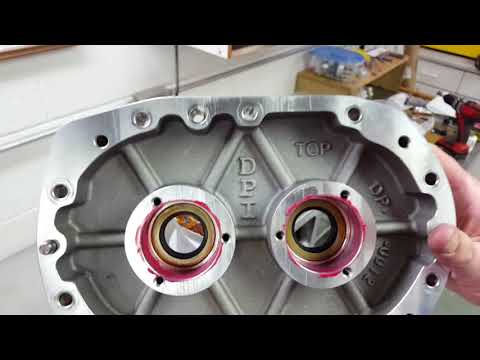 67 bar of air pressure) to seat properly.
Following these simple steps should get you up and running in no time.
Below are some FAQs you might have regarding tires and leakage, kindly drop any further question you might have with regards to tires in the comment section, and I will gladly attend to it.
Trending Searches
The following are the common reasons why people get leaks in their tires;
ATV tires and other tubeless tires run at a low tire pressure which can cause sand and other muddy particles to come between the rim and the bead, which can create a leak if it’s not properly cleaned when washing the tires of your vehicle.
This experience is prevalent in steel wheels due to their ability to corrode easily. When the wheel is rusted, it weakens the bond between the bead and the wheel that keeps the air in place. This can cause air to gradually leak out from such areas over time.
Rim damage can occur when you are involved in a minor accident that involves you hitting your rim badly on a surface. In most cases, you are not even aware of the severity of damage until after some time.
Read Also: How To Remove Tubeless Tape Easily With Steps
How Do You Stop Or Prevent A Tire From Leaking On The Rim?I will answer this question based on the causes I outlined above, so here is how you can stop the following occurrence;
1. Unclean BeadsTo prevent a frequent reoccurrence of leaks as a result of unclean beads, break the beads from the rims of your tire at least once a year, and do a thorough clean.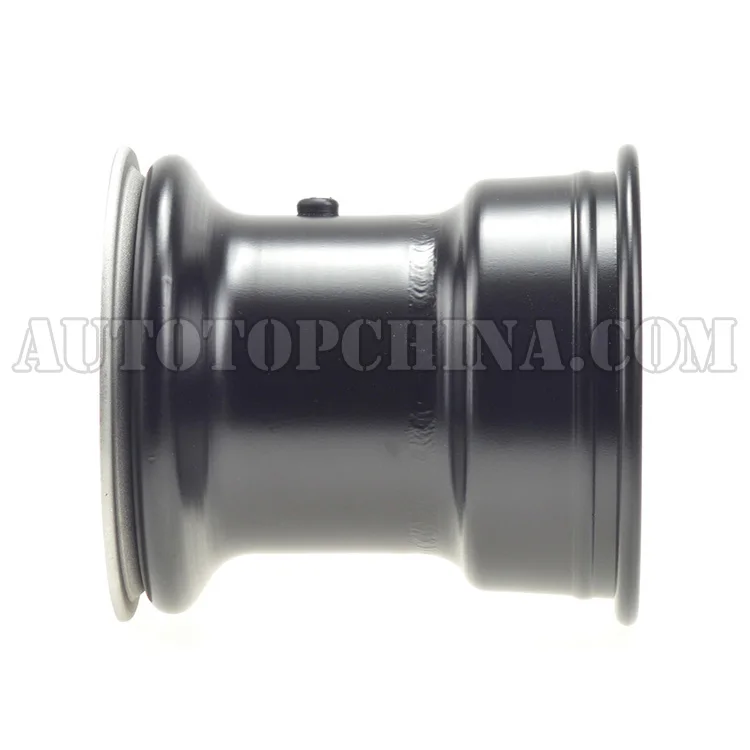 If the problem continues, apply this bead sealer just as I explained earlier on, and rub it around the bead and the lip of the rim after cleaning; this should do the trick, except the tip of the rim is rusty which is an easy phenomenon to tackle.
To treat a rusty rim, simply follow these easy steps you can do without the help of a mechanic.
 You are likely to see small bubbles in the gel as you apply it to the rusted area, but that should tell you that the phosphoric acid is doing its job. Using phosphoric acid to get rid of rust has an added advantage because it doesn’t affect the good metal.
If you happen to hit your rim on a hard surface, there is a good chance that a leak might occur in the nearest future, but this also depends on the severity of the collision. To act on the side of caution, simply remove the tire from the rim, and straighten out any bump using a Dremel tool or sandpaper.
Also, make sure you apply a bead sealer before going about the refilling process.
Does Tire Sealant Work On Rim Leaks?Yes, they do. Tire sealant creates a rubber-like surface between the rim and the tire that fills up most of the areas that have tiny spaces in them. This rubber created helps to block out any space that would have otherwise allowed air to escape from.(Read Also: Can You Use Tire Shine On Leather?Find Out)
How Much Does It Cost To Fix A Rim Leak?The vast majority of persons who ask how to prevent a tire from leaking around the rim can’t help but wonder how much it cost to fix the leak. If you are certain that the rims are the source, then you can be certain that the wheels have also developed a problem as well.
At the mechanic, the workman will remove the tire, clean the rim within, then apply a bead sealer before fixing it back. He is also likely to changes the valve stem for you. The total expense is around $20 – $40 for a wheel.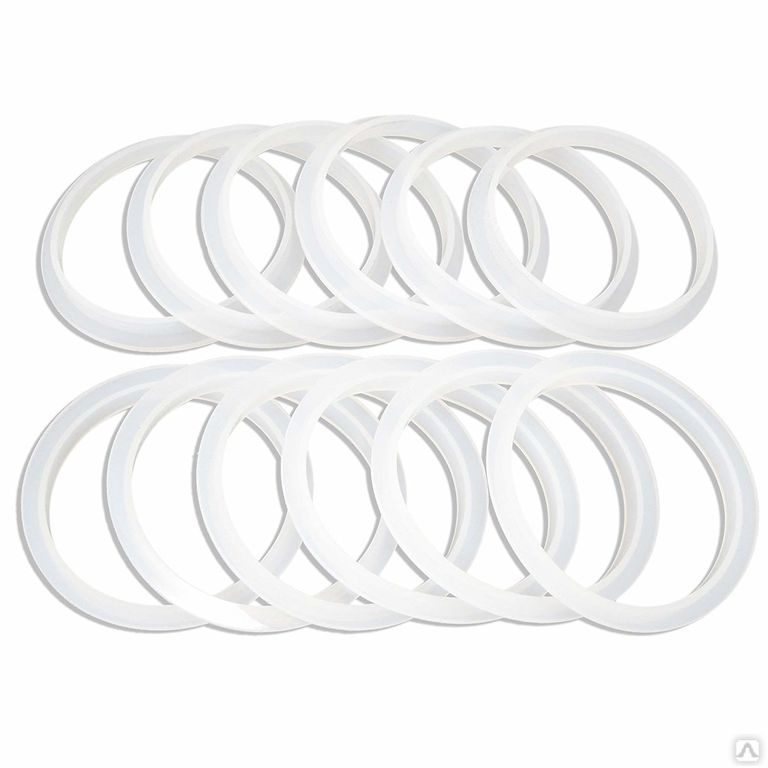
The issue is, many shops, rather than fixing the issue on the rim, some workmen will insist it’s something terrible so that they can charge you more for the issue. Although, many workmen also display this kind of appalling attitude of playing on your ignorance.
Sometimes, your vehicle will be fine for about a week or two, then your tires will return to what they were previously. Plus, a few shops may simply use something around the shop and smooth it out. They simply streamline the surface where the leakage happens to occur, then slap on a lot of bead sealer. So once again, you are back to where the whole problem started.
For starters, you should know that fix-a-flat is a temporary solution, and not a permanent one and it is only sufficient until you find a more lasting solution. In the case of a rim leak, using fix-a-flat is not ideal for the situation because the spinning wheel will just fling the product away from where you spotted the leak, to the inside of the tread area. (Read Also: Can You Check Fuel Pressure With A Tire Gauge?Find Out)
Sealing an ATV tire bead is no problem at all. Simply follow these steps to ensure a smooth process.
The steps in this article are simple DIY instructions that can save you some bucks that you would have otherwise given to the workman.
It can also serve as a source of adventure to test how handy you can be. Kindly drop any suggestion or question you might have with regards to the topic discussed in this article in the comment section below. Cheers!!!
June 9, 2017
A puncture of a wheel (more precisely, its chamber) always happens suddenly. If trouble has overtaken you near the house or any other housing, it is not so difficult to find tools and seal the puncture site. If there is a bike service or shop nearby, they will always tell you how to change the camera on the rear or front wheel of the bike, and for a fee, they will do everything themselves. But if the puncture occurred in nature, far from any benefits of civilization, you will have to rely only on your own strength and the available repair kit.
When traveling far from civilization, your own repair kit is the only thing that will help with a puncture. You need to select it carefully.
And then an unpleasant moment came - the bicycle wheel was punctured. You should start with a visual inspection of the tire. In some cases, if the hole is very large, it helps to immediately determine the puncture site. For convenience, this place can be immediately marked with a pen, marker, piece of charcoal, chalk, or in any other suitable way. Even if the intended location of the hole is found, it is still recommended to fully check the entire wheel, clearing it of debris. It may well be that there are several punctures.
After inspection, remove the wheel (using the appropriate wrench from the repair kit).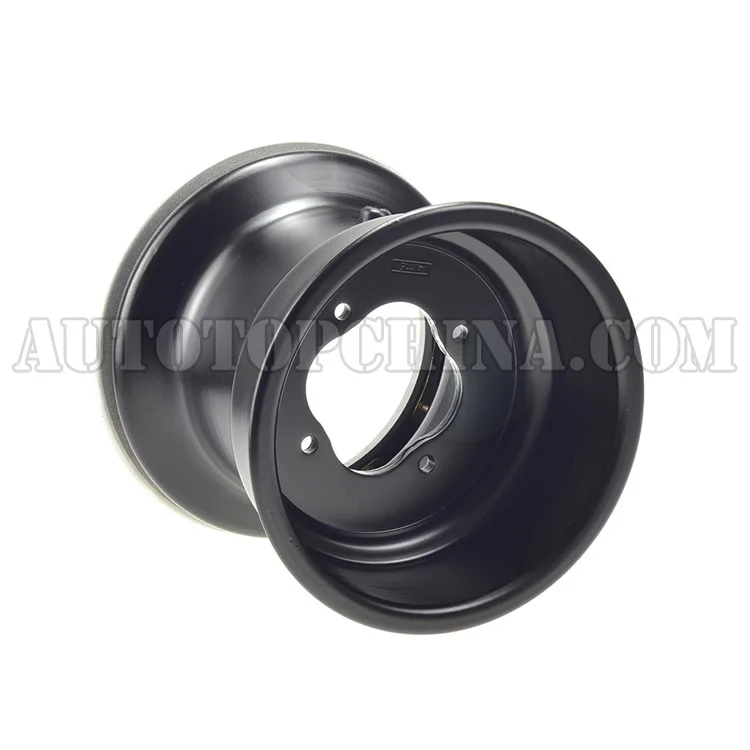 Now you need to remove the tire from the rim and get the camera out of it. It will be difficult to do this without the side rails included in the repair kit described above. It is necessary to insert the beads between the tire and the rim and pull them, gradually removing the tire. Removing the inner tube is usually easy, but if the tire is too stiff, it may be necessary to re-use the beads in the same way, only now they will need to be inserted not between the rim and the tire, but between the tire and the inner tube. If at the previous step the alleged puncture site has already been found and marked, it is recommended to additionally mark the same area on the camera. More clearly, how to remove or change a tire with a camera on a bicycle, is shown in this video:
When the camera is removed, you need to find the puncture site on it. If it is already checked, it will be easier to search, but you still need to check the camera completely. To do this, you need to pump it up and by ear determine where the air comes from. If the hole is large enough, then this is not difficult to do, but if it is very small, you will have to act differently. You will need a container of water. It is most convenient to use a basin, but it is difficult to find it in the field. In this case, any body of water is suitable: a river, a lake, a reservoir, etc. You need to place an inflated chamber in the water and check where the air bubbles come from. This is the puncture site. It is important to remember that for repairs, you must first allow the camera to dry. But that's not all. While the chamber dries, it is recommended to carefully check the inner surface of the tire. There may be glass particles, thorns, and other similar elements that made a hole in the chamber and can make a new one. They need to be removed.
Once the hole is found, there is no other option but to patch or change the bike tube. With the replacement, everything is simple: we take out the broken camera, change it to a new one and install it back. But with a patch, the situation is more complicated. First of all, it is necessary to carefully process the puncture site and everything around it with sandpaper. A rough surface will allow you to better fix the patch. Now dripping glue. One drop is enough, which should be rubbed with a thin layer around the hole in a radius of about 2 cm. Then the glue should be allowed to dry a little and repeat the same procedure several times until the glossy glue layer becomes matte. Only now you can glue the patch. If they are available in different sizes and it is not clear what the actual size of the puncture is, it is better to take a larger patch. After the glue has dried, it is recommended to pump up the chamber to check if there are any other holes and if the patch is not letting air through. If everything is fine, you can install the camera in the tire and put the latter on the wheel rim.
There are a few tricks to make repairing a bicycle tube puncture more comfortable.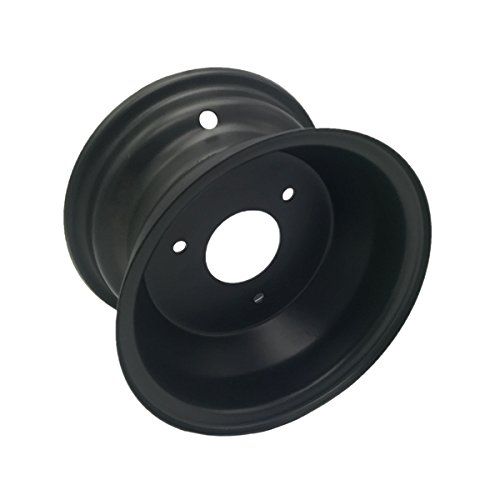
Tire repair not possible. They can only be replaced with new ones. On the other hand, they rarely break through enough to require replacement. Usually tires are changed as they wear out, when the tread is completely worn out. Less often, replacement is required in cases where tires are badly damaged due to punctures, impacts, exposure to chemicals and other factors. But the camera can be changed less frequently. She is able to survive a very large number of punctures, but after another hole, when there is no living place on her, it is still better to replace her. You will also have to change the camera if the nipple is damaged, in which case repair is also impossible.
To summarize: when traveling, especially over long distances, you should always have a complete repair kit with you and remember the tricks that we have described in this article.
ATVs are famous for their stability and reliability, however, even the highest quality models, including Stels ATVs, can fail. Of course, only a master can deal with serious breakdowns, but you can do something with your own hands, and some breakdowns will have to be repaired on your own, including punctured tires. This is one of the most common problems that ATV riders face, and it's not surprising, especially given that ATVs move on such surfaces, where there is no need to talk about safety. That is why you need to be ready in case of trouble to solve the problem. The main thing, as in many ways, is not to panic, so if you hear a suspicious hiss, don't be scared, but take out the first aid kit of your ATV.
I must say right away that it is better to replace a damaged tire, but this is not always possible and can be done on the spot, and minor repairs will allow you to finish the trip and return home on your fours. In fact, there is nothing complicated about this, and it is quite possible to repair holes up to 5 centimeters in diameter, the rest are usually associated with damage to the device itself, so there is no need to talk about the end of the trip.
In order for the test not to take you by surprise, you need to prepare in advance and always have a few basic things with you. Designate storage space on your ATV ahead of time and remember to refill as you use it. Often in repairs, the main problem is precisely the need to get out of the ground what you forgot to take with you from home. So, here is a list of what will make you feel confident on any road - a repair kit, it includes a reamer - an expander and a special tool for installing patches.
Patches, this is exactly what ends quickly and that you need to constantly buy more, the rest of the materials are not consumables or you can do without them. Patches come in different shapes, for example, I prefer long ones, the main thing is their good stickiness.
Pump. After the “treatment”, the tire will have to be pumped up and you cannot do without a pump. Here the choice is yours, manual or electric, as for me, the simpler the better, folding pumps are still good, they take up less space in the trunk, although it's more about your personal preferences and the possibilities of your wallet.
Rubber adhesive. In principle, there is usually enough sticky layer on the patches, but just in case I carry it in the trunk too, the whole gluing process is greatly simplified. A pressure gauge is a device for measuring tire pressure, if you bought an ATV in a store, it usually comes with an ATV.
If you notice an air leak, start by looking for a hole in the tire, if the tire is already deflated and the air is coming out weakly, inflate the tire and find where the air comes out. It is usually quite easy to find a hole if it is caused by a foreign object - a nail or a branch. If you don't see the hole, spin the tire on the wheel and listen for exactly where the hiss of the escaping air is heard. In the most extreme case, put the tire in water - a puddle or lake - and you will be able to see the air bubbles escaping. Remember that air can escape not only through a hole in the tire, but also through the junctions of the tire parts or the tire and the valve.
Once you find the hole, work the edges of the hole with a reamer, making the surface rough, after that the patch will better adhere to the rubber. Take a patch tool and thread the patch into it, if there is glue, smear it with a little glue and insert it into the tire halfway. The next moment is very important - you need to quickly pull the tool out of the hole, but do not pull the patch with you. If you are doing this for the first time, you may need to practice - I told you that patches run out quickly. Usually, if the hole is microscopic, one patch is enough, but sometimes you have to use several, in this case, repeat the steps, inserting the patches until the air stops coming out of the hole.