You’ve reached for the bottle to fix or prevent flat tires – smart choice! Whether this is an emergency repair (yellow label bottle), or you are preventing flats for up to 2 years (red, blue or black label bottle), the Slime installation process is the same.
Slime tire sealant is easy to install, cleans up with water and will get you back on the road quickly. All you need is the bottle and a tire inflator. Let’s get started:
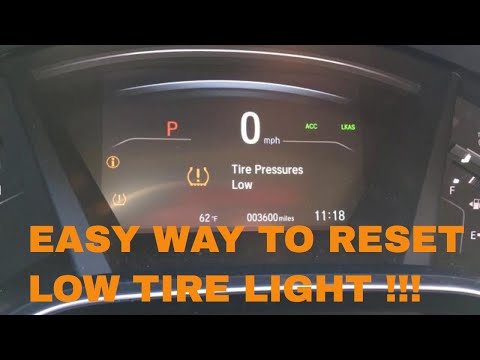
Step 1: Position the TireSlime can be inserted with the valve stem located in any position, but it works best if you position the valve stem so it sits in the upper half of the tire.
Step 2: Remove the Valve Core
Take the valve cap off your valve stem. When you look inside the top of the tire valve stem, you will see a metal cylinder in the very center. This is the valve core and it needs to be removed in order to install Slime.
The black cap on your bottle of Slime is a valve core removal tool. Twist it off the bottle and use the knobby tool in the center to engage the valve core. Slowly twist the tool counter-clockwise to remove your valve core. You will know you are successfully removing the valve core when air starts hissing out of your tire.
Your tire must be as flat as possible to inject the Slime. Allow the air to slowly escape from the tire and set aside the valve core (you will need this piece again later).
Step 4: Remove the Puncturing ObjectLocate the screw, nail or other offending object that caused your tire to go flat. If possible, remove it from the tire.
Step 5: Inject SlimeUnscrew the white cap from the top of the bottle, peel off the white seal and then re-attach the white cap. Remove the clear tube from side of the bottle and attach one side to the top of the white bottle cap. Attach the other side to the valve stem on your tire.
Squeeze in the appropriate amount of Slime. You can use the chart on the back of your bottle to determine how much Slime you need, or you can use our Slime calculator. If you are using the gallon product of Slime, then one pump equals approximately 1 oz of Slime.
If your tire has tubes (like on a bicycle or dirt bike), you can inject the sealant directly into the tube before inserting the tube into the wheel, or you can inject the sealant into a tube that is already pre-installed into the wheel.
Remember that little valve core you removed in Step 2? Time to put it back in! Using the same black tool from the cap of the bottle, screw the valve core back into the valve stem by turning clockwise until tight. If any Slime has oozed out while installing the valve core, simply wipe away with a cloth.
Using your favorite tire inflator, air up the tire to the manufacturer’s recommended air pressure. You can find this measurement on a label typically located on the inside door jamb of the driver or passenger seat.
Step 8: Rotate the TireTo properly spread the sealant around the inside of your tire, drive approximately 0.2 miles, then stop and verify that the sealant plugged your puncture and that the tire is holding air pressure. If you are installing Slime in a bicycle, simply spin the tire to evenly distribute the sealant.
Congratulations! You have successfully installed Slime and repaired your flat tire.
If you installed the yellow label Emergency Tire Sealant formula, then please seek a professional repair within 3 days or 100 miles.
Spend $10 and 15 minutes in your garage and save hours repairing and patching flats. Slime Tire Sealant is a lifesaver.
RATING: Exceptional
MSRP: $10
BEST FOR: Everyone! Spend $10 and 15 minutes in your garage and save hours repairing and patching flats.
View on Amazon
PROS:
CONS:
Flat tires are a pain. Not only are they frustrating for kids and parents, they often sideline a bike for weeks. Fortunately, preventing flats is as simple as spending $8 at Walmart (or $10 on Amazon) and 15 minutes in the garage. Tire sealants is essentially a fiber-filled “slime” that coats the inside of a bike tube to quickly and efficiently repair and prevents flats. In most cases, Slime only needs to be added to a tire once and prevents flats for essentially the life of the tire or tube.
In the four years we have been using Slime in our kid’s bike tires, we have only experienced one flat after our son rode through a field of thorny weeds. Honestly, with all the bike riding that gets done around here, I can’t imagine life without tire sealant! The most widely available brand is Slime and is sold at Walmart, Target, most automotive parts store and Amazon. You only need about 2 oz. of slime per 12″ tire, so the 8 oz. bottle sold in the bicycle section is sufficient for two bikes. If you have several bikes to seal, consider heading over to the automotive department where the Slime tends to be cheaper by the ounce.
In order to add the Slime you will need to remove all the air out of the tire, so be sure to have a bike pump nearby before you start.
The inner valve of the tire stem valve must first be removed before you can add any slime. While it sounds daunting, it is actually quite easy to remove using the included tool.
Once the valve is out, it’s time to add the Slime. You will need to add about 2 oz. to a 12″ tire (1/4 cup) and about 2.5 oz. for a 16″ tire. For larger tires a chart is given on the back of the slime container.
Once the Slime is in place, use the tool to re-insert the core. Next, inflate the tire to the correct PSI (listed on tire sidewall) and then spin the wheel to allow the Slime to evenly distribute throughout the tire.
Repeat steps with the second tire and then you are ready to ride. Slime does not require any waiting period, allowing the bike to be used right away.
FTC Disclosure:Affiliate links are included in this review. No monetary compensation was provided for this review. The product reviewed was purchased by Two Wheeling Tots and not supplied by the manufacturer. All opinions and images are that of Two Wheeling Tots LLC.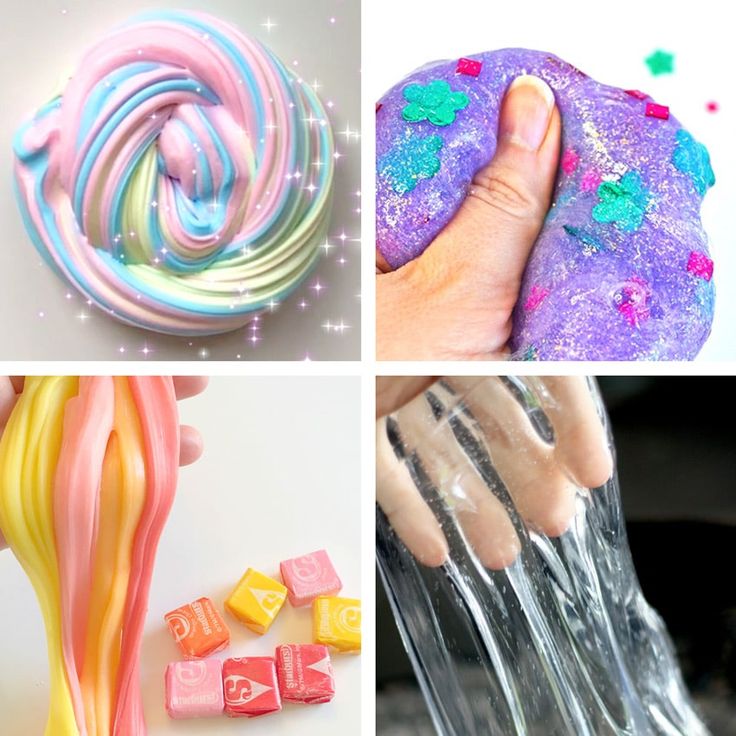 All content and images are copyrighted and should not be used or replicated in any way. View our Terms of Use.
Efim Rozkin
One of the most popular lubricants is silicone. It is perfectly combined with plastic and rubber parts, which is why its scope is very wide. And, of course, motorists are happy to use such a lubricant.
The most common uses for silicone lubricants in cars are door hinges, door and engine compartment seals, and seat rails. However, not many drivers know that tires also need mandatory silicone lubrication. And the reasons for the need to care for tires are very significant.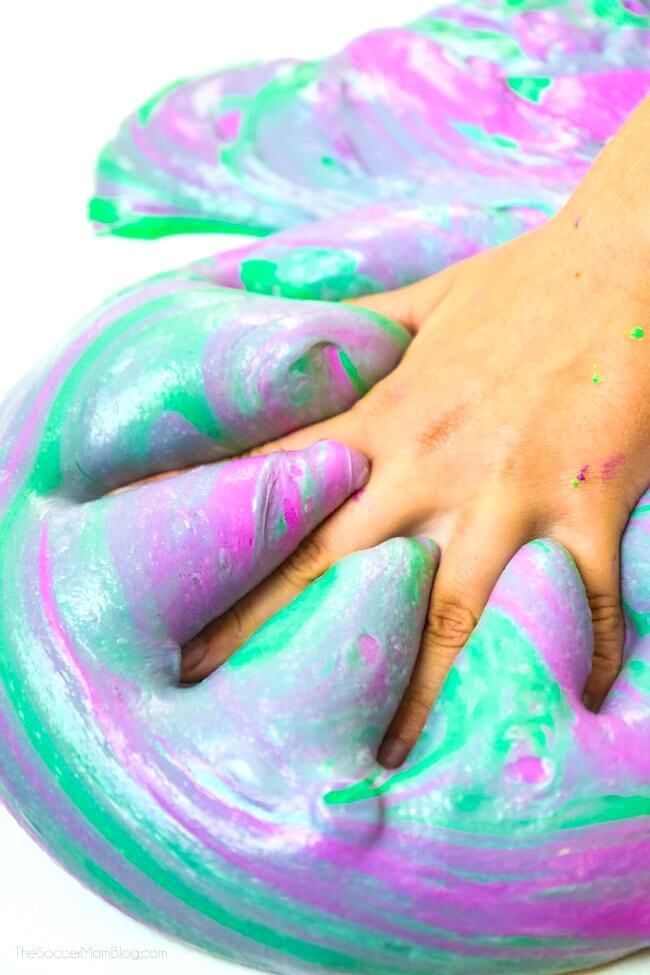
The fact is that in addition to lubricating properties, silicone perfectly protects the surfaces of the rubber elements of the body from the harmful effects of ultraviolet radiation and prevents the seals on the doors or the sunroof from drying out and cracking. In the same way, silicone works on tires.
Photo m.medcom.id
First of all, thanks to him, the tires can be restored to their original appearance. Indeed, during use and under the influence of ultraviolet radiation, the tires burn out, acquiring a gray color. Silicone is able to restore their appearance: after processing, they again acquire a deep black color. At the same time, at a price this method of rubber restoration is significantly cheaper than blackening. Secondly, the silicone on the tires performs the same function as on any other rubber products in the car - it protects against cracking and drying out, which can lead to serious consequences up to the destruction of the tire in motion.
Silicone is recommended for seasonal tire changes. Be sure to process the tires that are sent for storage and those that are planned to be installed. And even if the car is rarely used and stored in a garage or parking lot, silicone grease treatment of tires should be carried out on a regular basis. After all, rubber itself tends to age. And even with a fairly fresh and not worn out tread, cracks can form on the sidewalls over time, which do not bode well for the motorist.
To protect your car's tires, it is enough to lubricate them before using them and before sending them to seasonal storage. This simple, and most importantly, inexpensive procedure will allow the wheels to serve the period allotted by the manufacturer without any problems.
We check “Lifehak” from the Internet
43546
We check “Lifehac” from the Internet
43546
Inexpensive! — magazine Behind the wheel
LADA
UAZ
Kia
Hyundai
Renault
Toyota
Volkswagen
Skoda
GNissan
0009
BMW
Mercedes-Benz
Mitsubishi
Mazda
Ford
All brands
Related materials
5 cool and inexpensive Chinese car ideas for autumn
You don't have to go to a car wash or a spare parts store to get your tires back to a deep black color. You can get by with improvised means, and some of them are sure to be found in almost every home.
There are several ways to blacken tires that are safe and do not affect traction. In the absence of special means for restoring color, for example, shoe polish, glycerin, silicone oil, and even laundry soap and household chemicals are used. Each substance has its pros and cons, but it should be remembered that none of them fully possesses the qualities inherent in special solutions: neither long-term effect, nor protective properties, nor ease of use.
Related materials
11 factors that the driver needs to remember in the fall
Blackening tires with shoe polish or other shoe care product is the first thing that comes to mind. At the same time, the processing process itself is no different, only instead of a brush it is better to use a sponge so that splashes of shoe polish do not stain the body. We simply rub the sidewall of the washed and dried tire with shoe polish and let it dry.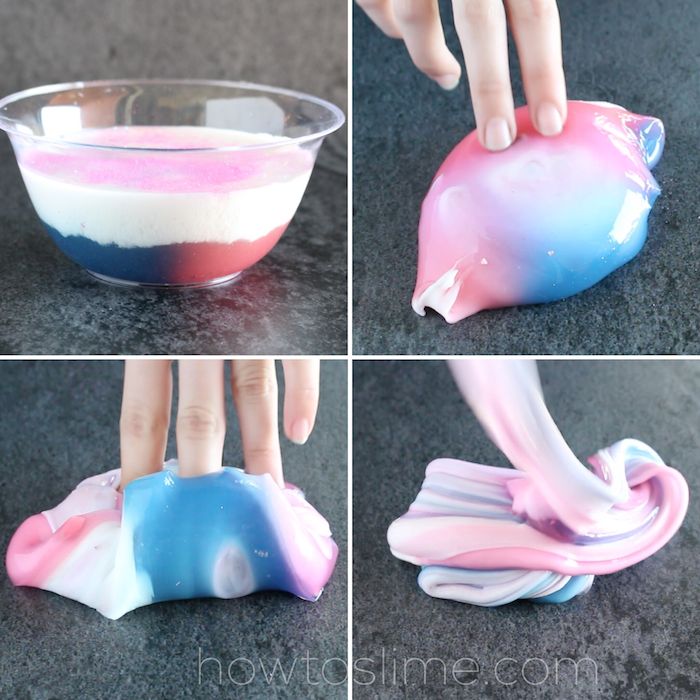
To be honest, the result does not look very good, even when using the product with wax: there is neither shine nor color depth. The application process itself is also inconvenient - imagine what it would be like to process four wheels. The downside is that you have to wait for the shoe polish to dry completely before driving. Otherwise, road dust will quickly stick to the treated surface, reducing all the efforts made to nothing. Of course, there are also quick-drying paint creams, but their cost is such that it will still be cheaper to buy a special product for blackening tires.
Due to its consistency, glycerin creates a stunning jet-black shiny tire effect, and the degree of "greatness" can be adjusted by diluting the product with plain water. For one procedure, only one hundred grams of glycerin and the same amount of water are enough. We mix them, taking into account the fact that the less water in the composition, the more "fat" the effect will be.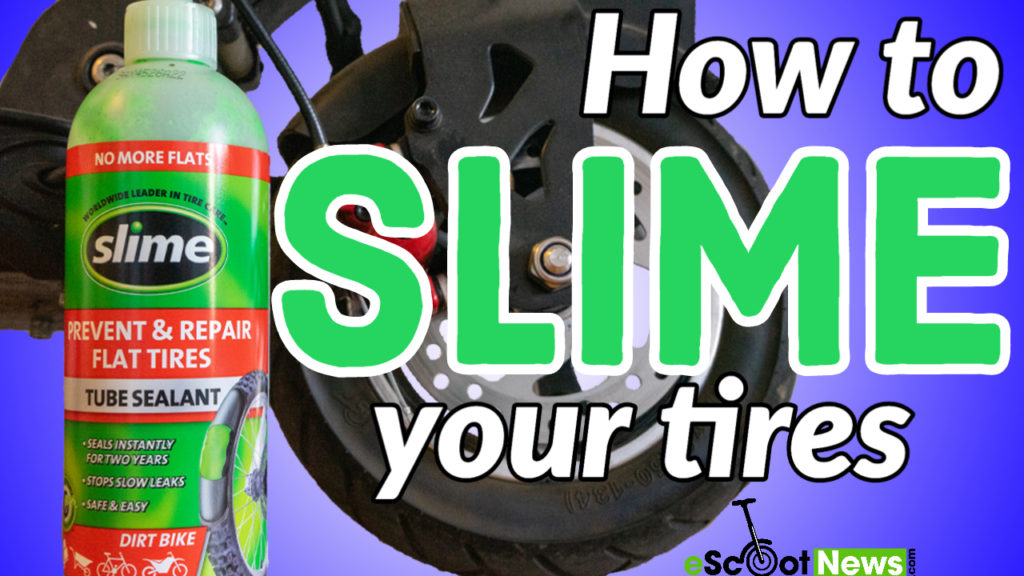 But it’s better not to spare water, otherwise dust will stick to the tires, as in the case of wet shoe polish. The composition is applied with a simple sponge without rubbing. By the way, unpainted black plastic body parts can also be processed with this compound.
The advantage of this method is its low cost and the availability of glycerin in any pharmacy. The disadvantages overlap all the advantages: glycerin quickly ages rubber, causing it to crack. In addition, the composition is very well washed off with water - the very first rain or driving through a puddle will not leave a trace of glycerin. In dry weather, tires will only stay black for a couple of days.
Related materials
How to sit behind the wheel - check your fit
Blackening tires with silicone oil is not the cheapest way because it is not sold in small containers and you will have to buy an annual supply of funds right away. This method is the simplest, most efficient and less labor-intensive than the others. It is better to use medium viscosity oil, which will also come in handy for treating tires before winter or summer storage - this is the only substance described that somehow protects rubber from cracking, drying out, ultraviolet radiation and moisture.
Tires treated with silicone oil last longer and tires look blacker than new. Silicone oil is also treated with door seals and trunk lids so that they do not freeze.
Laundry Soap is probably the cheapest product available for blackening tires. It can be applied with a pre-soaped brush, or by dissolving a crumb of soap in water, apply the composition with a sponge. There is no need to rinse off the soap: when it dries, the rubber will acquire a beautiful and deep black tint. Like most artisanal methods, blackening tires with laundry soap has its drawbacks. Rubber because of it, as in the case of glycerin, ages faster and may begin to crack, so we do not recommend this method of blackening.
Related materials
Preparing the car for winter: what needs to be done first
Household chemicals are often used in car washes. This is a cheap, effective and harmless method for rubber and its adhesion to an expensive method, which can be offered as a bonus or "gift". It is mainly used for washing glasses, as well as dishes. The first is sprayed onto the sidewall of the tire and rubbed quickly, while the second is applied with a damp sponge. It is not necessary to wash off the compositions.
Also on the forums it is advised to blacken tires with drinks. More often than others, Coca-Cola is mentioned. But because of the sugar in the composition of the cola, it creates a sticky layer, on which dust quickly settles, and is easily washed off in the first puddle.
***
All of the listed products, of course, are inferior to the special compounds sold in auto chemical departments. Their blackening effect is short-lived and does not look so beautiful. In addition, most of them can harm rubber by affecting its chemical composition and reducing its service life. Nevertheless, the described methods are in demand due to their availability and spontaneity, because most motorists do not need to blacken tires every day.