After upgrading my front bumper to the new LoD Destroyer series, I also wanted to swap out the factory Warn winch hook for something from Factor 55. Factor 55 is a company out of Idaho that makes some great products, mostly centered around what they call "Closed Sytem Winching".
They have lots of great options for something more secure than the factory Warn hook. I decided to go with The Splicer for a few reasons. First, I like that it possibly elliminates the need for another D-ring as compared to something like the FlatLink which obviously needs a D-ring attached to it. It also doesn't list a Max Load Rating because the entire load is on the rope; the Splicer itself isn't bearing the load. I called up Factor 55 to ask about that and he said in all their tests the rope broke before the Splicer. Awesome.
If you do go with the Splicer, or if you just want to know how to splice your winch rope in case of a trail repair, here is how to do it. I thought it'd be really easy to do without any special tools, but it was more time consuming than expected to figure it out. Once I did, it only took about 10 minutes to do. If it's taking you longer than that, Factor 55 does make a nice tool called the Fast Fid which will make this really easy.
Here is mine attached to the front bumper. Just pop the cotter pin out, remove the load bearing pin, and the Warn hook is free from the black metal part currently covering the rope. Here is the Warn hook completely removed. Save that for an upcoming How-To where we'll put it back to use. NOTE: that black metal part is basically a smaller version of the Factor 55 Splicer. We're just beefing it up and removing the hook/D-ring portion all together.
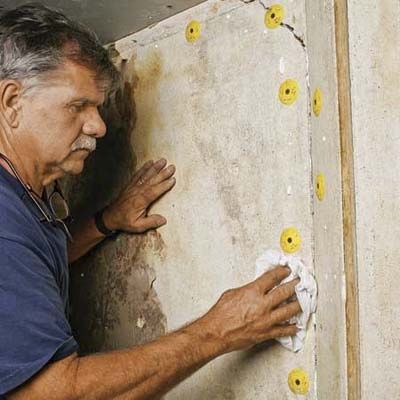
Here is a close up of the current set up, which we'll be replicating. Warn uses the Deep Bury technique and we'll do the same. Start by bunching up the rope toward the end. This will loosen the grip on the section of rope buried within and you can begin pulling it out Here is a pic once that section is removed Continue loosening the rest of the knot so it looks like this
To prevent the rope of getting frayed or unravelling, wrap some electrical tape as shown Here it is taped up and ready to be cut off
This is unessary if your rope is not yet spooled on the winch; you can just unfeed the entire thing. However, if rope is already spooled on the winch, just cut off the last bit of it as shown. This saves you a ton of time (since spooling is a huge pain) and you only lose about 6" of rope. Here it is post-cut. You can see the portion we cut off to the left and how now the rope is free to continue untying.
Keep pulling it thru till the black metal part is also free. Keep that or discard it (but I keep everything! Could come in handy in a pinch).
Tape the entire end of the rope
Push it into the right side and feed it around Pic from above as it serpentines around And out the other side
Ok, now comes the fun part. The integrity of the Deep Bury comes from burying a large section of the rope inside itself. As the rope is pulled tight, it contracts, squeezing the buried roped even tighter. First step, line up the Sharpie and the end of the rope. NOTE: this process will be much easier if you use a razorblade to cut off the pocket holder on the Sharpie and sand that surface smooth, then glue the cap on the Sharpie
Use electrical tape and wrap from the Sharpie all the way onto the rope
Recreate the original thread pattern. Remember, a taught rope hard to work with. Keep it loose. The pattern here is to feed the rope thru itself once, then double back and go thru itself again 1" farther down the rope. Here is the pattern you want before anything pulled tight
Using the Sharpie to lead the way, insert the rope back into itself, about 1" below the last time it crosses thru itself. Remember, keep the main rope loose so it can open up to accept the buried line
Very patiently, work the Sharpie and attached rope farther down into the main line. Don't force anything. The electrical tape is just good enough to get the job done. Be patient. Think of it like a boa constrictor swallowing an antelope. Focus on working the snake over the prey rather than pulling the prey thru.
Once you get to the point where the entire line is buried within, push the Sharpie out the side.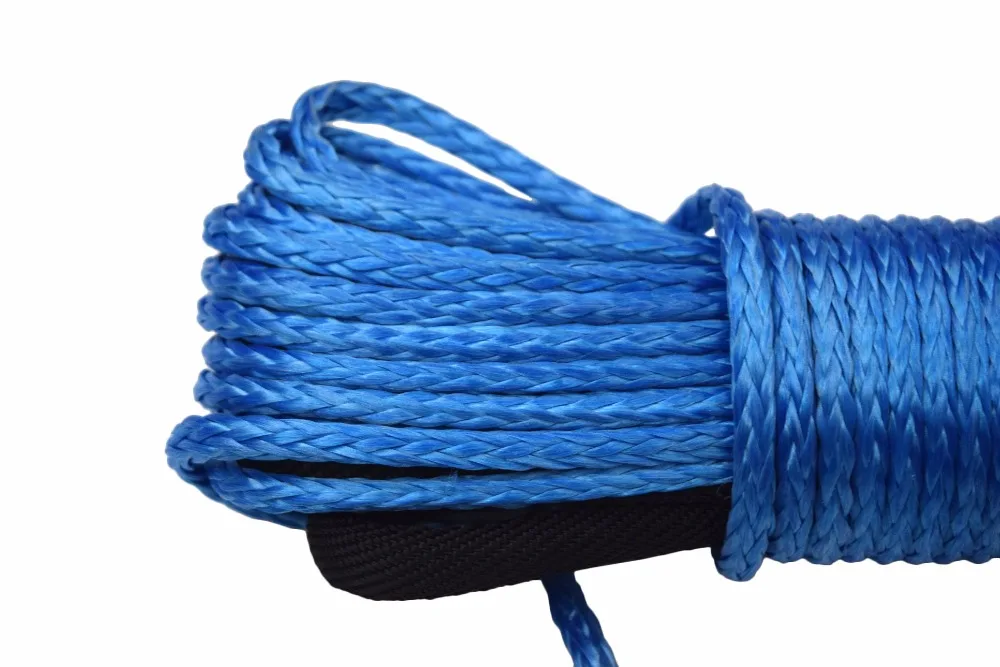 Disconnect from the rope.
Starting near the Splicer, pull the main line tight or "milk it" downward. This sets the buried line properly inside.
I'm happy I switched to the Splicer for both increased safety and for looks. Fewer pieces in the system equals fewer things to go wrong and it matches my Granite Crystal Jeep really well. At some point, I'm sure I'll end up needing my winch and it's nice to have the confidence that the Splicer will do its job without putting myself or my passengers at risk.
Bonus stuff I tried a bunch of different ways before I figured out the Sharpie as the best method (actually suggested to me by a friend). The key is that the Sharpie is the same diameter as the rope. If you go with something smaller, like a metal coat hanger, the rope will get jammed up as you bury it.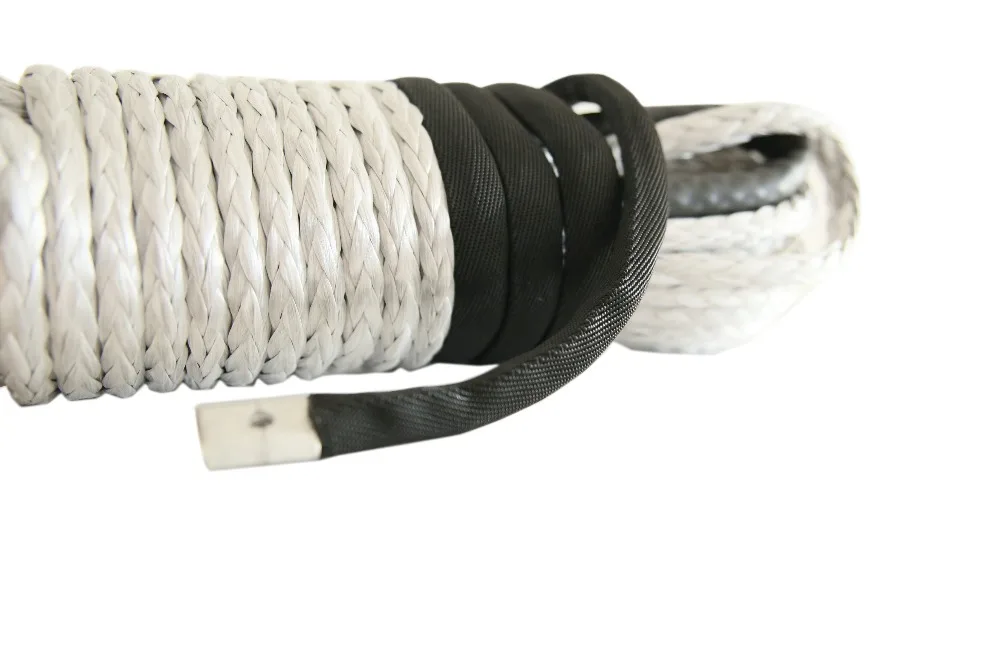 I tried coat hanger and chop sticks in about every way possible before landing on the Sharpie.
Parts Included:
Qty. 1 – Safety Thimble I or II
Qty. 1 – plastic splicing fid
Tools Required:
Sharp pair of scissors/shears or razor knife
Electrical tape
*IF you are splicing your new Safety Thimble onto a synthetic new winch rope proceed to STEP 2
*IF you are replacing your existing tube-thimble/hook set-up, you must first remove these items from your winch rope before splicing. See STEP 1.
STEP 1 Removing the Tube Thimble: Most aftermarket winch ropes that have a standard tube-thimble termination use a brummel lock-splice. You will need to pull the buried tail out from the center of your rope.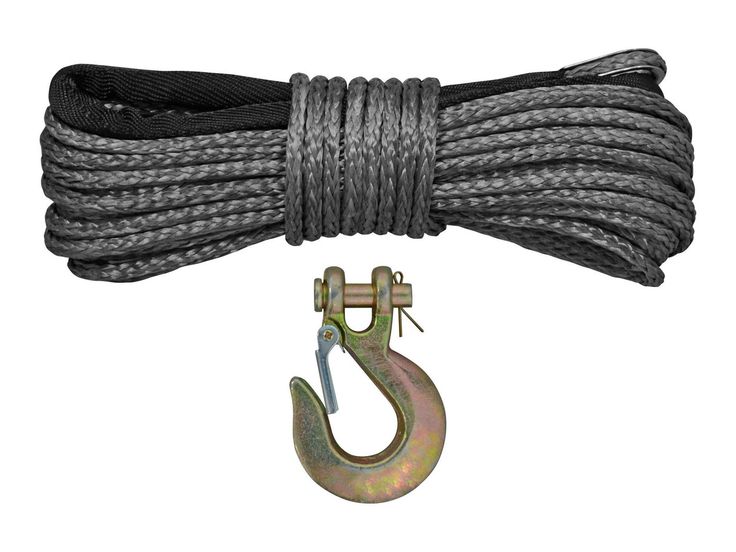 It is generally 10”-12” long and starts a couple inches below the tube thimble. Take your scissors and cut your rope right where the tail entered the long length of your rope. You may now disregard the piece of rope and any accessories attached to it.
STEP 2 Tapering your Synthetic Winch Rope: In this step, you will taper the end of the rope. Measure about 6”-8” back from the end. Pick out a single strand from the braid at that point and pull it out. Move out toward the end of the rope about 1”, alternate sides where you previously pulled a single strand, and pull another. Do this until you reach the end. You should have at least 6 single strands of rope pulled out. Using your scissors, cut each of these along their base where they exit the main braid. Using your electrical tape, wrap the braid starting from your first single pulled fiber all the way to the end. Cut the tape, you should now be left with a tapered end.
STEP 3 Installing your Winch Rope on the Safety Thimble: Take your Safety Thimble and insert the tapered end of your winch rope through one of the holes in the base of the Safety Thimble.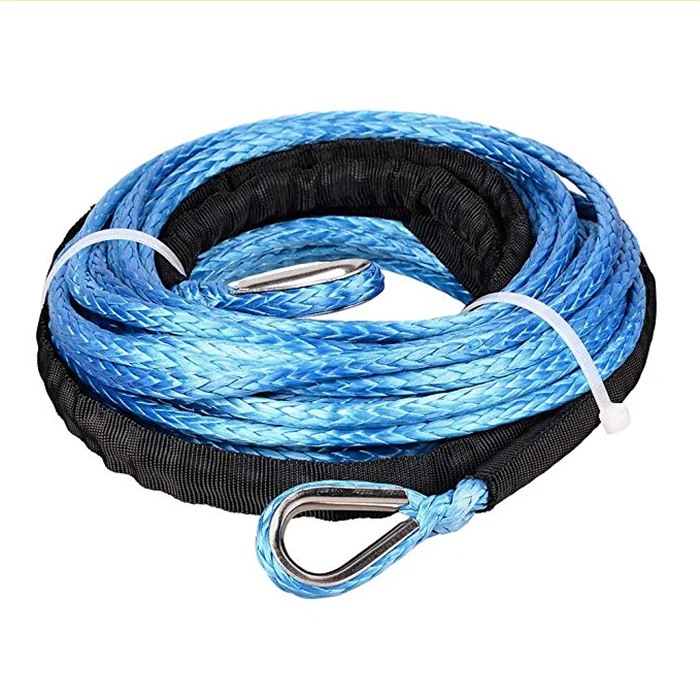 Pull out enough rope to go around the top groove of the Safety Thimble eye and put the tail through the other open hole. Pull a length of tail minimum 16”-18” below the base of the Thimble. This is important and will be the strength point of your long buried-tail splice!
STEP 4: Using the provided splicing fid and your electrical tape, take the end of your tapered rope and tape it to the end of the splicing fid. Be sure you make smooth overlapping wraps to avoid a snag while burying the tail.
Step 5 Burying the Eye Splice: As close to the base of the Safety Thimble as possible, use the end of the fid to open a hole in the center of the main rope. You may have to gently alternate a few strands to find the exact center. Now slide the fid into the center hole, slowly guide the fid inside the center of the rope. Think of it like a “Chinese Hand-cuff”. Once you reach the end of the slack at the base of the winch thimble, you can exit the splicing fid from the center of the rope. Remove the fid from the tail. You may choose to remove all the electrical tape from the tapered tail, but it is not necessary. Hold the Safety Thimble in one hand and grab the rope just beneath the Thimble base in the other. Firmly slide your hand down the length of rope until you reach the end of the buried tail.
THAT’S IT!!! IT’S THAT EASY!!
*If you have a sleeve installed on your winch rope, you may choose to slide it up to the base of the STII at this point.
*Upon initial pull under tension, this will “set” the STII and the buried tail.
Summary
The winch is a truly versatile tool for the rider. It can be used for household tasks, towing heavy loads or evacuating equipment from mud.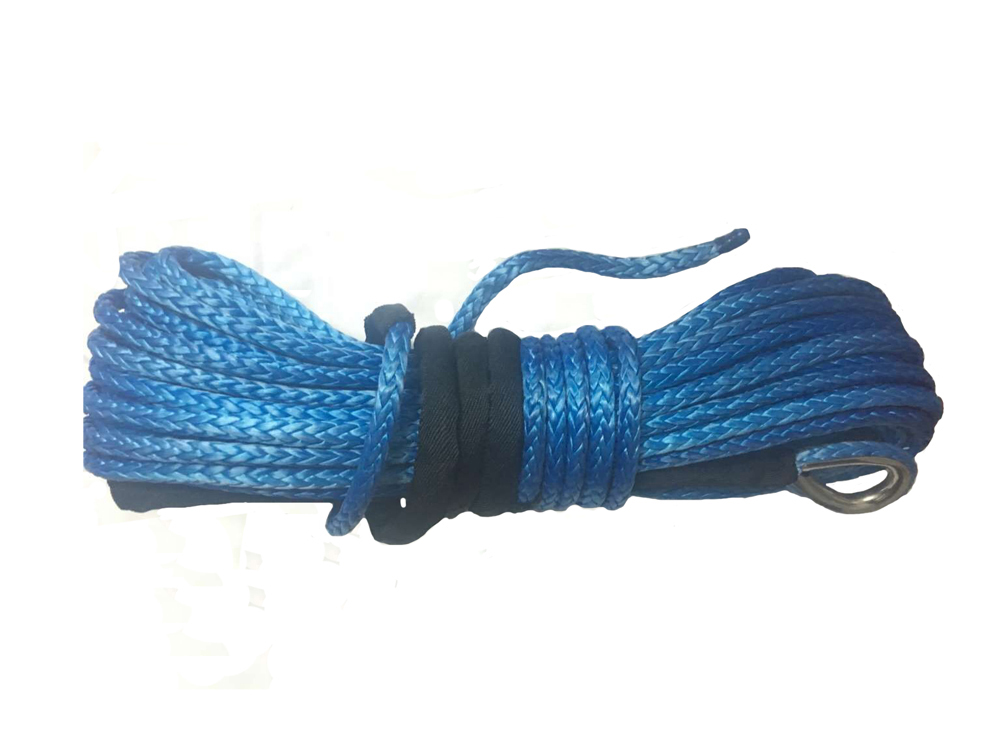 Therefore, it is important for a motorist to know when an ATV winch cable needs to be replaced and how to properly maintain the mechanism. You can learn more about the selection and installation of a new rope in our material.
Many off-road enthusiasts believe that the only time an ATV cable should be changed is when it breaks. But it's not! There are several symptoms that indicate impending problems:
These problems are usually caused by improper cable replacement, manufacturing defects or excessive loads. Therefore, before operating the rope, it is important to familiarize yourself with its characteristics in advance and find out the maximum allowable load.
Note: The service life of the rope depends on its material and operating conditions.
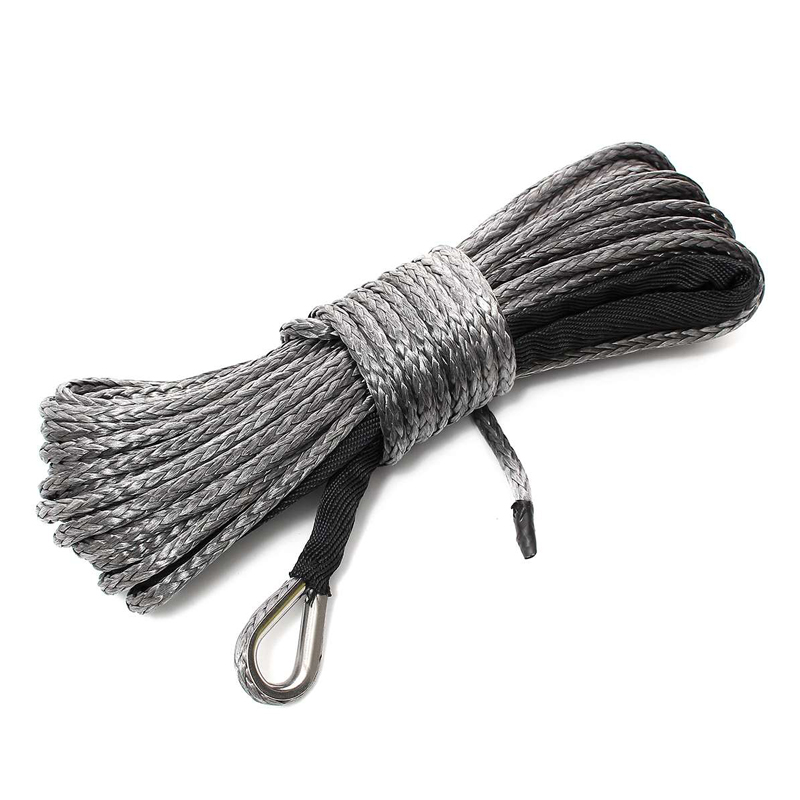
Before replacing a winch rope on an ATV, you need to figure out how to choose the right product. First of all, you should decide on the material of the rope. The easiest option is a steel cable. It is relatively inexpensive, has a significant resource and tolerates frost well. But metal ropes are more dangerous for the rider (there is a chance of injury), need regular maintenance and have an impressive weight.
A more expensive solution would be synthetic rope. In terms of loads, it is in no way inferior to a metal product, but it weighs several times less and is safer to use. Although synthetics have disadvantages. There are only two of them: high price (by 15-20%) and poor tolerance of moisture with frost.
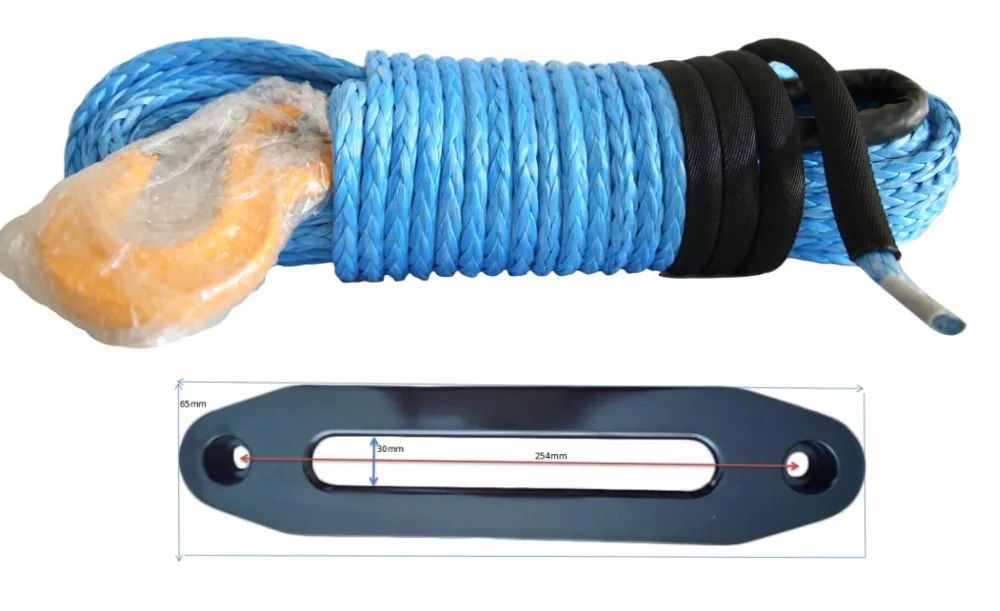
When buying a cable, consider its maximum load capacity, length and weight. All these indicators directly depend on your needs. For example, if you choose a rope that is too thick, you may experience problems with its winding.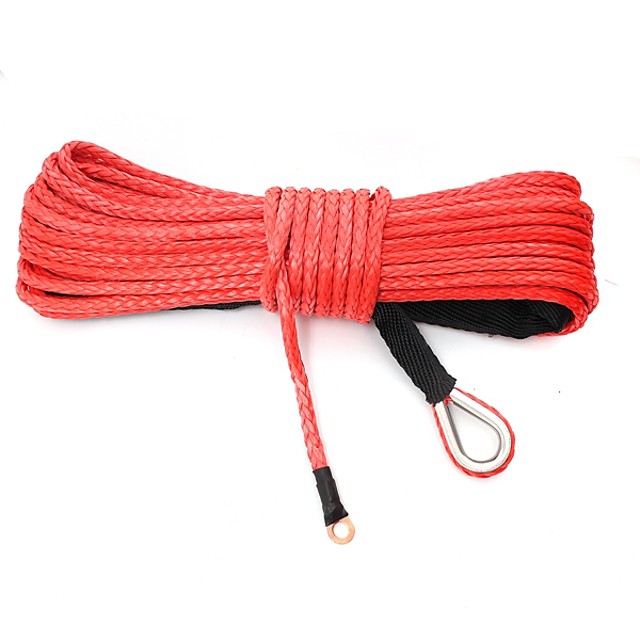
It should be noted right away that even a novice rider can handle the maintenance of the mechanism. To replace the winch cable on an ATV, you need to:
The final step of the procedure is to install the cable and reassemble the device. The new element should be inserted into the groove and tighten the clamping screw with a hexagon. Then you need to pass the cable through the hole for the cable layer, screw the winch to the frame and connect the power.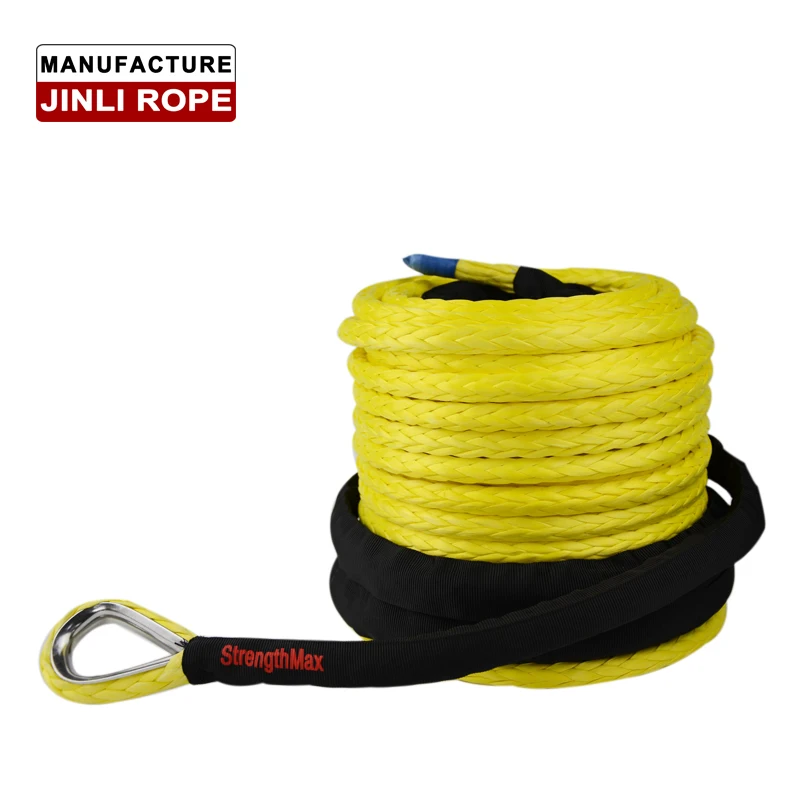 During the winding process, it is important to control the position of the component.
When replacing the ATV winch cable, it is recommended that the mechanism be serviced. It includes a complete disassembly of the device, checking the seals, cleaning the assemblies, lubricating the components and inspecting the cable guide.
Please note: it is advisable to check and service the winch 1-2 times a season.
Most ATVs have a winch in the front as standard. If there is no winch, you can buy it and install it yourself.
Below we will tell you how to use it correctly and how to choose it if you need to buy a new one.
The winch helps:
In principle, it is possible to do without a winch, but only if you are going to ride on dry and proven routes, and you definitely will not be tempted to go beyond them.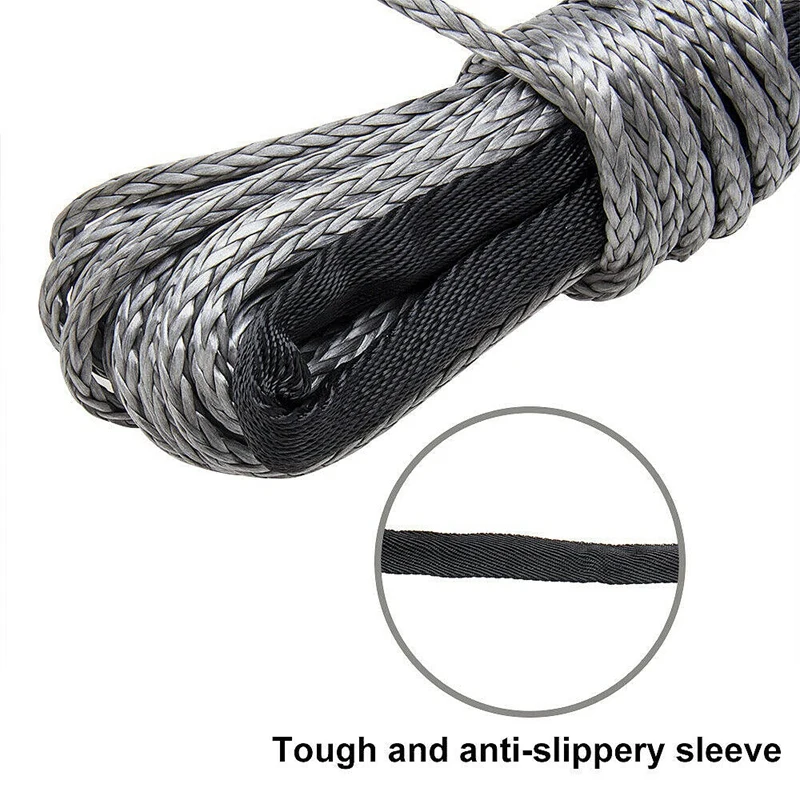 In any other case - if you are not afraid of fords, mud, steep slopes, forests - a winch is a must.
Structurally, it is a drum on which a rope with a hook at the end is wound. On the sides of the drum are an electric drive and a gearbox to reduce the number of revolutions so that the drum spins slowly. The drive is connected to the battery of the ATV itself, and is powered by it, even if the engine is turned off. Usually, on winches, the cable is unwound in two ways: either manually or by the same electric drive.
The whole structure is mounted on a special platform, which is usually located on the front bumper of the ATV.
Before buying a winch, check if your ATV has a prepared platform for mounting it - some models do not have it as standard. If not, you first need to buy and install a platform, and then attach the winch itself to it.
Select:
 The main characteristic of the winch: indicates what kind of load it can pull out. You need to calculate according to formula ATV weight x 2-2.5 . It is better to multiply the weight by 2.5 so that there is more stock. It is indicated in pounds (lb), but in Russian-speaking stores they usually write and translate into kilograms. And if they don’t write, you can call and clarify, or simply convert pounds to kilograms online.
  The switch on the handlebar is less convenient, because you need to be on the ATV (which can be buried in mud or submerged in water) to turn the winch on and off - so it's better to take a more expensive remote control.
 The winch will run on battery power, but its supply is not infinite.
Did you check if you have a playground? Have you already chosen and bought a winch?
Now it needs to be installed: