When you have limited storage space in your garage but a lot of equipment, toys and hobbies, good organization is a must-have. Discount Ramps offers many products to help you make the most of your limited space, from getting a few bikes out of the way to keeping your jet ski, motorcycle or occasional-use car safely stored away for the winter. Take a look at some of our most recommended storage solutions:
One of the great things about using your garage as a storage area is not being limited to floor space. Walls and rafters offer nearly unlimited options for storing objects, provided you have the right hoists and racks.
A bicycle raised to the ceiling on a hoistBicycle ceiling hoists are great for getting bikes up and out of the way, keeping your floor space open and preventing you from accidentally bumping into them. Hoisting your bike takes minimal effort thanks to the pulley system of the hoist, and once it’s firmly installed with the two secure ceiling mounts, it’ll stay secure until you lower it down for your next ride. It’s a great way to preserve your tires instead of flipping your bike upside down on the ground, or removing the tires completely.
Bicycle storage racks are an easy-to-install, easy-to-use solution for stowing one or multiple bikes within arm’s reach. These racks mount easily to any wall of your garage, giving you the freedom to hang bikes securely and open up your floor space for storing other items if you desire.
A kayak hanging from a garage ceiling via a hoistKayak and Canoe Ceiling Hoists are an essential storage solution for anyone who owns one of these large person watercrafts. With secure ceiling mounts capable of handling 100 pounds and a convenient pulley system to get the kayak or canoe off the ground and into the air, you’ll have no trouble creating garage space with a ceiling hoist on your side. Best of all, this storage solution can easily lower kayaks and canoes into and out of trucks and trailers.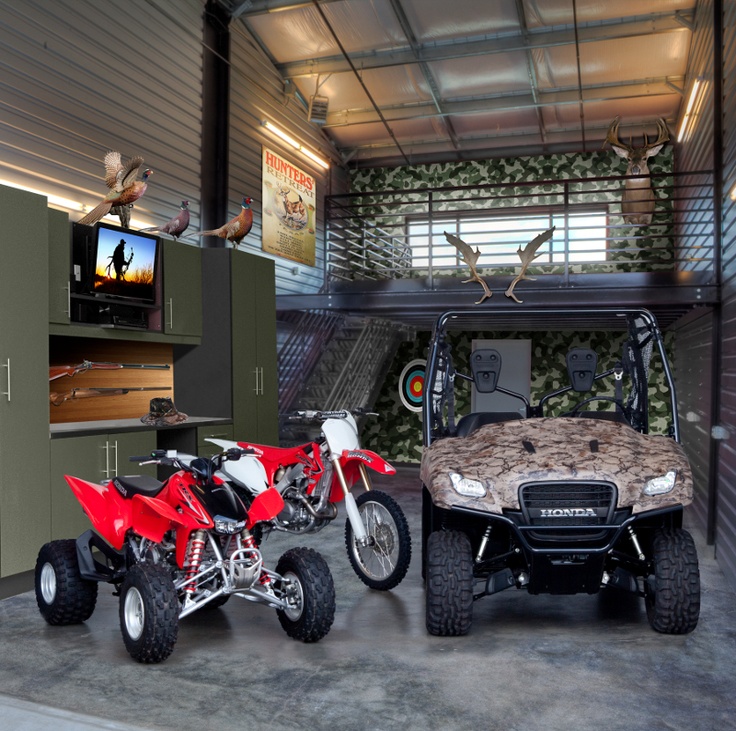
A Kayak wall rack is a smart and easy way to secure your kayak safely while minimizing the amount of floor space taken up by your kayak. Gone are the days of propping your kayak in a corner or stowing it cautiously in the rafters of your garage – a wall rack will keep your kayak and paddles safe, clean and in great shape, while ensuring it won’t come tumbling down or fall over accidentally.
How can a simple dolly help you to reclaim space in your garage and keep everything neat and orderly? Well, that depends on how you’re using it!
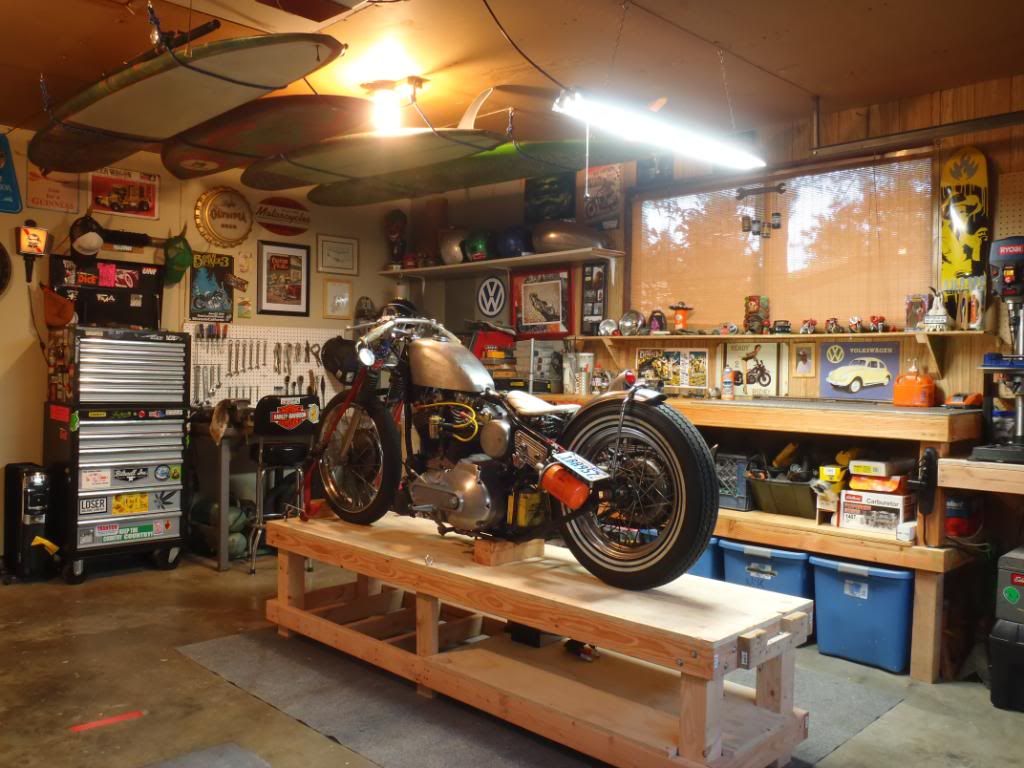
A motorcycle in a garage on a dollyA motorcycle dolly is a convenient way to sneak your bike into the tightest spaces of your garage. These types of dollies run the full length of your bike’s wheelbase and feature a track that serves to secure the bike while also keeping the tires in line, minimizing the amount of floor space it takes up. Many motorcycle dollies also come with hydraulics, allowing them to be raise slightly for easier movement around your garage.
Trying to stow a snowmobile, boat, or utility trailer in your garage is tough – maximizing your space while doing so is even tougher. Thankfully, trailer dollies make it easy for you to tweak and adjustment your toys into position once the trailer is in your garage. The dolly will help the trailer precisely maneuver where you want it. When you’re playing the game of inches with your available garage space, a dolly can be exactly what you need to make your storage count.
These keep your bike or bikes firmly in line while they’re stored in your garage, and are generally designed for multiple bikes.
There are a lot of options when it comes to motorcycle wheel chocks. Some are adjustable to accommodate multiple tire sizes and some are self-locking so that you don’t need a spotter. One new innovative in motorcycle storage are the Black Widow Flatstoppers, which allow you to drive on your motorcycle for storage and will keep your tires cradled to prevent flat spots from forming.
Even though your vehicles, toys or equipment are stored out of the elements in your garage, tarps and fitted covers are your best friend for preventing dust, dirt, cat paw prints, critters and more from getting comfortable on your stored items. For information on how to choose a storage cover, click here.
A classic car underneath a coverThe quickest and easiest way to make sure that your vehicle is protected, car and truck covers come in both universal sizes and fitted models, and can completed shield your vehicle from sunlight, grime and other garage complaints.
Some of the features to look for in motorcycle covers include a soft upper lining to protect windshields, and heat-resistant material that won’t melt from hot pipes if you store your motorcycle immediately after a ride. Elastic hems provide a tight, all-encompassing fit.
Boat and personal watercraft covers are best when fitted, although in some cases a universal cover might work for your craft. The right cover will keep out snooping animals, block the sunlight so it doesn’t fade out vinyl seats and also keep out dirt and dust.
TheDrive and its partners may earn a commission if you purchase a product through one of our links. Read more.
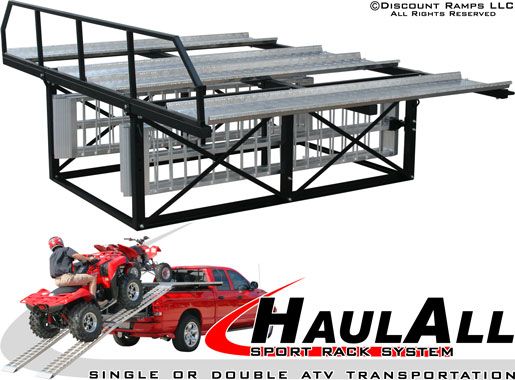
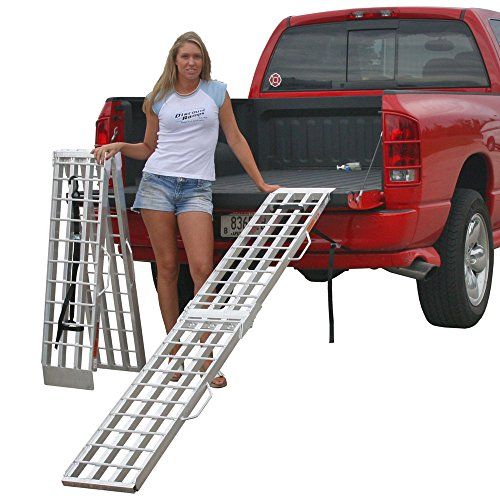
Loading heavy equipment like an ATV onto a vehicle is challenging and dangerous. It's also necessary if you ever want to use the heavy weekend toys somewhere outside of your neighborhood. You'll need the right ramps and some flat ground to get everything loaded up safely and efficiently.
It shouldn't be a surprise that loading a 500-pound ATV onto two pieces of extruded metal can be dangerous. To minimize the danger, stay safe with some easy-to-follow steps.
In terms of ingredients, loading an ATV is an easy recipe.
 You can use a single ramp or a pair of dual-runners, bi-fold, tri-fold, or otherwise heavy-duty ramps for the best results.
You can save yourself a headache by getting everything ready and positioned before securing the ATV ramps.
Unless you like the look of your ATV flipped upside down while you look on in tears, safe use is important when loading it. Getting an ATV loaded up onto a vehicle or trailer requires the right positioning, securing, and use of the ramps.
The proper ramp position will help support the full weight of the ATV as it is loaded.
 With straight loading ramps, keep the tabs pointing up.
Since most ramps simply sit on the edge of a truck or trailer, it's important to tighten them down. This will prevent the ramps from falling and the ATV from crashing.
 Aim for one of the first few rungs closest to the vehicle since a shorter strap length will help keep things stable.
  There should be a balance between the straps and the ramps. Neither should be able to move out of place.
Once you've spent the time to position and secure the ramps, the main event has arrived.
If you successfully get the ATV loaded and secured, the last step is the most obvious: Remove the ramps so they don't drag behind.
A. In general, yes. Most folding ramps have reinforced hinges so they can handle the weight. Compared to rigid ramps, however, you may find folding ramps have lower weight capacities.
A. This depends on the height of the vehicle. Generally, longer ramps are better. A ramp between 7 to 9 feet long is typically good enough for most vehicles.
A. Ratchet straps offer the most convenience since they are easy to tighten. Anything with D-rings will also add an extra layer of security.
A. Technically, yes, but it's very dangerous to do so. It's better to have someone else to act as a spotter.
A. Most ramps will fit underneath an ATV in the truck bed or trailer. Folding ramps are the most convenient since they take up less space.
A. Most ladder-like ramps with rungs are good enough. Some ramps, however, have different surface designs for better traction.
With the onset of cold weather, many owners send their ATVs for the winter. In order for nothing to deteriorate during downtime, the equipment must be properly preserved.
We'll tell you how to prepare the ATV for storage, depending on where it will winter.
The ideal option is a dry heated garage with ventilation. But more often ATVs are stored in garages with outdoor temperatures or drops from minus to plus. The second option is even worse: due to drops on the metal, condensate may appear, which will freeze and turn into ice. It is in such cases that it is necessary to conserve equipment as carefully as possible, on all counts.
In addition to the microclimate, attention must be paid to safety. It is better not to leave the ATV unattended, especially if strangers know about the wintering place. If the garage is not protected by an alarm, video surveillance, or is not connected to an alarm console, it is better to rent a secure room.
ATV is best stored in a dry, heated, ventilated garage
A dry, heated, ventilated garage is ideal. In this case, preparation will take a minimum of time.
A clean ATV makes it easier to notice defects - chips on the metal, cracks in the plastic casing, loose connections. In addition, the adhering dirt will have time to harden in a few months, especially at sub-zero temperatures. This is already dangerous: if it “grows” on a thin part or on wiring, it can break off when leaving and damage it. The same applies to paint, especially old paint: a tightly adhering piece of dirt can fall off along with the coating layer.
After washing, the ATV must be dried by blowing out all the gaps and holes where moisture could remain.
If the fuel remains to winter in the gas tank, the carburetor must be freed from gasoline. If this is not done, plaque will form on the inner walls. And problems will appear with it: the engine will start to stall, when you press the gas, there will be jerks and dips.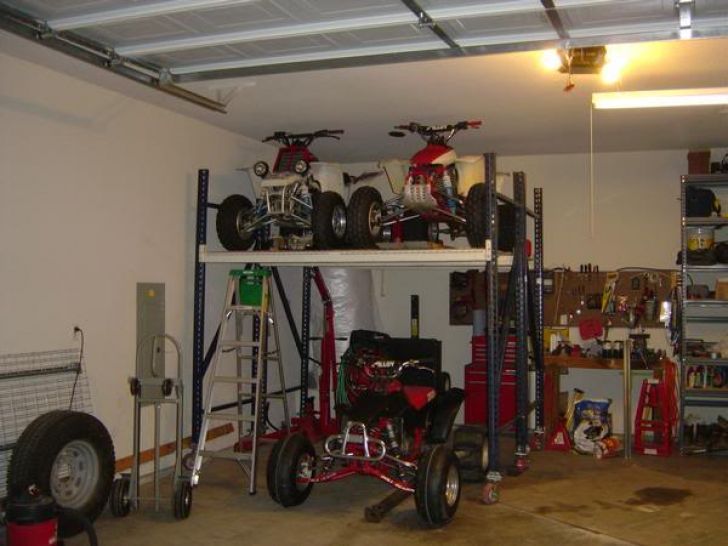 To remedy the situation, the carburetor will have to be cleaned.
Therefore, before conservation, it is necessary to close the valve through which fuel is supplied to the carburetor, start the engine and let it idle. This will drive out the remaining gasoline - the carburetor will remain dry.
If there is a leak somewhere in the wires, the battery connected to the mains will be discharged in a few months. A full discharge is harmful - it reduces the maximum capacity of the battery.
Do not leave old oil for the winter: after operation, it contains impurities, and after several months of inactivity, it can harm the oil system. Therefore, it must be changed just before conservation. Along with the oil, the oil filter also changes.
After replacing, start the engine and let it run for a few minutes to allow the fresh oil to circulate through the oil system.
Change the oil and oil filter before storing the ATV
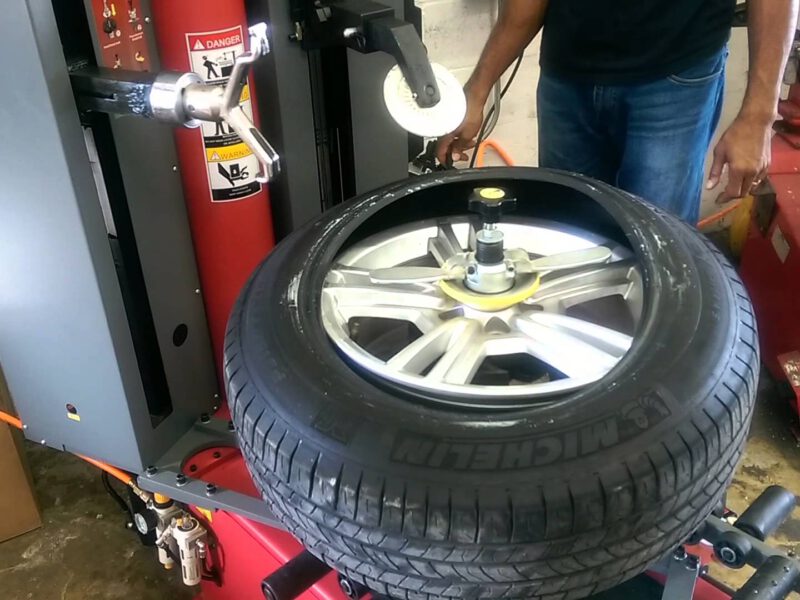
Tires may deform under the weight of the ATV.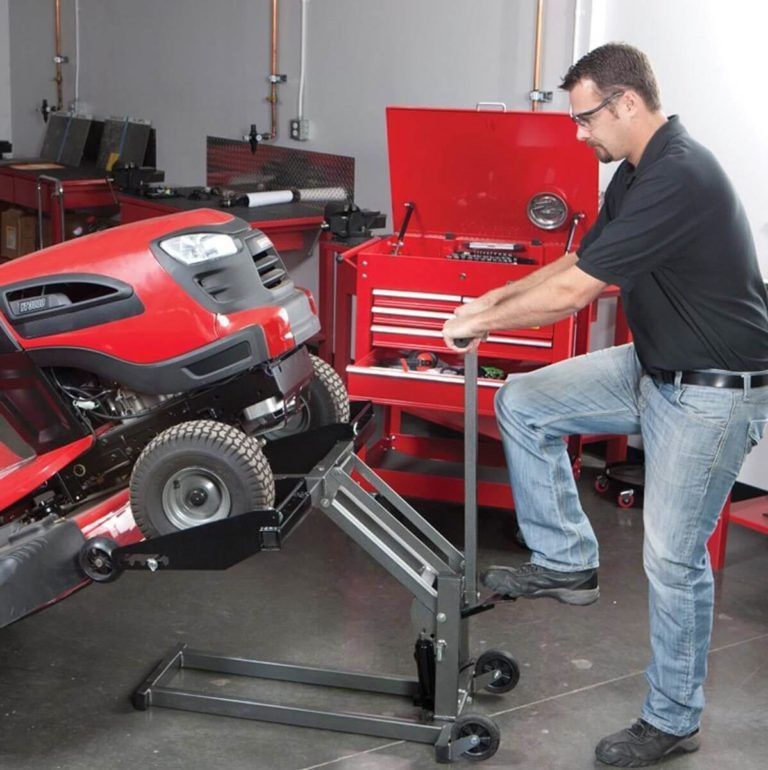 Even if the deformation is invisible to the eye and not felt when driving, it can interfere with balancing or removing the tire.
To keep the rubber intact, the following actions are necessary:
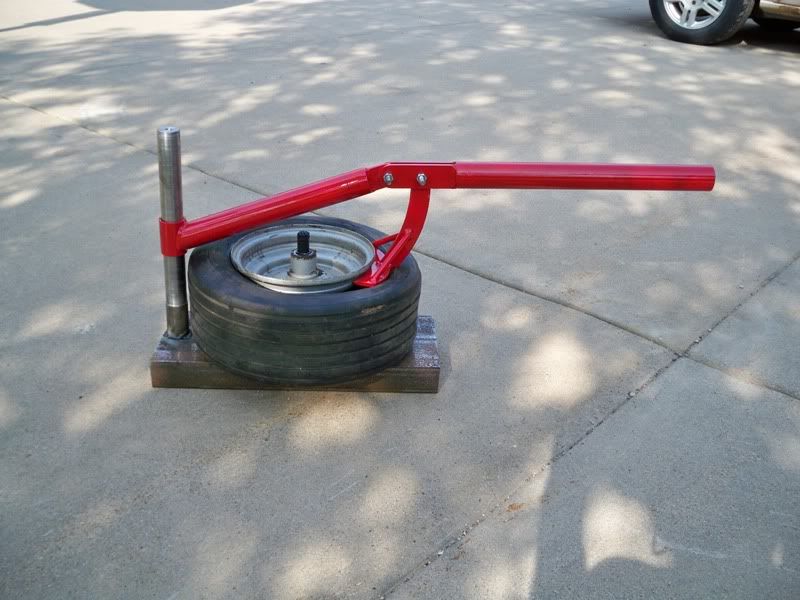
If you don't want to or can't hang your ATV, at least the wheels should not be left on the cold floor. To do this, the equipment needs to be rolled onto several boards or onto a pallet.
If the filter does not yet need to be replaced, it can be cleaned, washed in soapy water, dried and lubricated with a special impregnation. Such liquids are produced by different brands - for example, Liqui Moly, Mannol, Motul. In order not to get dirty in a sticky liquid, the easiest way is to put the filter in a clean plastic bag without holes, pour the impregnation into it, turn it over several times and wash the filter through the bag. Then you can install it in place and leave it to winter in the ATV.
This is to prevent a thick layer of dust from accumulating on the ATV during months of inactivity. The cover must necessarily pass air in order to remove condensate to the outside.
Cold can adversely affect rubber, and due to temperature changes from minus to plus, condensation appears on metal surfaces. Therefore, in rooms with temperatures below zero, both basic training and additional precautions are needed.
If moisture gets on bare metal, rust will appear. Therefore, all chips must either be painted over or covered with a rust modifier that will prevent it from appearing. Fenom, Docker Ifkhan, Neomid, START, Tsinkar have such brands. If you don’t want to buy a special composition, chips and scratches can be wiped with an oiled rag.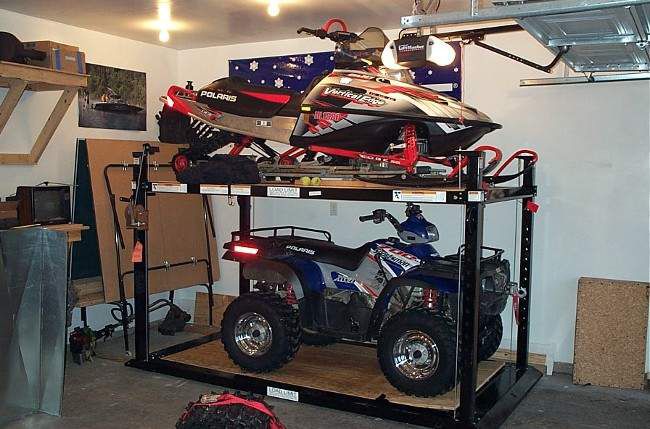
If the tank is metal , you need to completely fill it with gasoline. Otherwise, condensation may appear on the walls, and then rust. Its flakes will get into the fuel system and the engine, clog the jets, ruin the rubber seals and membranes - because of this, you will have to flush the entire fuel system.
If the tank is plastic : you can drain most of the gasoline and leave 1-2 liters. Condensation also appears on plastic, but unlike metal, plastic does not rust.
After wintering, the fuel must be drained and filled with fresh fuel.
The metal tank must be completely filled with gasoline
To prevent the surfaces from drying out and cracking, they can be coated with silicone grease. This applies to the seat, wardrobe trunks, covers, visible seals.
Check nuts and bolts: are they tight? If not, you need to tighten it up.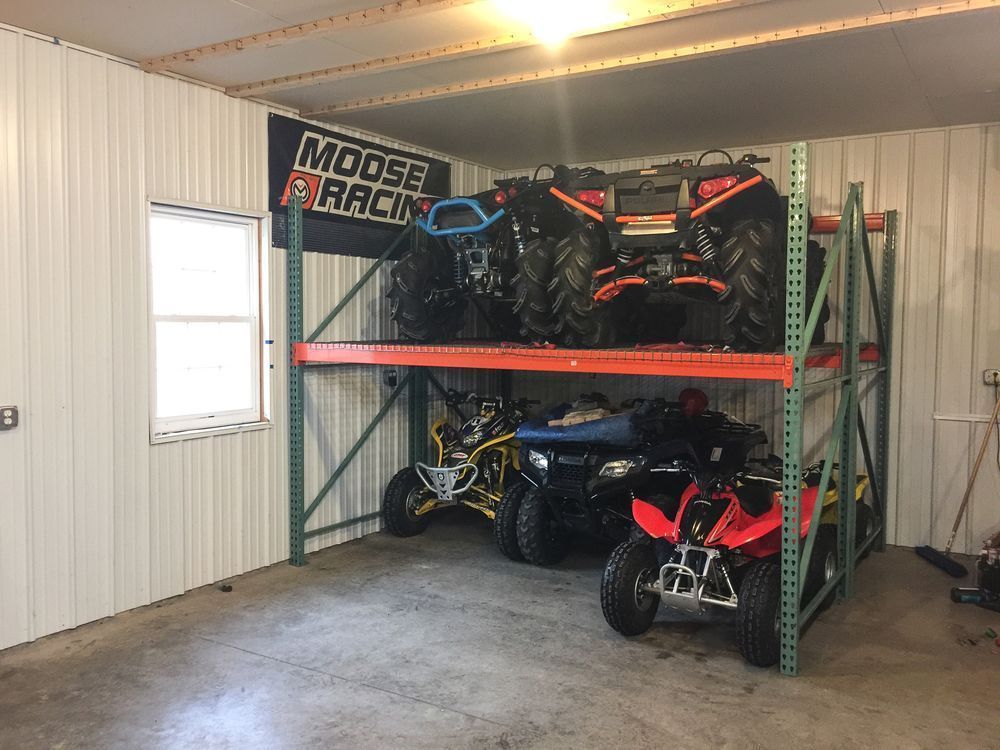 Otherwise, condensation may form and freeze in the gap and the connection will loosen.
You can also ride an ATV in winter
If the ATV is to be parked all winter, it must be properly preserved. It is better to store equipment in a warm, dry garage with safety measures.
For conservation, you need to wash and dry the ATV, hang it up, treat the chips, change the oil, protect the gas tank from moisture, remove or disconnect the battery and cover the equipment with a "breathing" cover.
In some areas of the country it is difficult to drive ATVs during the winter months, so owners decide to store their vehicles during the off-season.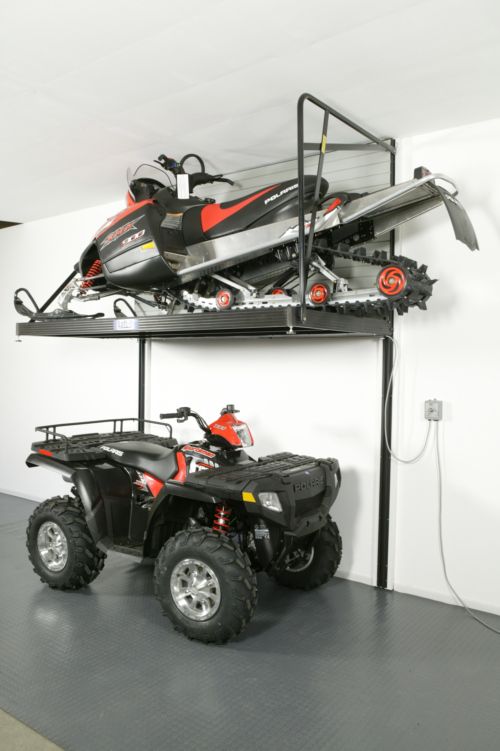
Long-term storage of your ATV is not just about leaving it in a garage or shed. Since you will no longer be driving and the cold season is approaching, you need to prepare your transport for hibernation. It won't take long, but preparation will keep you protected from corrosion and damage, and when the winter is over, you'll be ready to go.
Preparing your ATV for long-term storage requires little more than a simple post-ride cleaning. Yes, cleaning is absolutely necessary, but there are a few more things, obvious and not so obvious, that many owners overlook or forget. The tips below will help you keep your vehicle in tip-top condition, ready for the road as soon as winter is over.
As already mentioned, wash your ATV completely. Apply lather, rinse off and apply lubricant (on the drive chain and all other parts that need to be lubricated), then apply protectant on the plastic parts - all the things you usually do when preparing for a ride.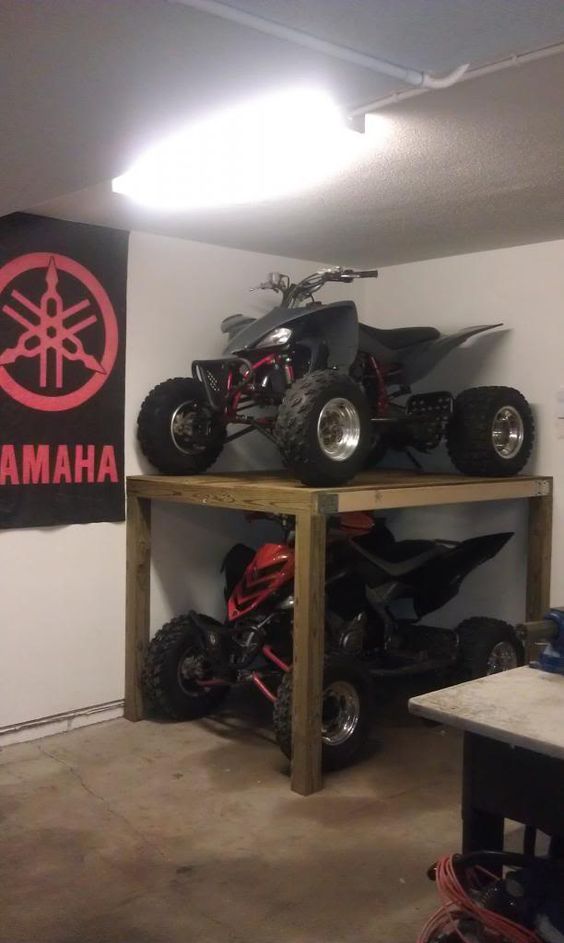 The only difference is to apply WD-40 to the exhaust pipe to prevent corrosion, and plug the hole in it to keep dust or insects out. Plug the hole with a rag or, better, use a special plug. In addition, it does not hurt to coat all unpainted and polished metal parts with WD-40.
Gasoline will degrade if left for too long. If your ATV has a plastic fuel tank, it's best to drain all the fuel - not only from the tank, but also from the hoses and carburetor. On machines with a metal tank, depending on where you live, you need to do the opposite. In an empty tank, rust can begin to form in places where condensate accumulates - so it is better to fill the tank and add a stabilizer. Be sure to start the engine and let it idle so that the stabilized fuel fills the entire system.
Take care of the battery. An unused battery drains quite quickly, and if left in this state, the battery life will be greatly reduced.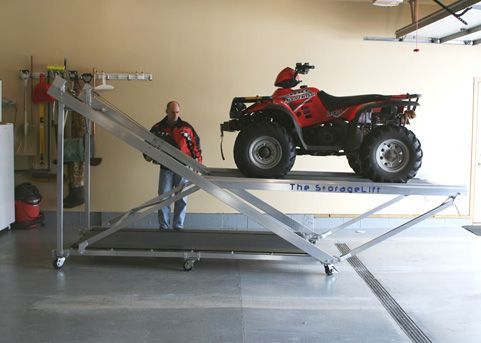 The most convenient way is to connect a charger to the battery, which will use very little electricity, but keep the battery charged all winter. In the spring, do not forget to turn it off. Most chargers use float or technology mode when the battery is fully charged. Most likely, you already have such a device, but if you are a beginner or have recently moved from a region where you could ride an ATV around the clock, get it.
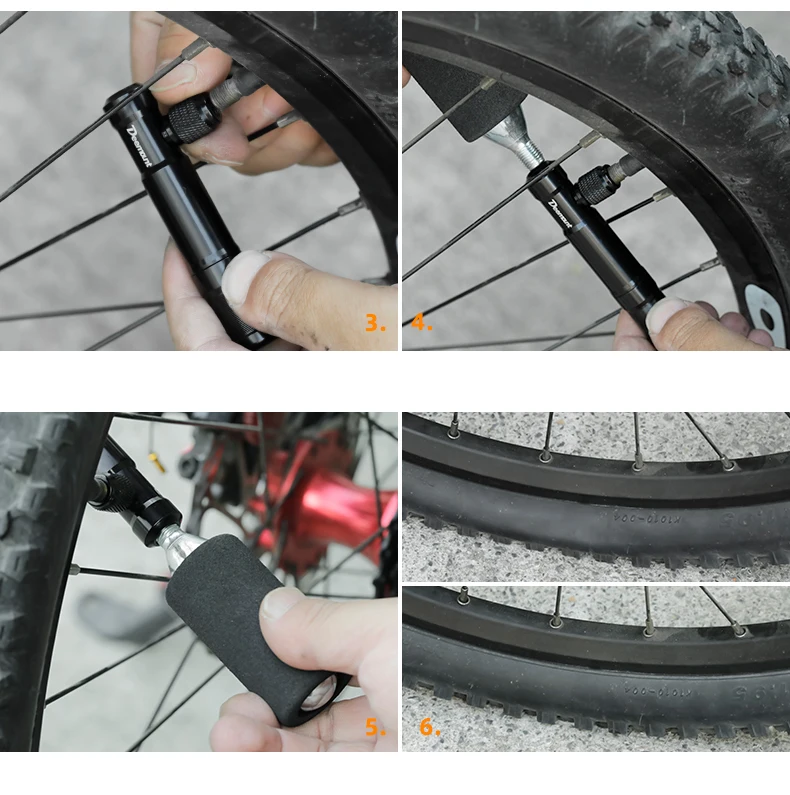
Tires deflate slowly over time, so inflate them to the maximum before storing. It's also best to check them once a week. Also, tires should not be left on frozen concrete for the next six months. Use the blocks to lift the quad off the ground so you take the load off the suspension.
Change oil and filter. Old oil contains dirt and chips, and over time it can thicken and remain in the crankcase or on engine parts. After changing the oil and filter, let the engine run for a few minutes to coat all moving parts with fresh oil.