In this article you will learn:
Whether you bumped into a curb while making a sharp turn or drove through a particularly deep pothole, scratches and swirls in your rims can be difficult to avoid and expensive to repair. These unsightly scrapes and imperfections can put a damper on that "new car" look.
Luckily, you can fix most of these scratches yourself. All you need is the right polish, cutting pad and a microfiber towel!
Before trying to fix scratched or damaged rims, it’s important to know what kind of wheels you have and the severity of the damage. Most traditional rims are made of chrome, aluminum, steel or metal alloy, but many manufacturers now produce wheels that have the same clear coat as your car’s exterior panels. If you aren’t sure what kind of rims you’re working with, it’s always a good idea to check with the manufacturer.
Light scratches and swirls in your rims from improper washing techniques or loose debris on the road are easy to fix right in your driveway! If you’re dealing with more severe damage, like curb rash or scuffs from driving on a flat tire, metal or chrome polish won’t be enough to reverse the damage. You’ll need to make an appointment with your auto repair shop to fill in the dent or scratch as needed.
To prep your wheels for restoration, you’ll need a specialty cleaner, like Turtle Wax All Wheel & Tire Cleaner and a gentle wheel sponge or brush.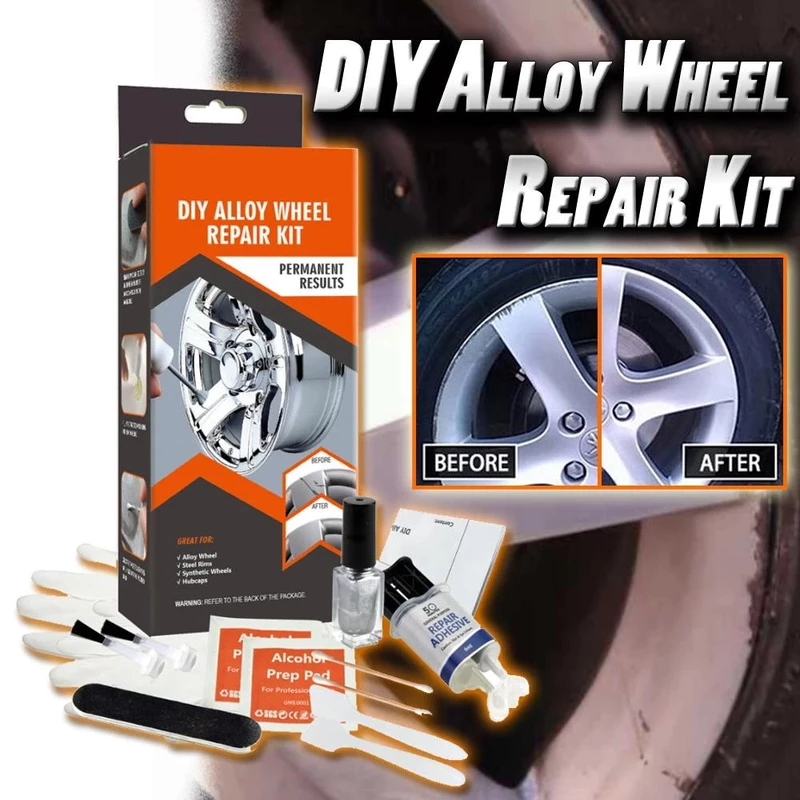 Avoid hard bristle brushes that could leave behind micro scratches and instead, opt for a gentler, more effective tool like the Wheel Woolie or a soft detailing brush.
You’ll also need a polish that’s compatible with the kind of rims you’re working with. For metal rims, we recommend a metal polish like Turtle Wax All Metal Polish or our premium Chrome & Metal Polish. To repair scratches in rims with painted finishes, you can use any polish you’d regularly use to restore the rest of your vehicle’s clear coat, including Hybrid Solutions Pro 1 & Done Professional Polishing Compound and Hybrid Solutions Polish & Wax.
Before you fix scratches and swirls in your rims, start by to prepping your wheels and tires, using your designated wheel cleaner to remove dirt, grime and brake dust from every surface of your wheels. It's important to polish clean rims to avoid rubbing harsh soils and other contaminants into your metallic finish, creating even more scratches and swirls to repair!
Use your wheel cleaning brush to scrub away tough stains and soils and reach deep underneath your brake calipers to remove as much brake dust as possible. Allow your cleaner to dwell for the time specified on the bottle, then rinse thoroughly and hand dry your wheels with a microfiber towel.
After prepping your wheels and tires, place a hand on the surface of your rims to feel if they’re cool to the touch. If the metal feels warm or hot, use a garden hose to cool down your rims before you begin the restoration process. Never polish warm rims or exterior panels; doing so can dull your paintwork and metal finishes.
Once you’ve cooled down your wheels, move your vehicle out of the sun into a garage or under a tree or canopy to begin the polishing process.
To ensure that your polish is compatible with your metal or painted rims and gives you the results you want, choose an inconspicuous area, such as the edge of the rim, to perform a quick spot test. Apply a small drop of polish to a folded and quartered microfiber towel and buff the polish into a tiny section of your wheel rim. If light scratches and swirls disappear, you’re using the right polish and applicator. If you don’t see the level of correction you’re looking for, you may need to switch to a more aggressive polish or cutting pad.
If, for any reason, the polish damages your rims or leaves behind streaks or discoloration, stop using the product immediately! Switch to a different polish or consider consulting an auto repair shop.
Place a quarter-sized drop of polish on a clean, microfiber detailing cloth and gently buff this product into the damaged area of your rims to fix scratches and swirls. Take your time, using light, circular motions to smooth away any noticeable imperfections. Continue buffing the surface of your rims until all scratches and swirls have been removed.
Pro Tip: Use masking tape to section off any areas of your rims that you want to correct to avoid transferring polish on other parts of your wheels and tires. Then remove the tape and use any excess product to buff the surrounding areas to create an even finish.
Once you’ve finished erasing any light scratches and swirls, buff your rims to a glassy finish using a separate microfiber towel,blending out any patches that look smoother or shinier than the surrounding areas. For the best results, use a lint free cloth with a lightweight, microfiber blend to avoid streaking or contaminating your flawless finish.
Now that you’ve successfully removed the scratches from your rims, your last step is to apply a car wax or wheel protectant to minimize future damage to your wheels and tires. Consider investing in a durable synthetic wax like Hybrid Solutions Pro Flex Wax, or Hybrid Solutions Pro Max to the Wax to preserve that showroom restoration and give your wheels an extra pop of gloss!
Subscribe for your newsletter and the rewards will be in your inbox before you even get there
News, events and insights from Turtle Wax® worldwide
Exclusive offers and discounts on Turtle Wax® products
Regular treats and surprises for all subscribers
Thanks! You should receive a confirmation email shortly.
There can be many problems when a vehicle is on the road, including curb rash. They are scratches on the rim or wheel when hitting the curb.
This collision not only makes the vehicle unsightly, but it can also break the structure. So, how to fix curb rash on rims? This article will help you take a closer look at scratches on rims and how to fix them yourself. Let’s dive into this article to get it clear!
Why fix curb rash on rims?
The curb rash on rims makes the car's aesthetics significantly reduced. You should reconsider if you do not pay attention or have discovered this stretch mark without fixing it because this action can cause more severe damage to your car.
If you own a brand new car, there is no guarantee when your tire hits the curb. Reality shows that they can be deformed under significant impact even when they are new. Also, this situation occurs strongly, causing damage to the rim.
The tire's sidewall is of a rubber layer that helps limit external impacts by being flexible and continuously deforming during travel.
It is this feature that is the reason why the side walls are torn if there are many continuous collisions. The tire is very easy to deflate and makes it difficult and dangerous to move.
If this condition persists for a long time, the tire will wear out, perform poorly, and need to get replaced.
Moreover, these collisions can cause system damage such as transmission errors, braces, brakes. They also pose a significant danger while moving for the vehicle's occupants.
As such, the most important thing when owning and traveling by car is safety. Not only is it safe for you, but also your family and other road users.
There are many causes of car rim scratches, from objective to subjective reasons, such as:
Do you often have to travel on roads with convex, bumpy, uneven terrain at high speed? It is strong shocks that will cause the surface of your rims to have a few more scratches.
Especially at peak hours. All sorts of jostling vehicles or impatience cause you to make the careless decision to drive too close to the sidewalk, causing scratches on your rims.
In addition, the habit of parking too close to the curb also causes scratches on the rims that we can hardly overcome or can see clearly because the lower edge of the rim is a blind spot on the rearview mirror.
It is the accumulation of road dust, acid rain and hot sun. Over time, these stains will corrode the metal surface of the car's wheels, not only causing unsightly but also greatly affecting the safety of each trip.
The improper cleaning and maintenance habits of most car owners are also one of the causes of scratches on the wheels. From the subjective, lazy to take care of regularly, to create conditions for rust and corrosion agents to invade the metal surface of the rim, to the use of highly acidic cleaning chemicals, creating catalysts that can silently destroy the surface of the rim.
You can easily see the dangers of driving a vehicle with curb rash. Here's how to fix this error for you specifically.
Tools you need:
Use a glass cleaner and a soft cloth to clean the scratched area on the rim.
Use sandpaper to smooth the rims
Use sandpaper: This activity requires 400-grit sandpaper for metal surfaces. You sand them until they are flat without doing too much with the area where the error occurred.
If the scratch is located near the tire rim, you need to apply tape around it to avoid damaging the tire. Use fine sandpaper to remove scratches, so that the scratched surface becomes smooth.
 Use a dishwashing sponge pad
Next, you need to use a dishwashing sponge pad to rub over the scratched area a few times.
Use newspaper and tape to cover the part of the tire close to the scratch on the rim.
If you do not take these actions fully, your vehicle may be damaged. Besides, you can also remove the tire separately and cover the no fault on the tire, such as the inflatable valve, screw, brake pad.
Spraying primer is an important step. Start by shaking the can of paint and spraying it on the rims. Remember to keep a distance of 6 inches while painting between the can and the rim. Now, cover fully with a thin layer.
You can apply a second coat when the first coat has dried for about 15 minutes. It happens when the top layer is uneven or too thin.
You can also apply 3 - 4 coats of primer to the scratched area, avoiding spraying on other unscratched areas. Then wait a few minutes for the paint to dry before moving on to the next step.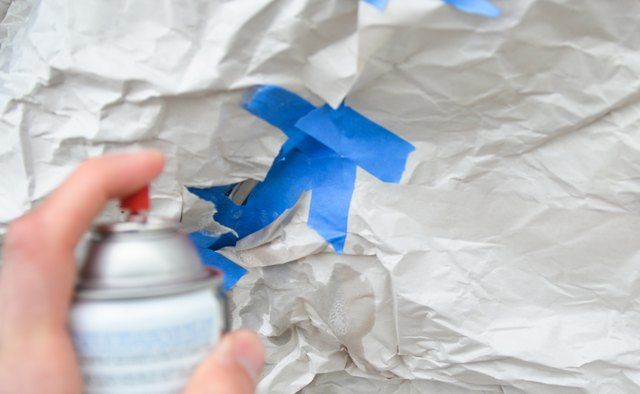
You need to test the paint color to see if it matches the color of the rims, most rims are usually silver, so choosing paint is quite easy. Pay attention to paint the scratched part, avoid letting the paint stick on the tire. If the paint sticks to the surrounding parts, you can use gasoline to wipe the paint off.
First, apply a thin paint layer on the rim: Always remember to apply a thin, even layer of paint. Significantly shake the can well and keep your distance. Also, you should choose a solid color between the new color and the old color of the rim.
Apply a second coat of paint after 30 minutes: You need to wait 30 minutes before applying a new coat if the previous one is not as required.
Let the coat dry for 2 to 12 hours: If you want to succeed in this activity, you need to let the paint dry before use. The minimum time is 2 hours after applying the last coat. However, the ideal time is 12 hours.
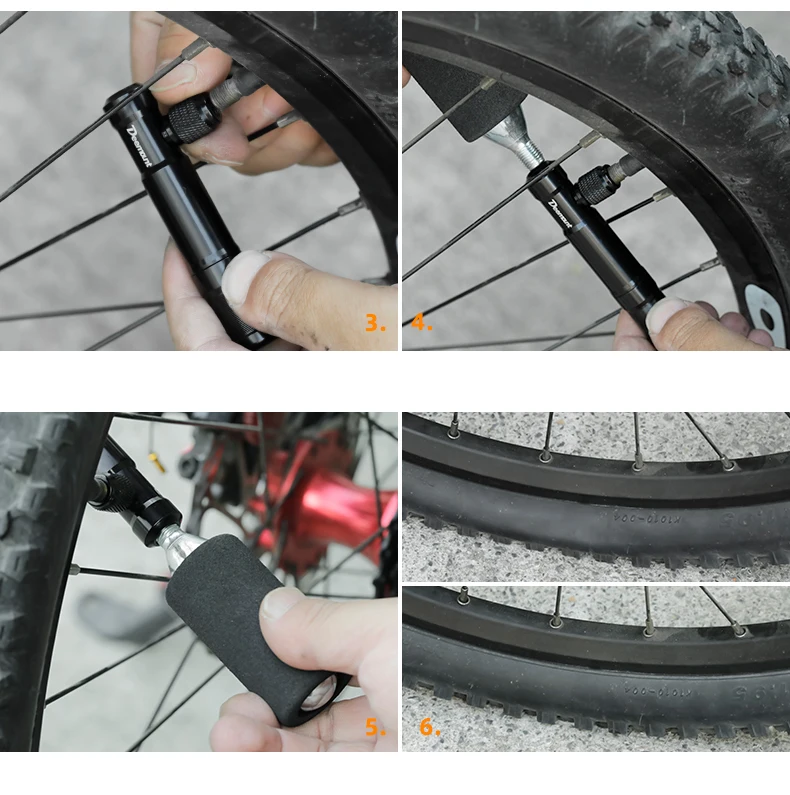
For details, check out this video!
Video created by Justin Buice
 Paint top coat
You should spray 2 coats of topcoat over the silver paint to protect the inner paint layers from elements such as acids, salts, water, etc.
Get it dry for 12 to 24 hours: Please wait to repaint or use the vehicle. The minimum time is 12 hours. But if you are too hasty, you can make them ugly and difficult to fix.
Remove the tape and replace the center cap: When the paints are completely covered and dry, they leave you satisfied. The next thing you need to do is remove the previous tape and paper and replace the center cap.
Polish the rims to restore their shine: The final step to perfecting this job is to polish the rims. It will help them look new to the highest level of perfection.
Hopefully, you can repair your curb rash yourself and bring it to perfection through this article. At the same time, you should overcome this situation as soon as possible if you do not want to be in danger.
If you can't fix it yourself, take the car to a repair center. Here a professional auto mechanic will help you do just that.
It is very difficult to keep wheels in their original form. They are constantly exposed to external influences that adversely affect the surface. This causes scratches and chips. Many drivers often ask the question, how can I remove scratches from a disc? Today, this has become possible thanks to the latest coating restoration technologies.
Contents
To restore the coating and remove scratches, it is necessary to first study the nature of their occurrence. For example, working with forged products is much more difficult than working with alloy wheels. To achieve a good result, it is best to seek the help of professionals.
Models made in the USA, Japan and European countries are perfectly repaired. To restore a scratched disc, a variety of technological processes are used:
Wheel polishing is very popular, after which scratches are completely removed. However, this technique does not always help. If the depth of the scratch reaches the metal, it will not be possible to remove it by polishing. More complex work will be required. Fortunately, modern technology makes it possible to completely restore any disk
Minor scratches on a wheel rim are easy to deal with. It will be enough to polish the surface until the scratch disappears completely. This operation can be performed at home using coarse-grained sandpaper (200 - 600 R), together with polishing paste.
You can restore the disc from scratches right in the garage by painting it in the appropriate color. Unfortunately, it is impossible to use the powder method of applying a special material at home. To do this, it is necessary to have a polymerization chamber that works only in the factory. But if you use a specialized high-quality paint and follow the correct painting technology, you can achieve a durable coating.
In order to achieve high quality, the disc must be carefully prepared before painting. To do this, the following operations are performed:
Only specialized high quality materials should be used.
Deep scratches are pretreated. The surface is leveled.
The face is carefully examined for dents and chips.
In case of complete damage to the appearance, old materials are completely removed, the disc is repainted.
Epoxy paste can be used to repair a scratched disc. It contains certain components:
Before applying the paste, the following steps must be performed:
The components of the paste are then mixed. The resulting composition closes the scratches. Excess paste is removed. It remains to wait until everything is completely dry. Drying time indicated on the paste package.
Professionals advise using white paste. It will not show through the layer of paint that will cover it.
UV lamps can be used for faster drying.
If you decide to repair the disc without removing the rubber, you must first cover it with masking tape.
When the epoxy paste has set well, the surface treatment is carried out. To do this, use fine-grained sandpaper. It will completely remove all the bumps. It remains to paint the surface with acrylic paint, then varnish.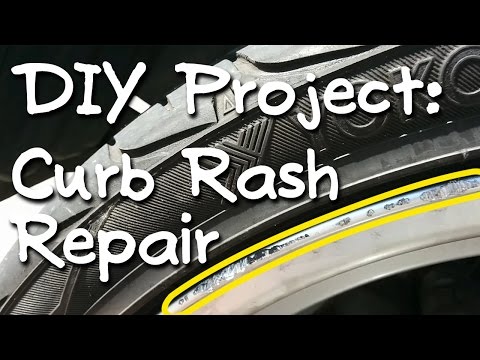 For shine, it can be additionally coated with polish.
Modern disks for car wheels come in several types. And if stamped steel withstand damage, even dents, and are closed with caps, then cast light-alloy wheels with paintwork after seasonal changes in weather and road surface have all the shortcomings in sight. And the most common defect is numerous scratches and chips.
Restoring the appearance of such discs in auto repair shops is not cheap, and these procedures can take a lot of time. In fact, it is possible to bring the disks into a proper, close to the factory look in garage conditions. Today we will consider one of the simple technologies of such "home" restorations.
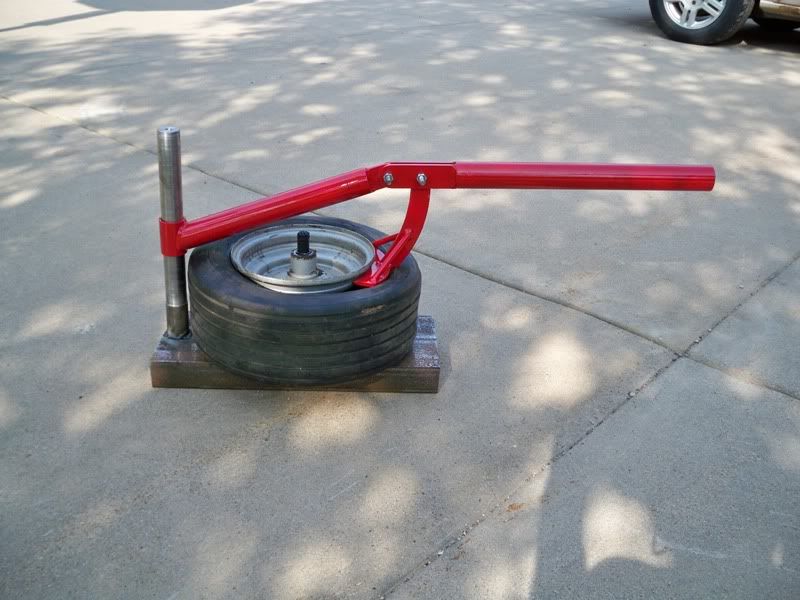
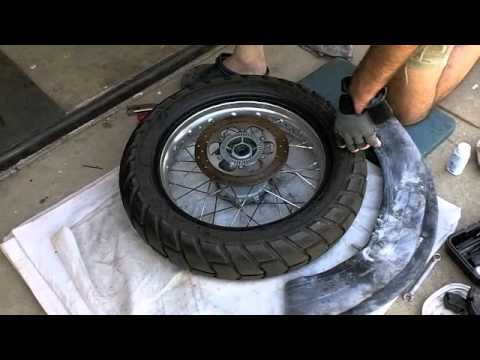
First, we need to dismantle the wheel completely by jacking up the car and unscrewing the fixing nuts. It is not necessary to disassemble the wheel, unless there is any doubt that the tire tread will interfere with our work. In our case, the tire will remain in place throughout the entire restoration process.
Since we are talking about finishing with paint and varnish coatings, it is necessary to thoroughly clean the workshop or the area of \u200b\u200bthis work from dust that can ruin the whole result. Ventilation also matters, otherwise all the chemicals in a closed room will settle in your lungs.

You will also need water, detergent to clean the metal from dirt and dust, rags for dry and wet cleaning. It will not be superfluous to take care of protective equipment - glasses, gloves, a respirator. For grinding we use a screwdriver.
The damage zone of the wheel rim is mainly external, and less affects the side parts of their slotted shape. After cleaning and washing the rim of the disc from dirt, we proceed to sanding the scratches. But before that, we glue the edge of the rubber tire tread adjacent to the metal with a masking tape so as not to wipe it with an emery wheel.
We start sanding with the coarsest abrasive disc, grit rating - 180. A screwdriver is quite suitable for a nozzle with Velcro. This should be done without much pressure, so as not to make dents and grinding. On soft metal such as aluminum or magnesium alloy, this sanding pad will handle most chips and scratches with ease.
Sometimes surface damage can be so deep that sanding is not enough. In this case, automotive putties or epoxy pastes designed specifically for such work are used.
Following the results, gradually change the discs to a higher abrasive grit rating. Up to No. 1000, the treatment is done dry, and only the final number is washed with ordinary water. Masters advise to moisten the sandpaper itself before processing, placing it in a container with water.
At the end of grinding, the effect becomes visually perceptible. It was the turn of the polishing sponge and Farecla G3 paste. Its professionals know it as a universal polishing paste that eliminates minor defects and is applied to surfaces such as metal, industrial varnishes, plastics, acrylic and even furniture.