We buy and receive free products to review, and may receive commissions from affiliate links. See our disclosure page for details.
May it be tube tires or tubeless tires, the performance that users will experience is still going to be great. Many cyclists can’t even tell the performance-based differences between the two types of tires, the only time they see a difference is when one of them gets a flat or becomes unusable somehow.
That brings us back to the topic at hand- Tubeless tires! They have become very popular since their advent, from installing tubeless tires to using them, they are just a joy and you should definitely try them out. Although like other tires, they can also get a flat sometimes and when that happens you need to inflate them. There could be a problem with the tire pressure or air compressor, there could even be problems that you have not heard of.
That is one of the most common questions we get asked about tubeless tires, and the answer to that is both yes and no. Here are some of the few tools that you need to inflate tubeless tires (Not all of them are needed though).
These tools will be very helpful when taking care of tubeless tires. Let’s take the hand pump, for example, the only thing that you need to do is attach the pump to the tire and then start inflating. These tubeless tires are very tight from the start and this allows them to build the recommended amount of pressure. When this happens a seal between the rim and tire is formed.
Upon installing tubeless tires, here are some of the benefits that you will be able to enjoy.
Tube tires are known for having a flat every now and then and that is what has reduced their popularity.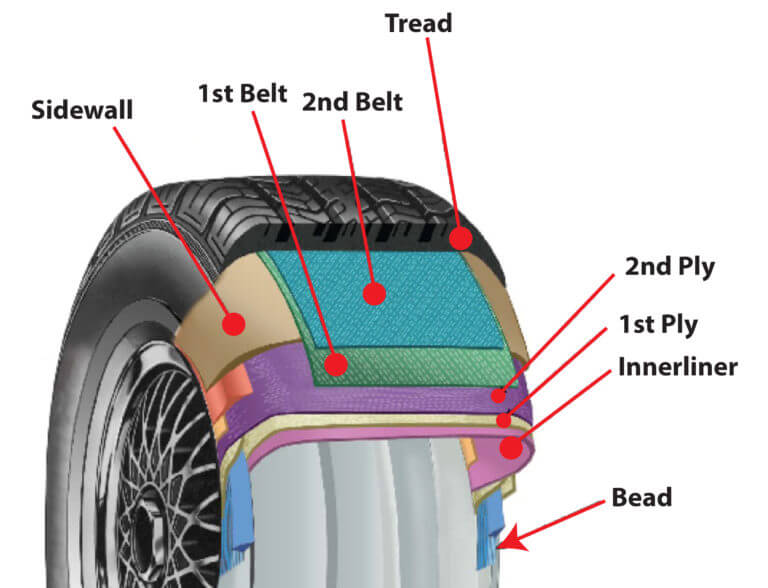 Believe me, when I say this, flat tires can be a cyclist’s enemy number one. When you install tubeless tires, the chances of getting a flat tire are reduced significantly.
It is not like a flat tire won’t even occur, when it does it will be healed automatically by the sealant inside it. This scenario also depends on the sealant and the hole. If the hole is too big for the sealant to close then you will be needing a tube to fix the tire again.
Pinch flats (AKA Snake Bites) are also very common with tube tires, with tubeless tires it is never something to worry about.
Having enough pressure was always a problem to deal with tube tires, this is not the case with tubeless tires. Tubeless tires always have a lower pressure than tube tires, this makes them give a very comfortable and relaxing experience.
There will not be pinch flats to worry about, and a cushioned ride will add to the comfort levels. The enhanced traction and grip will make sure that the user has an amazing ride experience.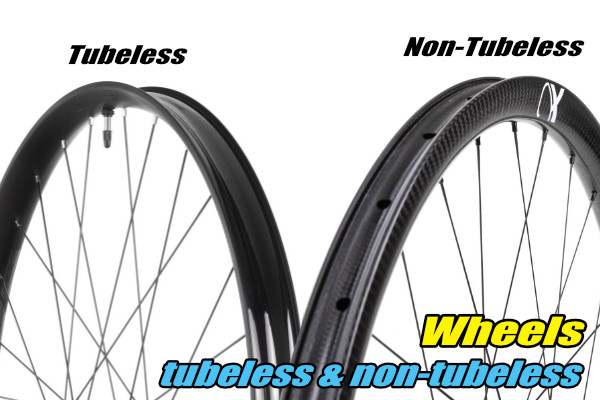
Tubeless tires, off-road experiences, and lowered rolling resistance are all connected. When you hit a bump on the road, the tires get displaced due to higher rolling resistance. With tubeless tires, even if you get hit, you will never lose your momentum because of lower rolling resistance. High pressures ruin tube tires and that is what the tubeless tires ignore.
Off-road terrains have a lot of rocks and jumps, and the lowered rolling resistance reacts very well to that. Tubeless tires will absorb all the shock there is and that will balance the experience. Users will be able to enjoy and feel their tires on a much more realistic level.
Inflating tubeless tires is not a very hard job, you just need to have the right tools and the right techniques to follow. Tubeless tires have been around for a while now and their popularity has only increased drastically since then, they are very resistant against flats.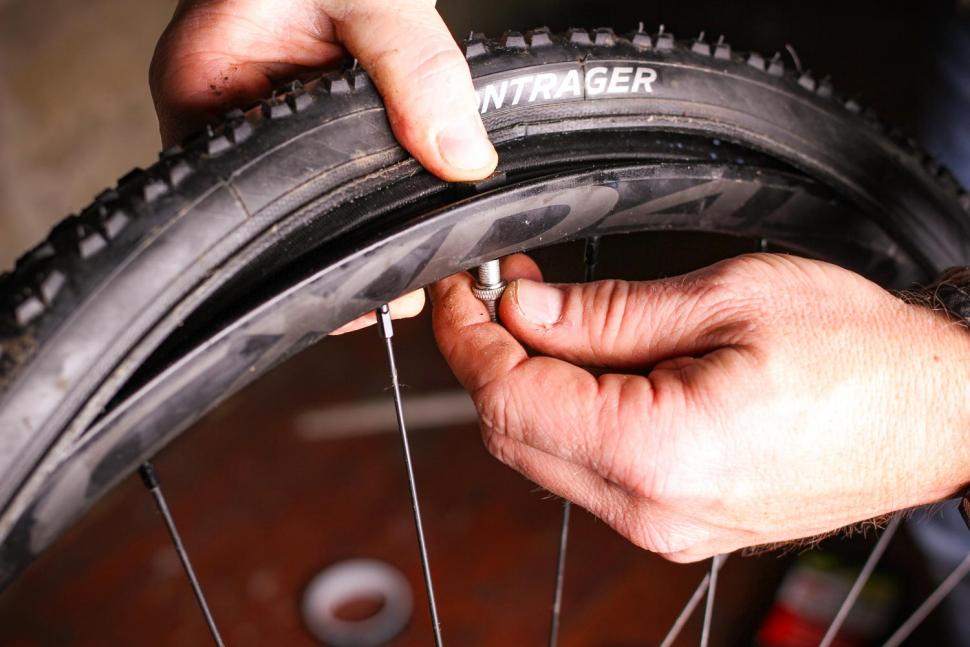
These tires are self-healing but the main advantage is them being strong against pinch flats. Follow these steps to ensure successful tubeless tire inflation.
The first step here is to clean the rims first, the rims that the tire is attached to should be very clean. This makes the contact between the rim and tire strong enough to withstand anything. When this happens, you will notice that there is no air loss, this is great because there is no tube to worry about.
Use a clean and dry rag for this process, some people go for water and soap but we don’t recommend that. In most cases, sealant will already be there, but if there isn’t then you need to add the sealant.
Now you need to make sure that the valve is in the correct position. It needs to be at the 3 or 9 o’clock position, only when this happens will there be the perfect build-up. Make sure that you look after the valve core and the valve stem, if they get damaged, you won’t be able to complete the process.
It is time to open and remove the valve now so that the flat tire can be repaired and inflated.
Before we start inflating the flat tire, we need to secure it so the air does not leak. My personal preference here would be to use straps to secure the flat tire. Tighten the tire with whatever material you want, it should be around the length of the tire. Whichever material you use to hold the tire in place will be useful when filling it with air.
Now it is finally the time to inflate the tire, you can use a foot pump or compressor for that. Make sure the tire is tight before you start to inflate it, with enough pressure a seal will be formed within the tire and rim.
Once the tire is inflated properly, a new seal will be formed on its own. You will also see that because of the air pressure the straps that you used to secure the flat have been overturned, now it will be time to remove them.
You are now done, it is time to put the valve back on and close it.
Different bike types have different recommended levels of PSI. Make sure that you follow them when using the bike pump:
Also, keep in mind that sometimes high pressures completely destroy tires, so keep the air pressure levels balanced. Going road tubeless might also be a good idea.
Read also: How To Check Tire Pressure Without A Gauge
We often get this question asked- How Log Do Tubeless Tires Last? Tubeless Tires are one of the best kinds of tires because they self- heal but there are still some limitations that have to be taken care of.
A lifespan of a tubeless tire is going to depend on many factors, how you use them and how you take care of them. Tubeless tires self-heal, this is indeed amazing but their sealant needs to be replaced every now and then. The sealants are also of two types.
The recommendation here would be to go with the Fiber-based sealants if you will be traveling longer and farther. Although if your tires are damaged, then it is always the best idea to replace them rather than just repairing them. Putting on rim tape also helps a lot in these cases, especially when the tires are damaged. Keep an eye on the spoke holes if you are planning on repairing the tires.
Inflating tubeless tires is easy but the process is also filled with technicalities, that is why our guide is here. You need to have the right tools and knowledge to inflate tubeless tires, also be sure to stock up on the sealants. In this guide we covered how tubeless tires can be inflated in rich detail, we also covered how you should be taking care of them. If there are any more questions then be sure to leave a comment below!
For the latest content and updates please follow us on Facebook, Twitter and Pinterest.
Ten foot poles are useful things, however I am not going to touch the topic of "should I or should I not use tubeless" with one today. Instead I will spend the entire time emptying my bag of magic tricks for working with tubeless should you be so inclined.
Nearly all of the wheels we build include tubeless compatible rims. The RCG36 and GX24 series are notably tolerant of a bunch of different tires and just don't burp, while Easton R90SL builds can be touchy to inflate but then don't burp even at super low pressure. HED Belgium+ are inflation tolerant and brilliant at burp avoidance except at super low CX pressures. Stan's rims are usually quite easy to get inflated, but tires can fit really tight on them. Boyd rims usually need an extra wrap or two of tape but then they're good. It's not that straightforward, but as ever we're here to help.
Caveat number one: For mtb tubeless, use whatever the heck tires you want. For CX and gravel tubeless, tubeless ready tires generally work way better. For road tubeless, don't even try without tubeless tires, as regular beads will eventually blow off and the potential for personal injury is huge.
Slight smoke break here - congratulations for finding this page and thanks for reading. We'd like to offer you free US domestic shipping on any order over $100. Just use code "ilearnedsomething" at checkout. And now we return to our regular programming.
Our wheels come wrapped with two wraps of tubeless tape, except mtb wheels which get wrapped with just one wrap. These wraps perform the function of sealing the spoke holes against anticipated air pressure. Usually but not always, they are what's needed to get a good tire fit.
Instruction number one: Inflating your tires for the first time WITHOUT sealant is smart and saves mess and shame later. Sealant is for final seal and puncture sealing, not for initial inflation and seating. I prefer sealants that you can inject through the valve, and that's the way I do it. If you use a sealant which can't be injected, you'll have to take one bead partially off to dump the sealant in the tire, but if the tire has already inflated in your test then at least you know that goodness and not badness and shame awaits.
If your tire almost wants to inflate, remove the valve core and re-try the inflation method. That will often do it. Once the tire is inflated and seated on the rim, take the pump head off of the valve stem and plug it with your finger. Then quickly sneak the valve core back in. You'll lose some pressure but with practice this is a cinch. You can use the special tool to remove and retighten the core, or you can use a needle nose pliers.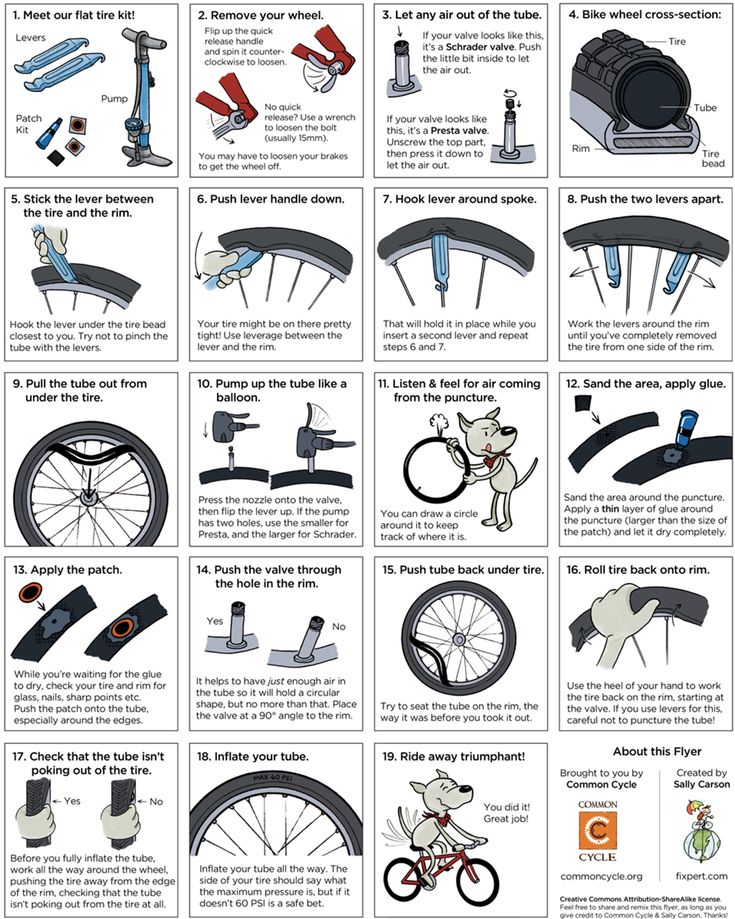 Either way.
If your tire has no interest in inflating, you need a tighter rim to tire fit. You can try more tubeless tape, or you can break out the heavy artillery. From my considerable experience, the interference that the tape provides is almost entirely useful for inflation and does not prevent burping. Just having a super tight tape fit doesn't turn any old rim into a mack daddy cross tubeless rim. But it makes inflation easier. From my experience, the duck tape/gorilla tape solution is more often needed and more often viable in mountain bike situations. The only wheel I can remember using this on in the last few years is my RaceFace ARC rim/Continental X-King mountain bike tire combo (which really needed it, but works great).
The new "tank" floor pumps work well, by delivering a huge shot of air all at once. Quite often, that rush of air will provide just enough push to create the critical amount of interference to start the tire inflating, and from there you are off to the races.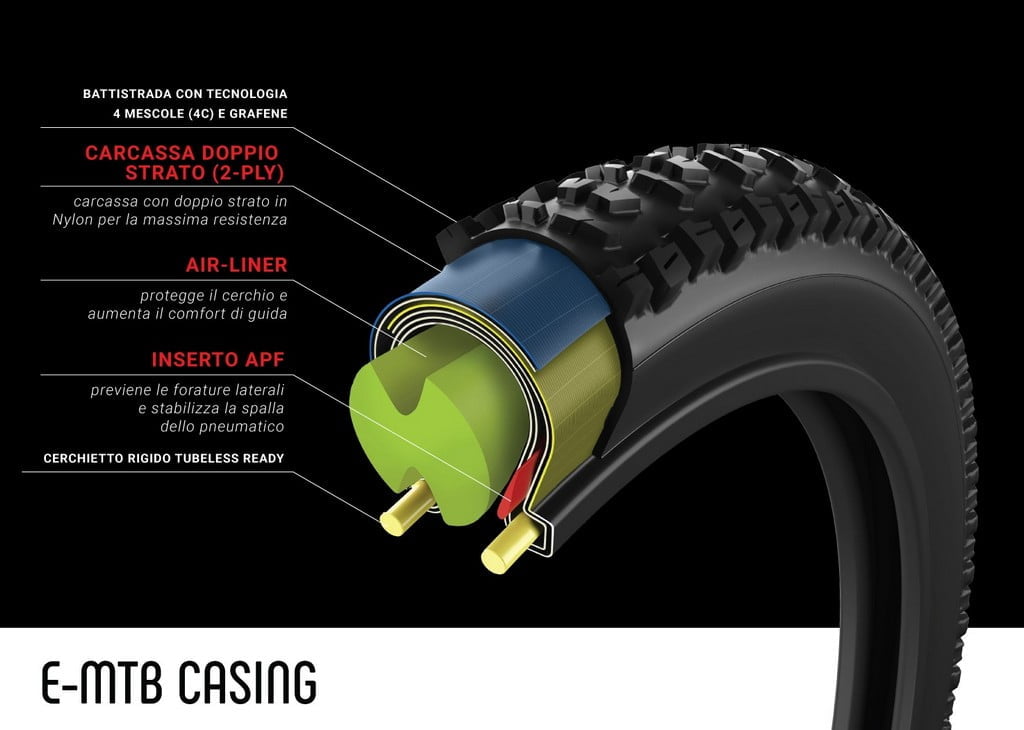 90% of the time I use this sucker I need to do it with the valve core removed to achieve success.
If you have a few extra bones, a compressor is a nice tool. You only need a super cheap one and they can be had for around $50. Some come with a version of a crappy pump head on them, which you can replace with a good pump head. We have a Prestaflator here at the shop, and it's the bees knees though it cost more than the compressor did.
The corner gas station almost always has a compressor. This is how I inflated my mtb tires for years. Just take a presta/schrader adapter, put it on your valve, put the quarters in the slot, and go. Be VERY careful with pressure. A guy I know* once blew a tire off a rim and covered himself in sealant for not being careful.
If you are going to a race or you have a race team and a fancy tent and a hot dog grill to put in your fancy tent but your fancy tent doesn't have power to run a compressor, you might want to invest in an air tank to take to races. You can fill it at the gas station or with your compressor, and it holds enough to inflate a whole mess of tires. This one costs $30 at Harbor Freight.
I really never use soapy water anymore. Shake the wheel and go for a short spin around the block. If your tire is going to seal, that will seal it.
Sealant replacement interval depends on an horrific alchemy of dew point, sealant type, tire pressure, the barrel price of Brent Crude, and the birth rate in France. Better too often than not enough.
*It was me. It was me.
Back to blogIn a little way this is like saying “I’m far from anywhere and I see a unicorn, what do I do?” I’ve never seen a tire burp except in cross racing. If you’re using ghetto/non-tubeless components in this scenario, install your spare tube and inflate that and continue riding. If you’re using tubeless components, your pressure was too low so add some from the mini pump you surely have and continue riding. You can also choose to install your spare tube and inflate that with your pump and continue riding.
If you’re “on a forest trail a hundred and eleventeen miles from anywhere” and you don’t have spare tubes and redundant air (CO2 AND a pump – one or the other you choose pump) then you’ve gone out unprepared in the extreme and you might die out there. Sorry. That sure wasn’t tubeless’s fault.
DaveI am on a forest trail a hundred and eleventeen miles from anywhere. My tire burps. What do I do?
Jack KesslerForgot to put the link to the video in there — https://www.youtube.com/watch?v=Dd0QsdCwq6E&t=12s
Dave Stans Grails with Schwalbe G One 700×30′s inflated immediately with standard floor pump. A Force Al 33’s with Schwalbe Pro One 700×25′s would seat but begin to leak at about 80 psi. A small amount of “soap & water” did the trick. Both tires mounted relatively easy, by hand, no tire levers necessary. After the beads were set I then installed 2 ounces of Finishline sealant through the valve stem. Both working flawlessly! Goodbye tubes!!! Steve K
Here is a video on tire installation technique. It uses a tubed tire, but just don’t do the “install tube” step and you’re good to go. In absolute seriousness, I install a profound number of tires and while it’s nigh on impossible if you don’t use the drop channel, it’s quite straightforward of you do. And by “use it” I mean not 1mm of tire is up on the shelf – ALL of it down in the channel (except at the valve stem, where it can’t go down there).
DaveSubscribe to our blog alerts. We'll let you know when we've had something to say.
Published:
0
Have you ever encountered a situation where you need to sideboard a tubeless tire on the road, and at the same time pump up the wheel a little and do all this without a pump, since an ordinary car pump and an electrode pump on a tubeless tire are meaningless. Air will simply come out along the edges of the tubeless, since the tire does not sit tightly on the disk. You can put it on the disk only with high pressure or a very fast pumping speed - such as compressors at service stations. But not a common automotive compressor, much less a hand pump.
Well, actually the situation, for some reason, a situation arose on the road when it was necessary to perform this very operation to flare a tubeless tire - it jumped off, a deflated spare tire, overboarded from a damaged disk to a whole one, etc. How to do it in the field so to speak.
If your car runs on gasoline, then this is good in this situation, if on diesel, then you will need some kind of combustible substance with very fast ignition like gasoline. In this case, consider the gasoline method. So, you have a wheel disassembled - how to board it back? take 30-50 grams of gasoline, pour it into the tubeless tire through the nipple, or from the side.
Next, take a lighter or better fire on some extension cord, well, for example, a rag burns on a stick and bring this source of fire to the tire where the rim or nipple where you poured 30-50 grams of gasoline, gasoline vapors will immediately ignite sharply inside tires, which in fact will instantly create quite a high pressure, absolutely sufficient to completely seal a tubeless tire.
Yes, I forgot to say, the spool must first be unscrewed - so that the tire does not burst and ignition occurs well. After such a landing of tires on the rim, pressure will also be created in it, usually 0. 5-0.7 atmospheres, in fact, on such a wheel you can even quietly drive to the nearest hundred. But it is better to pump it up with a pump, if any.
Do not pour a lot of gasoline, as it can corrode rubber over time, you can also use various flammable ignition fluids and aerosols. Often, for a disc size of 15 and standard passenger rubber, 5 cubic meters of gasoline in a syringe is enough, this is about 10-20 grams. Now you know how to buckle a tire in an emergency, and not stand for hours waiting for help or waiting for a tow truck for a long time. For a more complete understanding of the process, watch the video on how to fill a wheel with gasoline
How do you like the article?
 ..
.. Tubeless tires are more reliable than conventional tires, they are lighter and very comfortable to use. But they have one drawback. If the wheel is flat, and it is completely flat, then pumping it up on your own will be very problematic. And even in his garage, not every car owner will be able to do this. To do this, you need a compressor, and not every motorist has one. The thing is that the design of tubeless tires is different from conventional ones. The tire beads are designed in such a way as to fit as tightly as possible to the rim - because otherwise you won’t pump up. And therefore, it is possible to normally pump up a tubeless tire only in a car service.
Dzherelo:
But what to do if you have a flat tire on the road, no spare tire, and far from the service? It is not always possible to call a friend and ask him to bring a spare tire. You shouldn't get lost. There is always a way out. There are at least three ways to inflate a tubeless tire yourself.
The first way can be called extreme. Not everyone dares to repeat this trick. In order to inflate a tire, you need a little flammable liquid like gasoline and a match. You need to remove the wheel and put it on a flat area, away from the car. Then you should pour gasoline around the disk, no more than 10 grams, otherwise you will need a tire shop instead of a tire shop. Do not pour too much, just a little is enough. Then carefully toss a lit match between the tire and rim, or you can use a homemade torch. This is to ensure that there is a safe distance between you and the wheel. You will hear a pop, indicating that the tire is in place. As a result of the rapid combustion of gasoline, she was pulled, and the sides "found" the grooves into which they should stand. That is, now the wheel is sealed, and it can be inflated with a conventional pump. Then you just have to put the wheel in place, and you can go further.
The second method is less dangerous, but more time consuming. In this case, in order to inflate the tire, you will need the second wheel already inflated. In this case, it should be pumped to a pressure of at least four atmospheres. It will replace your compressor. It is necessary to connect the two wheels with a hose from the pump, after unscrewing the spool on the deflated valve. The inflated wheel should be with a spool. If the pressure in it is sufficient, then in the very first moments the tire on the flat tire will fall into place. The air from the inflated wheel will open it, the beads will fall into the grooves and the wheel will be sealed. In this case, immediately remove the hose and insert the spool. Then you just have to pump up both wheels with a conventional pump.
If you don't want to risk it and you don't have a second tire (or don't want to accidentally deflate it too), there is a third way. It requires even more effort than the previous two, but with absolutely no risk. To do this, use a rope. It is necessary to wrap it around the tire along the tread line, and then tighten it tightly.