2/15/2016
Comments
In today’s post I’m going to get into the details related to tire studding with the help of an industry expert. To help bring you the best information I can on studding ice tires, I’ve enlisted Jarrett King of Two Wheel Endeavors to help with this article. For those of you that don’t know, Two Wheel Endeavours is heavily involved in supporting Canadian ice racing efforts and offers studded tires, ice racing accessories, and custom ice solutions. Jarrett was involved in the development of the Mitas Ice King tires, knows his craft, and brings a lot of knowledge to the table.
Many people are under the impression that there isn’t much to studding a pair of tires, just screw some screws in and you’re done right? There is actually a hefty amount of skill involved with studding tires. These skills come down to knowledge of screw angle, head position, and screw length.
Of course there are many parameters which all affect how well the tire will perform, but today we are going to talk mostly about studding. This attention to detail is a huge reason that guys who have perfected the art of tire studding can make a living at it. I’m not saying this to scare you off from trying to stud your own tires, just that if you’re going to go for it, it will take some practice and advice from an expert.
Now I’m going to turn it over to Jarrett who will go into detail on the aspects of tire studding.
Key Factors Affecting Tire Performance by Jarrett King
Tire Choice: Selecting the right tires to stud is critical in terms of traction and tire life. Lug height, tread pattern, carcass thickness, and rubber composition all have a huge influence on how well a tire will work. Unfortunately, there is not a lot of data supplied by tire manufacturers available to help guide a person in the right direction, but there is plenty of empirical data floating around amongst the ranks of ice riding enthusiasts. To help get you started I put together a list of the most common ice tire choices.
Front Tires
Mitas Ice King - (Top Left)
Bridgestone ED11 - (Bottom Right)
Rear Tires
Mitas Ice King - (Top Right)
Kenda K335 - (Bottom Left)
Motoz X-Circuit - (Not Shown)
Tire Liners: Depending on the tire chosen, a liner can be used that will provide protection for the tube and allows for the use of longer screws. The liner is usually a cut up street tire which fits inside the chosen tire.
Pattern: The pattern in which the screws are laid out on the tire has a huge influence on the traction and grip characteristics of the tire. Specific patterns may be tailored to provide more grip or slip depending on the rider and how the tire is used.
Consistency: Care must be taken to ensure the screw pattern is consistent from one lug to the next. Any deviation in screw location and angle can cause the tire to wander as it moves over the ice.
Rim Trueness: The trueness of the rim can have a big effect on how the tire performs. A wonky rim can cause inconsistency in screw alignment. This can lead to similar handling problems because the screw pattern is not aligned accurately.
Screw Type: AMA or Canadian style screws are the primary options for competitive ice racing. The two screw types are defined below:
AMA screws - 3/16” head height, sizes #8 or #10, and range in length from ⅜” to 1 ½”
Canadian screws - ¼” head height, size #12, and range in length from 1” to 1 ½”
Along with the screw requirements for the different racing classes, keep in mind purpose made ice screws go through a different hardening process than normal hardware store screws, allowing them to stay sharp longer. If you’re going to stud a pair of tires and want longevity, be sure to use a good quality screw.
Screw Threads: Fine thread screws are preferred because they do less damage to the rubber during installation. They are also easier to set to the correct height when fine tuning the screws.
Screw Angle: The angle the screw is driven into the tire dictates how the screw contacts the ice. The screw angle can be broken down into two parts, the fore/aft angle, and the side angle.
Head Alignment: The alignment of the slot in the screw head can be tuned to provide better grip in a given direction. For screws used for braking (front) and drive (rear) the screw slot is aligned perpendicular to the direction of travel.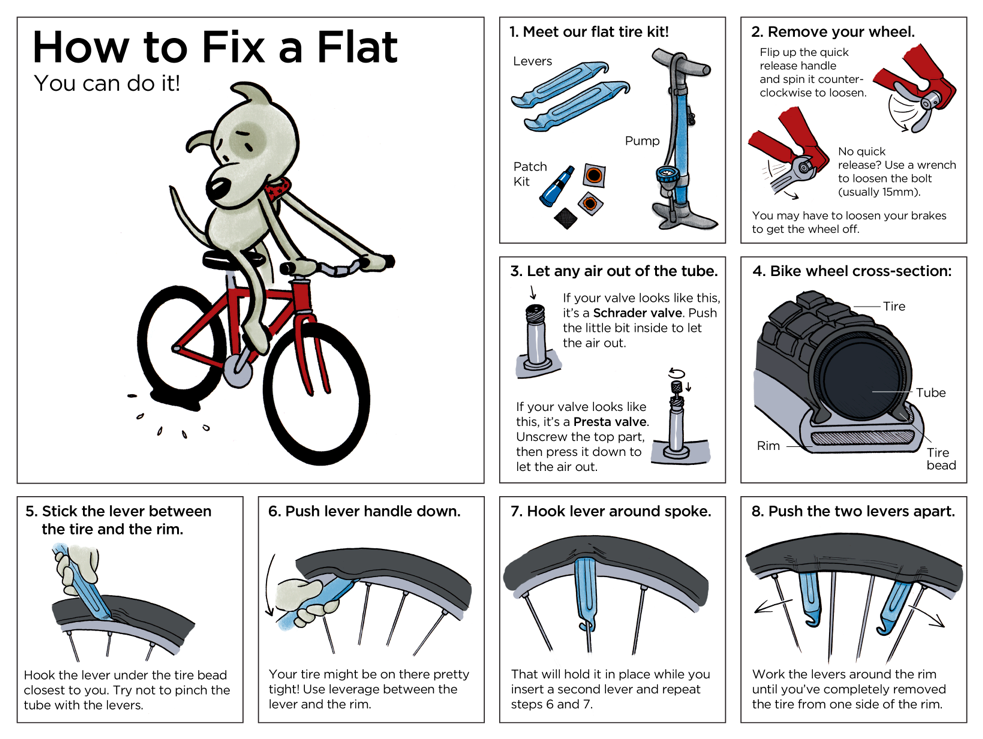 For cornering grip the slots of screws on the side of the tire are aligned parallel to the direction of travel.
Paul: Now that Jarrett has provided a great framework of what goes into studding a tire, we’re going to get into the specifics. It was mentioned previously that ice screws have three primary functions: braking, accelerating, and cornering. Next, Jarrett will get into the details of what makes each of these three types of screws functional for their specific purpose.
Braking Screws
Braking screws are at the rear of the lug on top, but when they are on the ground they are on the leading edge (biting edge) when under braking, thus the name “braking screw”. Sweep is used to prevent the screws from chattering on the ice under braking because of the fact that the crown would strike the ice at two points if installed flat. The magic sweep angle is the shallowest possible angle without the “rear” part of the screw crown biting in.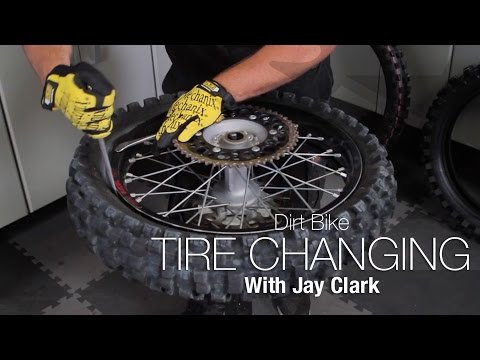 With Canadian screws, this angle is much more straight up and down but still usually has 10 degrees or so. If you leaned them too far forward it will damage the knobs because the screw isn’t sunk into the liner enough, if you went straight in they will function but it makes the tire feel a bit strange under heavy braking.
Acceleration Screws
Again, there are differences between AMA and Canadian screws. The Canadian screws can go virtually straight in, AMAs need that biting edge so they don’t deflect or lose traction because of two different contact points. Picture a skate blade. The more sharp and precise the edge, the more ground pressure is focused on that area. Same with screw tips, if two parts of it hit the ice it will start to “float”. Optimal angle is shallowest possible (as close to straight up and down as possible) before the back edge of the screw starts touching the ice surface.
Side Grip Screws:
Cornering screws are typically run in at one angle, there is no sweep to them. Some builders have tried adding some sweep, however, never with too much angle. If you run an ice tire over a piece of cardboard under lean you will see that the top edge of the screw is contacting the ice at an angle that prevents the front tire from low-siding. In essence these screws do the exact reverse thing that the rear tire does under acceleration.
Paul: The last thing Jarrett is going to talk about is the screw pattern and some of the compromises that are made when studding.
Jarrett: When it comes to general screw pattern and arrangement, there are a couple things to consider. First, is that on the rear tire the inverse “V” pattern is there for a reason… what it does is each screw passes the load onto the next screw while under lean (picture them passing sandbags to each other). To prove this, reverse a V-pattern tire, it will be all kinds of squirrely under acceleration and then the rear will try to jump out from under the bike when you hit the brakes, it’s truly scary.
My second point, ideal screw pattern is a balance between a few different factors. Knob spacing, contact pressure and knob count/pattern. On a tire like a Kenda, so many screws are striking the ice at once that the tire is floating on the surface of the ice. Traction is being gained by getting the maximum number of screw heads to hit the ice at the same time. This is great until the moment that there is a hint of snow on the lake and the tire begins to act like a crazy carpet under the bike. It floats because it can’t maintain ground pressure.
The old Pirelli Lagunacross tire became amazing the moment that Marcel Fournier came out with the modern Canadian Ice screw. The knob pattern was ideal (V shaped paddle) for the application and the knob spacing was super wide, which meant great ground pressure on each screw. Unfortunately that also meant a much larger radial load on the screws and knobs which often lead to premature knob or screw failure. The Mitas Ice King does not generate the same ground pressure as the Pirelli because the knobs are quite a bit closer but the tire’s compound and knob pattern allow for a much better balance of ground pressure (traction) to durability ratio. Using AMA screws, a Mitas Ice King does not benefit from additional screw rows the way that a Kenda will because it will float much quicker, but without as many screws contacting the ice.
Ice tire building is a compromise. The perfect ice tire doesn’t exist in the same way that there is no perfect Intermediate MX tire… but there are some that are MUCH more effective than others.
My third and final point, ice tires have been built in north America since the early 30s. The angle of screws is something that has been tried in multiple arrangements hundreds of times over. For someone getting into the sport their enthusiasm may make them believe that changing things will create a magic setup, but the reality is that a true set of wheels (no dings dents, warps), with consistent screw angles and heights, proper air pressures, and properly balanced is the most effective way to kick ass out on the ice racing track. Oh and don’t forget to duct-tape that face (frostbite sucks!).
Paul: I hope you all found Jarrett’s info on ice tires beneficial. In Part Two, we’ll get into the details of mounting ice tires. If you have any comments or want to share some info please leave a comment below.
Comments
3/7/2016
Comments
In my previous post with the help of Two Wheel Endeavor’s, Jarrett King, I successfully mounted my Mitas Ice Kings to my dirt bike rims. This week I’m going to stud my tires, with Jarrett’s help. We’ll be covering how to determine the number of screws you need, sharing Jarrett’s recommended process for studding, and providing tips and tricks to help ensure you have the best performing and longest lasting tires once they have been studded.
| I know many of you won’t bother building a fixture like mine, and to be honest, it is probably overkill for those of you less OCD than myself. Determining the Number of Screws Required For example: |
Prior to Screwing
Jarrett: Ideally the tire should be mounted on a perfectly straight and true rim or on the rim it will be used on. The consistency of the screws is paramount, so even if the tire or wheel is not true, smooth straight lines make for better performing ice tires.
Paul: If you need a refresher on how to true a rim check out my post on the subject by clicking here.
| Jarrett: The following are some tips to consider before studding:
|

| Studding Jarrett: Our technique is to add enough screws for one row to a magnetic bowl, spray with lubricant and sit in a position where your arm pushes a direct line into the head of the screw on the angle it will go into the tire (directly parallel) in this way, your arm will only move in one plane, preventing angle changes. |
Now run one full row of screws. We like to start at the center row since consistency is not nearly as important in these driving screws.
Paul: While side to side positioning of the screws was less of an issue for me since I had my jig, locating the screw in the correct location from front to back on the lug was still a challenge.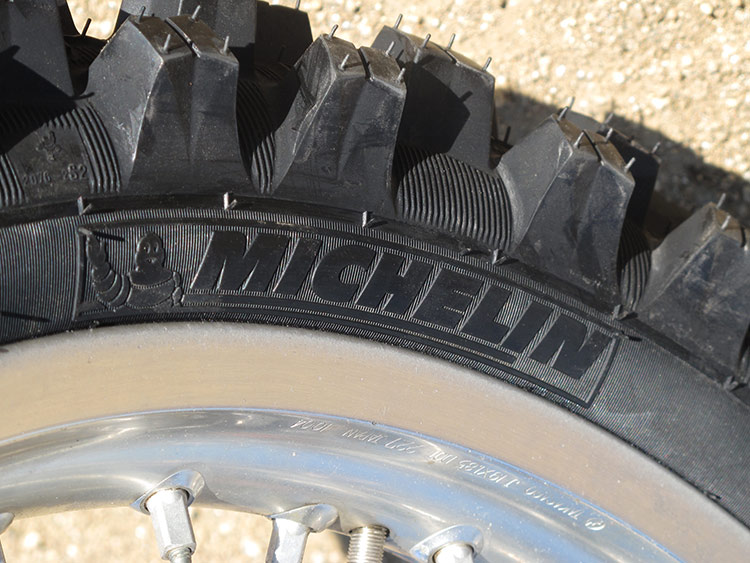 To help with this I used a silver Sharpie and marked each lug where I wanted the screw to go. This certainly added some time to the process but improved my accuracy a lot.
Jarrett: For AMA screws they should be slightly rocked back on plane so that only one edge is catching the ice. For Canadian style open screws (chisel tips) you can run them straight in (watch sides rows if running 1.5" in rear, they can poke through at the wrong angle).
Paul: On my tire I rocked my acceleration screws back 10 degrees.
Jarrett:-To check the row, spin the tire slowly and watch to see they are all in line in all three planes. Adjust the ones that are way out. Tune after finishing all rows.
Paul: Here you can see I’m off to a decent start and my first row is nice and straight.
Jarrett: Ideally the screws will be perfectly angled in all three planes to each other, not to the tire or rim. Adjust heights before the lube dries to get maximum tire life and check after the first couple rides.
Paul: Once I got into a rhythm I was able to align the flat in the screw heads consistently with one another and wasn’t terribly far off on head height between the screws in each row. I found it easiest to position the slot simply by rotating the drill without engaging it. Once the entire row was complete I went back through and looked for screws that were inconsistent in height. To tweak these screws I just used a screwdriver to set their final height and slot position.
Jarrett: Work your way out and complete the outer edge last, it's your best chance and getting practice before you get to the critical outer rows.
Paul: This point is particularly important in my opinion. As I got acquainted with the process I made a couple mistakes early on which I’m glad happened in the middle of the tire instead of at on the edge.
Jarrett: Lay a template down at the centerline of the axle and record the angle of all the screws. If you didn't get it quite right then the next time you have a point of reference for what to change.
Paul: Jarrett was kind enough to supply me with the templates he uses to stud the Mitas tires. In the image below you can see how the template can be used to record screw angles as well as help ensure accuracy when studding without a fixture. For your convenience, the templates for the Ice Kings can be downloaded in our Ice Tires Guide we put together (click the button at the end of this post).
Jarrett: As usual, the tips and recommendations provided are only GUIDELINES. We've built hundreds of tires over the years and have dozens of other small tricks and so do the tire builders. That being said, we encourage you to ask questions and provide feedback so that more people can enjoy getting out onto the ice with their motorcycle during the winter! Cheers.
Paul: Overall, I’m very pleased with the way my tire studding project turned out and am eternally grateful for Jarrett’s help, advice, and willingness to share knowledge with others. Without him I would’ve definitely made some big mistakes. Having studded my first set of tires I can say that it is a time consuming job and requires patience, however, I don’t think it is outside the realm of what a DIYer can do. As you can see from some of the pics, patience is the name of the game, having a decent stool to sit in, and a warm place to work is key!
I hope you’ve enjoyed this three part series on ice tire studding. I know I had a great time learning from Jarrett and soaking up the finer details of tire studding. Hopefully with the information provided in this post you’ll decide to stud your own tires and take up ice riding! If you have any questions or comments please leave them below.
For those of you interested in the Mitas Ice Kings here is some additional information Jarrett provided on them.
Mitas Ice King Tips and Settings
So far these tires perform very well... just don't forget that they kick out sideways like a DT bike so keep that throttle percolating if you wanna keep the traction!
Grab the Free ICE TIRES GuideAfter compiling all the great information in these three posts, I figured it would be easiest on you to put it into a free guide. If you want all this info organized and in one place, click the link below to grab it for free! |
Thanks for reading and here's to many seasons of ice riding on high quality studded tires!
Comments
Schwalbe winter tires, due to the specifics of their operation, have a number of distinctive features that distinguish them from other tires. View all studded bike tires
First of all, this is a special Evolution carcass, in which the cords are perpendicular to each other, unlike conventional tires, where they run at an acute angle. This arrangement of threads gives the greatest grip and rolling of the tire.
Secondly, the Winter compound, which, as its name implies, was created specifically for sub-zero temperatures, preventing winter tires from freezing in cold conditions. nine0005
Thirdly, every Shcwalbe winter bike tire is equipped with metal studs, which in more expensive models have pobedit tips, and this material is as hard as diamond.
The Schwalbe winter tire line is currently represented by four models.
Schwalbe Ice Spiker Pro
These winter tires are designed for those who love speed and don't intend to give it up even in winter. Record weight for winter tires at 695 grams and Kevlar cord make this studded stud soft and supple, yet able to withstand the onslaught of icy sharp edges. 361 studs are distributed over the tire in four rows, covering both the sides and its central part. This ensures that the Ice Spiker Pro keeps the bike firmly on the icy crust, providing control over handling where, by all the rules of life, you should have fallen a long time ago. Each stud has an elongated Pobedit center for better ground contact and is embedded in an aluminum holder to lighten the weight of the tire. Schwalbe Ice Spiker Pro are ideal for winter competitions where every second counts and uncontrolled skidding can lead to a loss. nine0005
Schwalbe Ice Spiker
This version of the winter bike tire differs from the Schwalbe Ice Spiker Pro with a steel cord and fewer spikes. Because of this, it has more weight (995g), but it is much cheaper than the Ice Spiker Pro.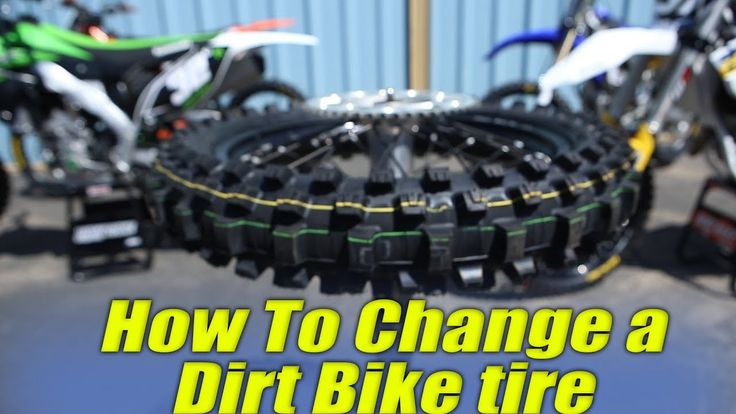 Just like its older sister, the studs on this winter bike are arranged in four rows, but at the same time, due to a decrease in their number, they cover a smaller area. This does not mean that the quality of grip in this version of winter tires is worse than that of the previous tire, just that it is more suitable for daily calm riding than for cross-country racing. nine0005
Schwalbe Marathon Winter
Schwalbe Marathon Winter tires are available for all wheel sizes from 20 to 28 inches. Depending on the size of the tire, the number of spikes in it also changes. In the most common version of Schwalbe Marathon Winter 26 inches, 200 studs are pressed in, and in the Schwalbe Marathon Winter 28 inch version, 240 studs are pressed. The spikes are located in two rows on the sides of the tire, leaving the central part free, which significantly lightens the weight of the winter tire and allows you to safely drive on snow-covered sections of the road.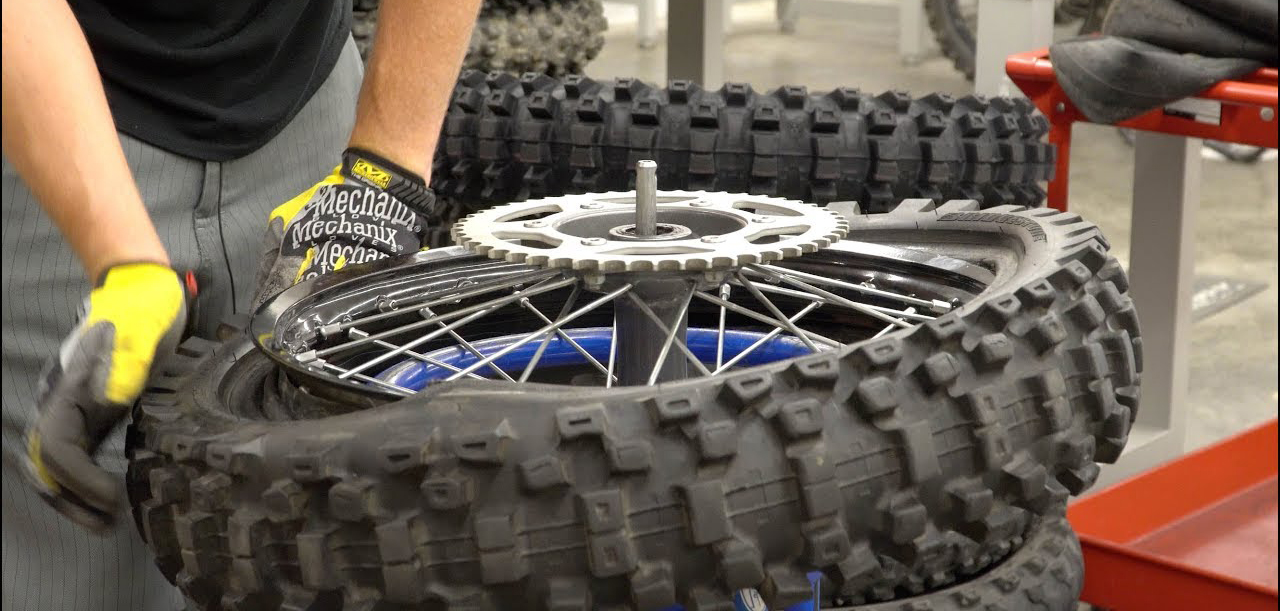 From punctures or cuts by sharp ice edges, these winter tires are protected by a steel cord and an anti-puncture layer. nine0005
Budget winter bike tire for those who want to cycle to work or to a nearby park in winter. The two rows of studs on the sides of the tire provide direction and keep the bike from going off track. Due to its narrowness, the tire easily cuts through loose snow, reaching the hard surface underneath. It also behaves steadily on the ice crust, protecting you from drifts. If you remember to change the pressure in the tire, then at maximum pressure you can get excellent rolling on asphalt or packed snow and increased grip and reliability on icy areas at pressures below average. For driving safety, Schwalbe Snow Stud tires are equipped with a circular reflective strip, which is very important in our dirty winters, when all beacons and reflectors are covered with snow after only five minutes of driving. nine0005
Cycling in winter has long ceased to be something special. Many cyclists ride all year round without much worry.
Of course, in different regions the concept of "winter" is very different from each other. For some, winter is a layer of snow lying on the road and freezing temperatures, while for others it is somewhere around zero and slush, and snow is rare. And with the current weather, it also happens like this: the temperature can even be negative, within -5, but there is still no snow. Except light ice. nine0005
If there is no snow and ice, then, in principle, skiing is not very different from the spring-autumn period: you only need warm clothes, gloves, lubricants, and tire pressure control depending on the ambient temperature.
There is a lot of information on how to ride in winter, what to lubricate, how to dress, how to brake, and this article will consider only one question: “ How to increase the grip of a bicycle wheel with snow ?”
In fact, this question is not as simple as it seems and does not have a clear answer.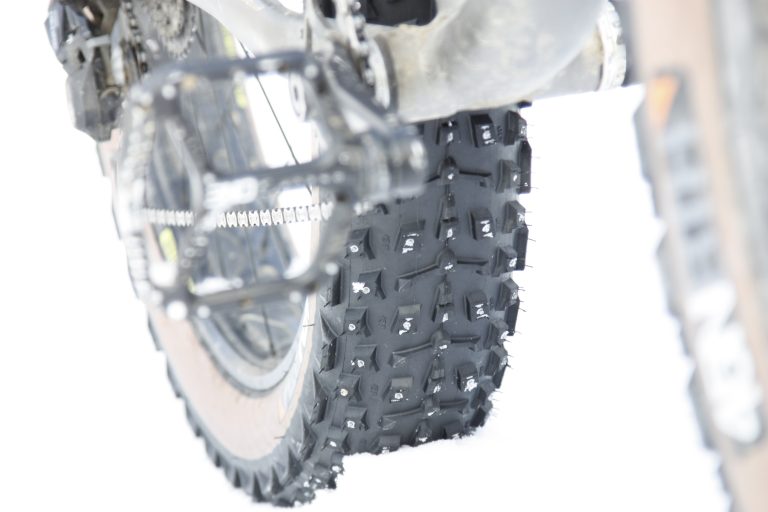 nine0005
It all depends on the surface you ride on. If most often you have to drive on city roads covered with hard trampled snow - this is one thing, if you need to roll along an icy road - another thing, if you like walking on freshly fallen snow in a park, forest - this is already the third.
First of all, I want to say that no one forbids driving in the snow on smooth summer slick tires, but still it is not necessary. I know for sure that some cyclists will object, saying that "I ride all year round on one tire and nothing." Let's leave it up to them. nine0005
In addition, summer tires tan at low temperatures, reducing grip and wearing out faster. Of course, if city services are clearing snow all over the city, and the roads are dry, then everything is fine in terms of grip.
I regularly meet with the opinion that mud tires with high lugs are suitable for winter rides. Like, they will “rake” the snow well, which will not stick to the wheel, since the lugs are not located very often. nine0005
In my opinion, this tire is suitable, but not always. It is not recommended to drive on slippery surfaces: on ice, snow rolled to the state of an ice crust, on icy asphalt. Those. in almost all urban pokatushki. But it is perfect for wet ground or mud that has been snowed on and it is not completely frozen yet or for trips on loose snow, on virgin snow.
If the bike rolls on dense, car-packed and pedestrian-trodden snow, but not on ice, then you can roll on almost any tire, except for a smooth slick. nine0005
The problem with a mud tire is that, unlike the others, the contact patch with the road is too small.
But just the area of contact between the wheel and the road is one of the main criteria for the stability and handling of a bicycle.
As can be seen from the picture above, the smallest area of a mud tire. The semi-slick rubber gives maximum footprint, and its small lugs on the sides increase stability by biting into the snow. But the best option, of course, is special winter tires. Her lugs are located more often and they are larger in area than on the mud tread. The presence of small metal spikes allows it to bite even more effectively into dense snow and not slip on ice or very dense snow crust. nine0005
One more piece of advice from winter skiers: don't use tires with a tread that has a solid strip of rubber in the center in winter. The tire has nothing to catch on the snow - it slides on a dense crust.
Winter bike tires usually have the words "Winter", "all seasons", or something along those lines. nine0005
If the tread has spikes in the lugs, then it is definitely winter, in summer they are not needed at all.
The tire itself can be painted with a snowflake or written " W ", " Winter ", " All seasons ".
For more information about what the numbers and inscriptions on bicycle tires mean, see .
Very often cyclists in cities move along the carriageway. If you ride there the same a lot, then I highly recommend riding only on studded tires! True, this applies only to those regions of the country where there is snow in winter. nine0005
Why? Yes, everything is very simple:
First. Even if the road is cleared, a thin layer of ice still remains on the asphalt.
Second. On the right side of the road, where cyclists usually ride, there is always dirty and wet snow, ice, ice “porridge”, where there is snow on top and ice on the bottom!
Third. Often all this does not lie solid, but is scattered on the road in torn pieces of different thicknesses and uneven edges.
Therefore, very good grip and handling of the bike is needed here, and only studded tires can provide this. The probability of falling in such conditions increases dramatically, and it can lead, frankly, to fatal consequences. Don't forget to wear a bicycle helmet, in case of a fall, a hat will not save you. nine0005
And one more thing. It is better not to pump up the spike to the maximum pressure, but to ride on slightly flat tires. In this state, the wheel rolls better and grips the road better. But do not lower the pressure below the minimum specified by the manufacturer. Winter tires are made from soft rubber, and at very low pressure, a tire can crack or even burst.
Not everyone can afford to seasonally switch to winter and summer tires for different conditions. nine0005
In some regions snow does not fall as often or for a short time, and it becomes a little expensive to buy winter tires separately - they are still often more expensive than summer tires. Well, given the fact that many of our people live by the principle that "we are not looking for easy ways", there are several interesting options for converting summer tires for operation in winter conditions.
The cheapest and easiest way to improve winter grip is to use building ties. True, it is only suitable for bicycle wheels without rim brakes. nine0005
Its advantage is that everything can be done quickly, simply and cheaply. And just as quickly, everything can be removed.
You will need plastic ties, a knife, scissors or side cutters.
Each plastic tie should be wrapped around the rim and tire, tightened and snapped in place with the clasp on the side. The locks on the screeds need to be alternated, some locks are located on the side on the right side, others on the left. To orient the even distribution of the ties along the entire circumference of the wheel, it is best to use the spokes. You can put two ties at each spoke: on one side of the spoke - a lock on the left side of the wheel, and on the other side - a lock on the right. nine0005
It is better to take thick ties. Before installing them, you can slightly lower the wheel, and after installation, pump it up again. Then the ties more firmly "sit down" in their places.
No need to set the locks to the very center of the tread or close to it - this way the tire will be damaged much faster. Their main task is to prevent the wheel from "breaking into a skid", especially when cornering.
Suitable for all types of wheel brakes. It is done quite simply and quickly. Two old bicycle chains are taken, the circumference of the bicycle wheel is calculated, the wheel is blown off to the state of a very soft tire and, after putting on the chain, it is inflated again.-Step-2.jpg/aid1501689-v4-728px-Ride-a-Dirt-Bike-(the-Basics)-Step-2.jpg) The pressure in the tire, most likely, will have to be kept at maximum so that the chain sits tightly and does not fly off while driving. nine0005
The pressure in the tire, most likely, will have to be kept at maximum so that the chain sits tightly and does not fly off while driving. nine0005
Experience from practical use shows that the bike rolls normally on a rolled road and loose snow - the chain does not allow the wheel to skid. Worse in people, old packed snow and asphalt. Braking on ice and ice is poor - the bike rolls like on skates. Although it cannot be said that it does not slow down at all. On asphalt, it rattles a lot.
If the chain falls off while driving, it will not be lost anywhere, but it will be impossible to go further.
There are different options, from simple homemade to professional for difficult conditions of riding on snow and ice.