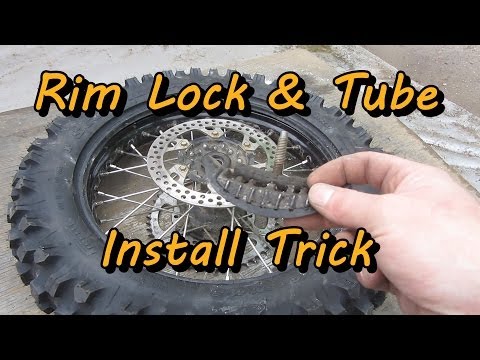
August 20, 2015 / Tire and Inner Tube Service
This article will discuss the removal and installation of tires and tubes.
1
What do I need to know how to do?
What Tools do I need?
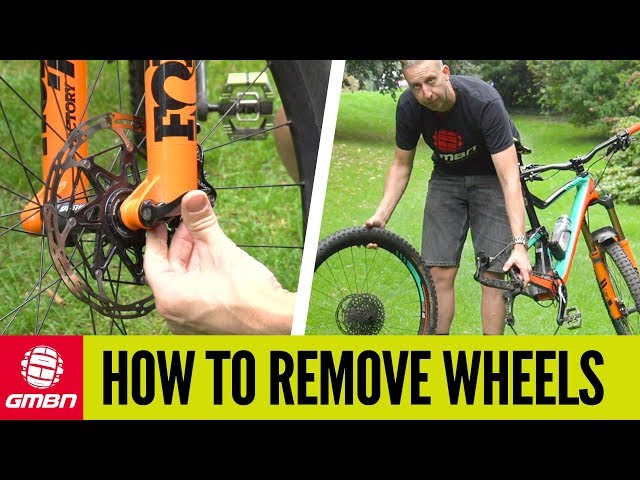
To remove a tire and tube, the wheel must be removed from the bike. See Wheel Removal and Installation for a review of this process.
2
The common bicycle tire is called a “clincher” tire, and in made with bead on the inside edge of the tire. The bead fits snugly into the wheel rim. As the inner tube is inflated, the tire bead is pushed against the “bead seat” of the rim, the portion of the rim that is hooked to hold the bead. The sizing of the rim bead seat and the tire bead must match. There are currently many different bead diameter standards, and none are interchangeable.
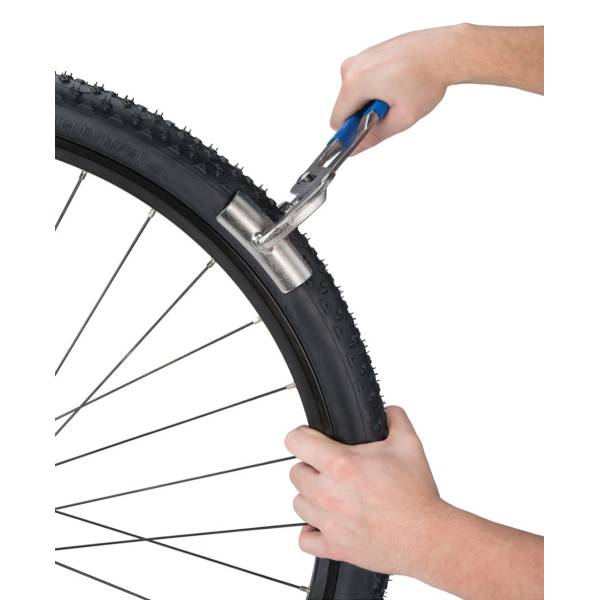
Because tire beads can be a tight fit in the rim, it is commonly necessary to tire levers to pry tire bead up and over rim sidewall. Do not use a screwdriver, knife, or other sharp object, which might damage tire or tube. Fully threaded valve shafts may have a locking nut next to rim. Loosen and remove locking nut before deflating.
 For best results, press downward on wheel while depressing the valve.
use a small tool such as a hex wrench to depress the plunger inside a Schrader valve
On a Dunlop valve, unthread the cap a few turns, then pull outward on the tip of the valve
3
When servicing a flat tire, always inspect tire and tube carefully to locate the cause of failure. This will help prevent future flats from the same cause.
 Make four marks, one to each side of hole. Do not mark close to hole, as the mark may be sanded off.The type of cut or hole in the tube will help determine the cause of the flat.
Common causes of tire and tube failures:
Small pinhole indicating a puncture
Symmetrical slits are indicative of a rim pinch
 Use care when seating tire during installation.
Totally shredded, dude
A long slit-like blowout can indicate an improperly seated tire
4
It is important to always inspect the tire as well as the inner tube. The cause of the flat, such as a nail or piece of glass, may still be embedded in the tire or tread. Inspect both the outside of the rubber tread and the inside of the casing.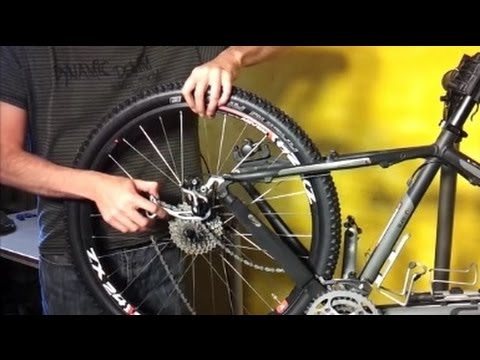
5
The wheel rim is made with holes between the rim sidewalls for spoke nipples. A rim strip covers the holes or nipples. The rim strip can be made out of different materials such as cloth, rubber, or polyurethane plastic. The strip protects the inner tube from sharp edges in the base of the rim and from spoke ends and nipples that might puncture the tube.
Inspect inside the rim cavity, looking at the rim strip and for any sharp corners or protruding spokes.
The rim strip should be wide enough to cover the bottom of the rim, but not so wide it interferes with the seating of the tire bead. Inspect the rim strip whenever changing a tire or inner tube. Look for tears and rips, and make sure rim strip is centered over the nipple holes. In the image below, the rim strip is damaged, which may cause a flat tire.
6
There are three common types of valve stems on bicycles: Schrader (“American” type), Presta (“French” type) and Woods (also known as “Dunlop”). The Schrader-type valve is common on American cars and motorcycles. It is also found on many bicycles. The valve stem is approximately 8mm (5/16″) in diameter and has an internal spring plunger to assist in shutting the valve. To deflate the schrader valve tube, it is necessary to stick a small hex wrench or other object into the valve in order to press on the stem and release the air. Upon release of the stem, the stem spring shuts. Schrader-compatible pump fittings press on the internal stem with a plunger, allowing the tube to be filled.
The Schrader valve core can be removed if necessary. This is rarely required, but a valve can become stuck and cause a slow leak. A loose core can also be the source of a slow leak. A special tool such as the Park Tool VC-1 will remove and or tighten the core.
Schrader valve core removed for cleaning and inspection with VC-1The Presta valve is common on mid and higher priced road and mountain bikes. Presta stems are nominally 6mm (1/4″) diameter, thinner than Schrader valves. At the top of the stem is a small locknut, which must be unthreaded before air can enter the tube. To deflate the inner tube, unthread the locknut. Depress the valve stem to deflate. To inflate the tube, unthread the locknut and tap the valve to insure it is not stuck.
Presta valve tubes are available with different length valves. Longer valve stems are needed for deeper aerodynamic rims.
The rim valve hole should match the valve of the tube. It is possible to use the smaller Presta valve in a rim intended for the larger Schrader by using an adapter sleeve.
7
Simply replacing the punctured inner tube with a new tube is always the safest and most reliable procedure. However, it is possible in some cases to repair a small hole in an inner tube. If the hole is quite large, it may not be possible to repair. When in doubt, replace the tube.
For full instructions, see Inner Tube Repair.
8
 Install with tube valve adjacent to air pressure recommendations written on tire sidewall.
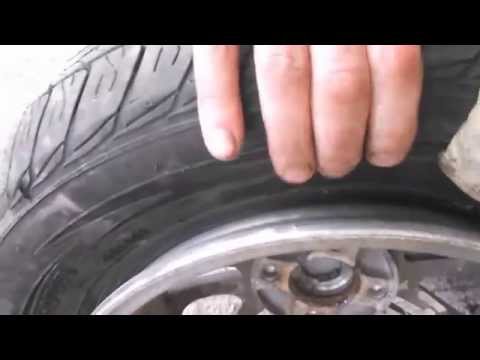 This line should run consistently above rim. Adjust if necessary.
9
At this point, the wheel is ready to be reinstalled on the bicycle. See Wheel Removal and Installation for help with this process.
In this article
1Wheel Removal
Back To Top
By Jim Langley
Here at RBR, we often get emails from roadies and even mountain bikers who are frustrated over “tight” or “impossible to get tire on or off the rim” or “stubborn” tires almost never let up. I want to give you a gift that’ll keep on giving. My present to you is the seemingly little-known secret that makes it much easier to put on and take off bicycle tires.
We enjoy answering email. But wouldn’t it be better not to have to ask, and instead to have the know-how and skill to laugh at those annoying too-tight tires and simply pop them on/off with ease? Yes? I thought as much.
I’m sharing the most important tough-bicycle tire installation and removal tip. That way, you should be able to more easily fix and replace your tires, and also show your riding buddies how to do it.
How to put on standard and tubeless clincher tiresThis tip works for all clincher road wheels and tires (mountain, too) whether they include tubes or not. Those without tubes are called tubeless or tubeless-ready or tubeless-compatible.
You might hear that having tubeless tires is the reason you can’t get your tires on/off. While it’s true that tubeless are stiffer than standard clinchers (they need to be to remain airtight), the installation and removal tip here works the same on them.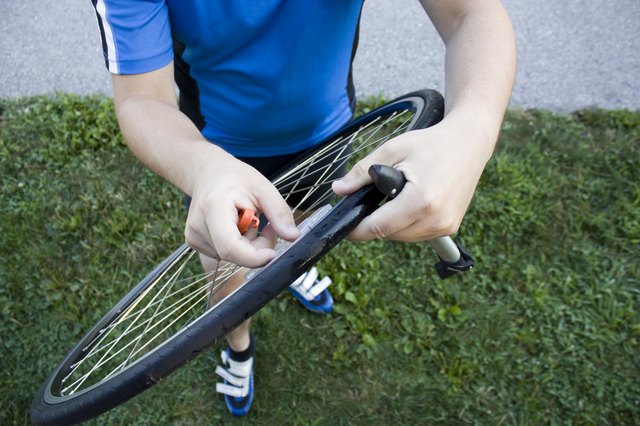
To help you visualize my explanation, I asked my cycling illustrator friend Karl Edwards http://karledwards.com/ for a sketch, which he kindly provided gratis (thanks, Karl!).
Outsmart that stubborn tireBefore I discuss the secret, I need to give you a little pep talk. Fixing flats and even replacing tires can be high-stress situations. Frustration, even anger, is understandable. But to master those tough tires, you’ve got to keep it together – or as my head mechanic at The Bicycle Center in Santa Cruz, California, Jeff Jolin, used to say, “You’ve got to be smarter than that tire.”
Jeff was spot-on with that advice. Tight, stubborn tires require thinking about what you’re doing and solving the issue that’s causing the tires to be stuck and refusing to go on or come off. It won’t do any good to get into a wrestling match with the tire.
The secret to putting bicycle tires on the rim easilyIf you adopt Jeff’s philosophy and always put your thinking cap on when installing and removing tires, you may never struggle again.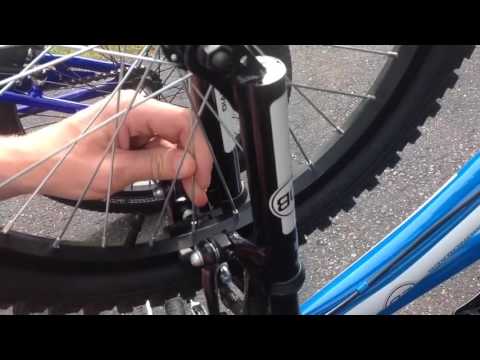 All you need to keep in mind is two key factors to ensure that tires behave.
1. The center and deepest portion of the rim (called the rim “well”) has to have nothing in it besides the rim strip or tubeless tape/tubeless valve. Otherwise, whatever is in there will get in the way, preventing the second key factor below.
2. You must get the beads (see Karl’s illustration) down and into the rim well all the way around the rim, or as much as possible, and keep them there to ensure easy on/off.
If you can manage these two things, the beads will sit down inside the rim, in the area that is the rim’s smallest diameter. With the beads down inside the rim, you create slack between the tire and rim; it’s that slack that makes taking tires on and off easier. Actually, most tires and wheels work this way, motorized vehicles included.
If you have trouble getting bike tires on or off the rimIf you still struggle during your next tire change, remember what I said about outsmarting the tire.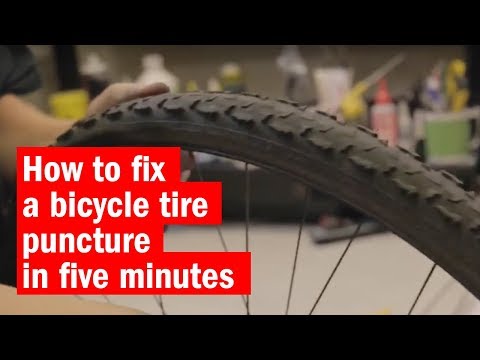 Carefully inspect around the whole tire and rim on both sides.
For tube-type tires, the most likely thing to get in the way is the tube. Take your time and make sure it’s fully up inside the tire and not in-between the tire bead(s) and rim.
For tubeless tires, the most likely thing is that the tire beads are not down in the rim well all the way around the tire. Inspect carefully and make sure they’re not sitting high on the rim’s bead shelves. Sometimes you have to push them off and down into the rim well a few times to get them to stay down there.
Tip: Since tubeless wheels have a tubeless valve taking up space in the rim well, mount the tire around the rest of the wheel first and pop the beads on last at the stem.
Once you find and fix whatever is preventing the beads going down and sitting in the rim well, that tire will go on and/or come off. You can do it!
Contents
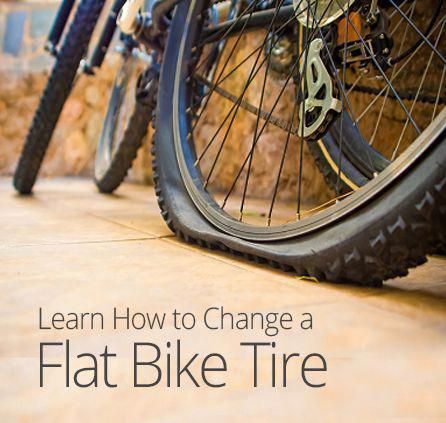
You can remove the tire from your bike yourself.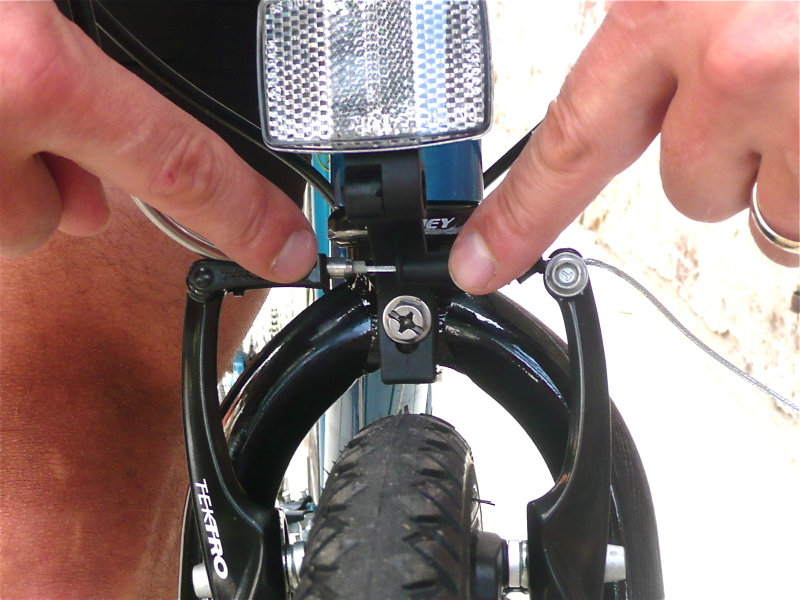 But in order to cope with this matter without problems, you need to know the sequence of actions for dismantling parts. It will also be useful to familiarize yourself with the list of necessary tools and understand in which cases the tire must be removed.
Under certain circumstances it is necessary to remove the tire from the bicycle rim. Sometimes this part needs to be replaced.
There are several reasons:
Removing a tire from a disc has its own algorithm of actions. It will require a few special tools. It is important to remember: it is undesirable to press too hard on the sidewall of the tire when removing. Also, the tool should be free of burrs and sharp edges.
The dismantling steps must be followed strictly, accurately and carefully.
To do this, you will need the following tools:
Once you have the necessary tools ready, you can start removing the tire from the rim.
Work steps:
 Such an action is performed so that it does not interfere in the following steps. The cable must be carefully pulled out of the connector.
 Anyone can pierce the camera while driving. And such an unpleasant situation, requiring the removal of a tire, usually takes you by surprise. Often a cyclist does not have the necessary tools with him.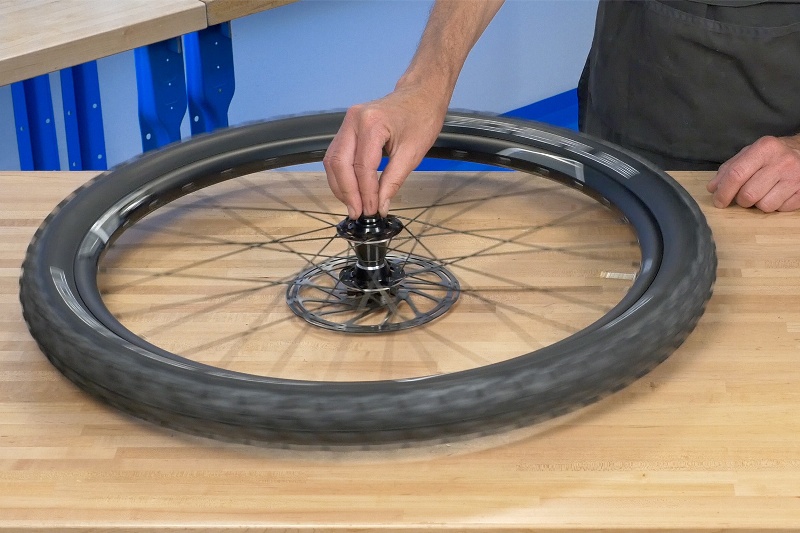 To replace a tire, you need to have at least a spare set.
Procedure:
Comfortable riding requires optimal tire inflation. In case of lack of air in the tires while riding, the cyclist has to exert more effort.
Tire life is reduced. If the amount of air exceeds the optimal threshold, grip becomes worse. And, as a result, a tough ride and an increase in the possibility of a camera puncture.
In order to avoid punctures, scuffs and other problems, experts advise you to follow the rules for using bicycle tires.
General recommendations:
Removing a tire without the help of specialists is easy. Many cyclists succeed right away. Accuracy, attention and the availability of suitable tools are all necessary conditions for a positive result. And so that the process of dismantling or replacing tires occurs less frequently, it is advisable to follow the rules for their operation.
Contents
Not everyone pierces their wheels, and not everyone repairs their bikes on their own. However, understanding how to remove a tire from a bike and put it on, what it takes and how to do it easily and without unnecessary problems, is useful for most riders.
When do we remove a bicycle tire?
Depending on the design of the bike, you will need different tools.
The minimum set is hands (preferably with gloves), nothing else is needed. What is used to facilitate the process?
First step using stripping
So what do you need to do to remove a tire from a bike?
Only repair of the chamber is limited to points 1-7.
The reverse process is the same: