Knowing how to adjust an ATV chain helps you maintain and operate your ATV at its best. It also saves you a trip to a shop to deal with something easily managed at home. All it takes is some knowledge, focus, and enough time to get the job done.
First, to know how to adjust an ATV chain, you must understand what the chain is and why it’s there. An ATV drive chain looks similar to what you would find on a bicycle. Some modern ATVs don’t have a drive chain, so consult your manual if you can’t find one.
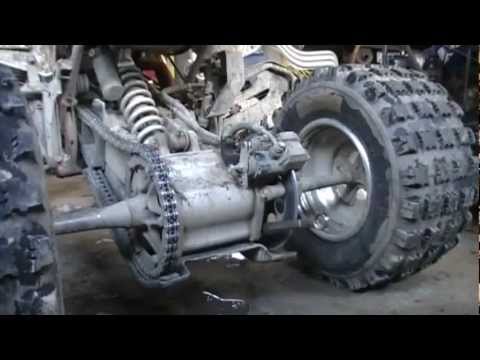
When an ATV engine turns over, the transmission causes a front sprocket to rotate. That turning sprocket pulls the drive chain, which in turn pulls the rear sprocket. That makes the rear axle turn, which spins the wheels and propels the ATV forward.
If you hear a strange, almost crunching noise while rolling an ATV forward in neutral or feel resistance outside of the norm, you might have chain problems. A jerky feeling, or power loss and clicking noises while driving, is a sign that your chain is loose. Of course, if the chain falls off, it’s clearly too loose.
It’s wise to check your chain routinely. This part can stretch and become loose through regular wear and tear. Trying to drive with a chain that is too loose can pull off sprockets, break cases, rip gears out of the motor, and otherwise cause problems.
How to Adjust an ATV ChainYou will need some wrenches or sockets, a measuring tape, and a screwdriver. Check your ATV’s user manual to learn the recommended slack. It is usually one to one and a half inches.
Start by putting your ATV on level ground and shutting off the engine. Have someone sit on the ATV to see what tension the chain is usually under with a rider aboard. Measure from the skid plate or chain guard near the center of your swingarm. Take note of the measurement where the chain rests on its own, then pull up the chain and note the measure at the highest point. The difference between those two points tells you what your slack is.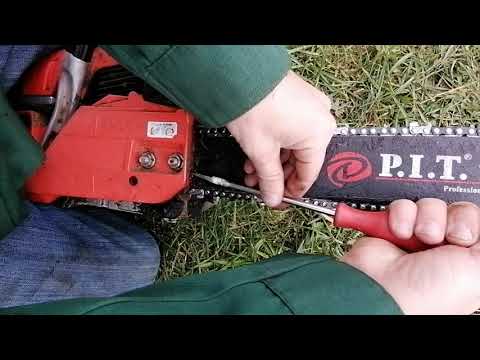 If it’s outside of what the manual says, you will know if it’s too loose or too tight.
To tighten the ATV chain, loosen the bolts on the bearing carrier. Then loosen jam nuts on the adjuster bolt(s). Tighten the adjuster bolt to tighten the chain. Go through the measurement process again, with weight on the ATV. Keep measuring and tightening until you are within the range of the user manual. Once the slack measurement is correct, tighten all of the hardware and jam nuts again.
What if you don’t have adjuster bolts on your ATV? The process is similar, with a few differences. You will still loosen the bolts on the bearing carrier. Then, you will find a hole that allows access between the carrier and sprocket. This is where you will insert a screwdriver or Allen key. Put the Allen key or screwdriver in place, then rotate the rear wheels forward to tighten. The screwdriver or Allen key ensures that the chain adjusts while the bearing carrier is rotated. Again, put weight on the ATV and take measurements. Adjust until it is within the right range. Tighten all of the hardware once that process is complete.
An ATV chain that is too tight can wear out sprockets prematurely. While a loose chain is reasonably obvious, it can be trickier to determine that your chain is too tight. One method is to use your hands. If the chain doesn’t give much when you press down on it, it needs more slack.
You can also use your hands as a preemptive measurement tool before every ride. Stack three fingers on top of one another and place them behind the chain slider. With the chain draped across the top of your index finger, it should be taut overall. Anything looser or tighter calls for adjustment.
Luckily, the process to fix it is the same as tightening, in reverse. Instead of tightening adjuster bolts or rotating the bearing carrier forward, loosen. Measure for slack as you would when tightening the chain.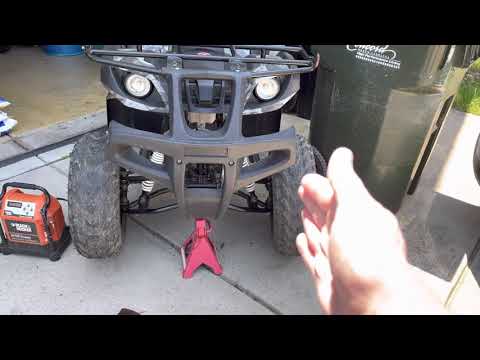
If the chain is still too tight and you cannot loosen it further by adjuster bolts, you may need to lengthen the chain. That requires taking the chain apart and adding a master link to it. You can also shorten a chain if need be by removing portions and using a master link to put it back together.
Disclaimer: While we endeavor to keep the information on our blog up to date and correct, Maxtrade (Coolster) makes no representations or warranties of any kind, express or implied about the completeness, accuracy, reliability, suitability, or availability with respect to the website or the information, products, services, or related graphics contained on the website for any purpose. Any reliance you place on such material is therefore strictly at your own risk.
Picture this: You’re cruising down the trail on your quad. You’re blasting the latest Swift jams and loving the freedom of the outdoors. Then, kablammo! Your ATV stops and your chain is laying on the ground.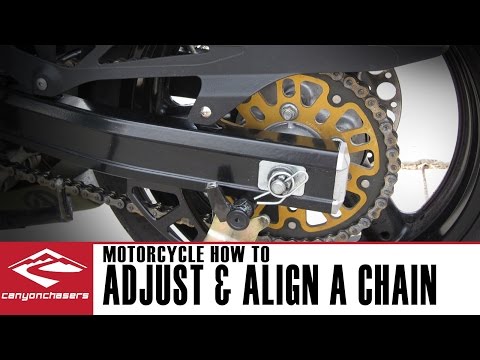 You really should’ve learned how to tighten the chain on your ATV before you blew it. At least you’ve still got Taylor.
That hasn’t happened to you yet (we hope), and we’re here to make sure it doesn’t. We’ll also give you a few extra pointers to make sure your ATV’s chain is off the chain and running smooth.
What to Consider Before Tightening the ATV’s ChainFirst of all, are you even sure you need to tighten your ATV chain? Overtightening your chain can cause just as many problems as undertightening.
Let’s look at the symptoms of a loose chain:
If you notice any of these things happening while you ride, you need to tighten your chain ASAP. In fact, you shouldn’t let your chain get this bad in the first place.
Instead, you should compare the slack in your chain to your manuals guidelines before it gets bad. Once you start noticing these issues, you’ve already subjected your drivetrain and sprockets to excessive wear and tear.
You might be experiencing some issues that you’re pretty sure are chain related, but it might be because your chain is too tight.
Having a too-tight chain can cause:
So don’t just assume your chain problems are due to a loose chain. Improper maintenance and overtightening can cause similar drivetrain issues. Check your manual and measure your slack to see what your chain needs.
How to Tighten the ChainIn order to tighten the chain on an ATV, you just need a few wrenches or sockets, a measuring tape, and, for some ATVs, a screwdriver.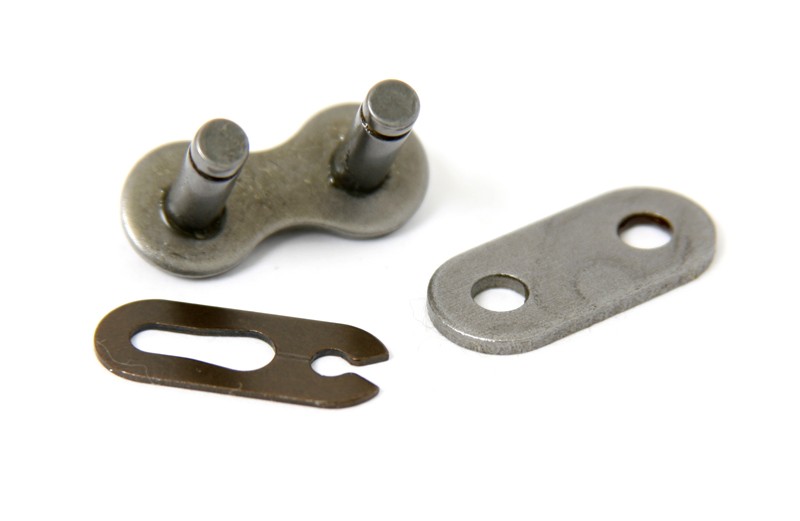
Here is how to tighten the chain on your ATV.
Now that you know how much slack is in your chain, you know if it’s actually too loose or if you’ve got some other issues going on.
 This works because the centerline of the axle does not match the centerline of the carrier bearing. So rotating the carrier moves the axle centerline front or back, moves the sprocket, and tightens the chain.
If you don’t have adjuster bolts, the process is a little bit different:
That’s it. Easy peasy. Your first time should only take you a few minutes as long as there’s not too much dirt or rust keeping your bolts tight. After doing it a few times, you’ll be a chain tightening master.
Sometimes tightening your ATV chain isn’t enough. Sometimes that chain is kaput and it’s time to say, “see ya!” and toss it in the trash. But how can you tell?
There are a couple telltale signs: rust and stretching.
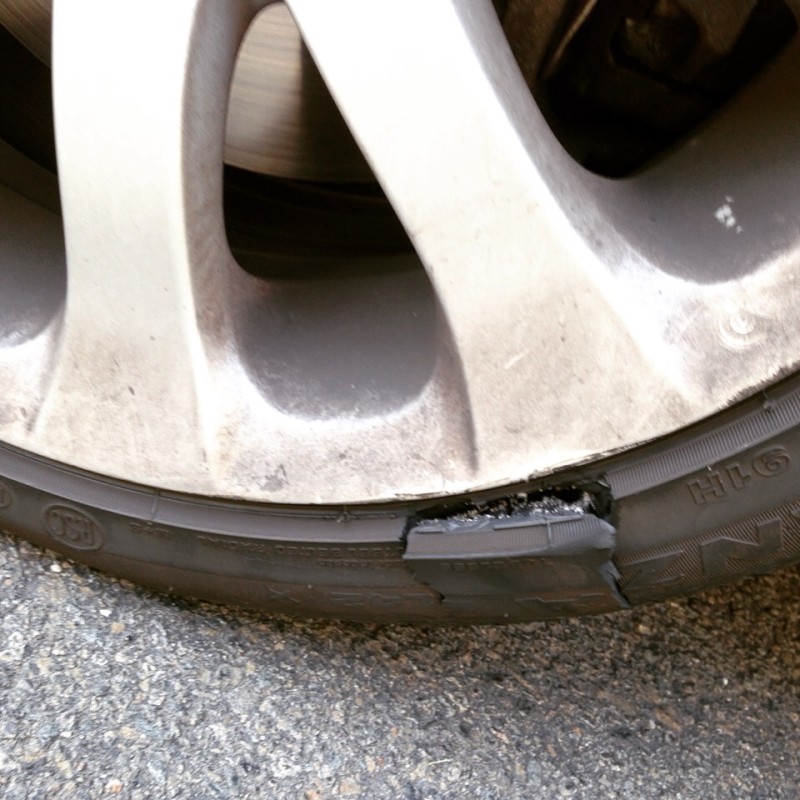
Rust is the enemy of your chain. If your chain is rocking that dusty red patina, don’t bother cleaning it up. You need to replace it. It means your chain is weak, and it likely has some damage to it already. Sooner or later, your rusty chain is gonna break. Ditch it for a new one.
Stretching is natural and happens to every chain eventually. This can be difficult to check, though. You can check to make sure the links are resting nicely on the sprocket. If you have a new chain to compare it to, you can measure the new chain (as long as it has the same number of links) and compare to the old one. Too much stretching causes wear and so a stretched chain should be replaced.
Changing an ATV chain is a piece of cake. The only complication is if you have a rivet-style master link on your chain. If you do, you’ll need a master link rivet tool. Be sure to follow the instructions included with the tool to remove your chain.
Clip-style master links are much more common on ATVs, and they make removing and replacing the chain simple.
This rusted-over chain needs replaced. The clip-style master link is clearly visible in the center and replacing this chain is as easy as popping the link off, matching the link count to the new chain, and putting the new chain on. This easy job is more than worth the trouble.Here’s how to remove a chain with a clip-style master link:
And that’s all it takes.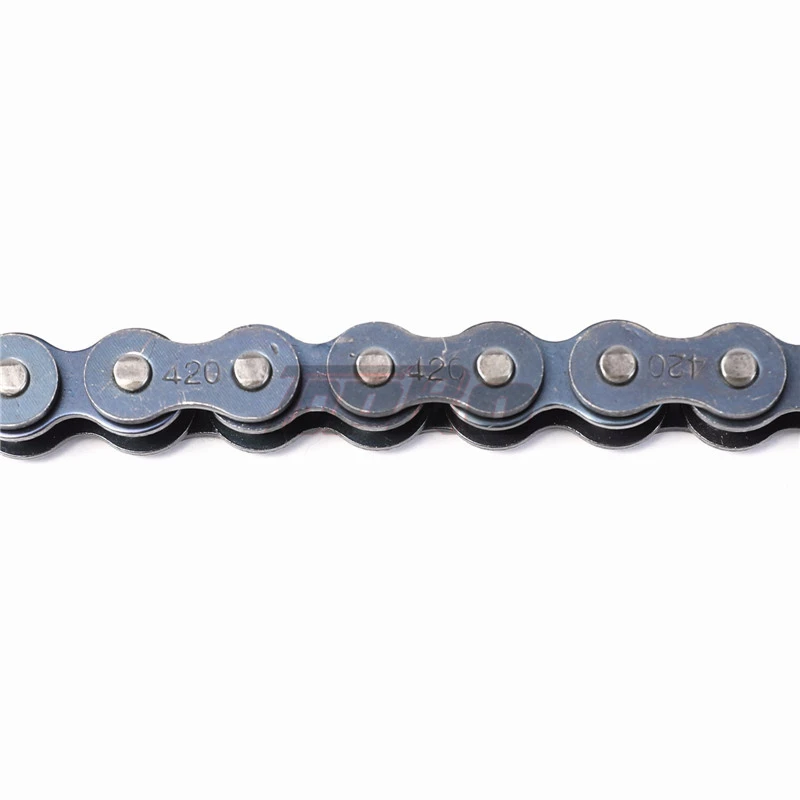 There’s no reason to put it off, so get it done today.
Changing your chain won’t necessarily solve all your problems. One of the persistent issues some people have with ATV chains is that the dang things keep falling off. Don’t worry—if you can identify the cause, you’ll be able to solve this problem, too.
Why an ATV Chain Might Keep Falling OffThere are three reasons your ATV chain might be falling off:
You’ve let it go too long without tightening it up again. Tighten it up right away to avoid other damage.
An old stretched out chain might get booted off the sprocket if it doesn’t fit quite right. No amount of tightening will fix this and it’s likely to brake soon. Replace it.
Do you have a skid plate or chain guard? If not, sticks, rocks, and bumps can knock your chain off at any time! Not to mention, they can permanently damage your sprockets and other drivetrain components. Do not ride again without adding a skid plate or chain guard.
If you need more information about the bits and bobs that make your ATV purr, check out some of our other articles. Keeping your ball joints in working order is key to making your suspension run smooth. Another central part of any ATV’s reliability is the winch. If you don’t have one, you should get one and then check out these 5 ways to use an ATV winch—they’re not just for getting unstuck.
Feel better about this whole chain thing? You should. Maintaining your ATV chain is easier than changing your oil and should be checked just as regularly. Just remember: happy chain, happy life! Yeah, we know it doesn’t rhyme.
Chain care (lubrication and tension) is one of the key elements of ATV maintenance. If the rider ignores this procedure, the component will begin to wear and sag, and the sprocket teeth will fail.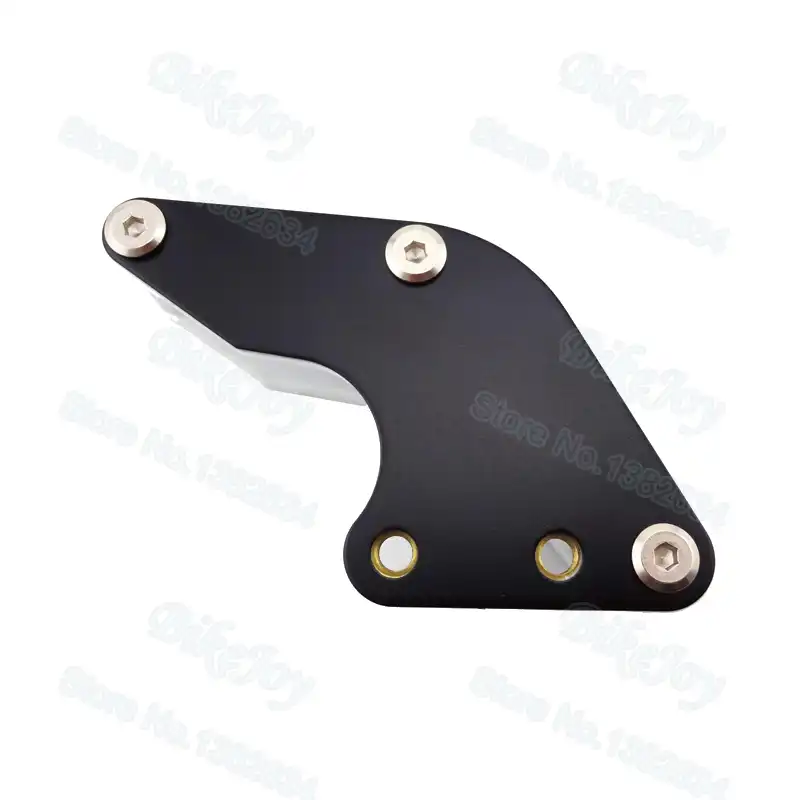 This will all lead to serious problems and break the element. Therefore, the motorist needs to figure out how to pull the chain on the ATV.
Inspection of the unit is recommended every 2-4 weeks, depending on the operation of the equipment. It may seem like this is quite common, but ignoring the procedure can lead to serious problems. For example, if the chain breaks far from the garage, the rider will have to push the quad home. But this is a trifle, in comparison with the fact that if a component breaks, the crankcase may suffer or the axle may jam.
A critical problem for the chain is:
But how do you know when a chain needs to be tightened or replaced on an ATV? Everything is simple. The rider needs to grab one link of the chain in the region of the rear sprocket and pull it towards him. If it turned out to pull off more than 4-5 links, then the node needs service.
Even if you have bought a reliable ATV, it is recommended to service the component every 300-400 km. This will not only increase the life of the circuit, but also detect the problem in a timely manner.
Since the quad is used for off-road driving, dust, dirt and moisture are constantly deposited on its nodes. All this leads to increased wear of the elements. By the way, experienced riders advise cleaning and lubricating the chain after each race.
First you need to find the right oil. In principle, even inexpensive lubricants can be used, but they will have to be applied more often. The oil marked "off-road" is best suited for an ATV. Such compounds are designed for off-road driving, and perfectly protect the assembly components from dirt and moisture.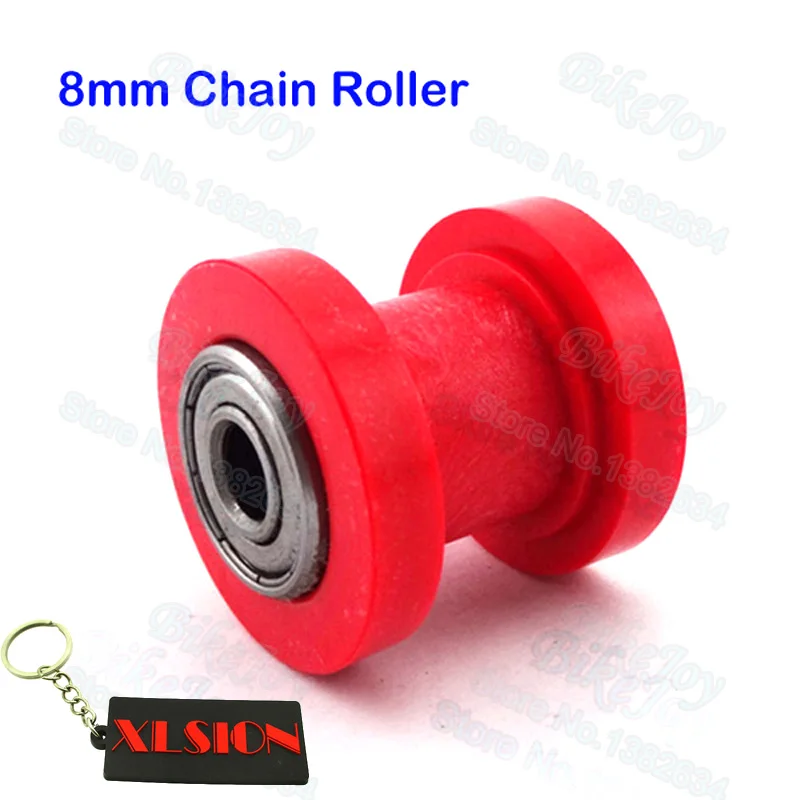
Before putting the chain on the ATV, it must be completely free of dirt. However, for this it is highly recommended not to use aggressive chemicals, hard brushes, solvents or high pressure washing. All this can lead to damage to the rubber seals.
Cleaning can be done:
After the dirt has been removed, the chain must be thoroughly wiped with a soft cloth and dried. Only then can you start lubricating.
It is worth noting that it is recommended to apply oil on a warm chain. But the removal of excess lubricant is carried out with the same soft brush.
ATV chain is recommended to be changed every 500 km. But what to do with an old part that is slightly worn or torn? You can make a spare wheel out of it, after shortening it by 1-2 links. Of course, this "modification" will increase the likelihood of its rupture, but in an emergency, such a spare tire will allow you to get home.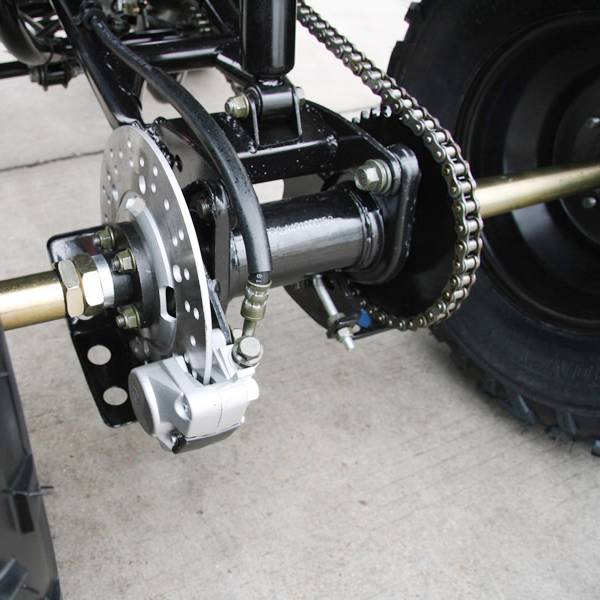
To shorten the chain:
Important: Remember that an old shorter chain will increase the wear on the sprockets.
To tension the chain, the vehicle must be parked on a level surface in neutral. The rider should then:
 They need to be combined and fixed.
 Some machines, most of them for children or low power, are equipped with special tensioning bolts. By twisting them, you can both weaken and tighten the chain. Therefore, study the documentation for the ATV in advance.
06/16/2020 5063
To keep the ATV running like clockwork, the rider needs regular maintenance. And one of the main elements of the maintenance of the device is checking the chain on the children's ATV. Ignoring this procedure can lead to a number of problems. After prolonged use, the chain may begin to fly off, sag and even break, damaging the crankcase or axle. Therefore, if you decide to buy an ATV for your child, it is important to understand the maintenance technology of this unit.
Many ATV owners are faced with the fact that the chain falls off the machines. Typically, this problem occurs during the active operation of the ATV (after passing 500-1000 km). The cause of the problem can be:
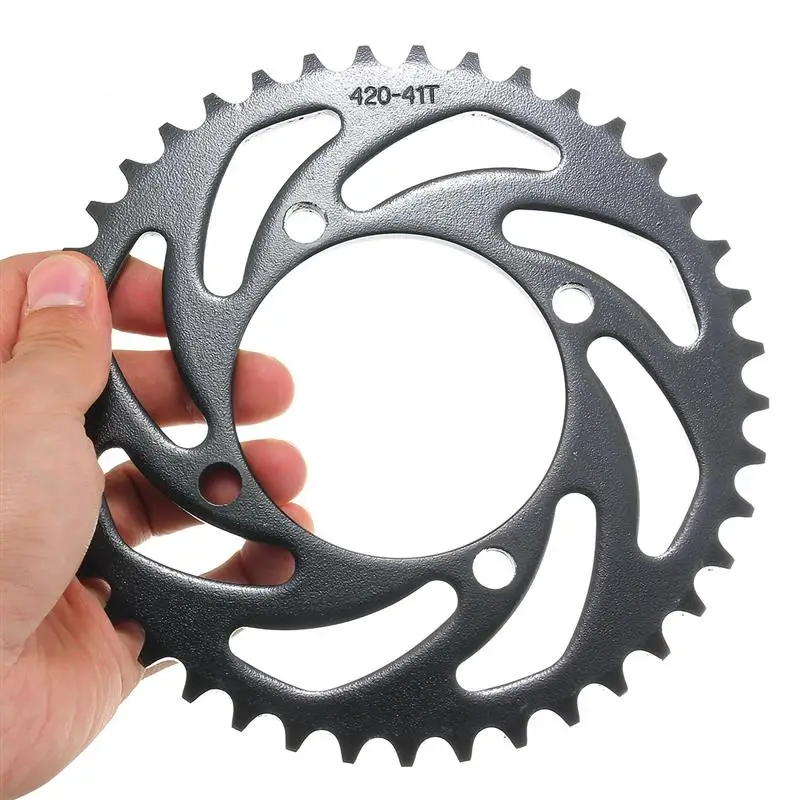
Tightening and lubricating the chain will solve the problem. And in case of severe wear, the element will need to be replaced. Also, the rider needs to inspect the sprocket and make sure that the chain has not “eaten” its teeth.
So, we figured out why the chain flies on a children's ATV. But what if maintenance, stretching or replacing the element did not help? In this case, you need to pay attention to the roller, it may be very worn out.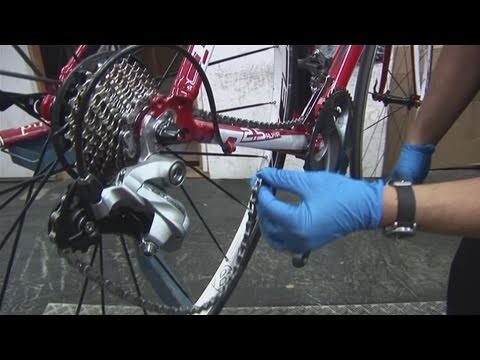 If so, then it needs to be replaced.
But what to do if there is no video, but the problem with the flight could not be solved? Then you can show your imagination and install the chain tensioner yourself. To do this, you need to make a plate with a mount for the roller, and install this design under the chain. In addition, this "miracle" can be supplemented with a spring, which will improve the tension.
Ideally, chain tensioning on a children's ATV should be done 2-3 times per season. Although there are other reasons for service, among which:
Finding the problem is quite simple, the rider needs to visually inspect the knot. If any deviations from the norm are noticeable (star wear or chain sagging), it is necessary to carry out maintenance.
Experienced riders recommend maintenance 2-3 times a season or after every 250-400 km. This will prevent the chain on the children's ATV from flying off or breaking the component, as well as increasing its operational life.
The first thing to do is clean the assembly (chain and sprocket) of dirt. This can be done with a soft cloth, a household brush and everyone's favorite WD-40. It is highly undesirable to use sandpaper, metal brushes, aggressive products and any solvents for cleaning. The use of such products is almost 100% likely to damage the rubber elements.
After that, you can start lubricating the unit. Almost all (even cheap) products marked “off-road” are suitable for this. Special oils not only protect components from dust and dirt, but also minimize their wear.
Note: Before processing, it is recommended to “warm up” the chain a little. And to remove excess oil, you should use a soft rag.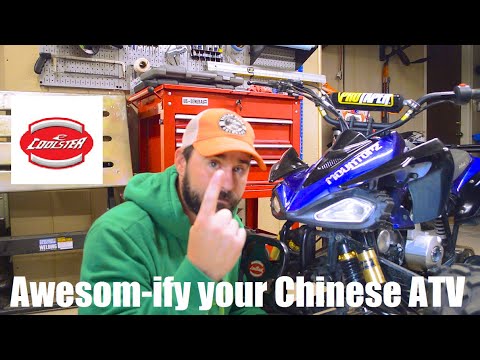
First, you need to make sure that the ATV chain is really slack. To do this, grab the link near the sprocket and pull the chain towards you. If you manage to pull more than 4 links, you need to carry out maintenance.
The rider should read the documentation before tensioning the chain. The fact is that some children's ATVs are equipped with tension bolts that simplify maintenance. With their help, you can tighten or "release" the chain.
But on powerful teenage devices (125-200 cubic meters), the procedures look a little different. Owner needs: