If your ATV engine is not getting enough fuel, it won’t run properly. You’ll notice it bogging down and just not having the power it used too. If you’re not getting fuel to the engine at all, it won’t even start for you.
The most common reason an ATV engine is not getting fuel usually has to do with the carburetor. Either a stuck needle valve or a loose or cracked vacuum hose are the most common issues. Don’t worry, there are pretty straight forward things you can do to check where your problem is.
There are a few different reasons you may not be getting fuel to your engine. It’s not that hard to check the parts to see if their working properly. I recommend going step by step checking one thing at a time, eliminating possible issues as you go.
If you have a fuel injected engine, you can skip this next part and jump straight to the fuel injectors, fuel pump, and compression check sections.
I would first check the carburetor to help narrow down where you should start your investigation. All you need to do is spray a little carb cleaner or ether down the carb and see if your engine will fire up with that. Or you could pour a little gas in the carb and try to start it up.
If it does start, and then dies right away, at least we know now it’s a problem getting fuel to the carb. We know that now because, when the carb has fuel, the engine will run. You should check to make sure fuel is getting to the carb now.
If it still doesn’t start at all, you may have a problem getting fuel from the carb to the engine. That is telling us the problem is further down the line. It could be an issue with compression if that’s the case.The engine doesn’t have enough compression to pull in the fuel it needs and stay running. I will go over how to do a compression check later in this article.
Another check to do with the carburetor is to adjust the idle mixture screw. I know it sounds too good to be true, but a lot of times this adjustment isn’t set right so the engine isn’t getting the right air/fuel mixture to run properly.
Ok, you sprayed something into the carb and the engine started up for a few seconds. Great, now we need to make sure the carb is getting the fuel it needs for the engine to run. Disconnect the fuel line going into the carb and put that end into a bucket or something to catch the fuel.
You may need to take out any spark plug, or just unplug them, just in case. And try to start the engine and look to see if fuel is coming out of that fuel line. If there is, then you have no problems getting fuel from the gas tank and it is probably a needle valve or float problem.
If there’s no fuel coming from the tank down that fuel line, then you’re problem may be an issue with the fuel pump, if you have one, or an obstruction in the fuel line or shut off valve. I will go over how to diagnose the fuel pump later in this article.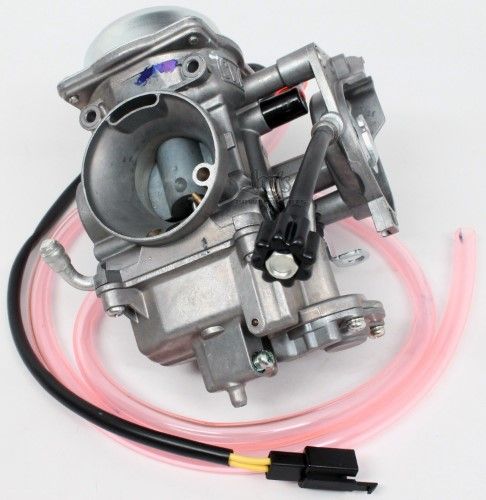
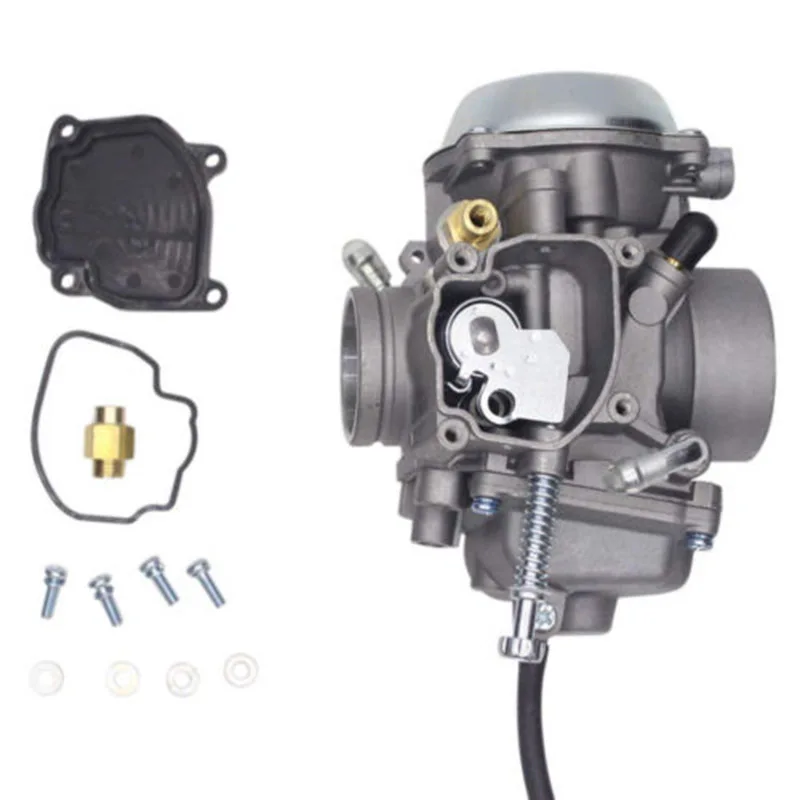
If the needle valve in your carb is corroded, it will not allow fuel to flow to the engine properly. Same thing will happen if your float is getting stuck. You’re going to need to clean the carburetor and possibly replace those parts if they’ve gone bad.
First remove the float bowl to gain access to the carburetor insides. Then you can remove the pin holding the float in place. Before you do that, you can try moving the float up and down with your hands, the float should move freely and have no resistance feeling when moving it.
The needle valve will be attached to the under side of the float, here is a picture of what you’re looking for. You can try cleaning the needle valve using carb cleaner. Just soak the thing and let it sit in carb cleaner for a few hours.
If that didn’t help, or you just don’t want to do it, no big deal. Needle valve are pretty cheap online. Here’s an example of a Carburetor Float Valve Needle on Amazon to give you an idea of what you’re looking for.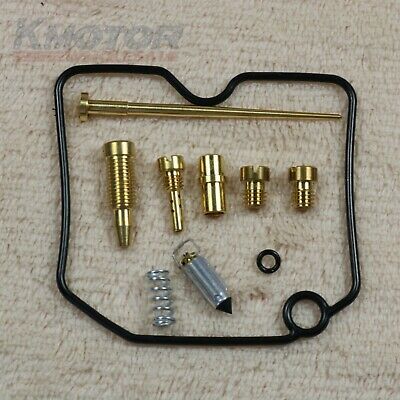
You can also replace the float if you want to, usually you don’t have to but i would give it a good cleaning. Double check all the seals and everything since you’ve got the carb open, and clean out everything really good.
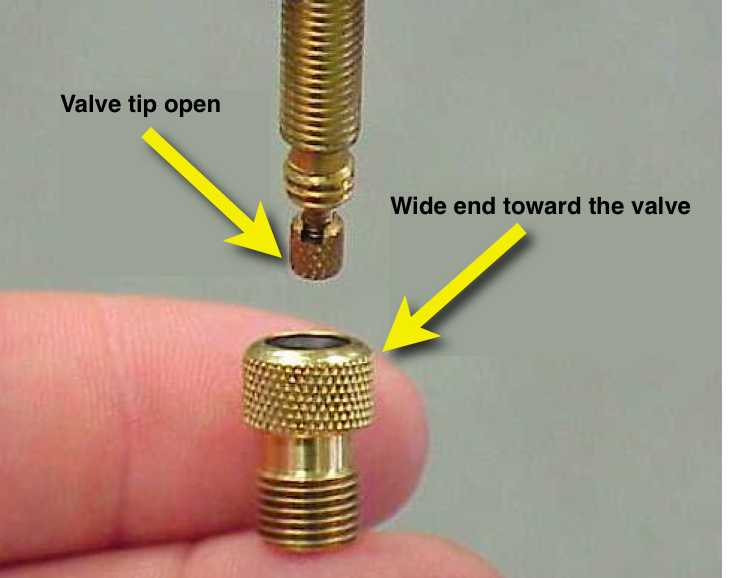
Remove Needle Valve SealCheck the bowl gasket, if this was bad, you would have noticed the carb leaking fuel before. To check and replace the valve seal, you’ll need a pick or something to pull it from the carburetor. I’ve used a sheet rock screw before. Just thread the screw in a little and pull out the seal.
Check out the picture for an idea of what you’re looking at. Once you’ve removed the old seal, insert the new one and make sure it’s seated all the way.
You can do that with a metal punch or something, just make sure you don’t hit too hard because you could break the aluminum frame of the carb. Reassemble with new needle valve and you should be good to go.
Fuel injectors can get gummed up after a while if they aren’t cleaned regularly.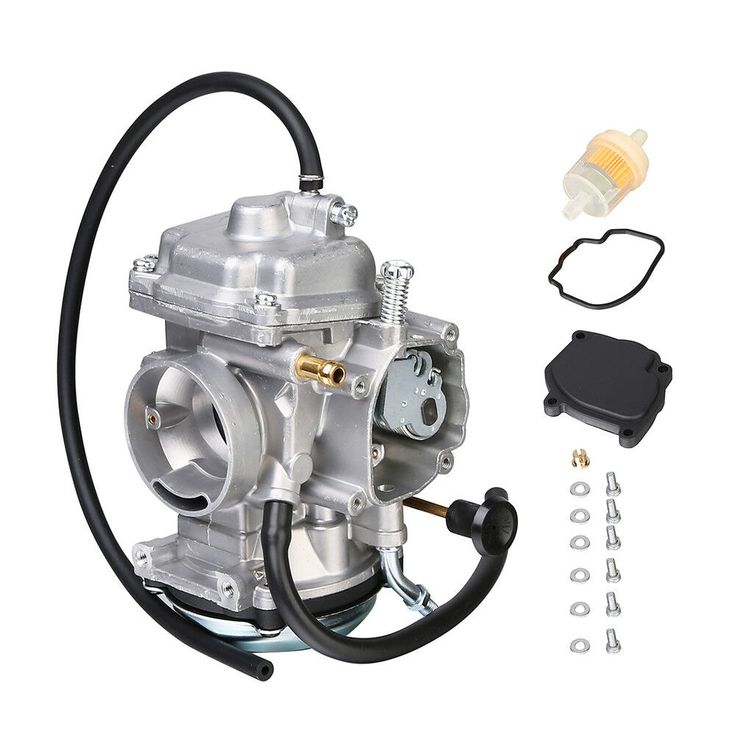 The end of the fuel injector has small holes in it that the fuel passes through, creating a spray that enters the cylinder. If those holes get gummed up, the spray will be off, and you’re engine won’t run.
If you think it could be a problem with your fuel injector, I’d recommend trying to clean them first before buying new ones because they can be pretty expensive. First, you’ll have to remove the fuel lines that hook to the fuel injectors.
You could always remove the fuel injectors completely and let them soak in some fuel injector cleaner. I use this B-12 Chemtool Thru-Rail Fuel Injector Cleaner but you can use any carb cleaner / fuel injector cleaner you want to.
If you don’t want to remove the fuel injectors completely you can try another method. You will still need to remove the fuel lines and let all the gas drain out of them. You will then fill the fuel line with fuel injector cleaner, and then reconnect the fuel lines.
Try starting the engine for at least 20 seconds.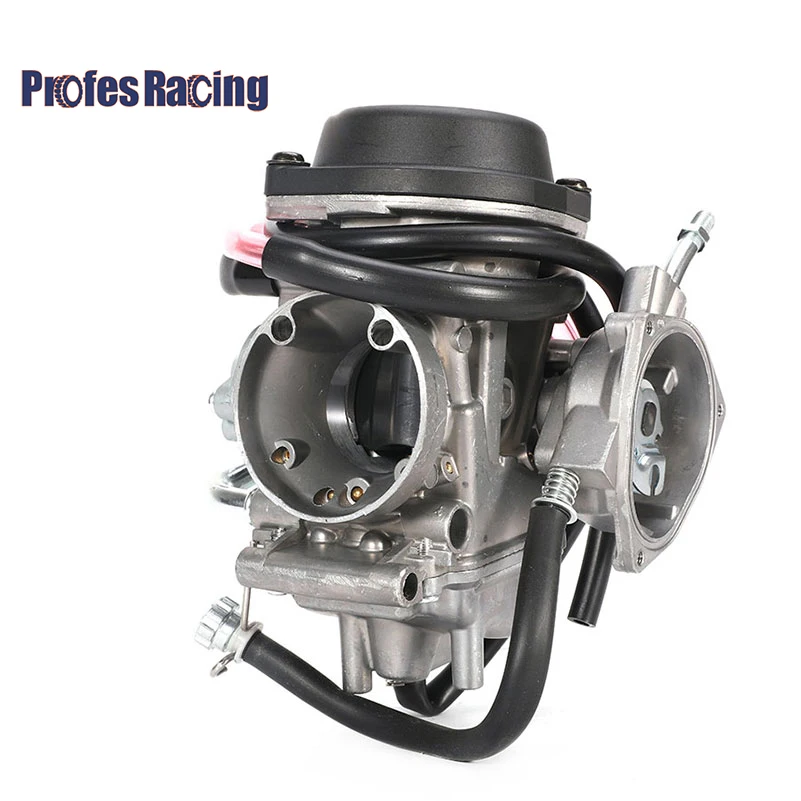 If it does start, don’t let it run for longer than 20 seconds. Then you want to sit and wait about 10 minutes or so. You need to give the fuel injector cleaner time to do its work. Repeat the process five more times, but only try to start for 10 seconds, and then let sit for ten minutes.
I know it’s not the official way to clean the injectors, but I’ve seen it work, and it can save you from all the work of removing the injectors. Once you get the quad running, you’re going to want to add a fuel additive to your gas to keep the injectors clean.
You should be doing this at least once a year anyway. I do it with my maintenance checks before spring begins every year. I usually just add some of this Gumout Complete Fuel System Cleaner to the gas tank before I start it up for the season.
I would say to try blowing air through the fuel pump to make sure fuel will be able to flow freely through it. But if you have a vacuum operated pump, you won’t be able to do that.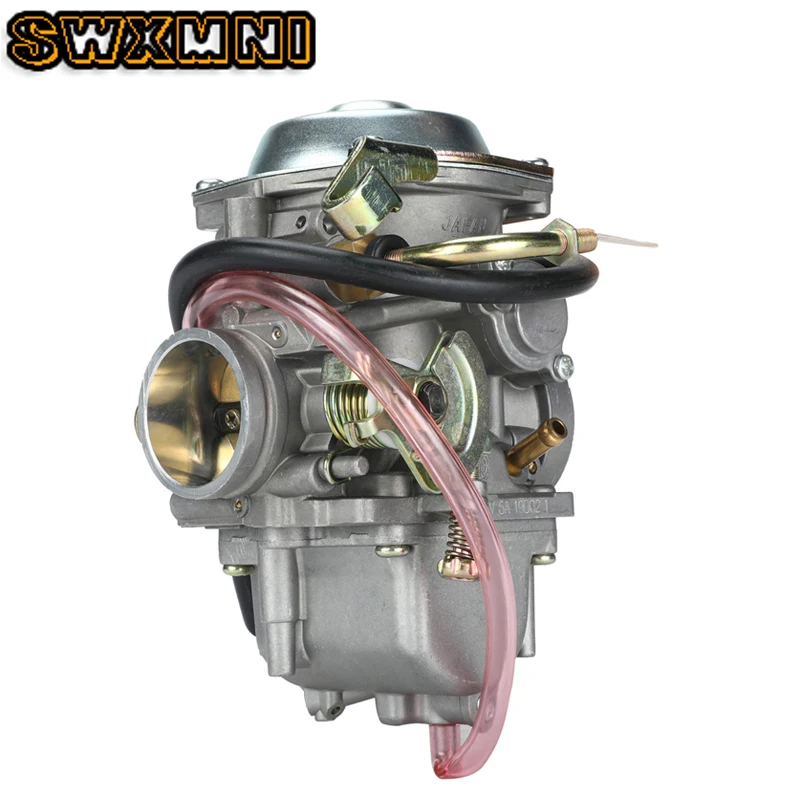 There are diaphragms in there that could get damaged.
To make sure you’re vacuum operated fuel pump is working correctly, pull the vacuum line to the fuel pump off and crank the engine. You should feel a good amount of suction at the mouth of the carb.
The engine crates a vacuum pulse to the fuel pump, which in turn creates an amount of pressure that pushes fuel into the carburetor. If you’re not getting good suction, try replacing the diaphragms in your fuel pump and make sure your vacuum lines aren’t cracked.
If you can, try cleaning the fuel line out and replacing the fuel filter to make sure you’re getting fuel to the carburetor. Inspect the fuel pump for wear and loose or cracked hoses. If there is no vacuum in the hose, you’re carb won’t get any fuel. This is most likely caused by a crack in the vacuum fuel lines or a bad fuel pump.
You may find it easier to just replace the fuel pump all together since they aren’t usually very expensive.
The compression check is pretty straight forward, you’re trying to see if you’re engine can handle the right compression to run properly. Without compression, you won’t get fuel and your ATV won’t start.
The steps are pretty simple if you have a compression tester kit. Basically, you remove the spark plug, hook up the compression tester and run the test. You just have to make sure your engine is at the down stroke in the compression cycle.
I go over this process in a lot more detail and explain step by step how to perform this test in my article, Top 7 Reasons An ATV Smells Like Burning Oil. If you weren’t getting good compression, but enough that the quad still ran, you would leak oil into the cylinder. Go to that article and scroll down to the leak down test section for a step by step guide on checking for compression.
Sharing is caring!
Delivery options and delivery speeds may vary for different locations
Sign In
or enter a zip code
Email * Password *
REPAIR & HOW TO
MAINTENANCE
TROUBLESHOOTING
GUIDES
TIPS & TRICKS
ALL ARTICLES WATCH VIDEOS ABOUT US SHOP PARTS CONTACT US
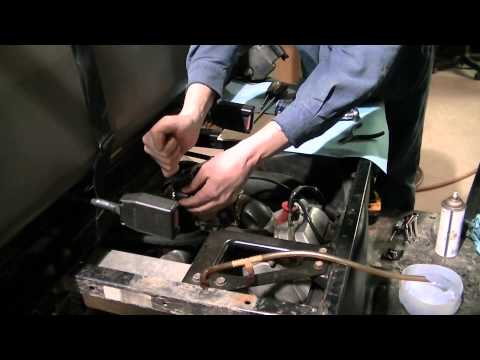
If your Honda ATV has trouble starting, runs roughly at lower RPM or stalls on idle, the carburetor probably needs cleaning.
Below we highlight the crucial steps for servicing a Honda TRX carburetor. Watch our Honda TRX 400EX carburetor cleaning video above and follow the steps provided below to get this job done.
Tools and Parts Needed – Honda TRX400 Carburetor CleaningToolsStep 1. Turn off the fuel lever, disconnect the fuel line, and remove the fuel tank.
Step 2. Remove the three airbox mounting bolts, loosen the airbox boot clamp, and remove the intake duct, airbox and boot assembly as one piece.
Step 3. Loosen the clamp holding the carburetor to the engine intake boot and pull the carb free.
Step 4. Remove the plastic throttle cover to access the throttle linkage. Pull the end of the throttle cable from the carburetor, loosen the throttle cable pinch nut, and unscrew the throttle cable elbow from the carb.
PRO TIP: The screws in a carburetor often get stuck in place from years of exposure to the elements. If this happens, use an impact driver to break them free without stripping the screw heads.
Watch the carb removal segment of our Honda TRX 400EX carburetor clean video below.
Dismantling Honda TRX 400EX CarburetorStep 1.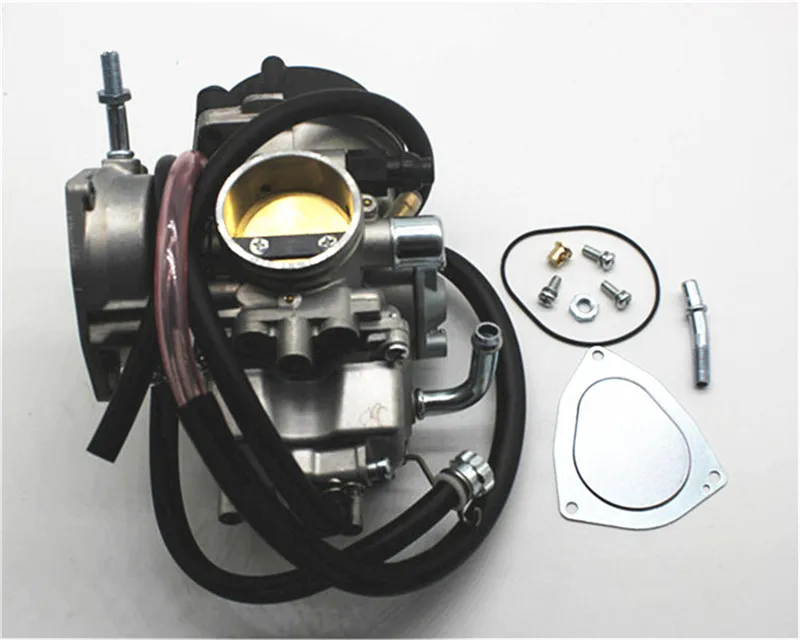 Remove all the hoses, inspect them for cracks or splits, and replace them if necessary.
PRO TIP: Label the hoses as you remove them so you know exactly which hose goes where when you reassemble the carb.
Step 2. Remove the fuel strainer screen from the fuel intake tube. Clean the screen thoroughly, then set it aside until it’s ready for reinstallation when you rebuild the carb.
Step 4. Remove the float bowl, followed by the float pin that secures it. Next, carefully remove the float and the float needle valve that sits beneath it.
Step 5. Remove the air-fuel adjustment needle, the main jet holder, and the idle jet.
NOTE: You’ll need to use a D-shaped bit to remove the air-fuel adjustment needle.
Step 6. Remove the main needle jet and sliding throttle valve by taking off the Phillips screw from the pivot arm.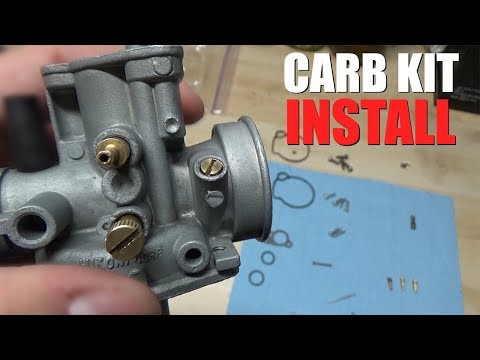
Step 7. Remove the air cut valve assembly.
Watch the carb dismantling segment of our Honda TRX 400EX carburetor cleaning video below.
Cleaning Honda TRX 400EX CarburetorNOTE: The carburetor rebuild kit includes all the jets and needles needed to overhaul a TRX 400 carb, as well as all the O-rings, gaskets and washers. You won’t need to clean the old jets and needles, and you can discard them if you have the kit.
Step 1. Thoroughly clean the carburetor body and the float chamber with carb cleaner. Soak the parts in carb cleaner, and remove as much buildup from within the carburetor body and the float chamber as possible. Squirt carb cleaner through all the channels in the carburetor body to rinse them out.
Step 2. Blow air through all the channels in the carburetor body to remove every last speck of dirt and debris.
Watch the carb cleaning segment of our Honda TRX 400EX carburetor clean video below.
Rebuilding Honda TRX 400EX CarburetorStep 1. Install the new idle jet, the main jet holder and the air-mixture adjustment needle (all included in the carburetor kit), not forgetting the adjustment needle’s washer and O-ring (also included in the kit).
NOTE: When installing parts made of brass (the jets and needles), be very careful not to overtighten them because brass is a soft metal and brass screw threads can easily be stripped. Once the air-mixture adjustment needle has seated, it should be backed off by two and a half turns.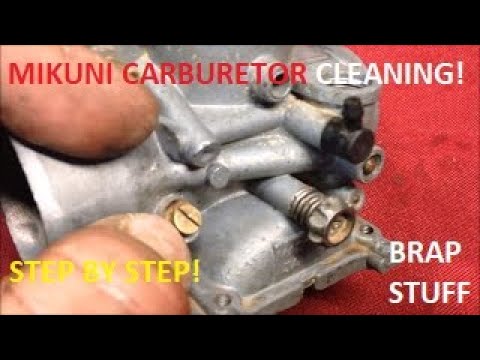
Step 2. Install the new float needle valve (included in the carburetor kit) to the float, and reinstall the float to the carb, making sure the float needle is secure in its channel. Then, reinstall the float bowl.
Step 3. Reinstall the air cut valve assembly and the accelerator pump diaphragm set.
Step 4. Reinstall the main needle jet and sliding throttle valve, making sure the needle is properly seated in the needle holder.
Step 5. Reinstall the fuel strainer screen back into the fuel intake tube, reconnect the fuel hose over it, and reinstall all the other hoses.
Watch the carb rebuilding segment of our Honda TRX 400EX carburetor clean video below.
Reinstalling Honda TRX 400EX CarburetorStep 1.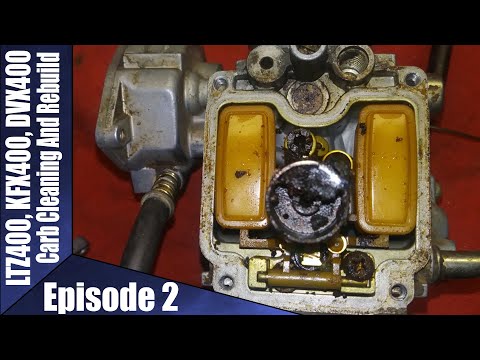 Reinstall the throttle cable elbow, then reattach the throttle cable and reinstall the plastic throttle cover.
Step 2. Press the carburetor into the engine intake boot and tighten the clamp.
Step 3. Reinstall the airbox, intake duct, and boot assembly.
Step 4. Reinstall the fuel tank, reconnect the fuel line and you're done.
Watch the carb reinstallation segment of our Honda TRX 400EX carburetor clean video below.
body
By Milena Anderson Reading 3 min. Views 14
Short Answer
How to clean the carburetor on an ATV without removing it?
If the carburettor can be accessed from above, use a can of carburettor cleaner and a stiff brush. If the carburetor is not accessible from above, remove the air filter and blow out the carburetor with a compressor or air hose.
How long does it take to clean the carburetor on an ATV?
Cleaning the ATV carburetor can take anywhere from a few minutes to an hour or more. Features vary depending on the type of carburetor and its condition. However, cleaning typically involves removing all fuel and air from the carburetor and then cleaning it with soap and water.
What do you soak ATV carburetors in?
Carburetor cleaner, petrol or diesel.
What is the easiest way to clean a carburetor?
Carburetor can be cleaned with carburetor cleaner.
What are the symptoms of a dirty carburetor?
A dirty carburetor does not save fuel well, makes it difficult to start the engine, and can produce an unpleasant odor.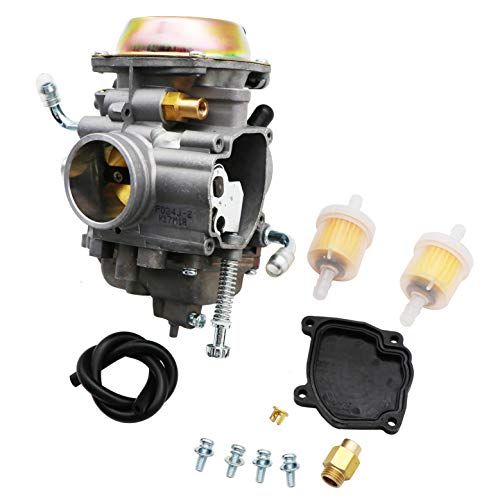
How do I clean a thickened carburetor?
There are several ways to clean a thickened carburetor. One is to use gasoline and a toothbrush to clean the inside of the carburetor. Another way is to soak the carburetor in a solution of water and vinegar for several hours.
Will sea foam clean the carburetor?
Seafoam does not clean up carbs.
Can wd40 be used to clean a carburetor?
WD40 is not a carburetor cleaner and will not work well with carburetors. Carburetor cleaners are specially designed for cleaning carburetors and are available at most auto parts stores.
How to clean the carburetor without carburetor cleaner?
There are several ways to clean the carburetor without carburetor cleaner. One way is to use a piston. Place the carburetor in the sink and fill with water. Place the piston on top of the carburetor and push and pull the piston until the carburetor is clean. Another way is to use a can of compressed air. Blow out the carburetor and clean it with a brush.
How do I clean a clogged carburetor?
There are several ways to clear a clogged carburetor. One of them is to use a piston. Place the piston on the carburetor and push and pull the carburetor until the obstruction is cleared. Another way is to use a vacuum cleaner with a crevice tool. Make sure the crevice tool is wide enough to fit around the circumference of the carburetor. Set the vacuum cleaner to maximum power and turn it on.
How to clean a thickened carburetor in a small engine?
The carburetors can be cleaned with a carburetor cleaner such as kerosene or petrol. Use a rag to apply the cleaner to the carburetor and then use another rag to clean the carburetor. Be sure to rinse the carburetor thoroughly with water afterwards.
Can carburetor cleaner be sprayed into the air intake?
No, the carburetor cleaner is not a safe air intake cleaner.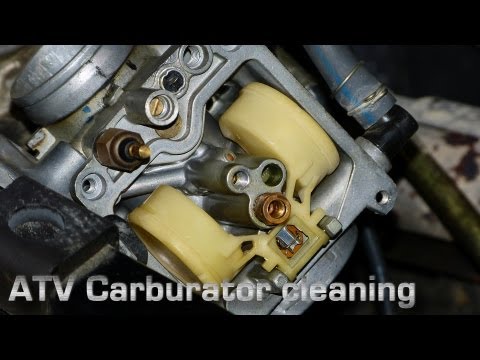 This could result in engine damage and serious injury.
Can carburetor cleaner be sprayed into the spark plug hole?
There is no guarantee that the carburetor cleaner will do the job of cleaning the spark plug hole, as it may not be effective against the dirt and debris that may accumulate in this area. Also, using carburetor cleaner in this way can damage the engine or other components.
How often should carburetors be cleaned?
Carburetors should be cleaned regularly, usually every 3-6 months.
What can be added to the fuel to clean the carburetor?
There is no one-size-fits-all answer to this question, as the best way to clean a carburetor depends on the specific carburetor and fuel being used. However, some general tips for cleaning carburetors include using a fuel additive designed specifically for carburetors, using a carburetor cleaner, or boiling water and pouring it into the carburetor.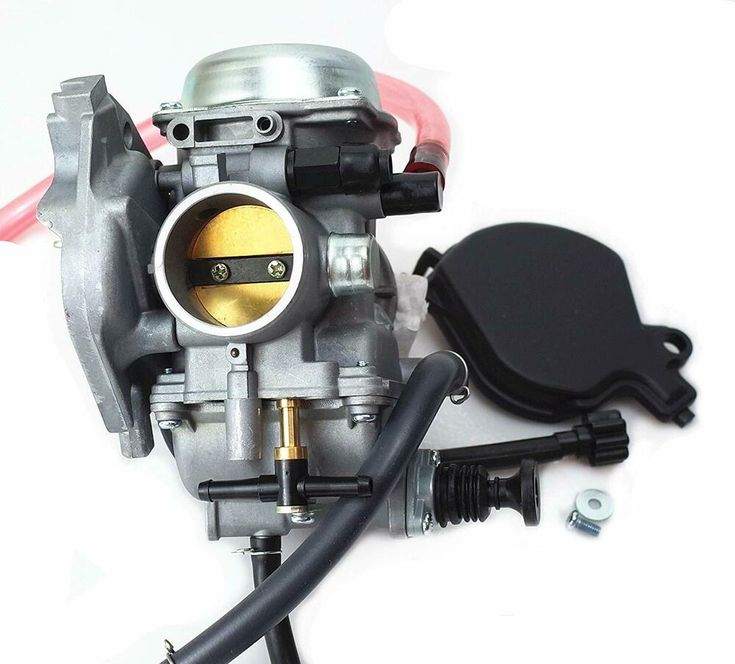
ATV Club
October 15, 2008
The CAN-AM Outlander 400 MAX is currently the smallest two-seat quad bike on the market. Utility ATV called Outlander 400 has been known for five years.
However, the 2008 models are distinguished by an upgraded instrument panel display, a different rear light and, most importantly, changes to the Visco-Lok all-wheel drive system. Now Visco-Lok more quickly monitors the slip of the front wheels and blocks them in a timely manner. In addition, now the power system can have both a carburetor and an injector, with which the engine power is 3 liters more. With. Our "four hundred" was carbureted.
MAXIMUM EXTENDED
In the model index, MAX stands for a long wheelbase two-seat arrangement, while XT stands for the top of the line configuration, which includes a winch, reinforced bumpers, handguards and alloy wheels. The winch, by the way, is Warn 3000XL (with a pulling force of 1361 kg), which allows, in which case, to stretch out of the mud, shifting cubic meters of soil along with the quadric.
What is interesting to note in the technical part? In general, everything is traditional. CVT with downshift, front and rear independent suspension. Although here there are already differences from the majority. At the rear, the TTI design is used - a torsion bar suspension with pendulum levers. For the user, this is manifested in the fact that the rear is very convenient to wash: the dirt in the suspension almost does not get stuck. Brake control is not quite usual yet (two discs in front, one in the back). There is no lever under the right hand at all, and both brakes are brought to the left, which also performs the function of a parking brake. However, there is also a separate foot pedal responsible for the rear brakes.
The ignition switch has two working positions.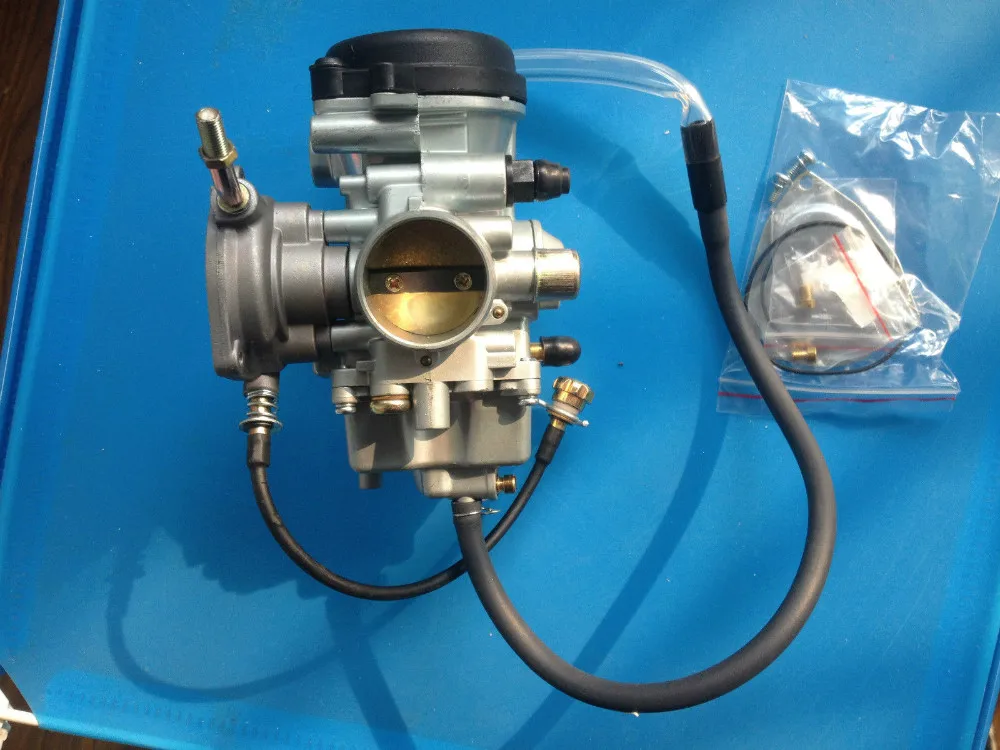 In the first, the dipped headlights are constantly on, and in the second, the headlights are turned on with a separate button. This is true with frequent use of the winch, well, or when driving through fords, so that the hot glass of the headlights does not burst from cold water.
It's nice that there is a gas tap with three positions: "open", "closed" and "reserve". After all, despite the presence of a mechanical fuel sensor, switching to the “reserve” quite accurately signals the amount of remaining fuel. And a manual starter is generally the last chance with a battery planted by a winch somewhere far from civilization.
DON'T STAP IN THE TREES
We were primarily interested in whether this ATV would be suitable for serious off-road outings, say in an amateur competitive format. The answer came pretty quickly. It's about the same as driving an expedition SUV on a trophy route. It is possible, but difficult, especially if you do not have a lot of experience. In principle, it behaves normally in the mud, the engine power is 29 liters. With. enough in low gear. But this is without a passenger. As soon as the second number appears on top, the power of the motor is already not enough. Well, the main obstacle is the dimensions, which are oh so relevant when maneuvering between trees. After all, the two-seat model has an elongated wheelbase, made for stability when riding with a passenger. By the way, this ATV really does not show any tendency to skid and roll over. Partly thanks to the base, partly to the low center of gravity, which was also obtained due to the outstanding ground clearance of 236 mm.
IN SEARCH OF ADRENALINE
Okay, if we leave aside sports ambitions, then what remains? Not so little - a pleasure ATV with a very soft ride, really comfortable for two riders. A long wide saddle, like an expensive armchair, gently takes over the stern parts of the riders.