Repairs on a used off-road vehicle can be expensive.
When ATV owners think about whether we should buy used ATVs instead of new, the health of a pre-owned ride gives us the most pause. If significant repairs are needed to keep the vehicle in good working order, we’d probably be better off buying a new ATV altogether, right?
The truth is, unless you get a full third-party Condition Report or a private seller is completely upfront with you, there’s a good chance your ride could turn into a lemon a few months down the road. The frame might have a few nicks and dents, but there could be some serious problems with the engine you didn’t notice before and now need to be addressed.
Unfortunately, some new buyers catch these issues too late because they didn’t know which questions to ask before sealing the deal. There are also those who change their riding preferences as they become more familiar with ATV riding, so what worked for them initially doesn’t anymore.
ATV repairs can be costly, the frame and engine setting owners back the most. If these setbacks weren’t addressed before leaving the lot, assess the damage and decide whether repairing the vehicle on your own is a worthy investment of your time and money or if more capable hands, i.e. a professional mechanic, are required. Be careful, however, because if you choose to repair your machine on your own, you risk decreasing the ATV value (stock-condition vehicles are usually preferred in resale situations).
For those who are noticing mechanical issues shortly after purchase, don’t panic. Your machine might just need a simple tune-up. If you’re comfortable servicing it on your own, go for it (the service manual will break it down for you). A general tune-up can cost anywhere between $100-400, and includes anything from changing the oil, to swapping out spark plugs, to flushing out the braking and/or cooling systems, etc. If you take your ATV to a professional, however, expect to spend $80-100/hour on labor fees alone.
In case your ATV requires tweaking to improve its performance on the track, a top-end engine rebuild is the first place to start. If done by a professional mechanic, a rebuild can cost upwards of $550 for 2-stroke engines, $750 for 4-stroke, both amounts including parts and labor. Expect to spend around $200-400 if you perform the rebuild on your own, which is a marked reduction, but still pretty hefty depending on what the ATV values at, at the time of repair.
Finally, if you choose to buy used ATVs, it’s possible you’ll have to make adjustments to improve its fuel economy, especially if it’s a performance vehicle. Depending on whether your machine uses fuel injection or carburetor, and something goes amiss in either system, you may be spending more than you bargained for in repairs. While many riders prefer electronic fuel injection (EFI) to a carb, maintaining EFI machines can be a big undertaking for those who don’t know their way around an ATV, so a professional is recommended (remember those labor fees I mentioned earlier?).
Other adjustments a rider of used ATVs might have to make include replacing the clutch ($150-500 depending on whether you’re replacing the entire system), adjusting the valves, and a total shock rebuild (this one’s a doozy, too, at nearly $300 for parts and labor).
When you commit to buying a used ATV, you are essentially agreeing to repair any immediate wear and tear from the previous owner. Fortunately, if used vehicles fall more in line with your budget, you can bypass a private seller altogether and still purchase a reliable used machine that not only comes with a comprehensive CR, but that is also covered by a Money Back Guarantee.
All in all, the cost of an ATV repair, even if done autonomously, stacks up over time, often exceeding what you initially spent on the used ATV. So, if you don’t have the time, money, or desire to fix your four-wheeled machine on your own, buying either a certified third-party used model or a brand-new ATV is in your best interest.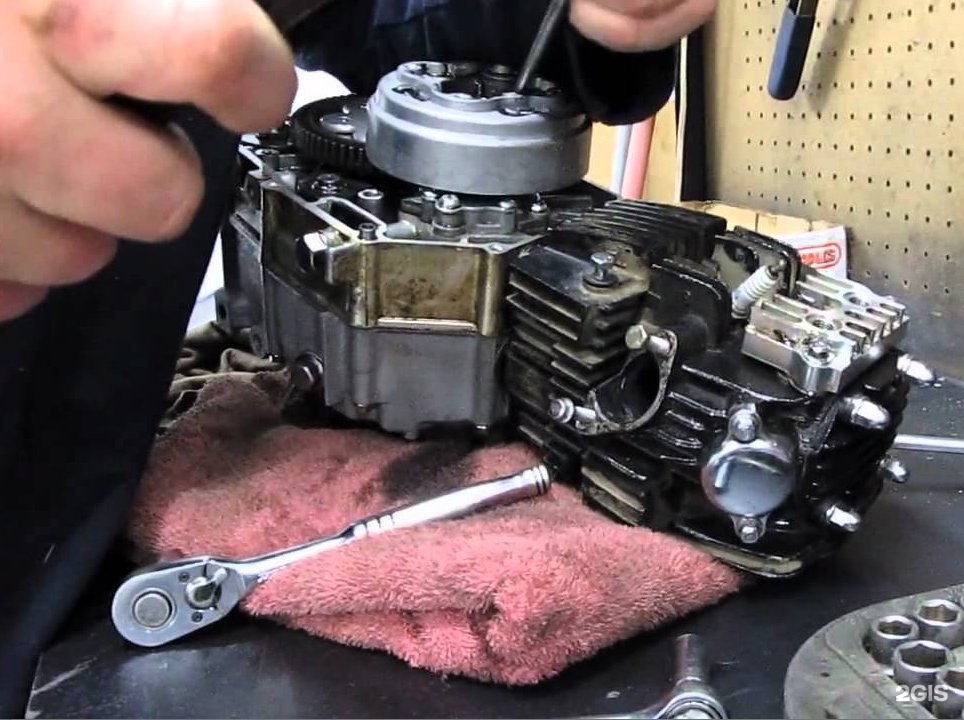
Note: RumbleOn is an Amazon Affiliate, dedicated to reviewing the best and safest gear and more, for riders everywhere. We may receive commissions if products are purchased from them.
ATV Maintenance Tips
ATVs and Side By Side’s have never been more popular than they are right now as more and more people spread from the cities to the land in search of nature, adventure, and fun outdoor experiences. Getting the best use and extended life from an ATV often depends on its owner’s care.
Much of ATV maintenance and repair is routine and readily tackled by any enterprising do-it-yourselfer. If having a well-running machine and saving some money are topics of interest to you, keep reading to learn how much you can do to keep your ATV performing at its best.
ATV: Both Toy and ToolWhat to one person is a toy, to another; it is a necessary tool. ATVs provide transportation over nearly any type of terrain, from muddy lake bottoms to narrow woodland paths.
One person loads his ATV from his suburban garage onto his truck or trailer and heads for the wilderness trails, while another climbs on board every day to carry tools or feed to remote pastures and range.
Because of the immense number of attachments now manufactured for ATVs, your humble, off-road “four-wheeler” is customizable for many purposes.
An ATV can plow your garden patch, transport your gear for ice-fishing, blow away snow, haul tools, carry feed, spray for weeds, as well as get you where you need to go. ATVs are popular vehicles in many different venues, including agriculture, ranching,
industry, recreation, and more. They’re also an efficient way for many disabled individuals to get where they need to go.
Maintenance is Key to DependabilityRegular maintenance helps keep your ATV running dependably and keeps repairs to a minimum.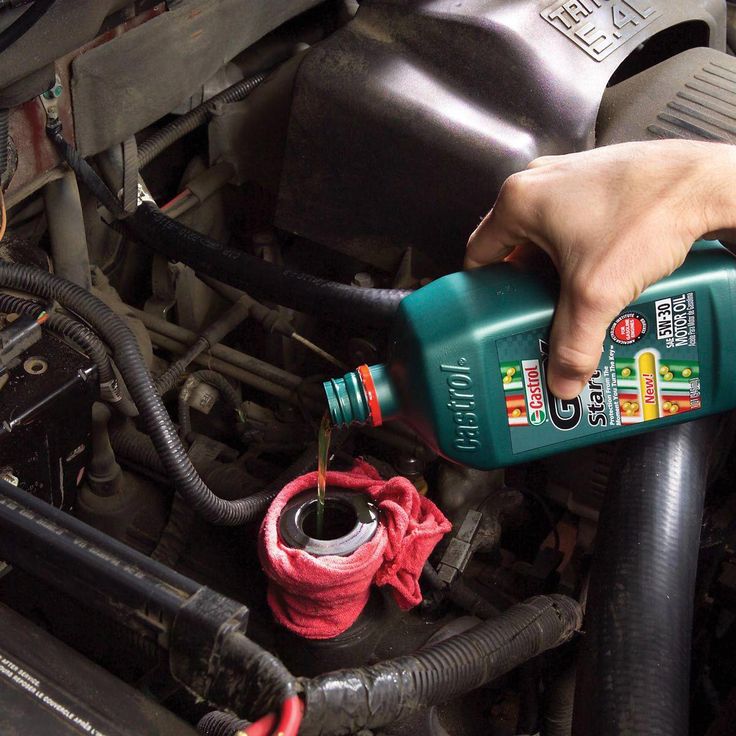 Maintaining and repairing your ATV isn’t as difficult as you might imagine and is easily accomplished by nearly anyone equipped with the right tools and an owner’s manual.
By routinely maintaining your ATV, you’ll be in the position to catch necessary repairs early, saving the expense of further repairs that might otherwise be necessary. The following areas of maintenance are critical, not only to your ATV’s health and long life but also to avoid unwanted mechanical breakdowns while exploring the backcountry.
Essential ATV Repair ToolsBefore you attempt any at-home ATV repairs, do yourself a favor, and equip yourself with the right tools. Having the correct tools for the job at hand makes it possible for an owner to be his own mechanic for routine repairs.
Acquiring these tools is the first step. Many people purchase their tools at the same time as their ATV.
Before you take a wrench to your ATV, acquire a copy of the ATV owners’ manual if you don’t already have one. If you purchased your ATV without an owners’ manual, numerous online sites allow you to download ATV manuals, sometimes for a small fee.
Each ATV make has its quirks and specific requirements, and it is vital to start work with accurate information.
Many of the tools you’ll need to work on your ATV are commonly found tools; others, you may have to purchase.
Good tools for working on your ATV:
Besides having the necessary tools and supplies assembled beforehand, it is also vital to purchase and have on hand any needed spare parts. CV joints, for example, frequently require replacing after riding in rough terrain. If it seems like too much of an effort to chase the parts you need all over town, remember it is possible at present to order quality ATV parts for your machine over the Internet.
Oil Changing
Like automobiles, ATVs need regular oil changes to rid the machine of the dirt and sludge it’s picked up over time and with use. It’s a good rule of thumb to change your ATV’s engine’s oil after every hundred hours of use or as recommended by the vehicle’s manufacturer.
It is a relatively simple procedure that nearly anyone can do at home. You’ll need to purchase the oil and filter as specified by the ATV’s manufacturer and will need an oil-filter wrench and an oil pan, along with a couple of clean rags.
First, start the ATV and idle it for a few minutes to warm up and circulate the oil. Turn it off after approximately ten minutes. Access the oil filter and dipstick by removing the seat and any panels necessary. Before removing the dipstick, take the time to brush off debris that might find its way into the oil.
Locate the drain plug beneath the vehicle. Typically, it is at the lowest point of the undercarriage. Place the oil pan beneath the plug and remove the plug with the correct socket, allowing the dirty oil to flow into the pan. Dispose of the dirty oil properly according to your local code.
Using the oil-filter wrench, remove the dirty oil filter, and discard. Replace the drain plug first, and then install the new filter. Rub some oil around the O-ring of the new filter, carefully screw it in, and be careful not to let it cross thread. Tighten, first by hand and then with a wrench but do not overtighten, or it won’t be easy to get off the next time.
Replace the dipstick, add the correct amount of new oil, and then start the ATV and let it run for a minute so the oil might distribute throughout the engine. Check the oil level to ensure it is correct, replace your panels and seat, and you are through.
The two most common tasks regarding ATV tires are keeping them inflated correctly and plugging holes as they occur. Both of these are easy-to-do jobs for any ATV owner and are easier to do at home than to truck the vehicle to a repair shop.
A small home air-compressor is all that is necessary to keep your tires at the correct pressure, as recommended by the ATV manufacturer. Do not use a tire gauge for an automobile when checking ATV tire pressure. Your ATV requires a low-pressure tire gauge. Overinflated tires can make your ATV unsafe.
It takes nothing more than a bit of construction trash to puncture a tire and nothing more than a tire-plug kit to repair it. First, locate the puncture, using a container of soapy water to help find it if necessary. Next, roughen the spot to be plugged by reaming it well with the kit’s reaming tool.
The plug will adhere better to a rough surface. Make it large enough to accept the plug. Use the supplied tool installer to push the plug into the hole, first coating it with the provided adhesive. If the plug extends beyond half an inch, trim it as needed. A larger hole may require two plugs.
Neglecting to clean or replace the air filter is one of the more common mistakes people make with their ATVs. Fortunately, it is one of the more straightforward tasks you can perform to keep your ATV in good working order. Find your air filter underneath the seat, with a latch towards the rear.
Open this compartment, being careful not to let any dust or debris get into the area. Carefully remove the existing filter, and wash it gently in dish soap until it is as clean as possible. Let dry and gently replace. A disposable filter is even simpler. Be careful not to tear the gasket as you return the air filter.
Nuts and BoltsNuts and bolts are what hold your ATV together, and it is a good idea to make checking (and tightening, if need be) part of the routine maintenance you perform for your vehicle.
In addition to checking the axle nut, making sure it’s tight and secured with a cotter pin, check the wheel nuts and fasteners for parts like running boards and handlebars.
Always check new vehicle fasteners thoroughly before your first ride as manufacturers deliberately ship some models with the nuts and bolts loosened. Dealers occasionally overlook their tightening when prepping the vehicle for sale.
CV Joint BootsIf you pay enough attention to your ATV’s boots covering the CV joints, you’ll likely never need to replace the joint, as the grease in the boot is what protects it. It only takes a moment to feel the bellows surrounding the joint. If they’re dry, they’re good. If they’re greasy, they’re leaking and need replacing.
Do not drive the vehicle after discovering the breached seal. Any dirt or trash that enters is potentially damaging to the joint. You’ll need to jack up the ATV to pop the axle out with a crowbar.
Remove the old boot from the CV housing, clean the joint if necessary, and liberally pack it with grease. Finally, attach the new boot to the housing and replace the axle.
Finally, it is common for an ATV’s cables to require replacing. However, something not everyone knows is that cables regularly lubricated cables often last indefinitely. Lubricate your cables twice annually for top performance.
A cable luber is the tool needed that forces the lubricant into the cable. It is worth the investment of both time and money.
Remember, regular maintenance helps keep your ATV running dependably and keeps repairs to a minimum. Home repairs are not incredibly complex, and it is easy to learn them. Maintaining and repairing an ATV is easily accomplished by nearly anyone equipped with the right tools and an owner’s manual.
Posted by Travis Romine
ATV Maintenance Tips Offroad Tips
Tagged atv maintenance, atv tips, ATV Tools, ATV Tools Checklist, DIY ATV Mechanic, DIY ATV Repair, side by side
Quad Master specialists carry out high-level maintenance, tuning and repair (including engine, transmission, suspension, brake system, etc. ) of ATVs and other motor vehicles. They have extensive experience, so customers can be completely confident in the result of the work carried out by the service center.
Our masters are engaged in ATV and UTV classes. The list of serviced equipment includes the following brands:
All work is usually completed within 2-7 days (depending on the availability of the required parts and the severity of the problem). Also, on individual terms, you can order the service "Urgent repair".
Quad Masters perform the following operations:
All of these operations are performed strictly in accordance with the recommendations of the motorcycle manufacturer and using special tools and licensed materials.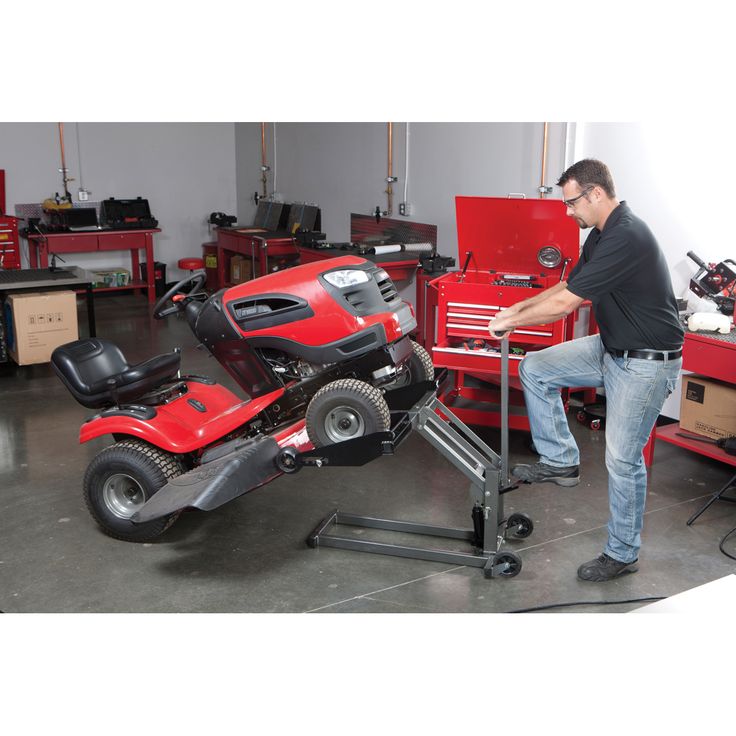
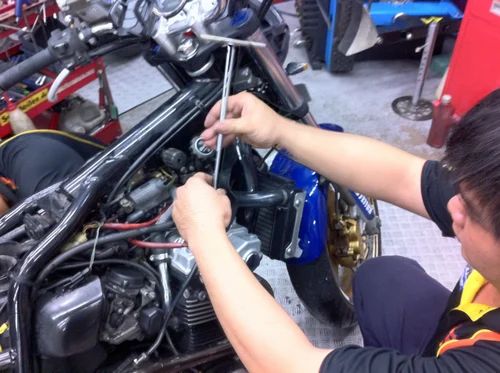 The first time it should be carried out after 1,000 km of run.
 The presence of problems is determined only during dismantling and visual inspection of the element. The procedure can be combined with the replacement of other parts.
In Moscow, you can order the departure of the master at your address. For more information, please contact our office by phone +7 (905) 567-45-45.
| Children's motorcycles - differ from the real ones, but only to the extent that they can be classified as a special variety of this vehicle. In fact, it's the same technique. Repair of the ATV engine for children, plastic, running gear, tire fitting can be carried out in this workshop in St. Petersburg. The cost is low, the quality is top notch. Qualified assistance, repair and maintenance of children's ATVs - the basis of safety and fun pastime. In many models, a real gasoline internal combustion engine is installed. They also contain:
Battery models available. Repair of the ATV motor for children is recommended to be entrusted to specialists. It is much easier to repair a bicycle than this vehicle. Its device is different from the mechanism of a conventional car. It is recommended to contact this workshop, call, find out how much it costs to repair a children's ATV, order a service. It's practical and beneficial. Repair of children's ATVs will be inexpensive, and most importantly, the following rules will be followed:
Repair 9A 0108 carburetor for a ATV can last a couple of hours, but a day's engine. The time of completion of the work is agreed in advance, after checking the systems, determining all the measures that must be taken. Nothing will overshadow the joy of the result, the restoration of the ATV, its perfect condition - neither the overpricing, nor the change in the time of its return to the owner.
It is possible to repair an ATV, sell it without repair, put it up for sale. In both cases, it is important to know when the work will be completed. Urgent repair of ATVs for children St. Petersburg at a good price - what you need. It is recommended to call, order the service. Repair of motorcycle equipment most often involves the correction of such parts:
The rear axle is almost the first to be damaged, because it can withstand a significant load. Engine condition should be checked from time to time. In this case, it will function perfectly, and for a long time you will not have to correct anything in it. If something happened to him, you should use the services of specialists with good qualifications, contact this workshop. A positive effect is guaranteed. Repair of ATVs for children in St. Petersburg - is the result, without marriage and inaccuracies, service on fair terms. Plastic components should be repaired in a timely manner in case of damage, replaced, because ergonomics and comfort depend on them. They protect other parts from a variety of negative factors. This vibration, and air currents, dust, dirt, sunlight. Specialized service benefits It is not safe to repair children's ATVs on your own. This is one of the main reasons why manufacturers recommend contacting specialists. Also a positive point can be called increased comfort. You don’t have to waste time, overpay for spare parts and materials. It should also be taken into account that there is a risk of additional breakdowns of the ATV during non-professional repairs. Although this is a simple technique, it may not be possible to understand the circuits due to their standardization. As a result, it will cost more to restore it. Technical center employees have special knowledge, skills, experience, and craftsmanship. |